

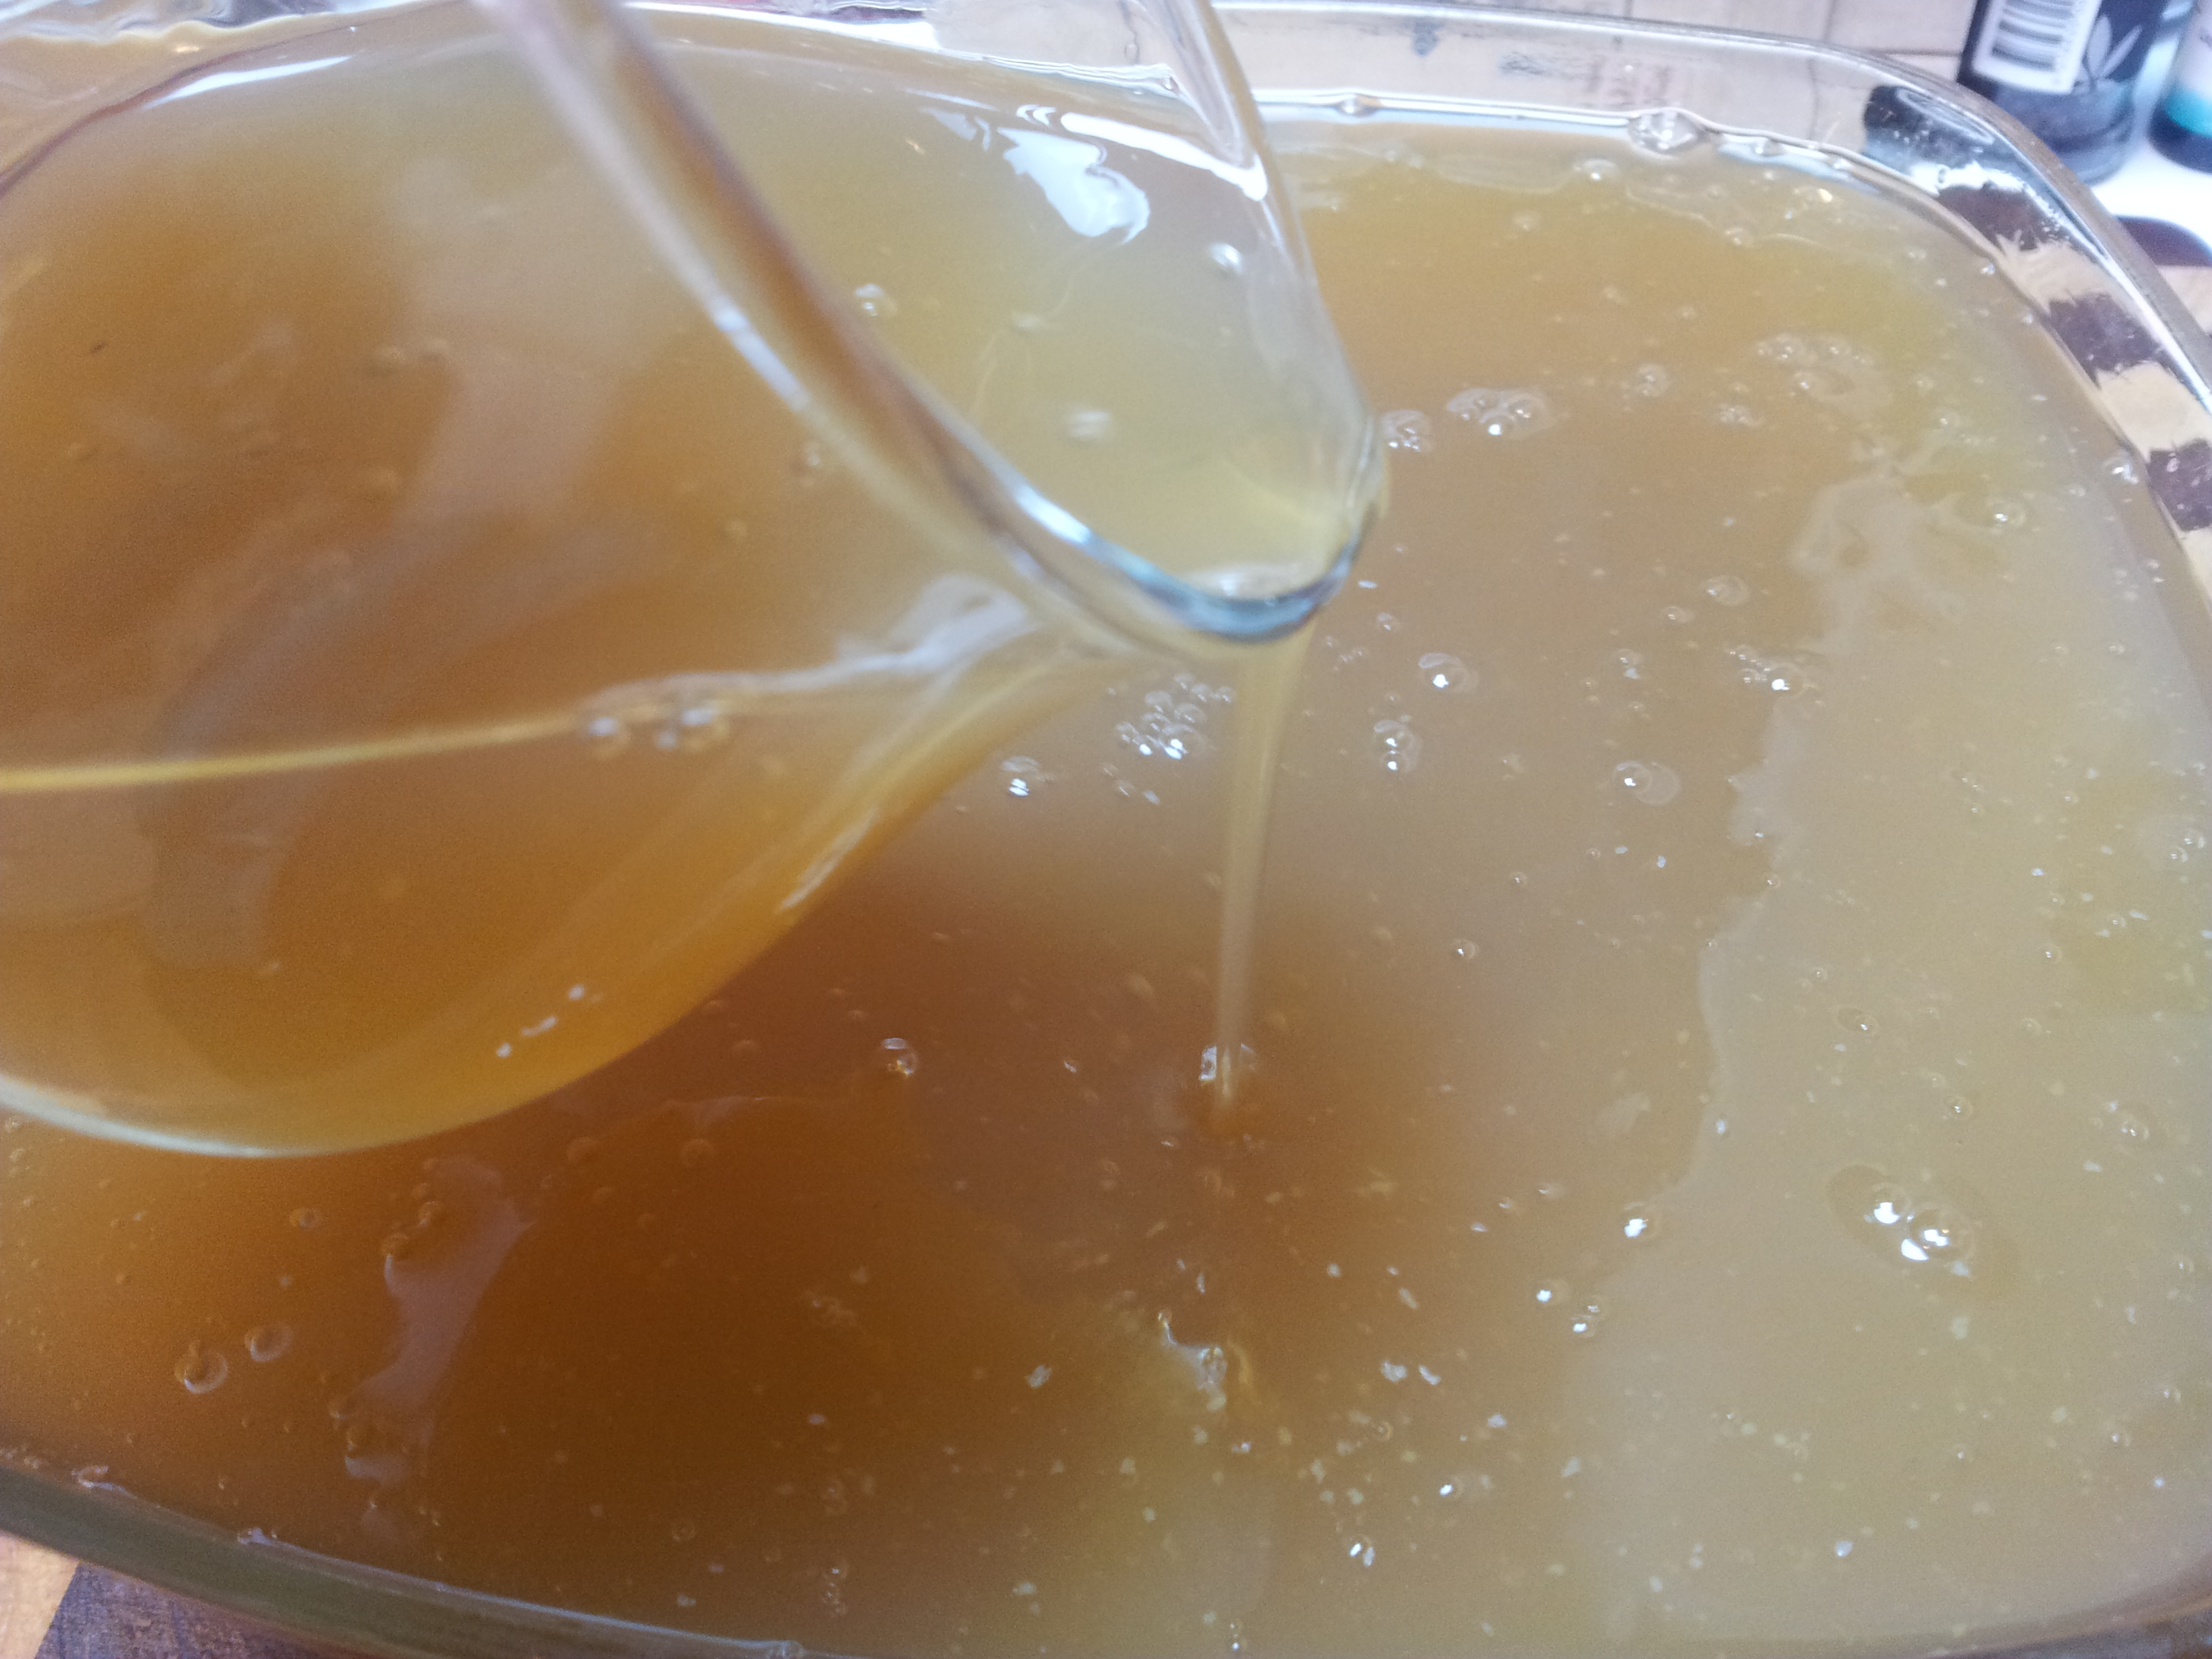
amous for its nutritional qualities, especially for enhancing gut health, this broth is thick and murky which is just how you want it to be.
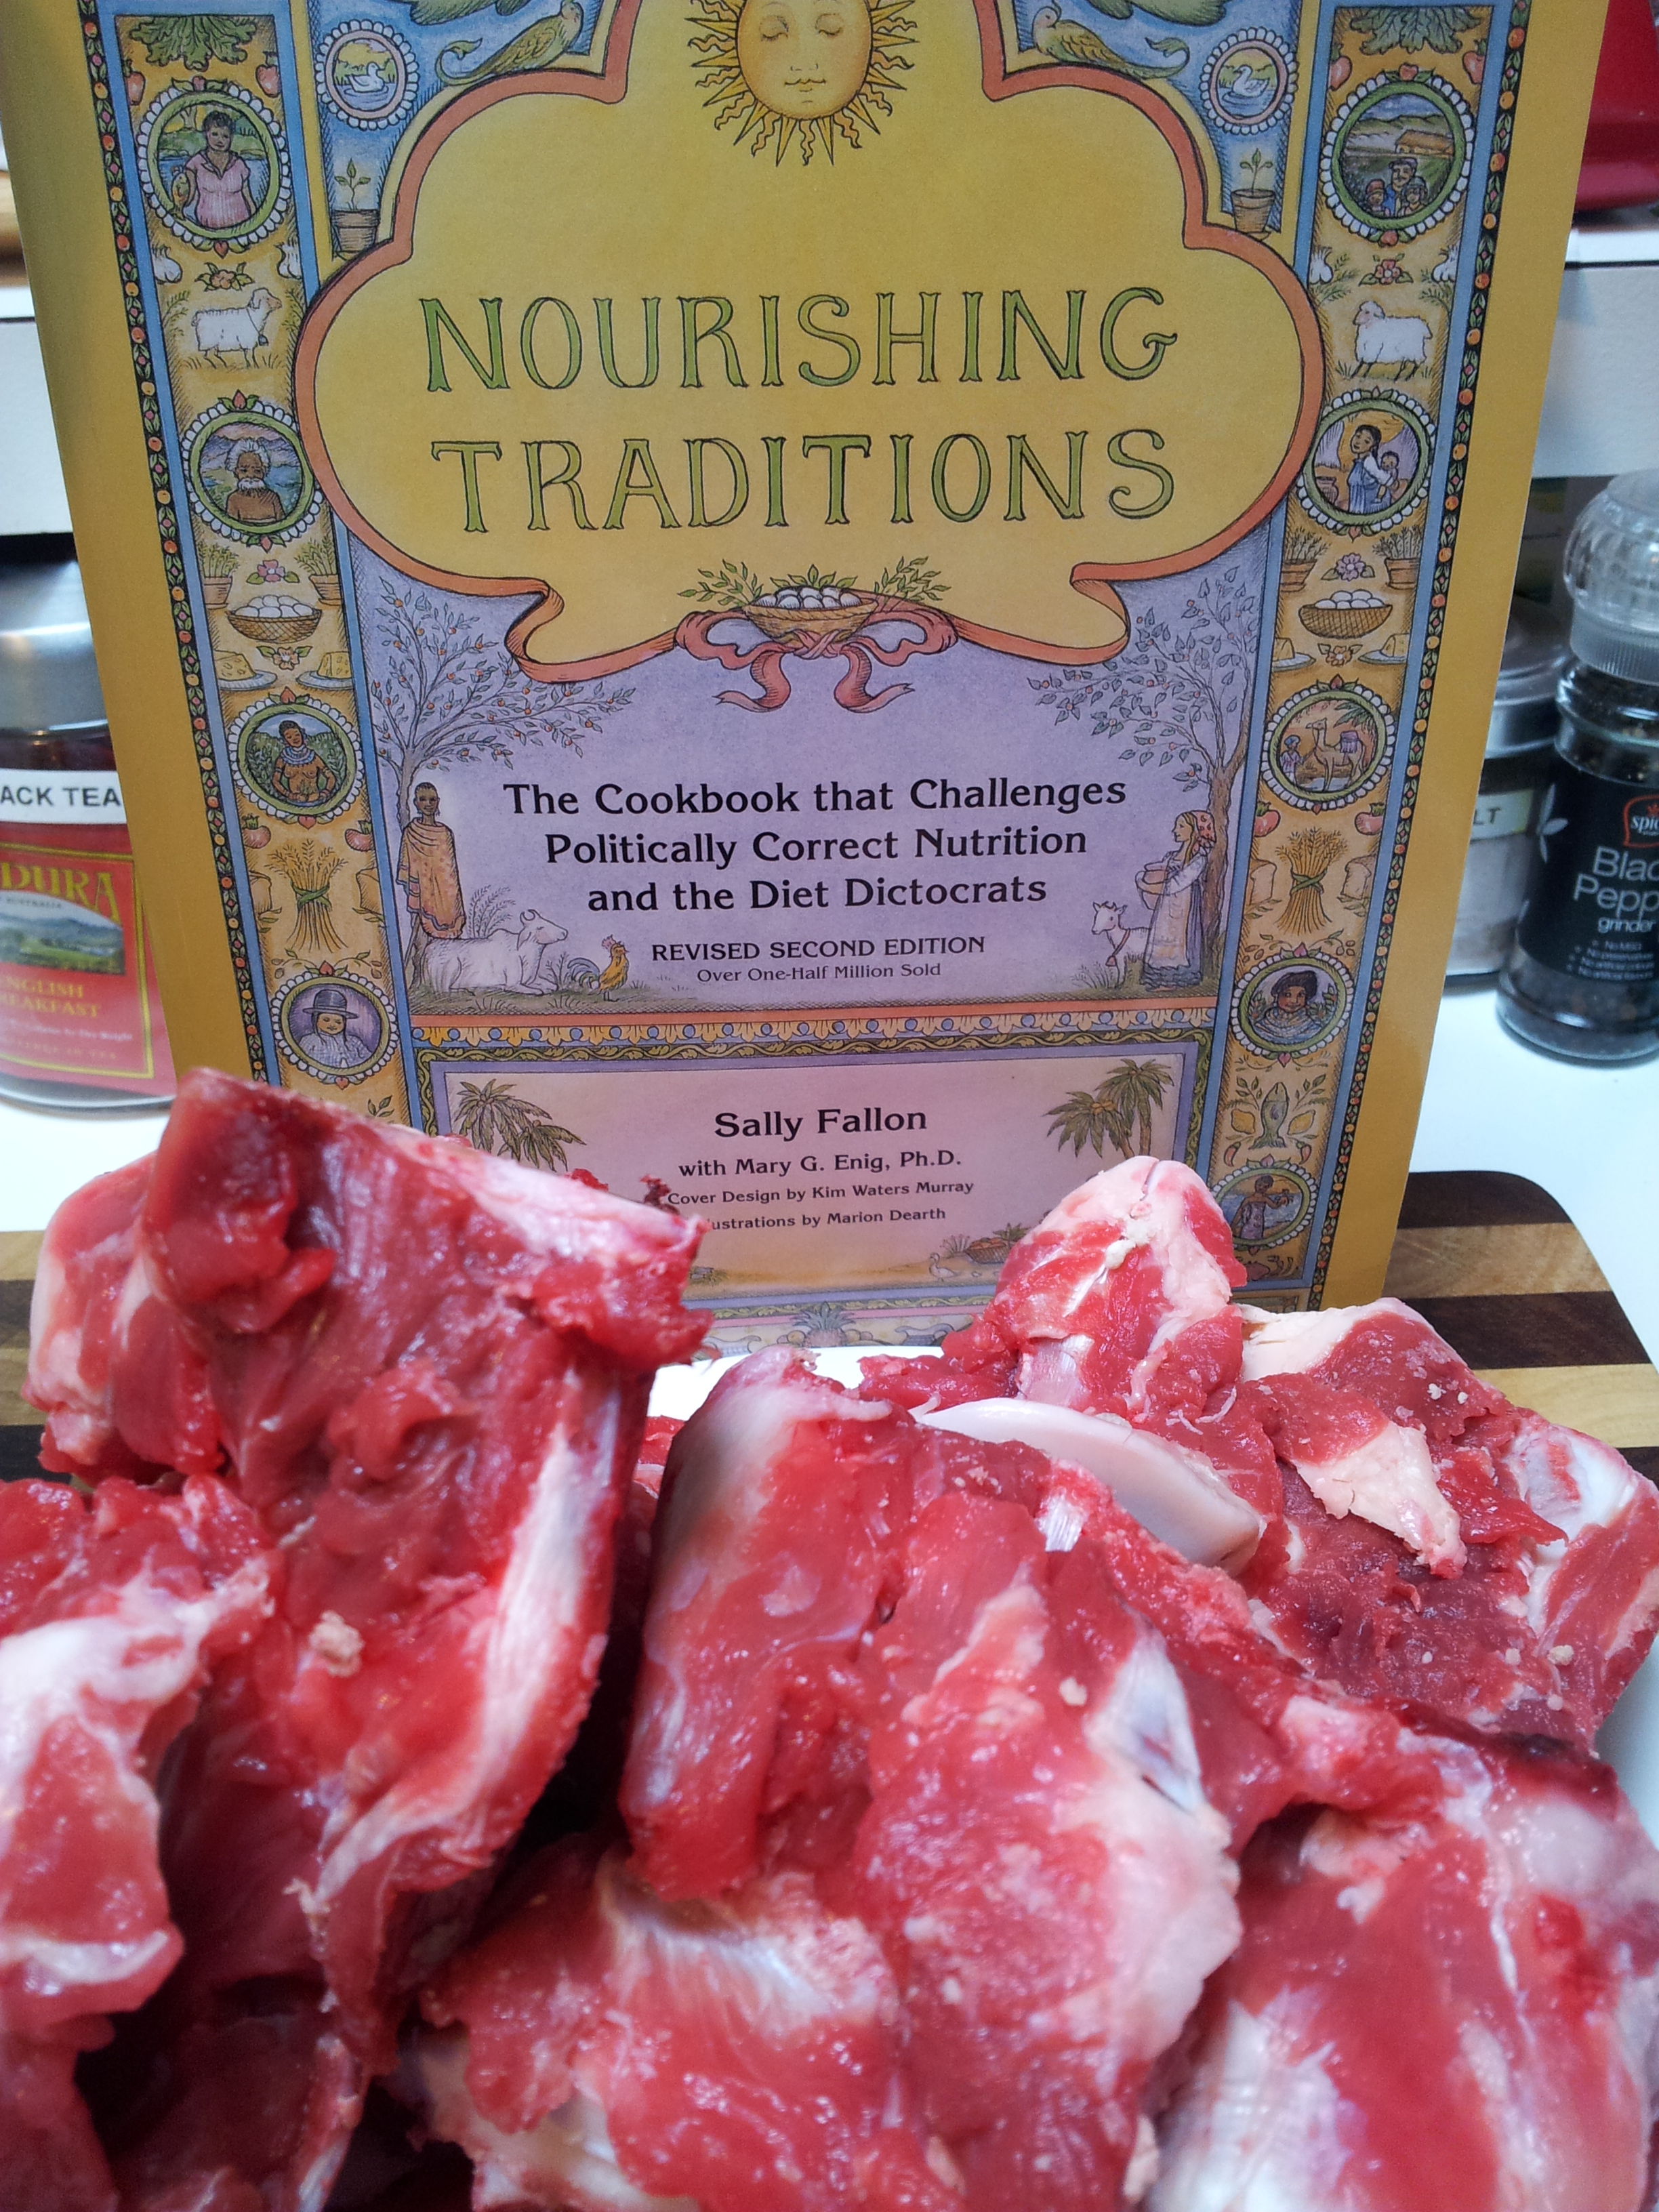
If you want to source the best recipes for broths and other healing foods, l suggest you purchase the book ‘Nourishing Traditions’ by Sally Fallon. It is a wonderful book and has an incredible amount of valuable information in it.
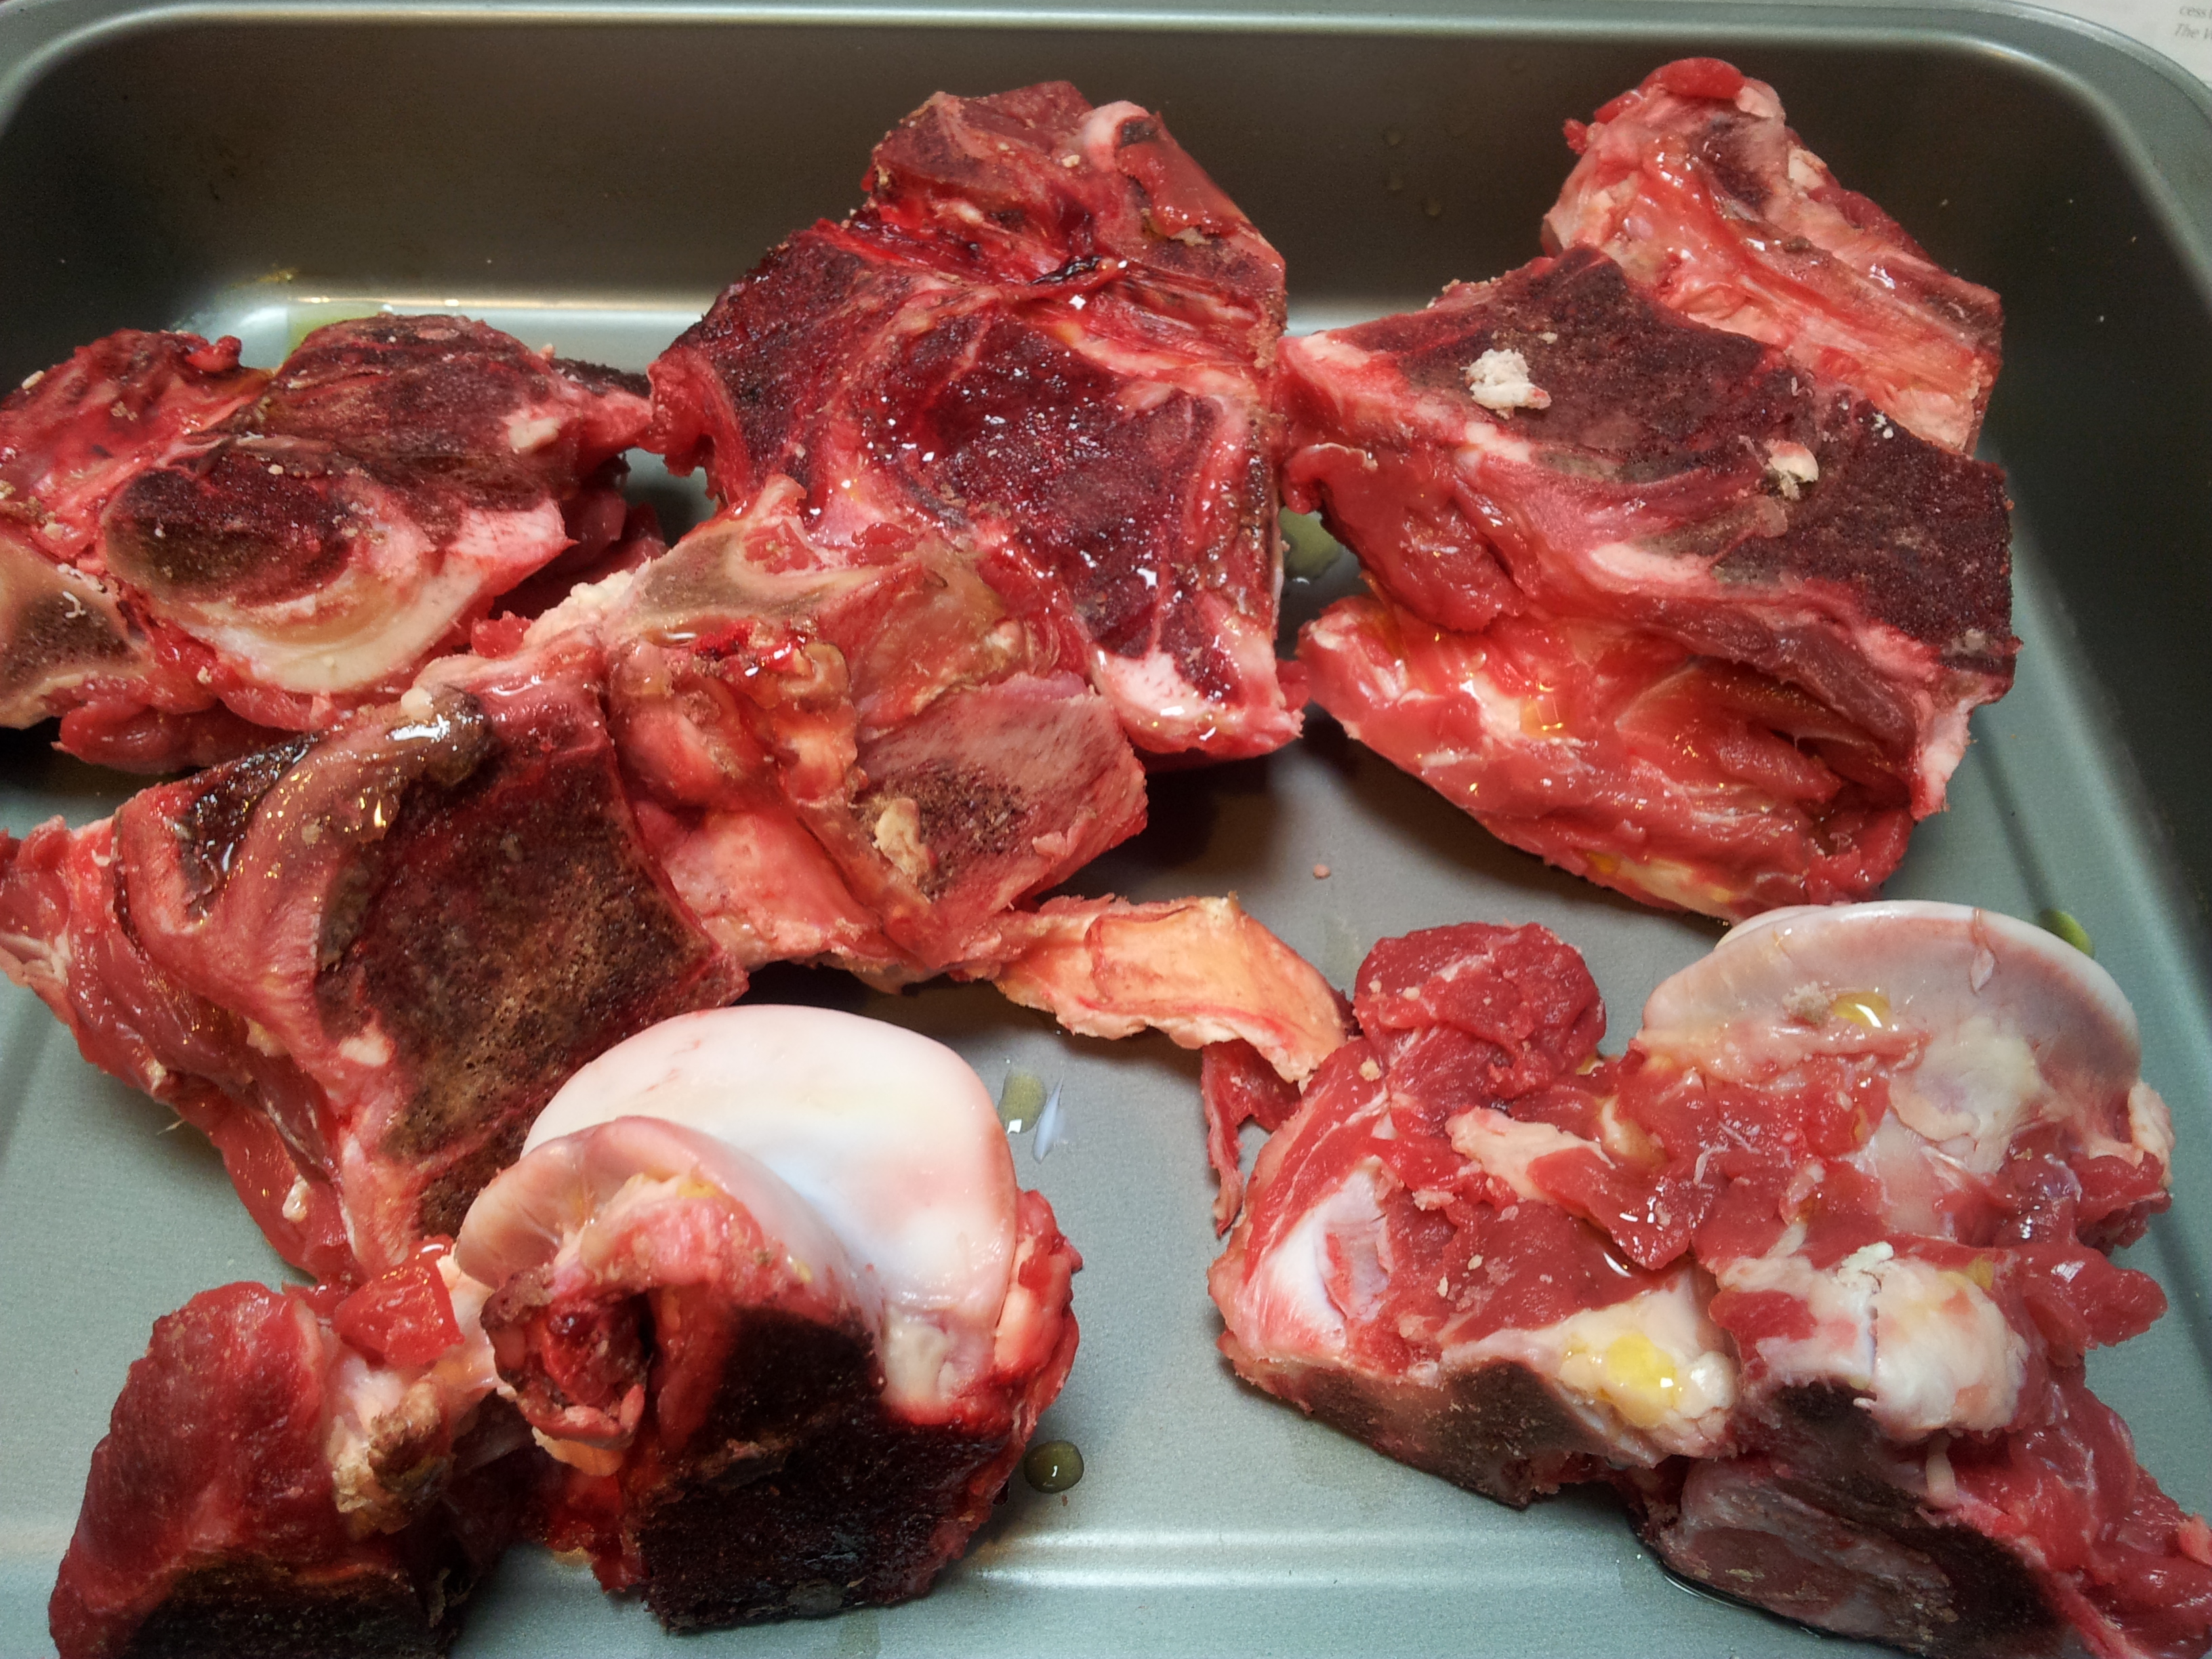
There are lots of ways to make bone broth but this is how l make it.The first thing you need to do is to buy some grass fed beef bones and the ones l purchased were very white and clean with the brightest flesh l have seen. Finding a butcher who stocks these is a challenge and it requires visiting the shop or local supplier and questioning them as to the source of the meat. I have an excellent local butcher and a certain amount of trust is required as so you can be reassured the meat is from grass fed animals.
Ingredients:
- 2 kilograms of grass fed soup bones
- Cold filtered water. Just enough to cover the bones in the pot.
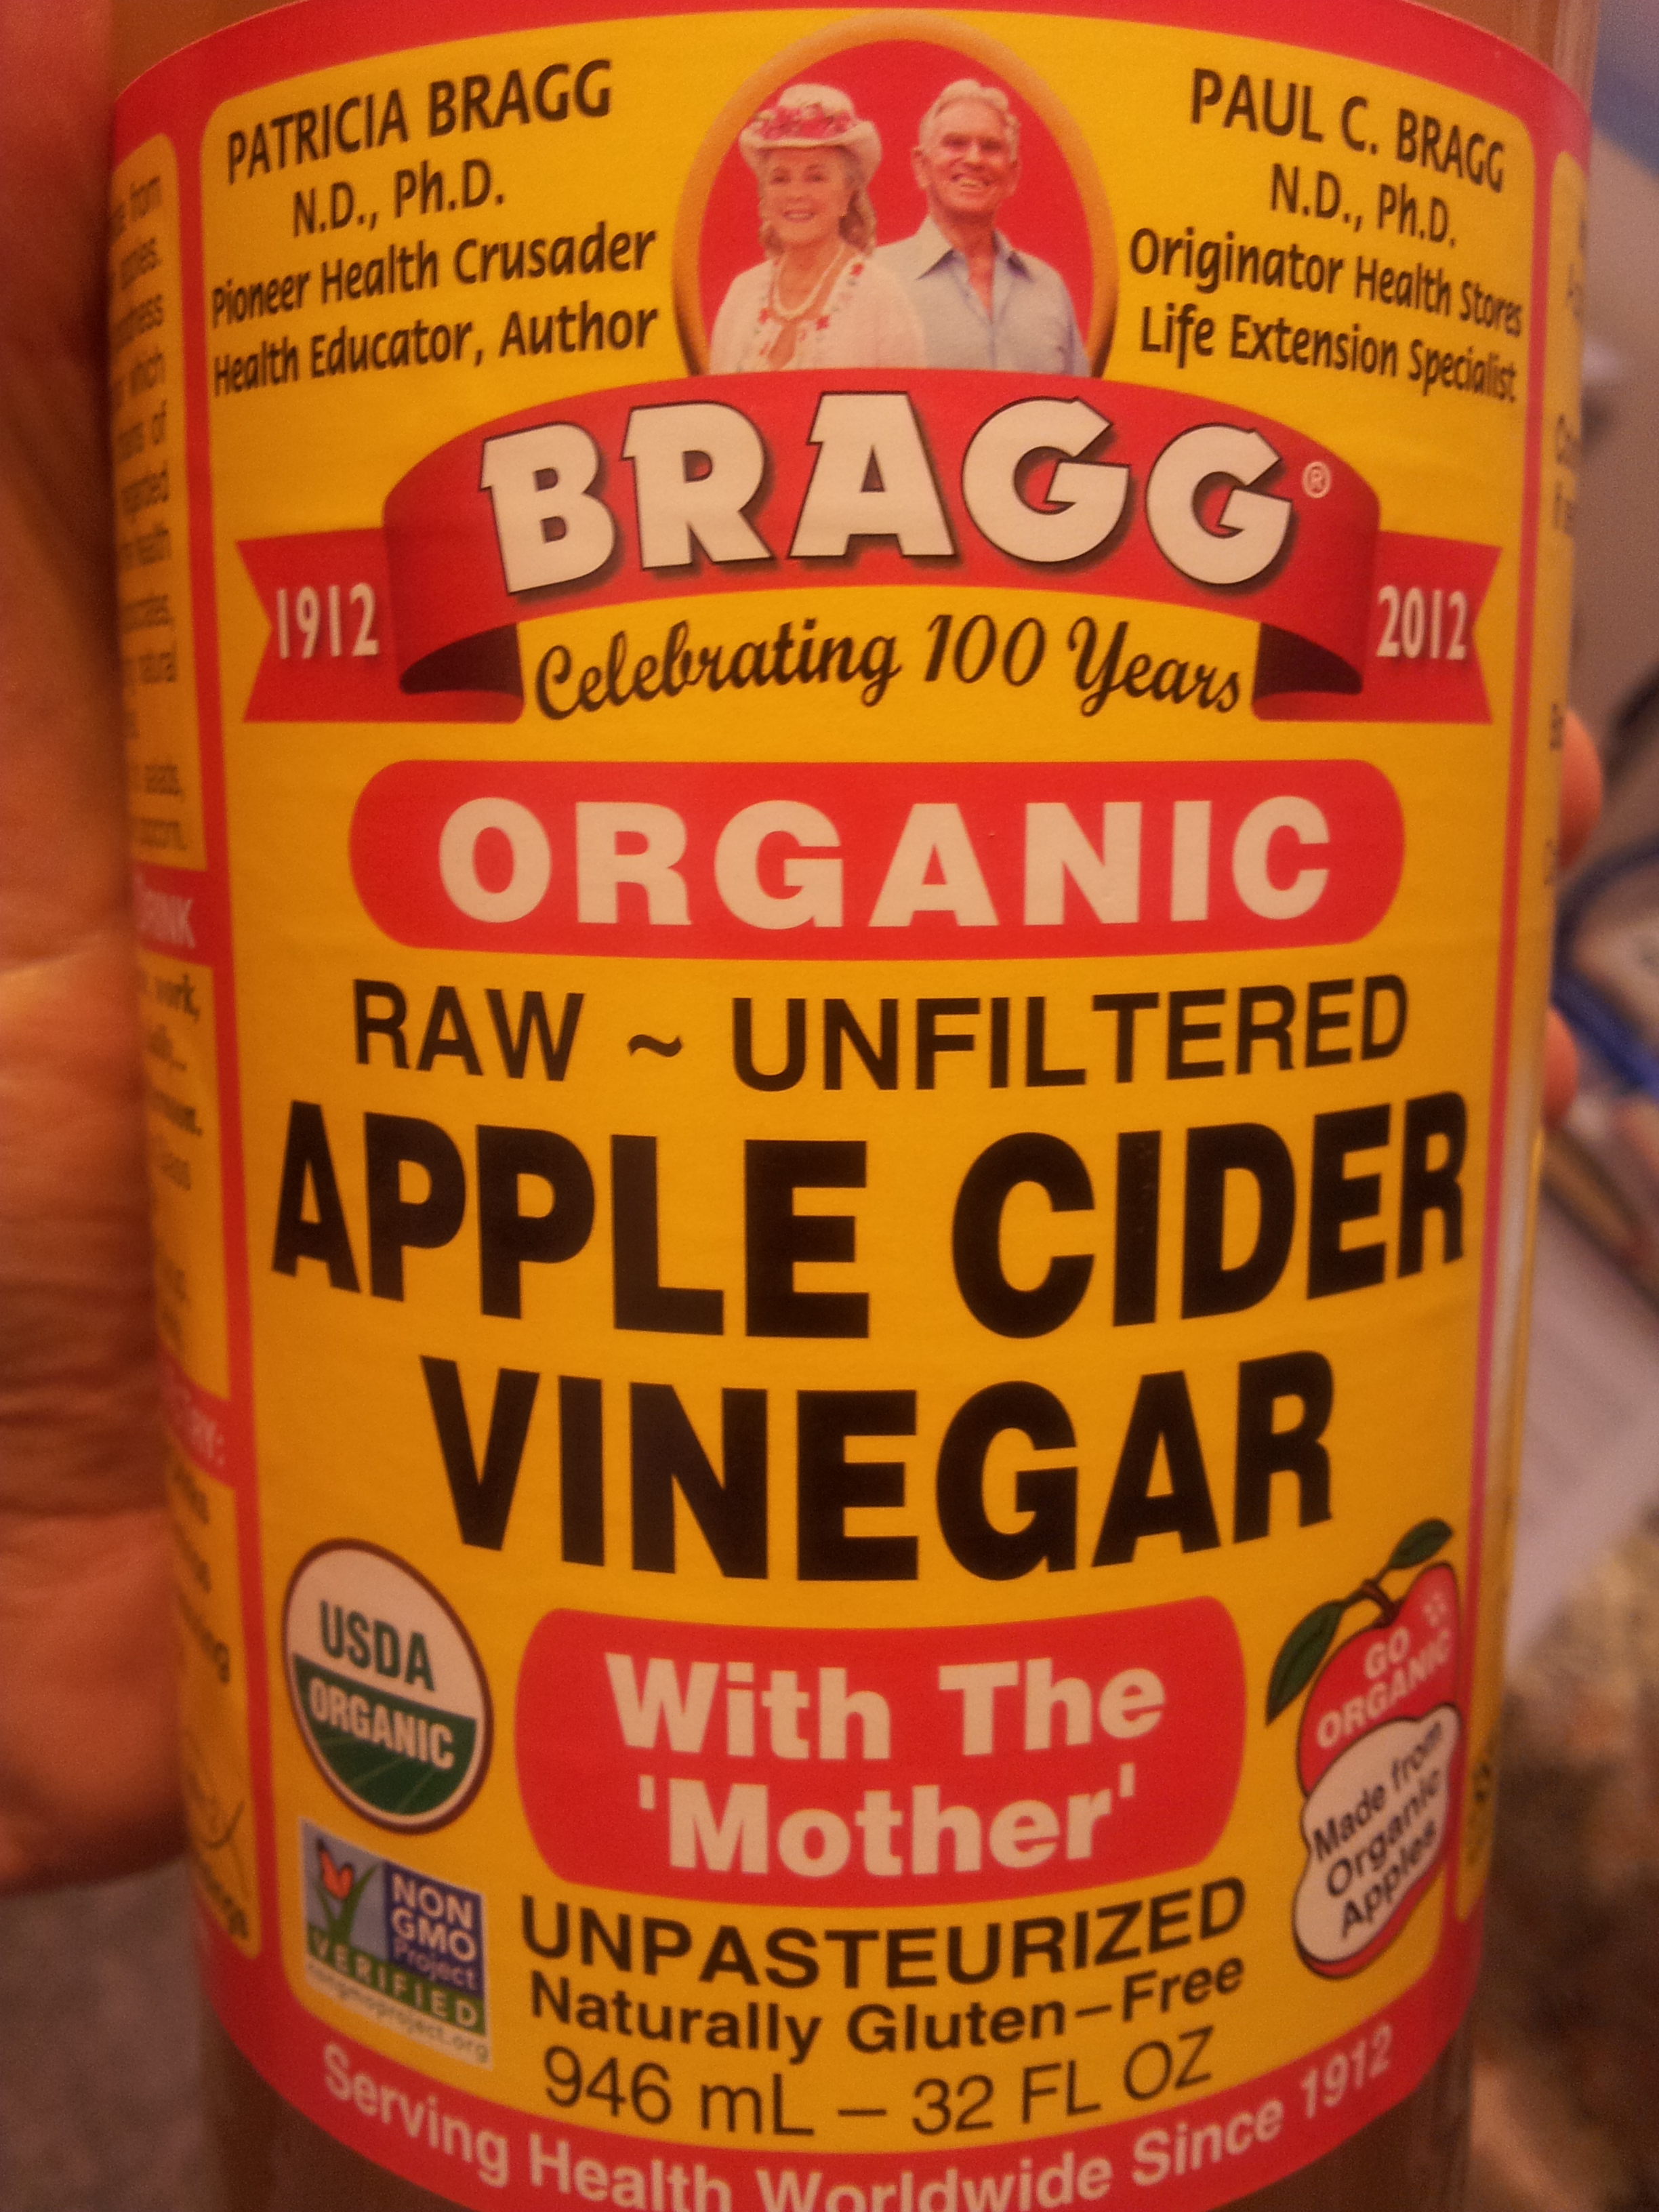
- ¼ cup of organic apple cider vinegar
- 2 onions chopped in half
- 3 carrots coarsely chopped
- 3 celery sticks coarsely chopped
- Black peppercorns
Method:
Place all of the bones with meaty bits in a roasting pan and brown in the oven at 180 degrees until well browned for 60 minutes.
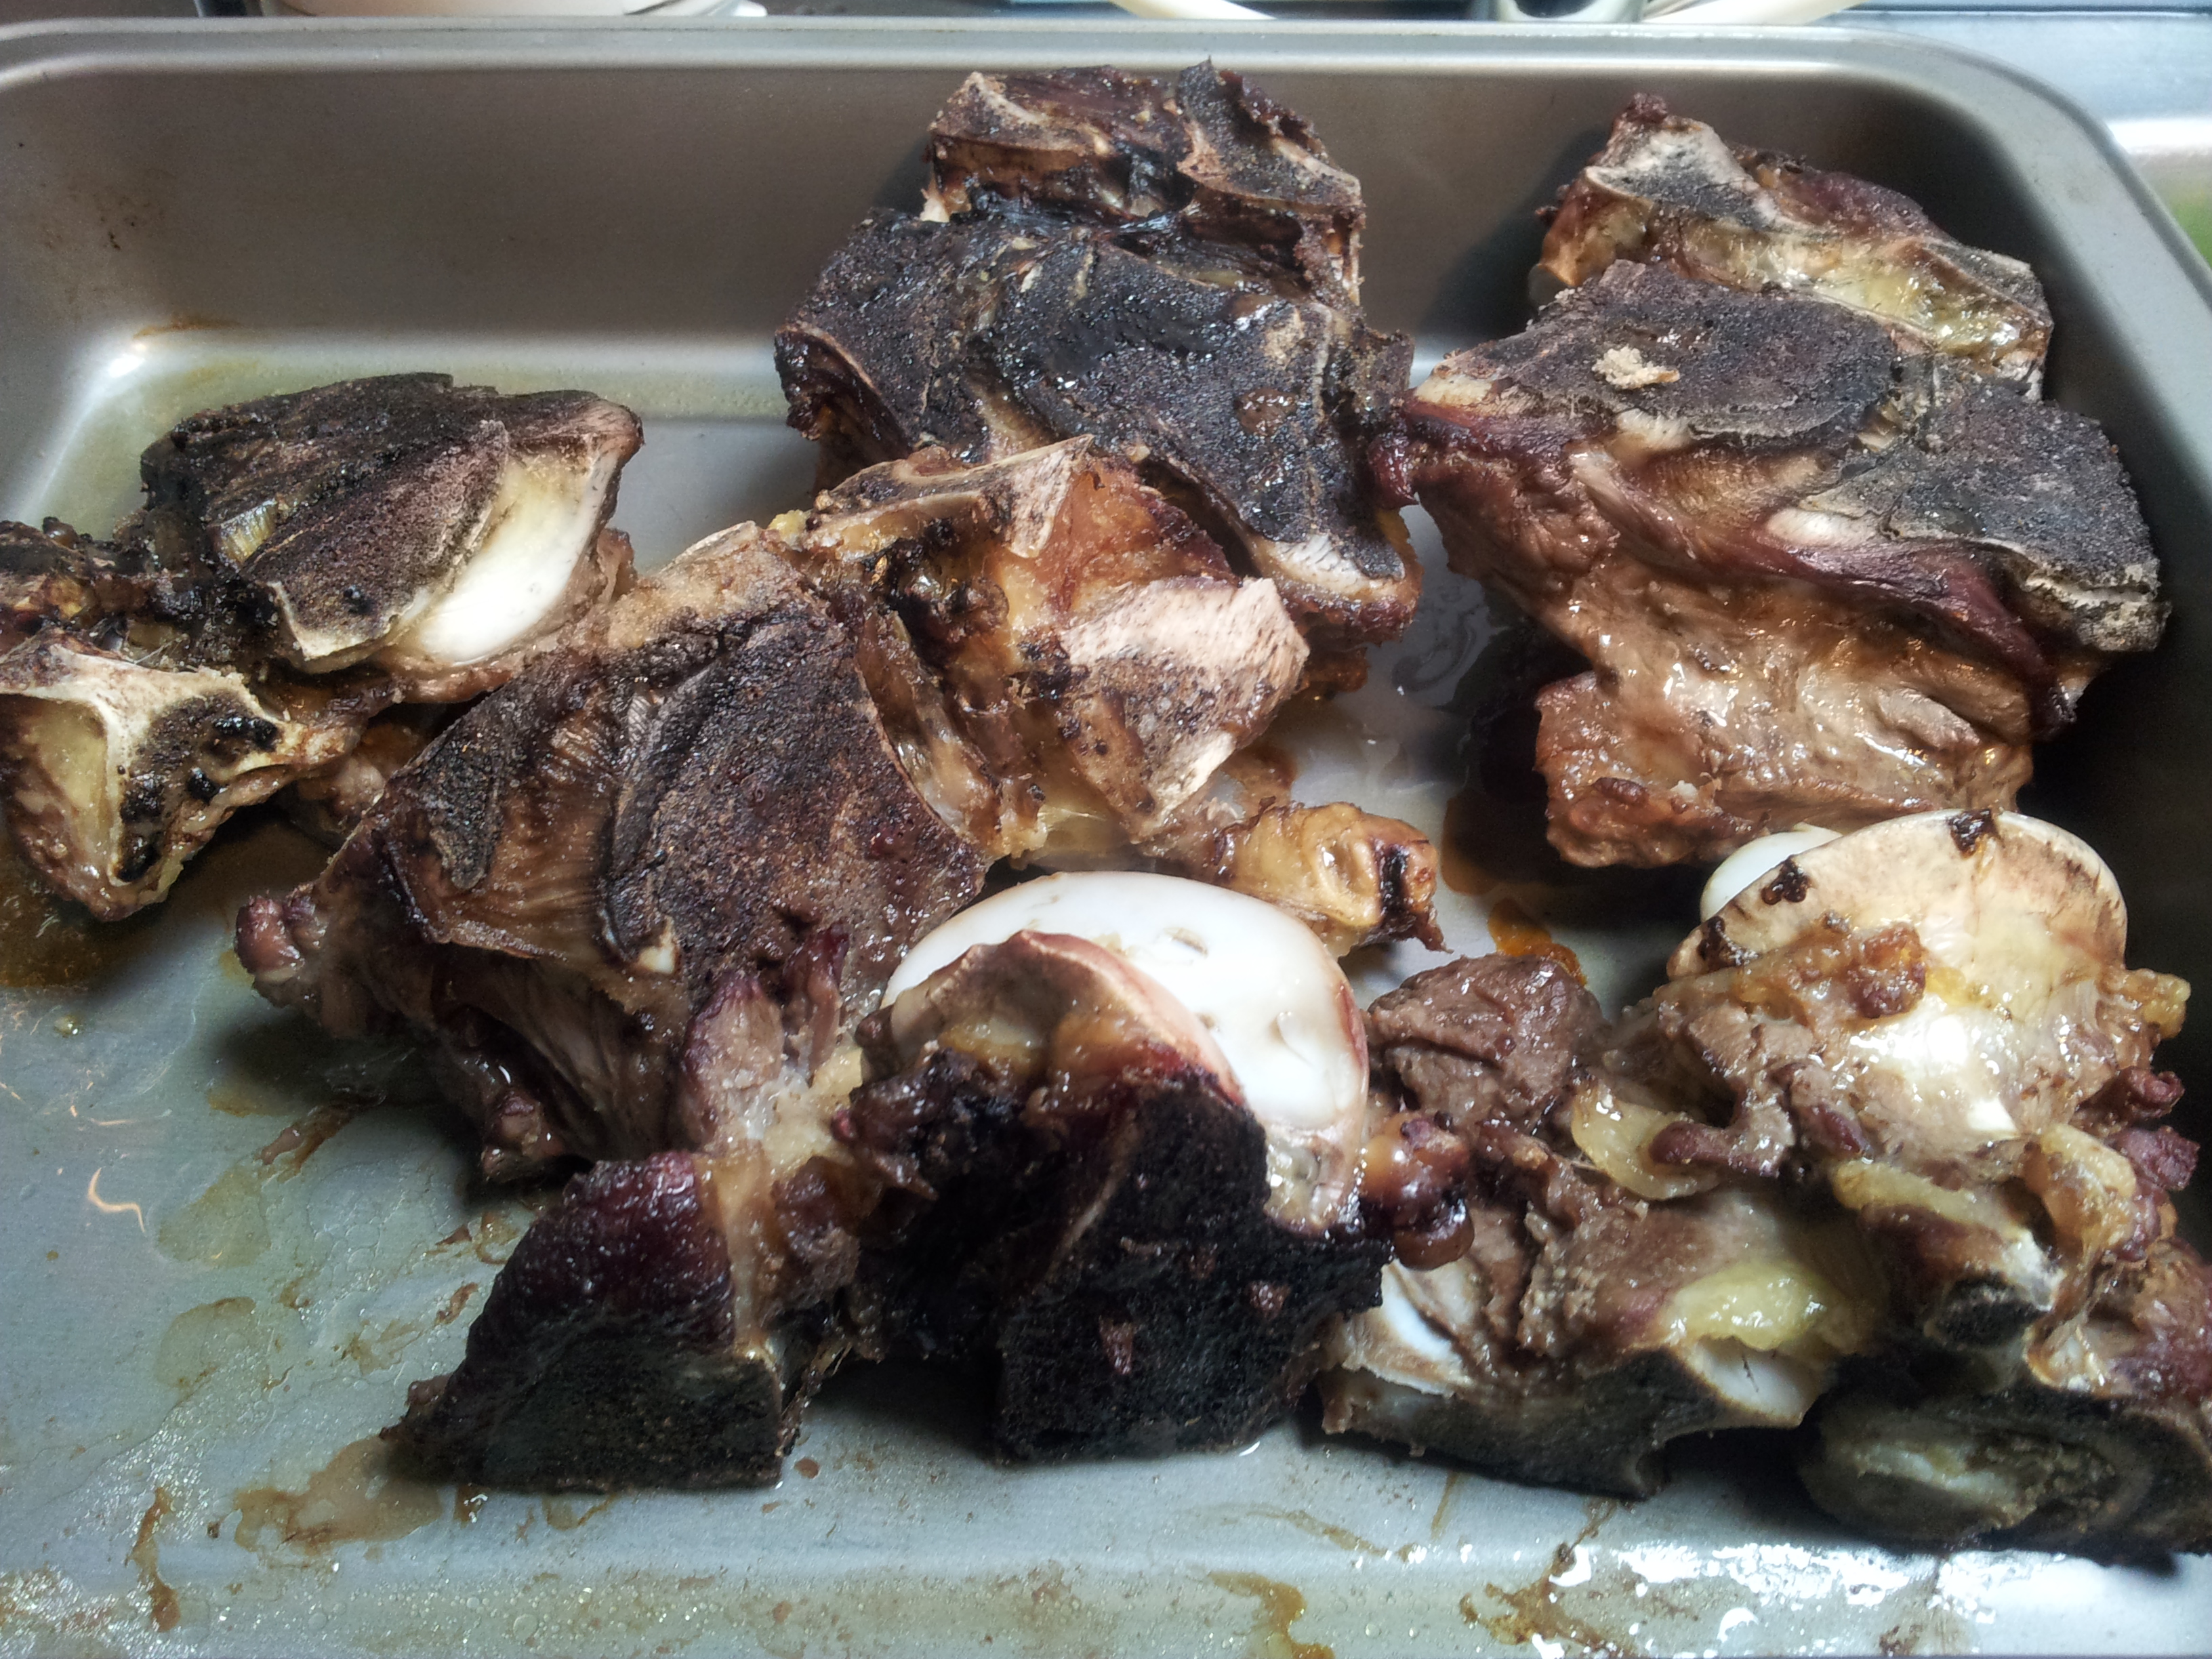
Meanwhile if you have any non-meaty bones place them into a large stockpot and add the cold water, vinegar, vegetables and peppercorns. Let that sit while the other bones are browning. My bones were all meaty so l didn’t need to do this step. Add your browned bones to the pot and deglaze the roasting pan with hot water. Pour this greasy mix and any leftover meat or bones into the pot. Add more water if you need to so that the bones are covered.

Bring the pot to boil and remove the foam from the top of the pot. Reduce the heat, cover and let the pot simmer for a good 24 to 48 hours. The longer it cooks, the richer the flavour. A warning here that the smell through the house can be so incredible in the night that you may have trouble sleeping. Another option is to turn the heat off at bedtime and turn it on again in the morning.
Once the cooking time is up let the stock cool in the pot. When cool pour the broth into a large bowl through a strainer so the liquid is separated from the bones and vegetables. Don’t taste it at this point as it doesn’t taste good. Place the broth in the fridge and let it cool completely until you can see a white layer of fat on top. Use an egg flipper or large spoon to lift this off and then strain again into a clean bowl.

A sign of a good broth is that it will be quite thick and jelly like.

The broth is now ready to be used on its own or in your favourite dishes. Transfer the broth to mason jars or any sealed container. The broth can keep in the fridge for a week or in the freezer for 6 months. The original bones can be re-used and this will produce a clearer broth. To do this follow the recipe again except for the roasting part.

You can also save bones as you eat them and just place in the freezer until you have enough for a broth. I like to roast beef ribs and 6 large bones is enough for a great broth.

Some people mix their bones as in chicken and beef. it is just personal preference. Happy Cooking!
