Tag Archives: dinner

Rolled Chicken Breast with a herb, nut and vegetable filling

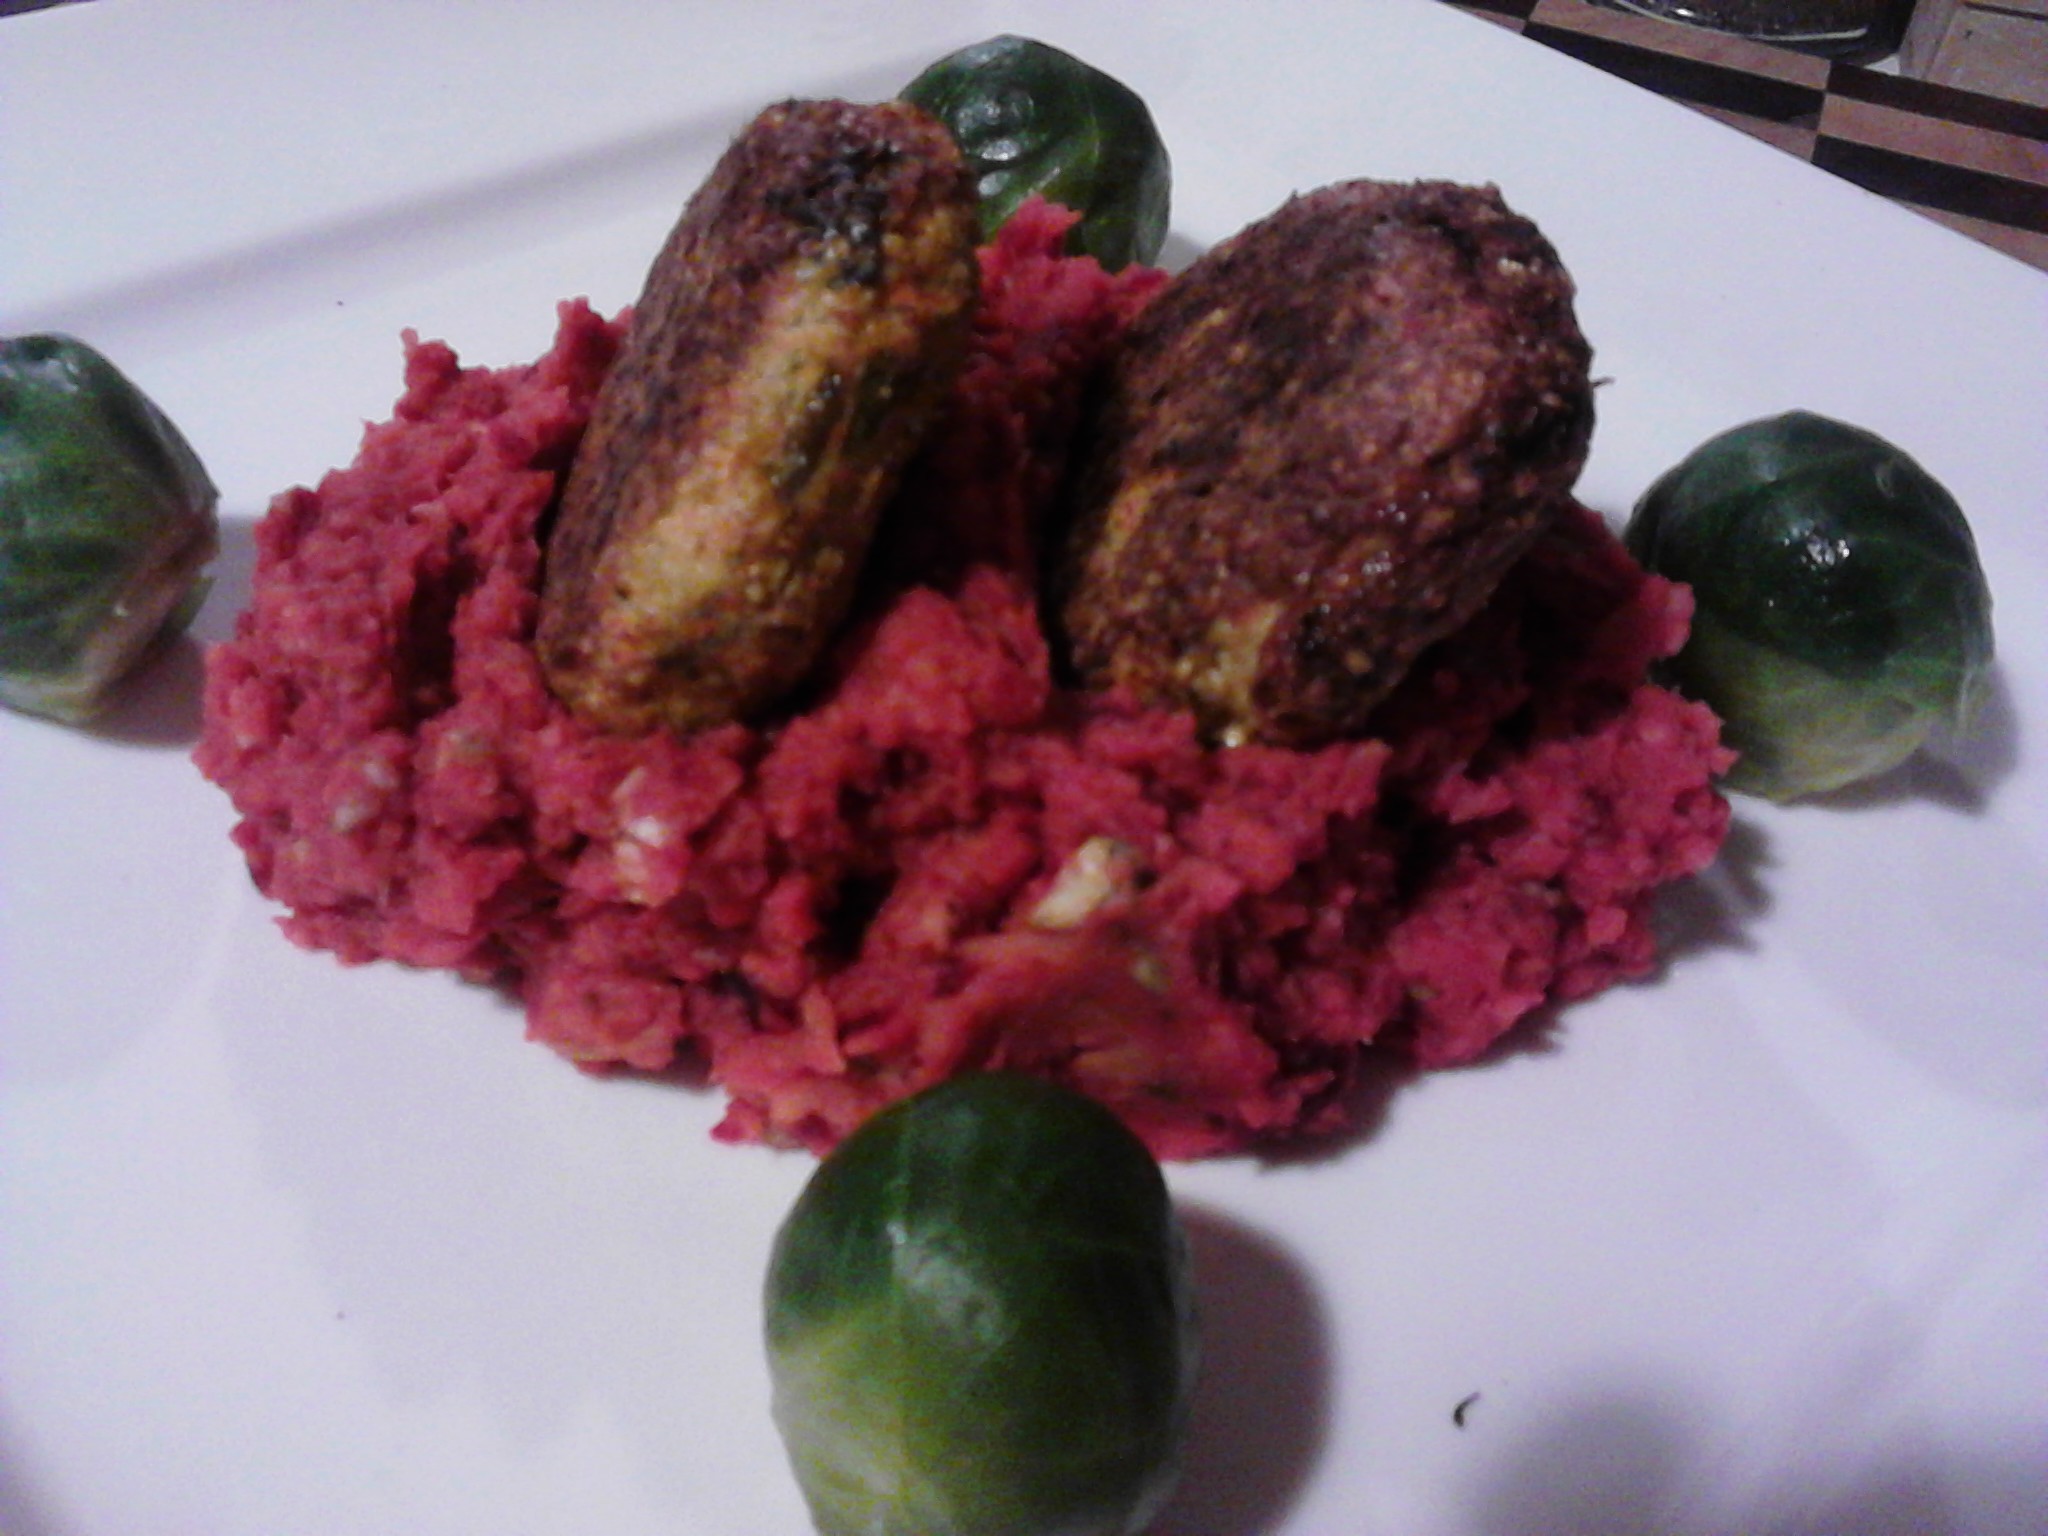
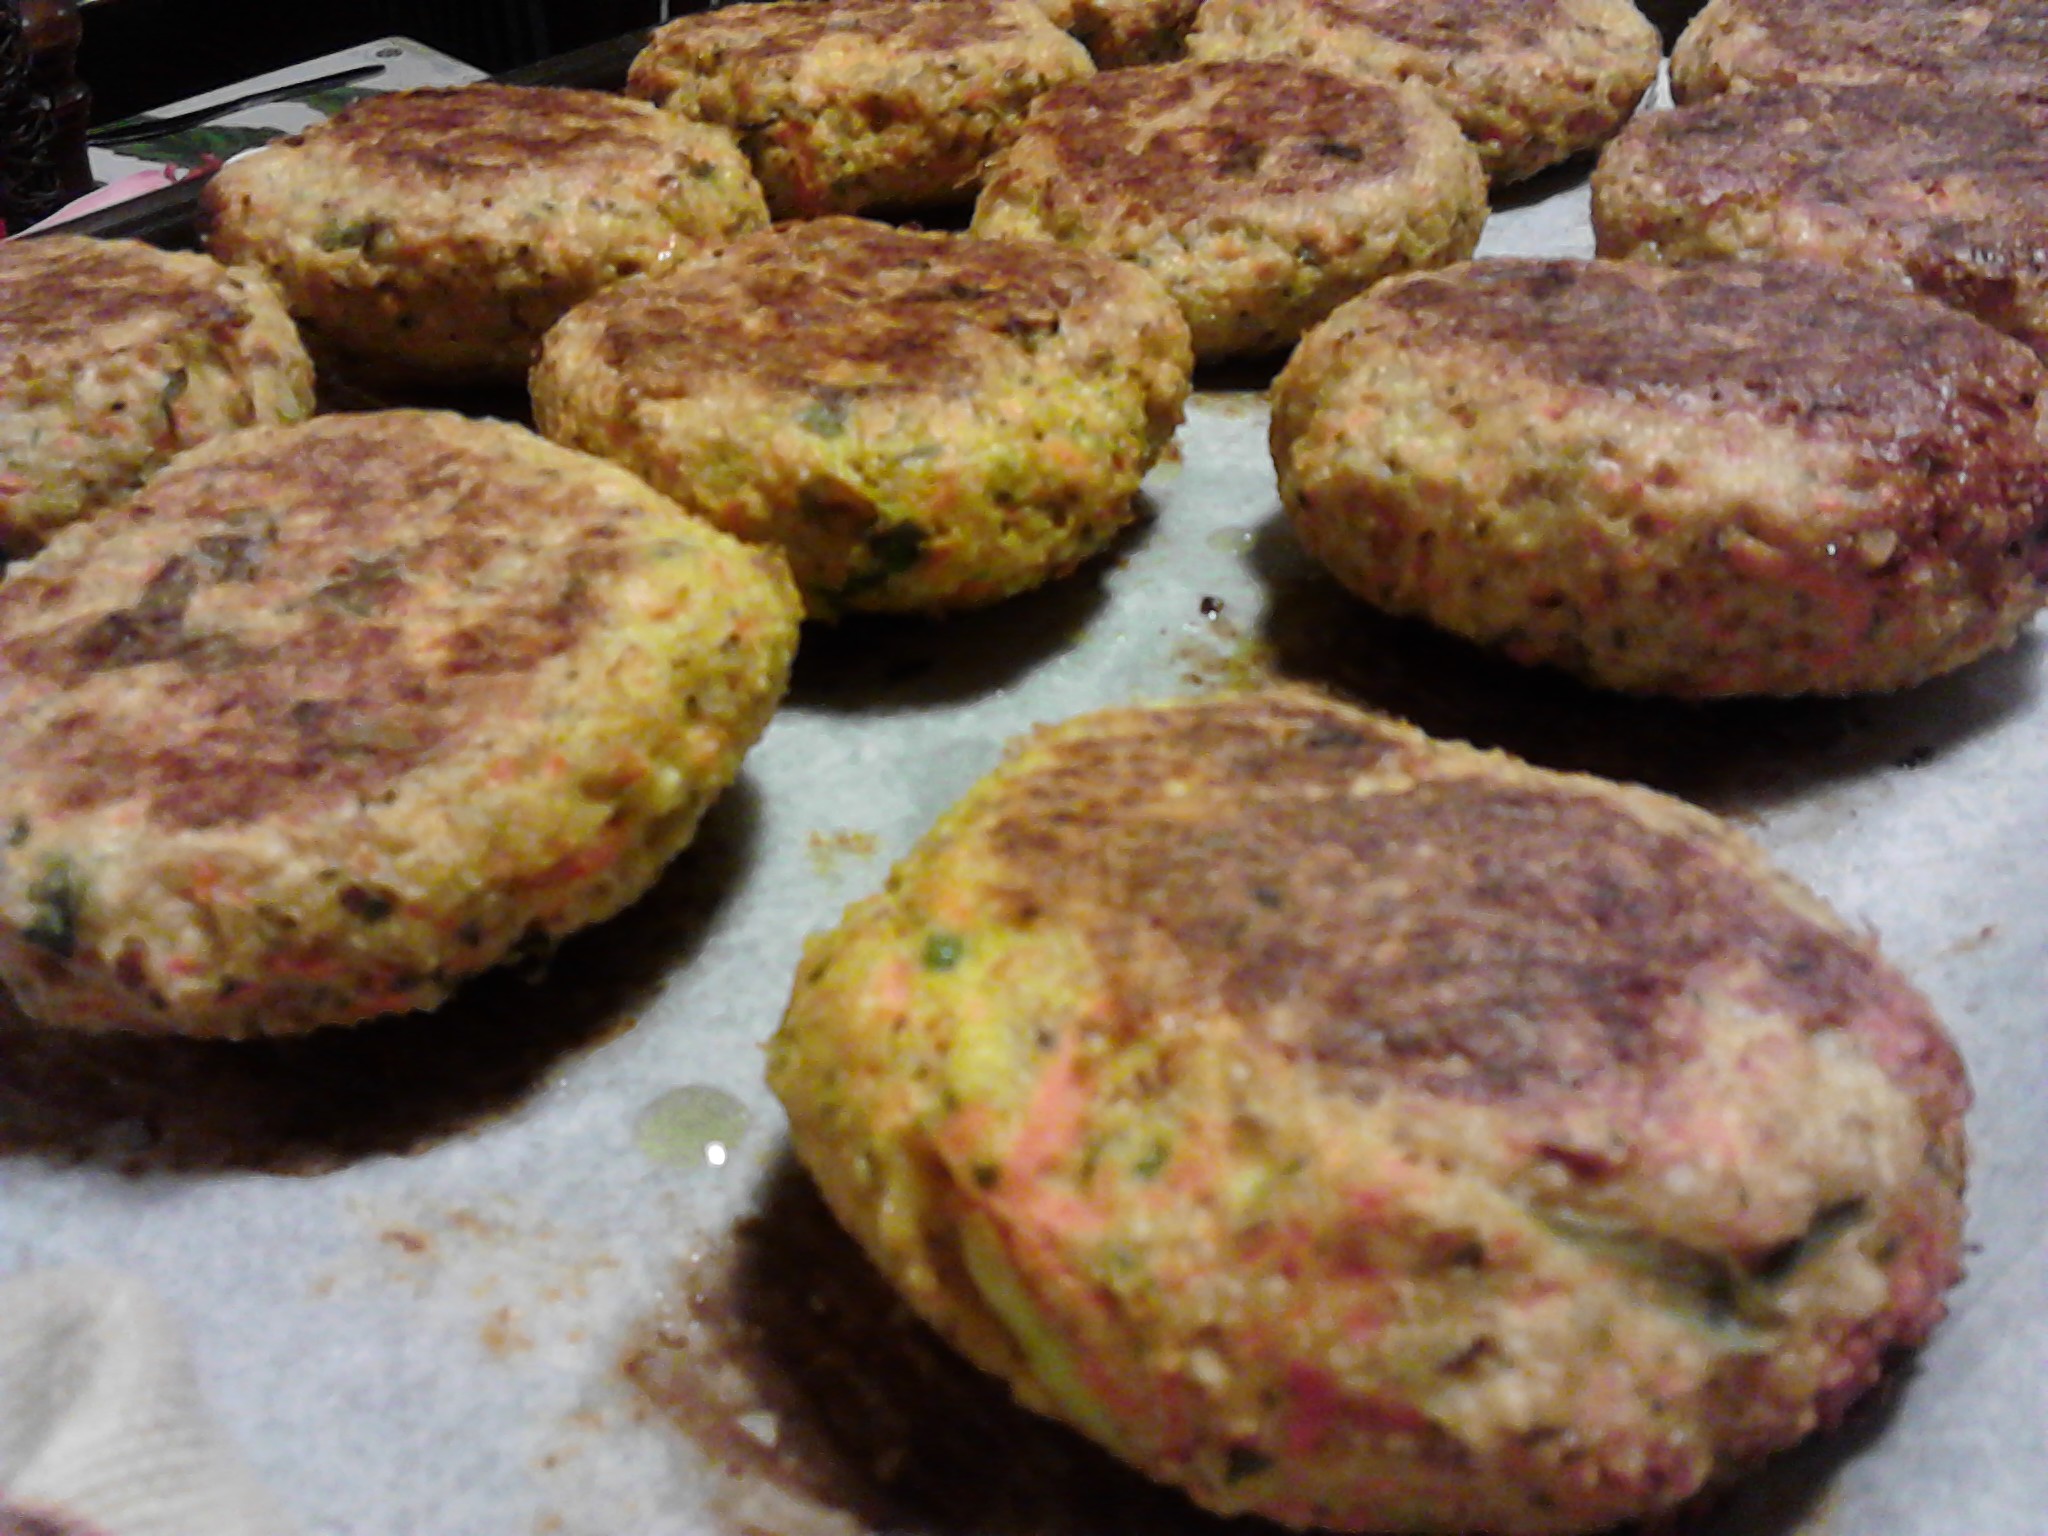
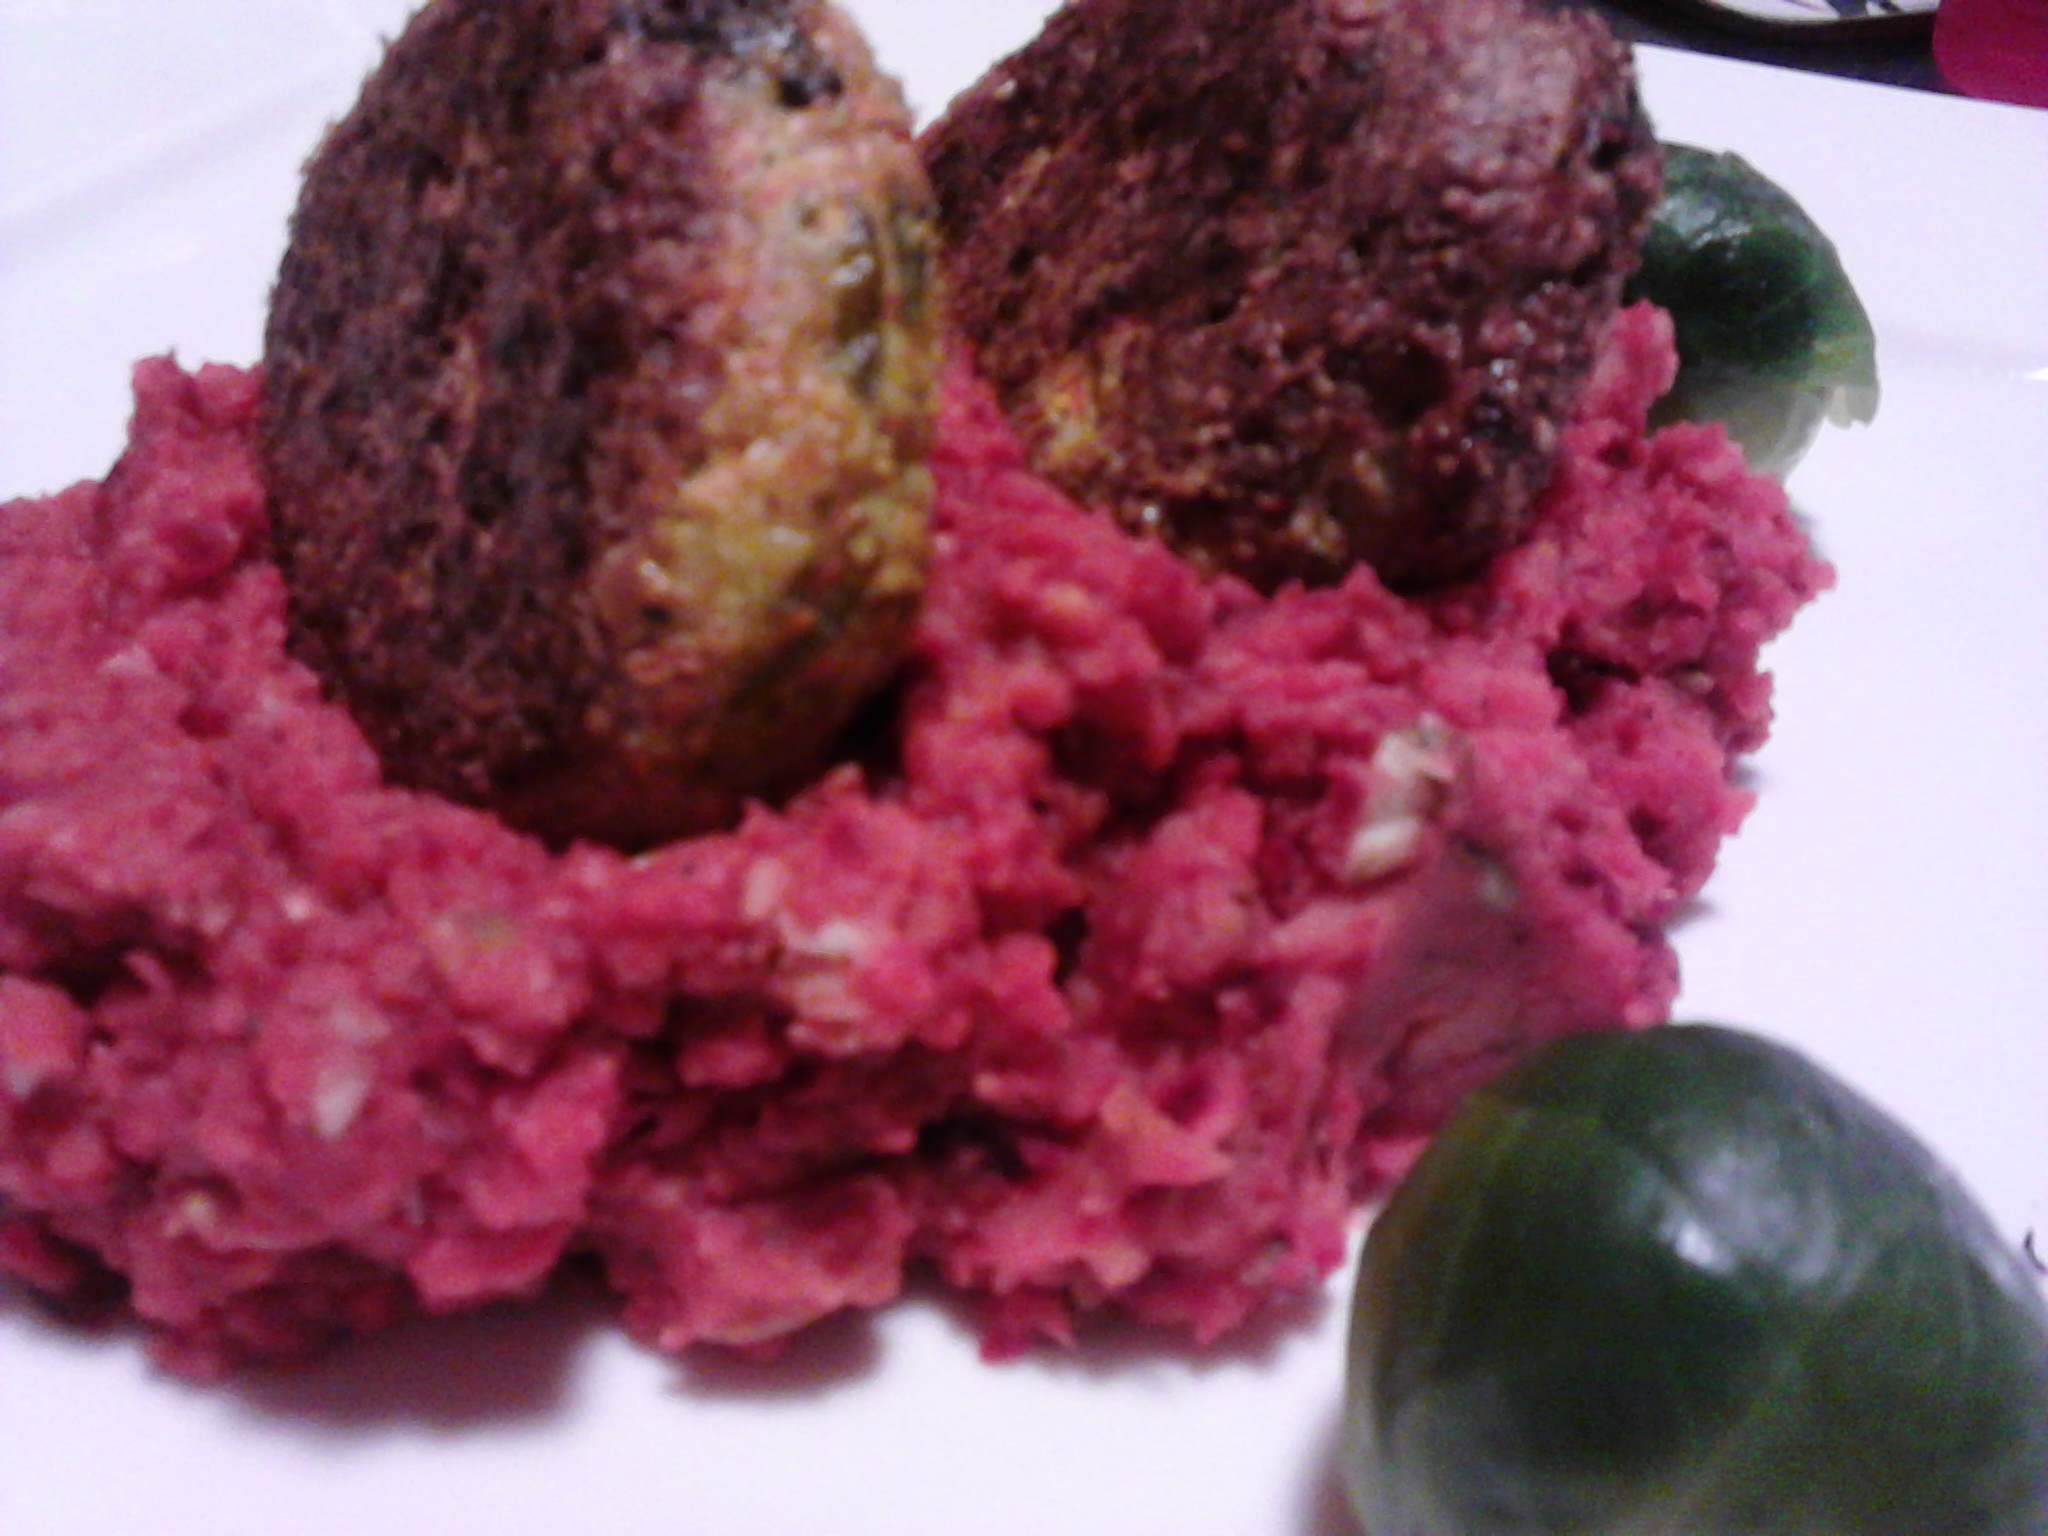
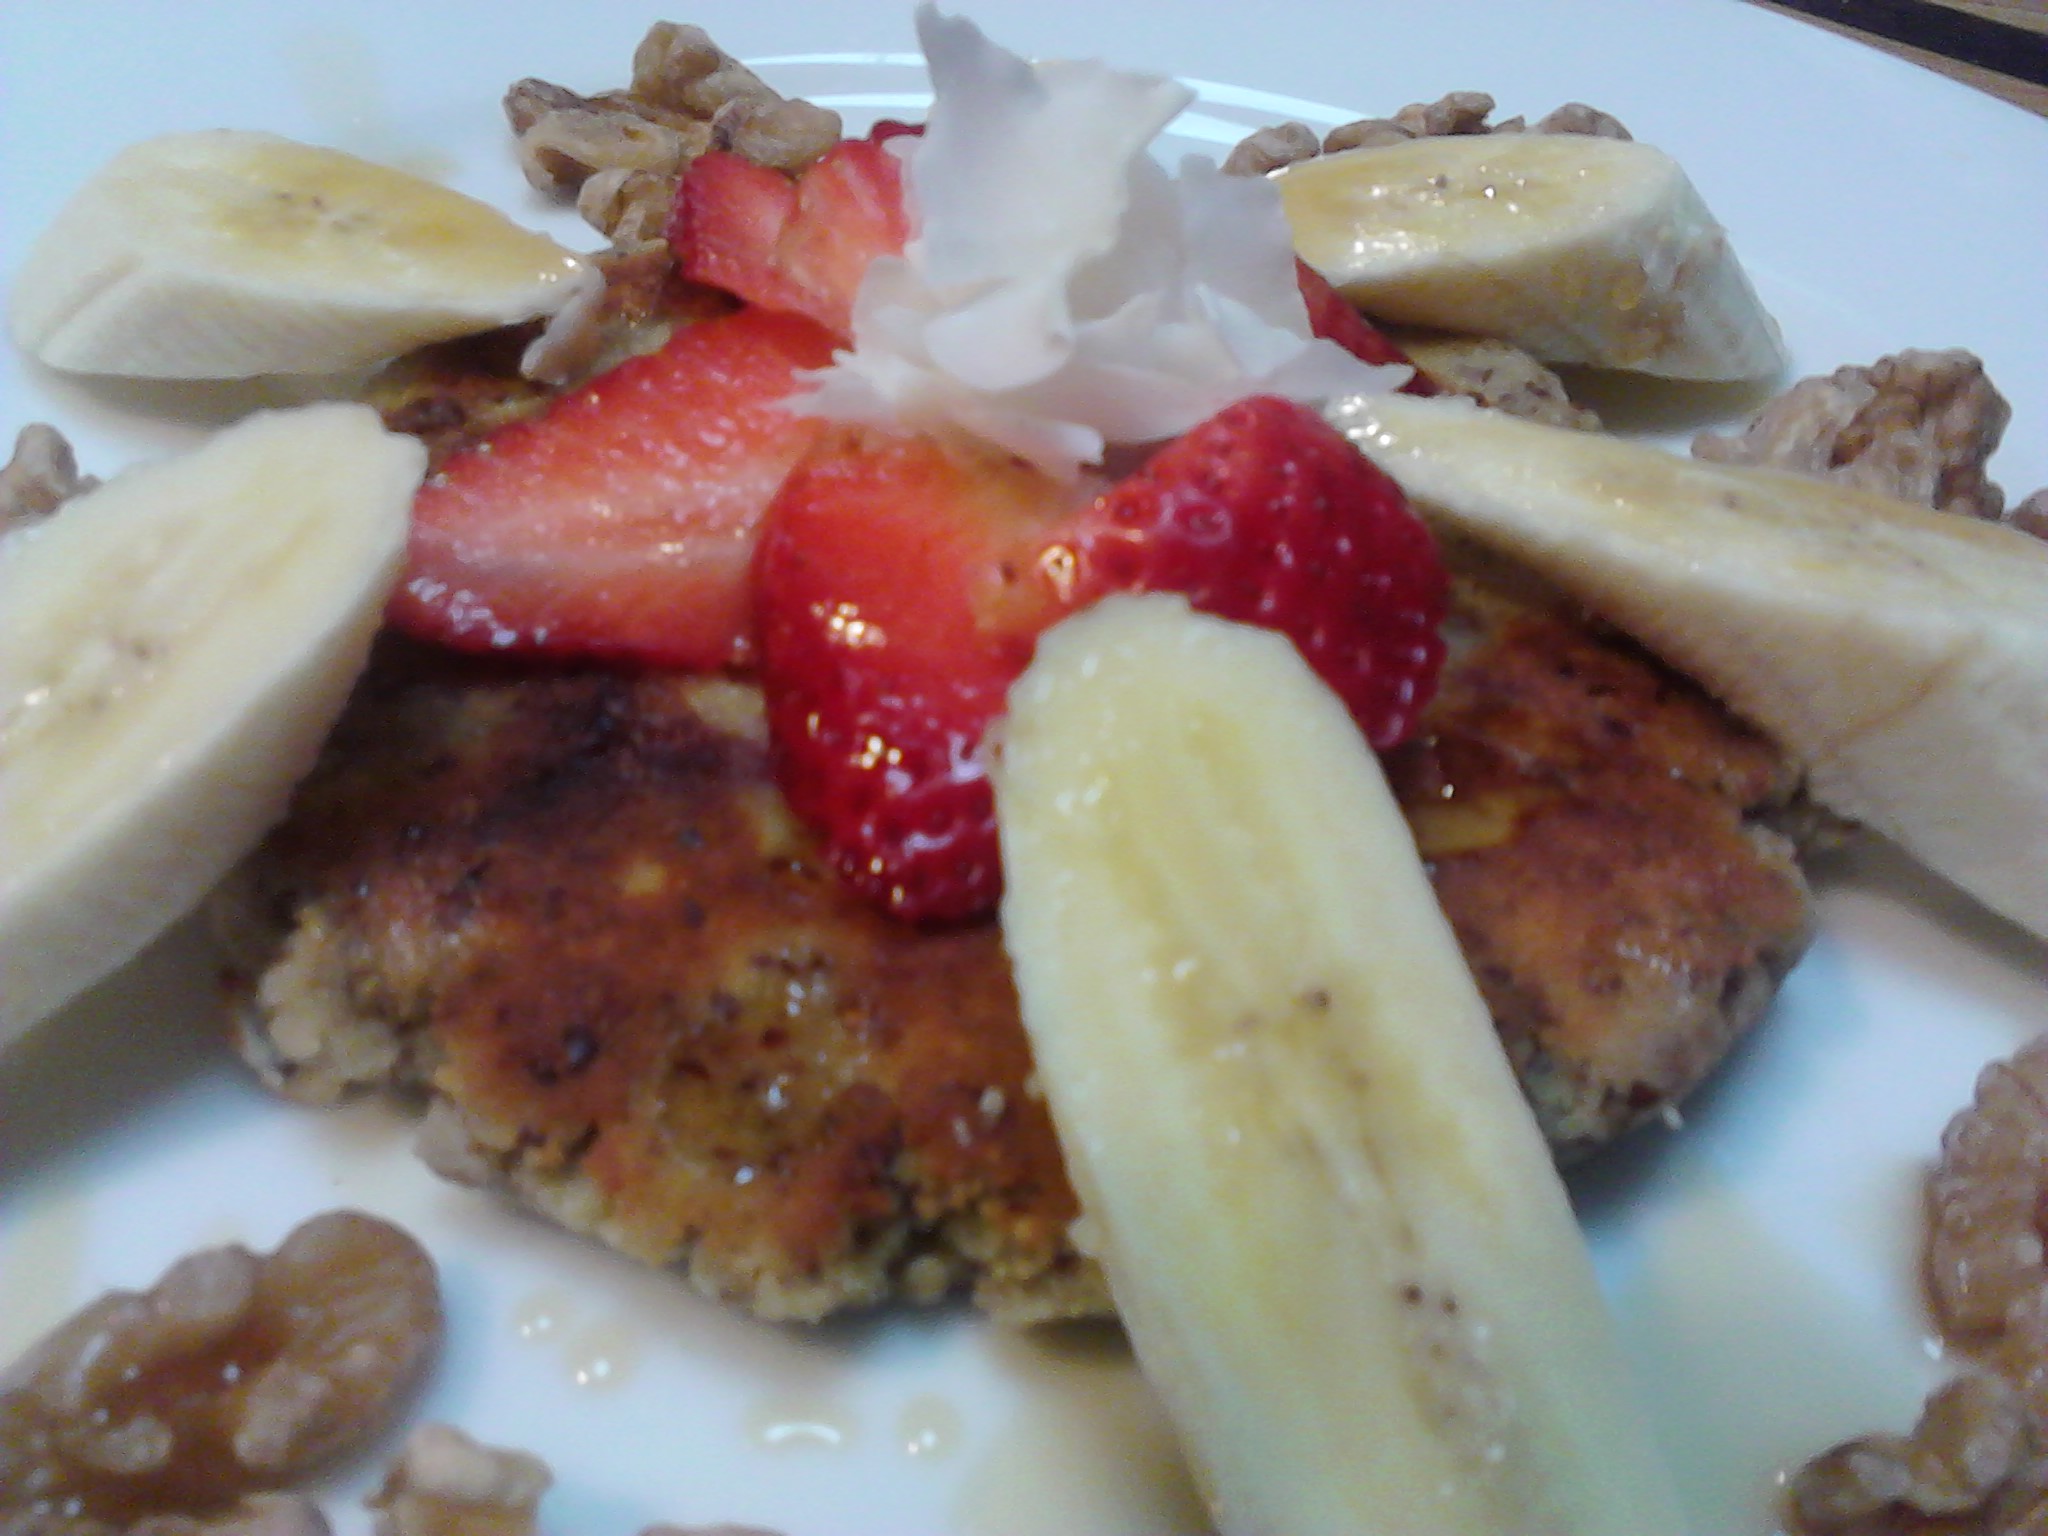
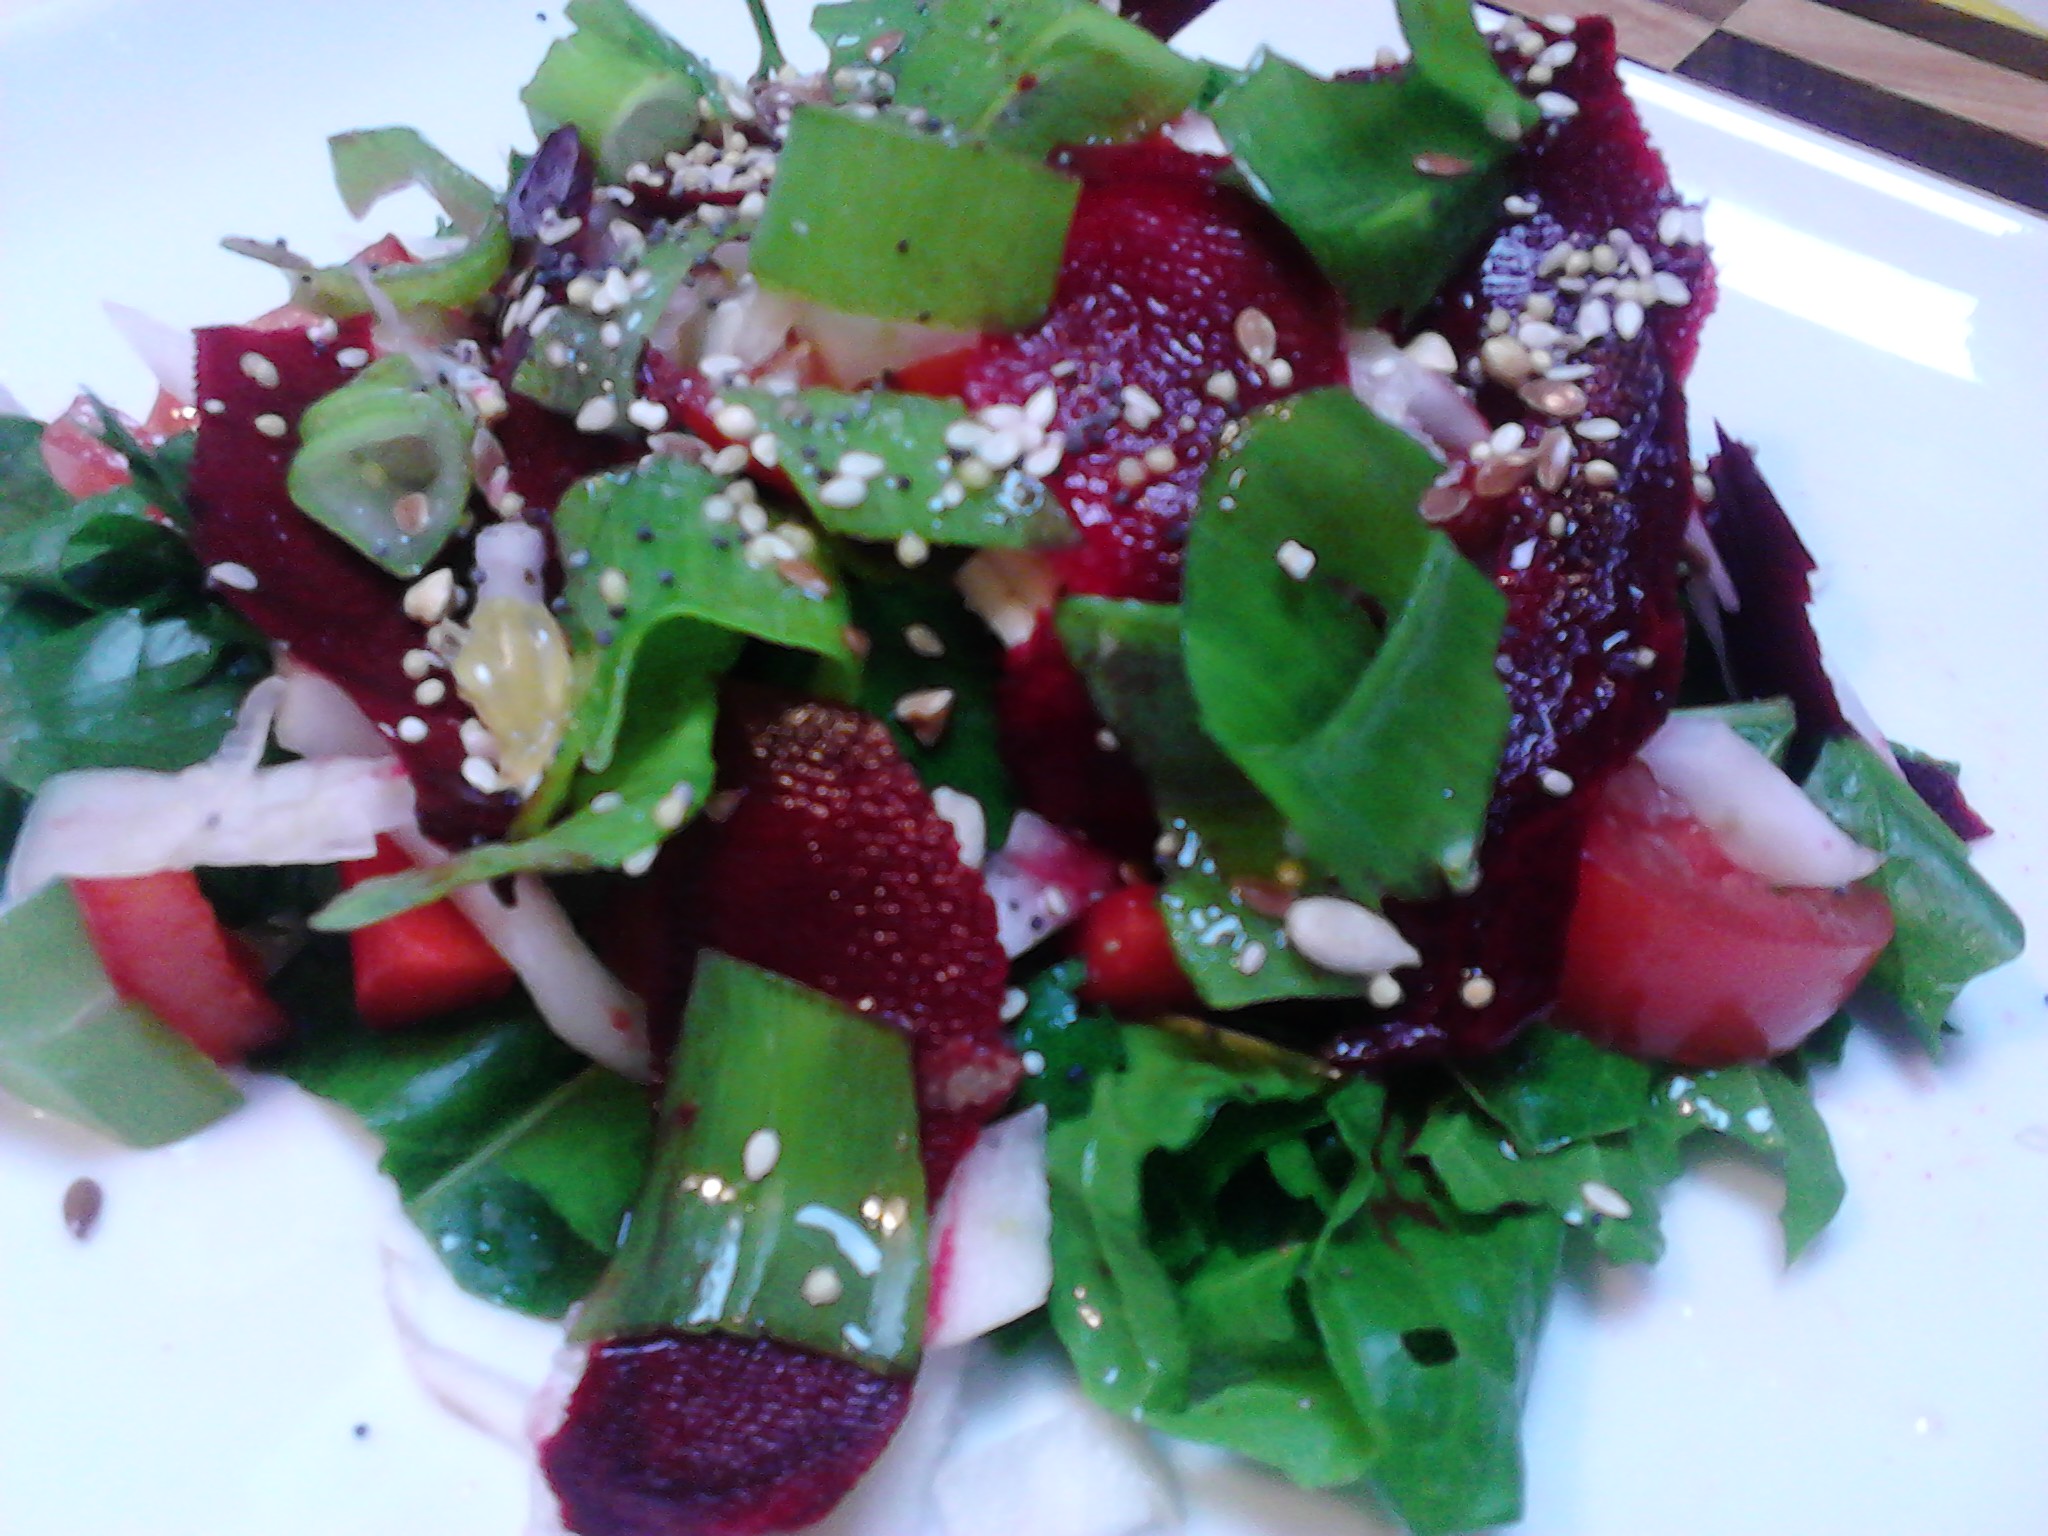
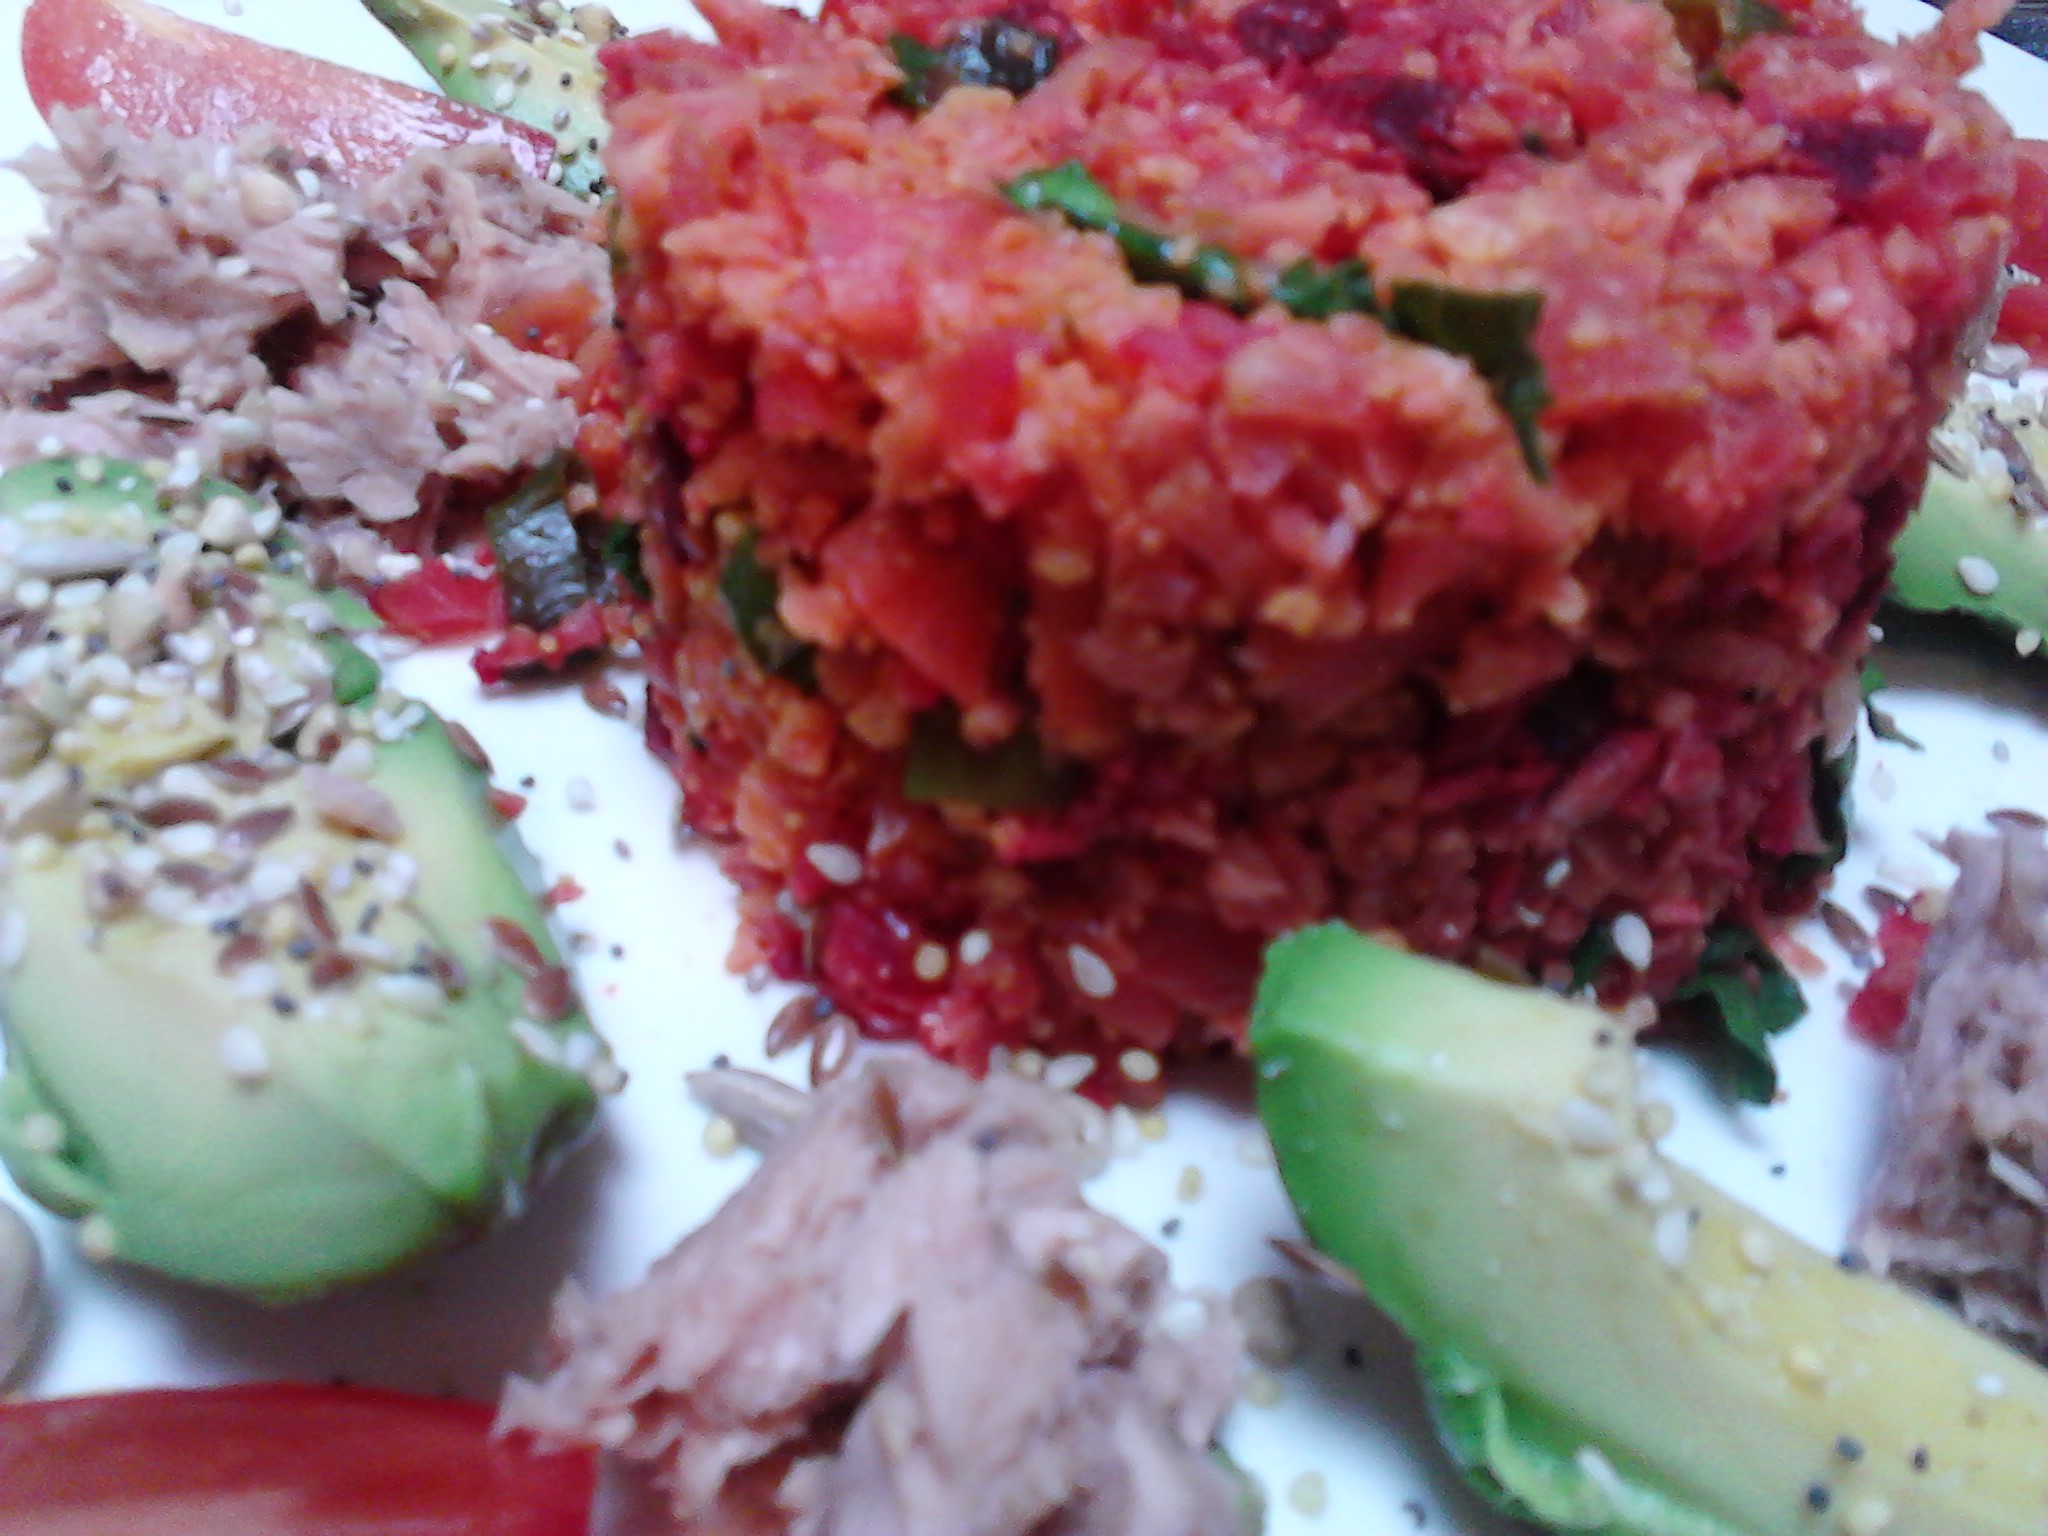
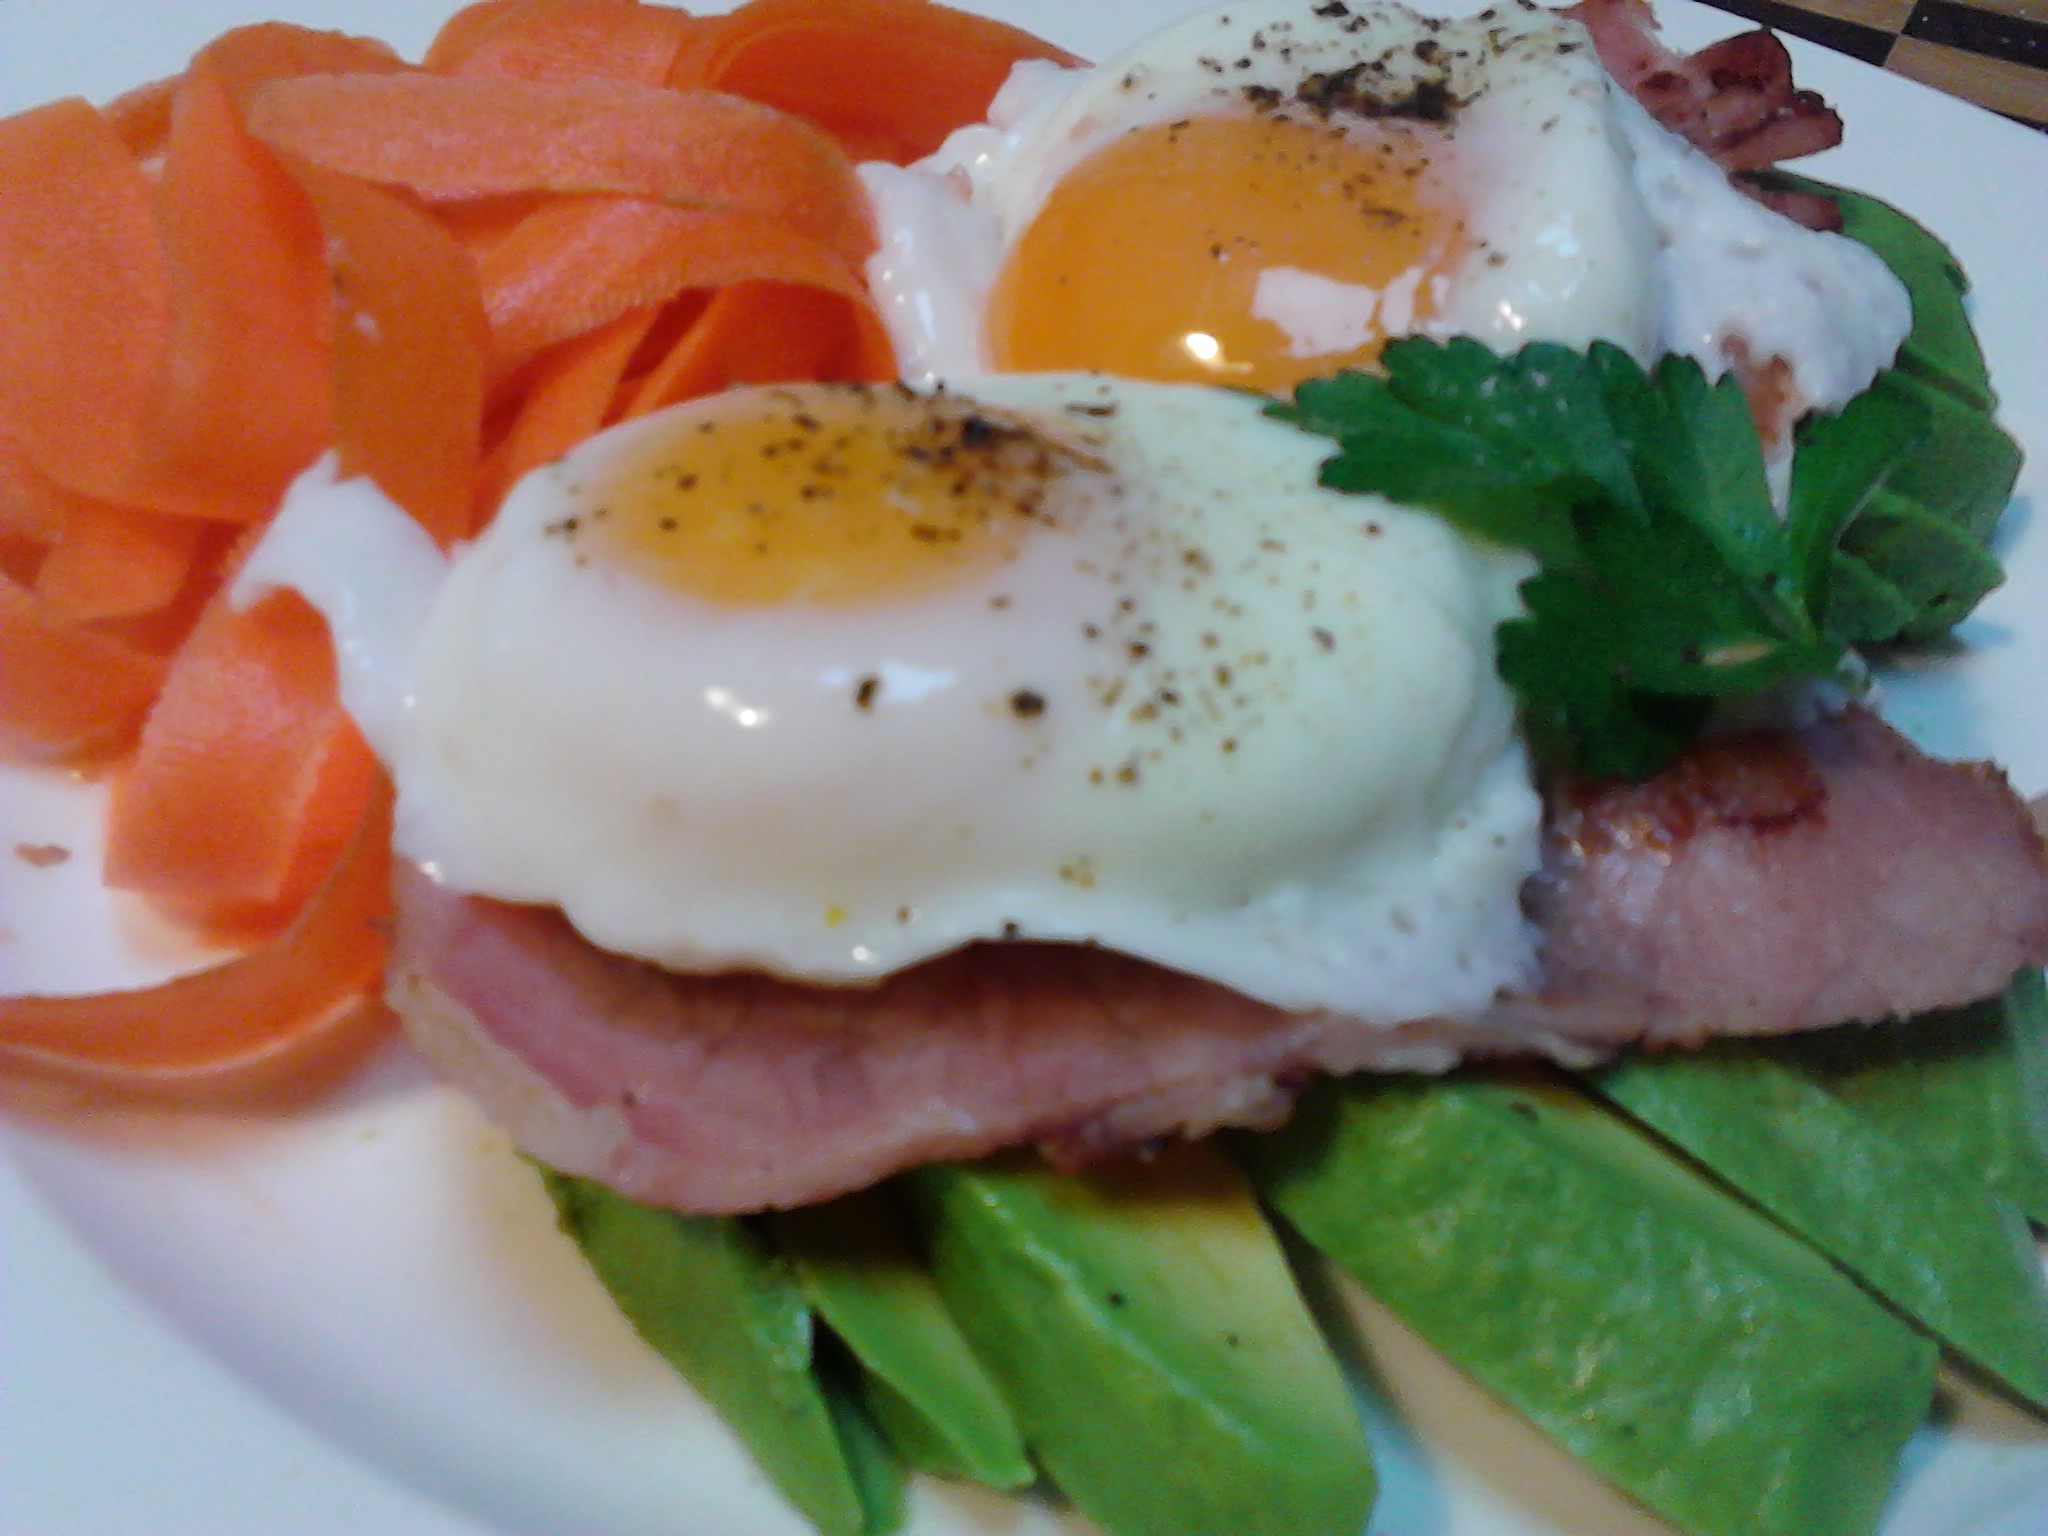
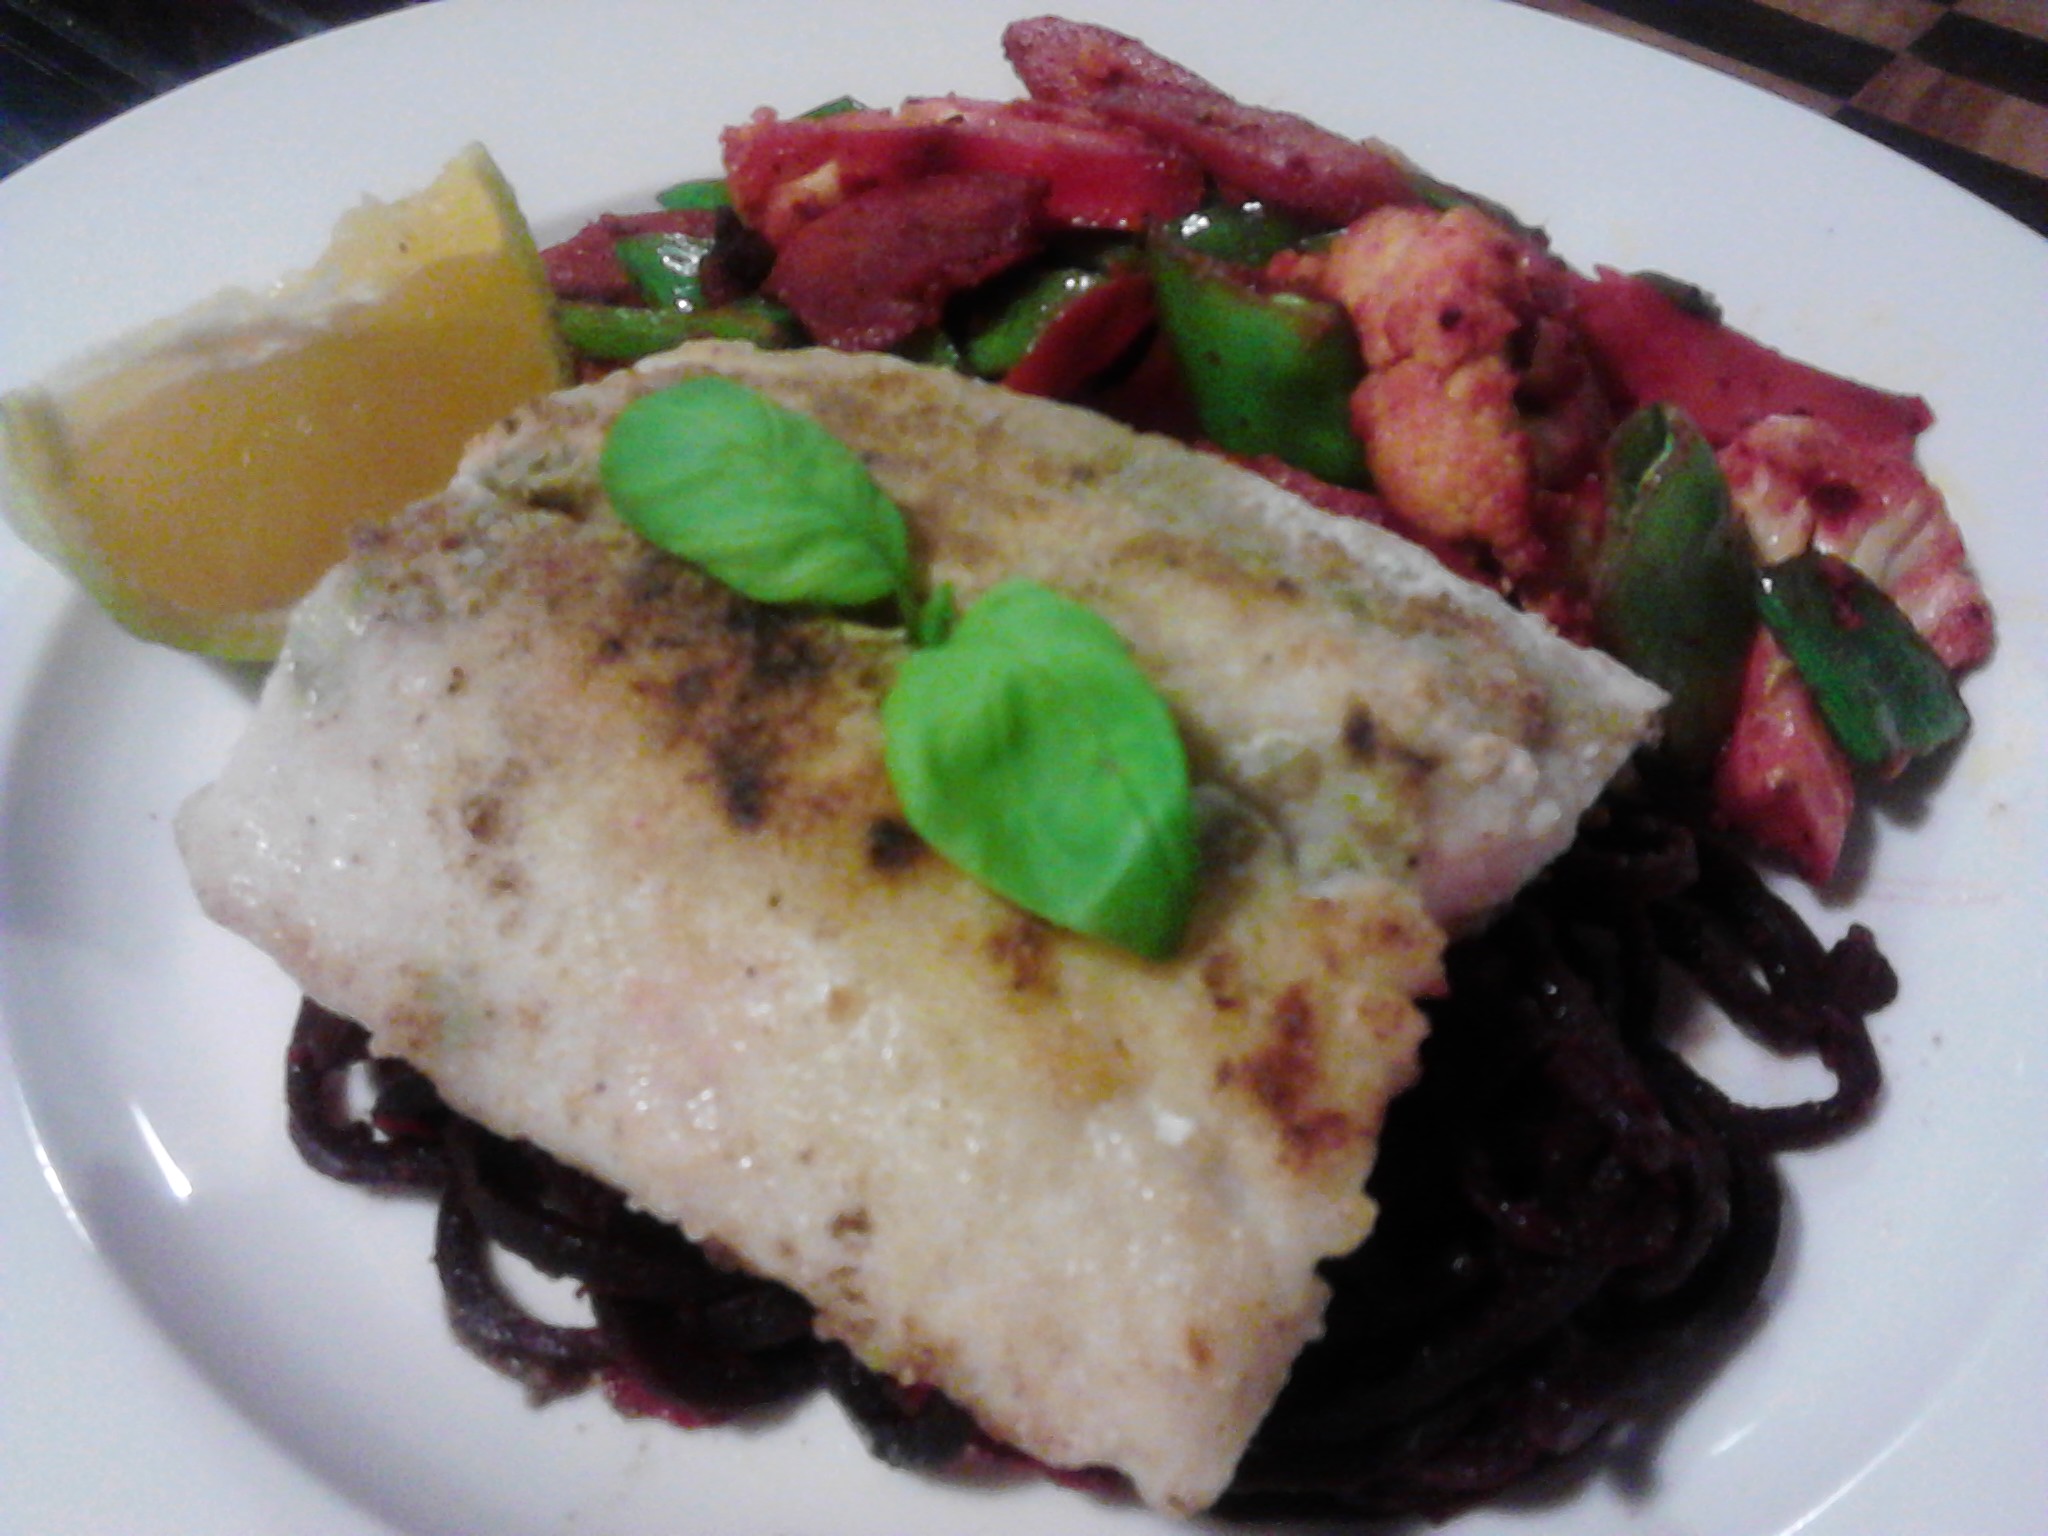
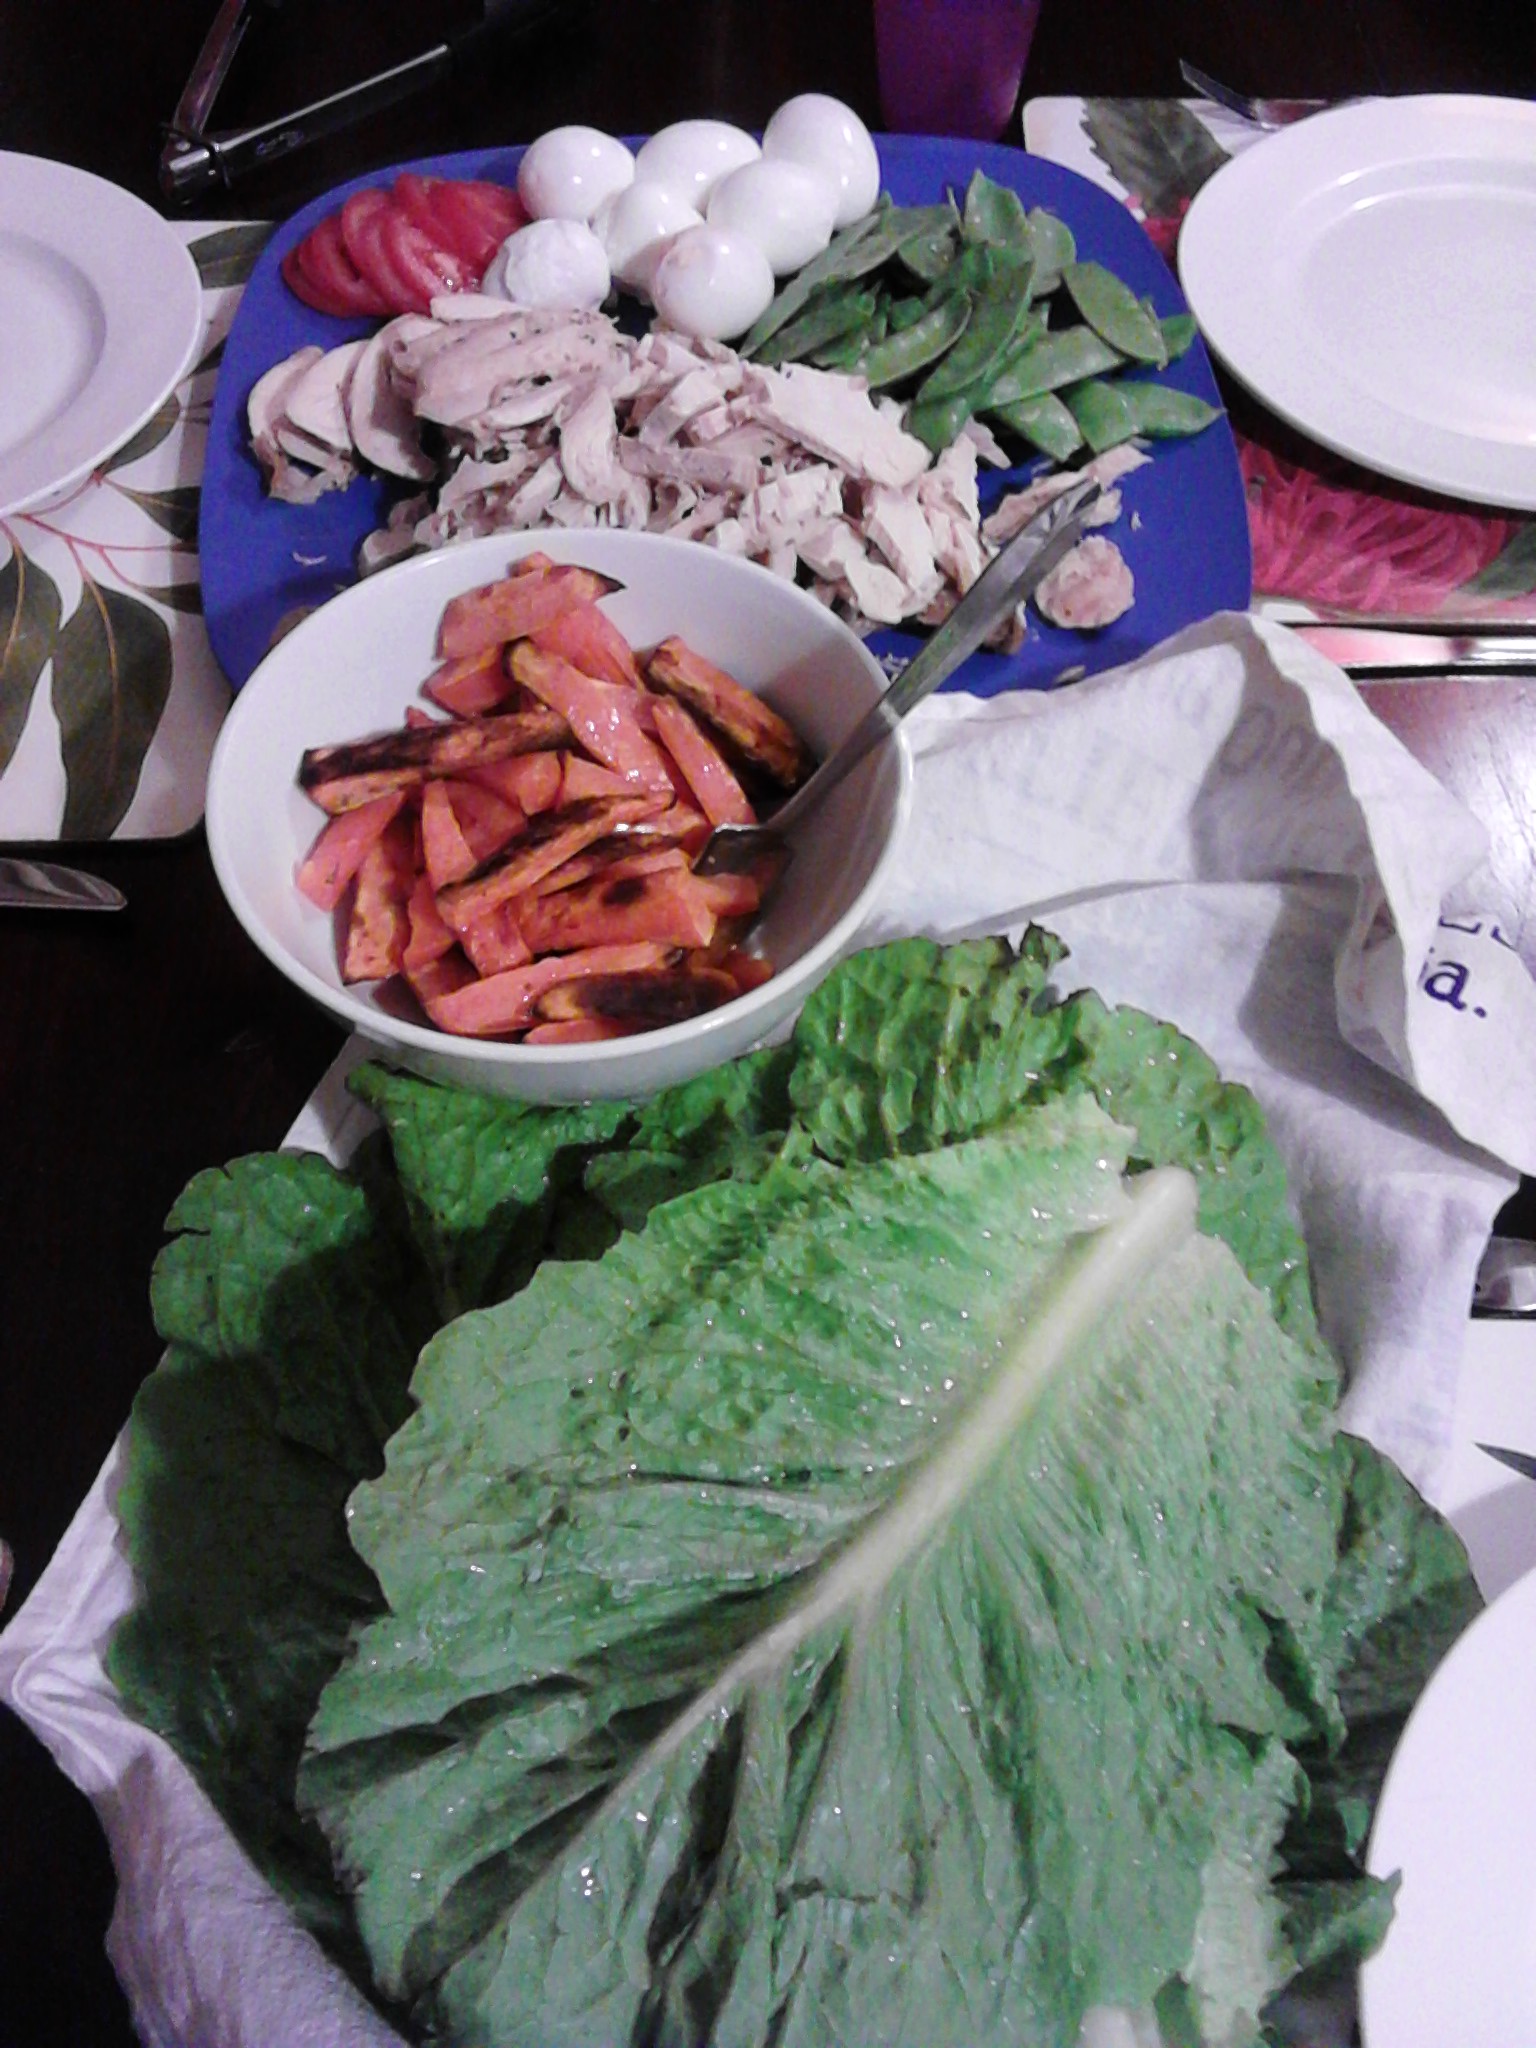
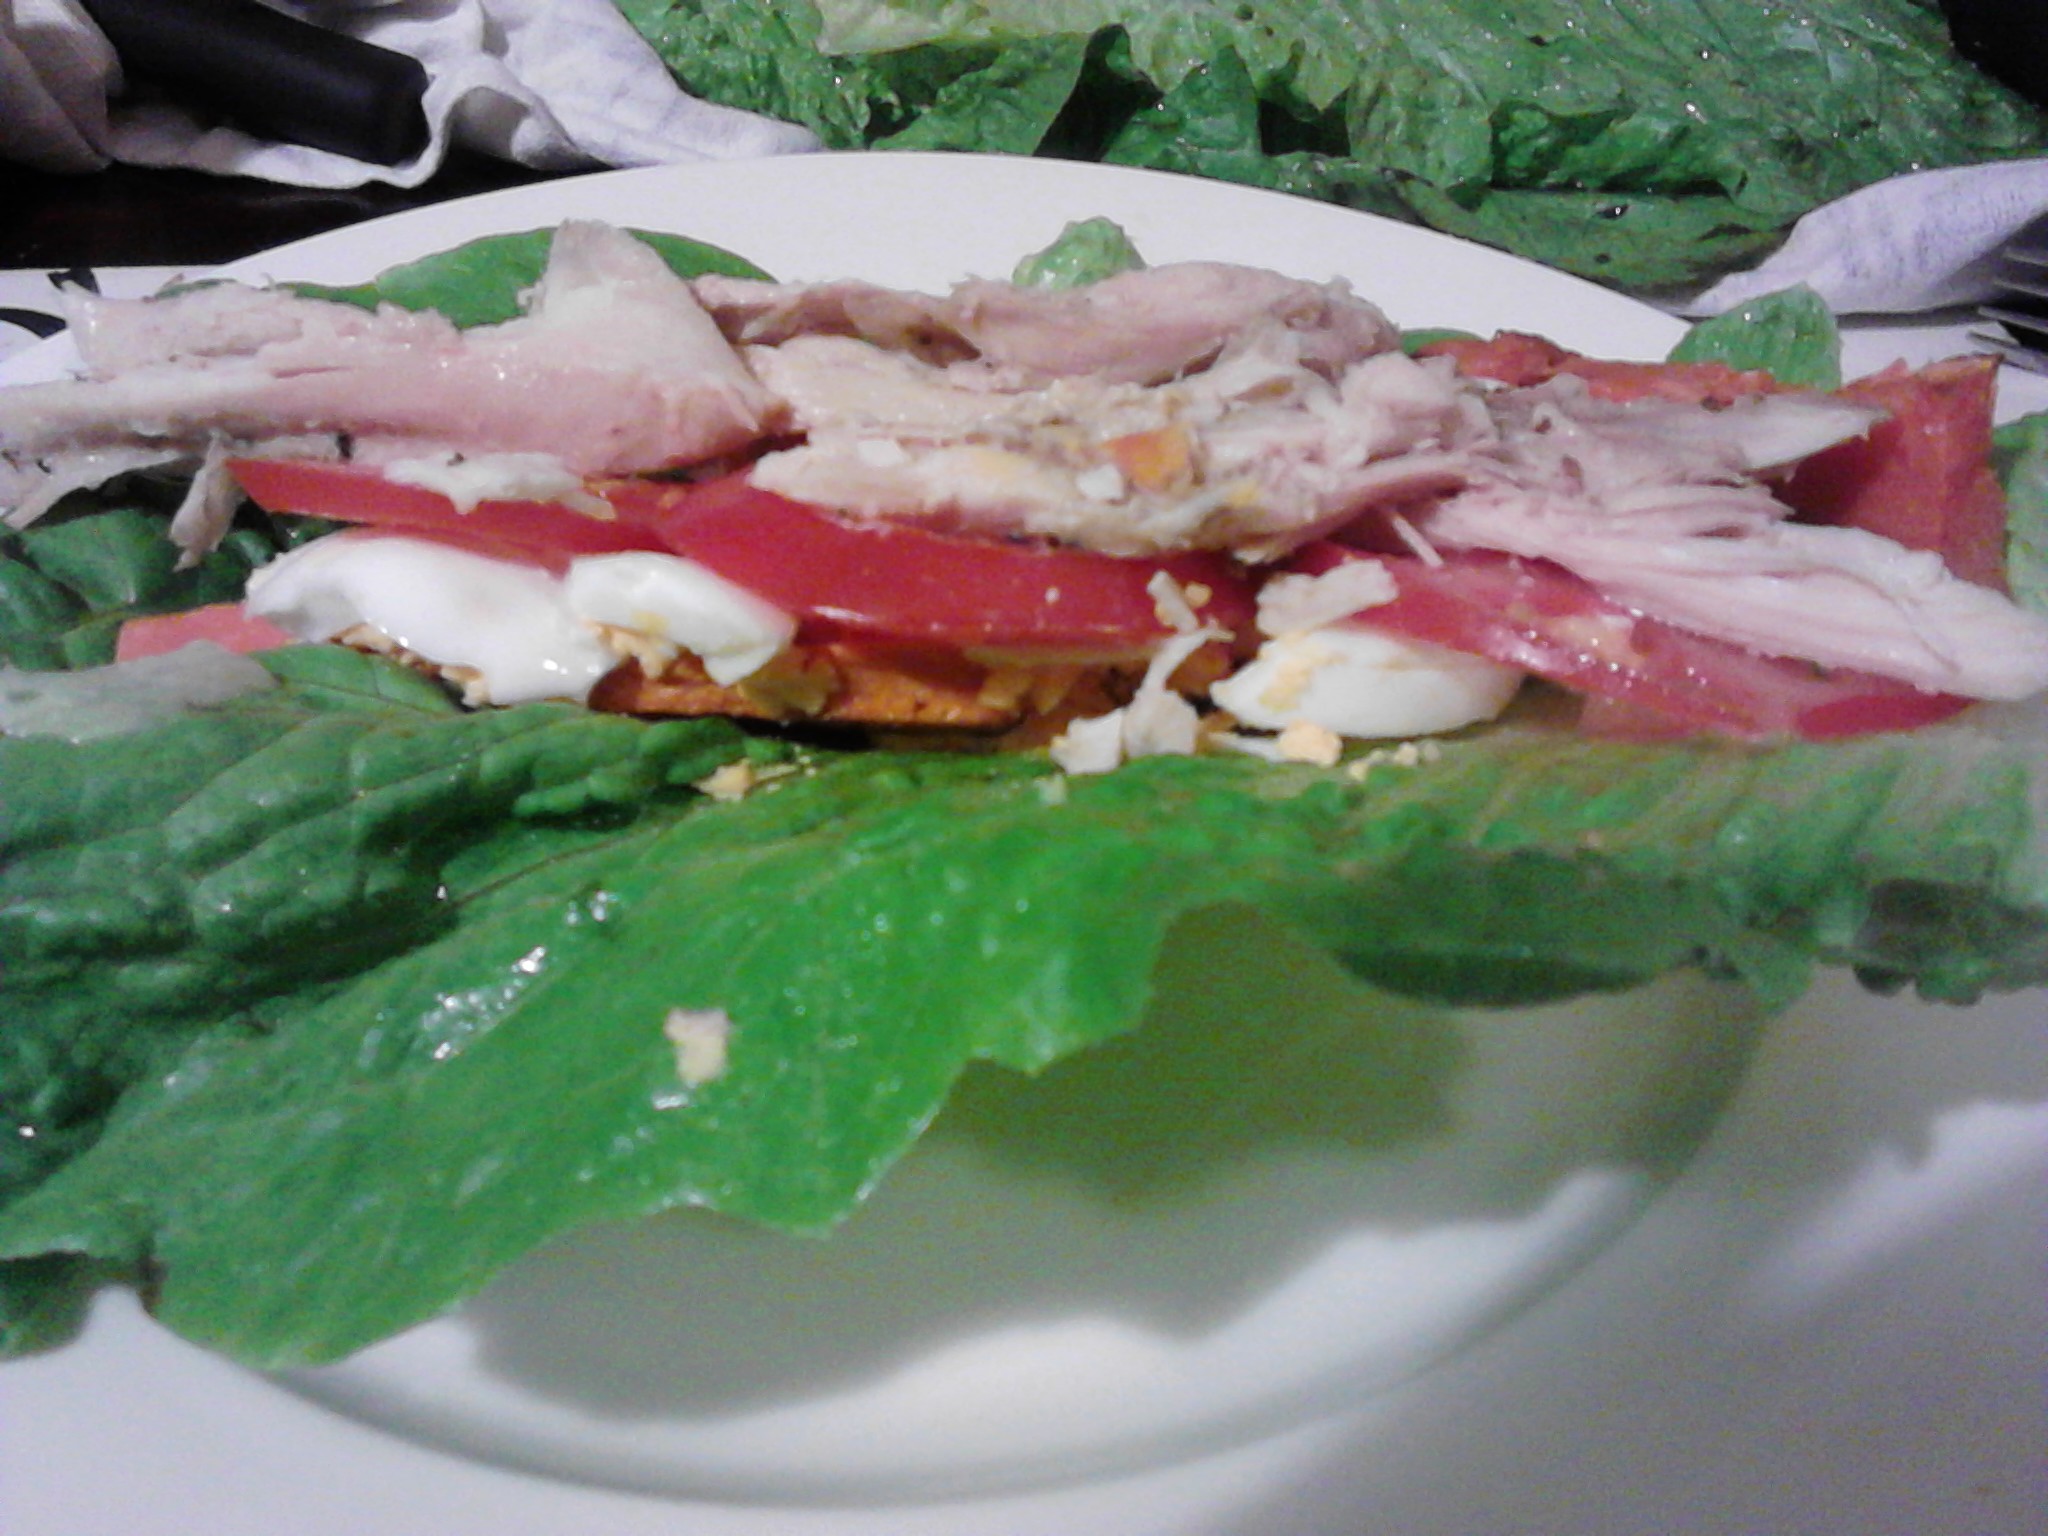
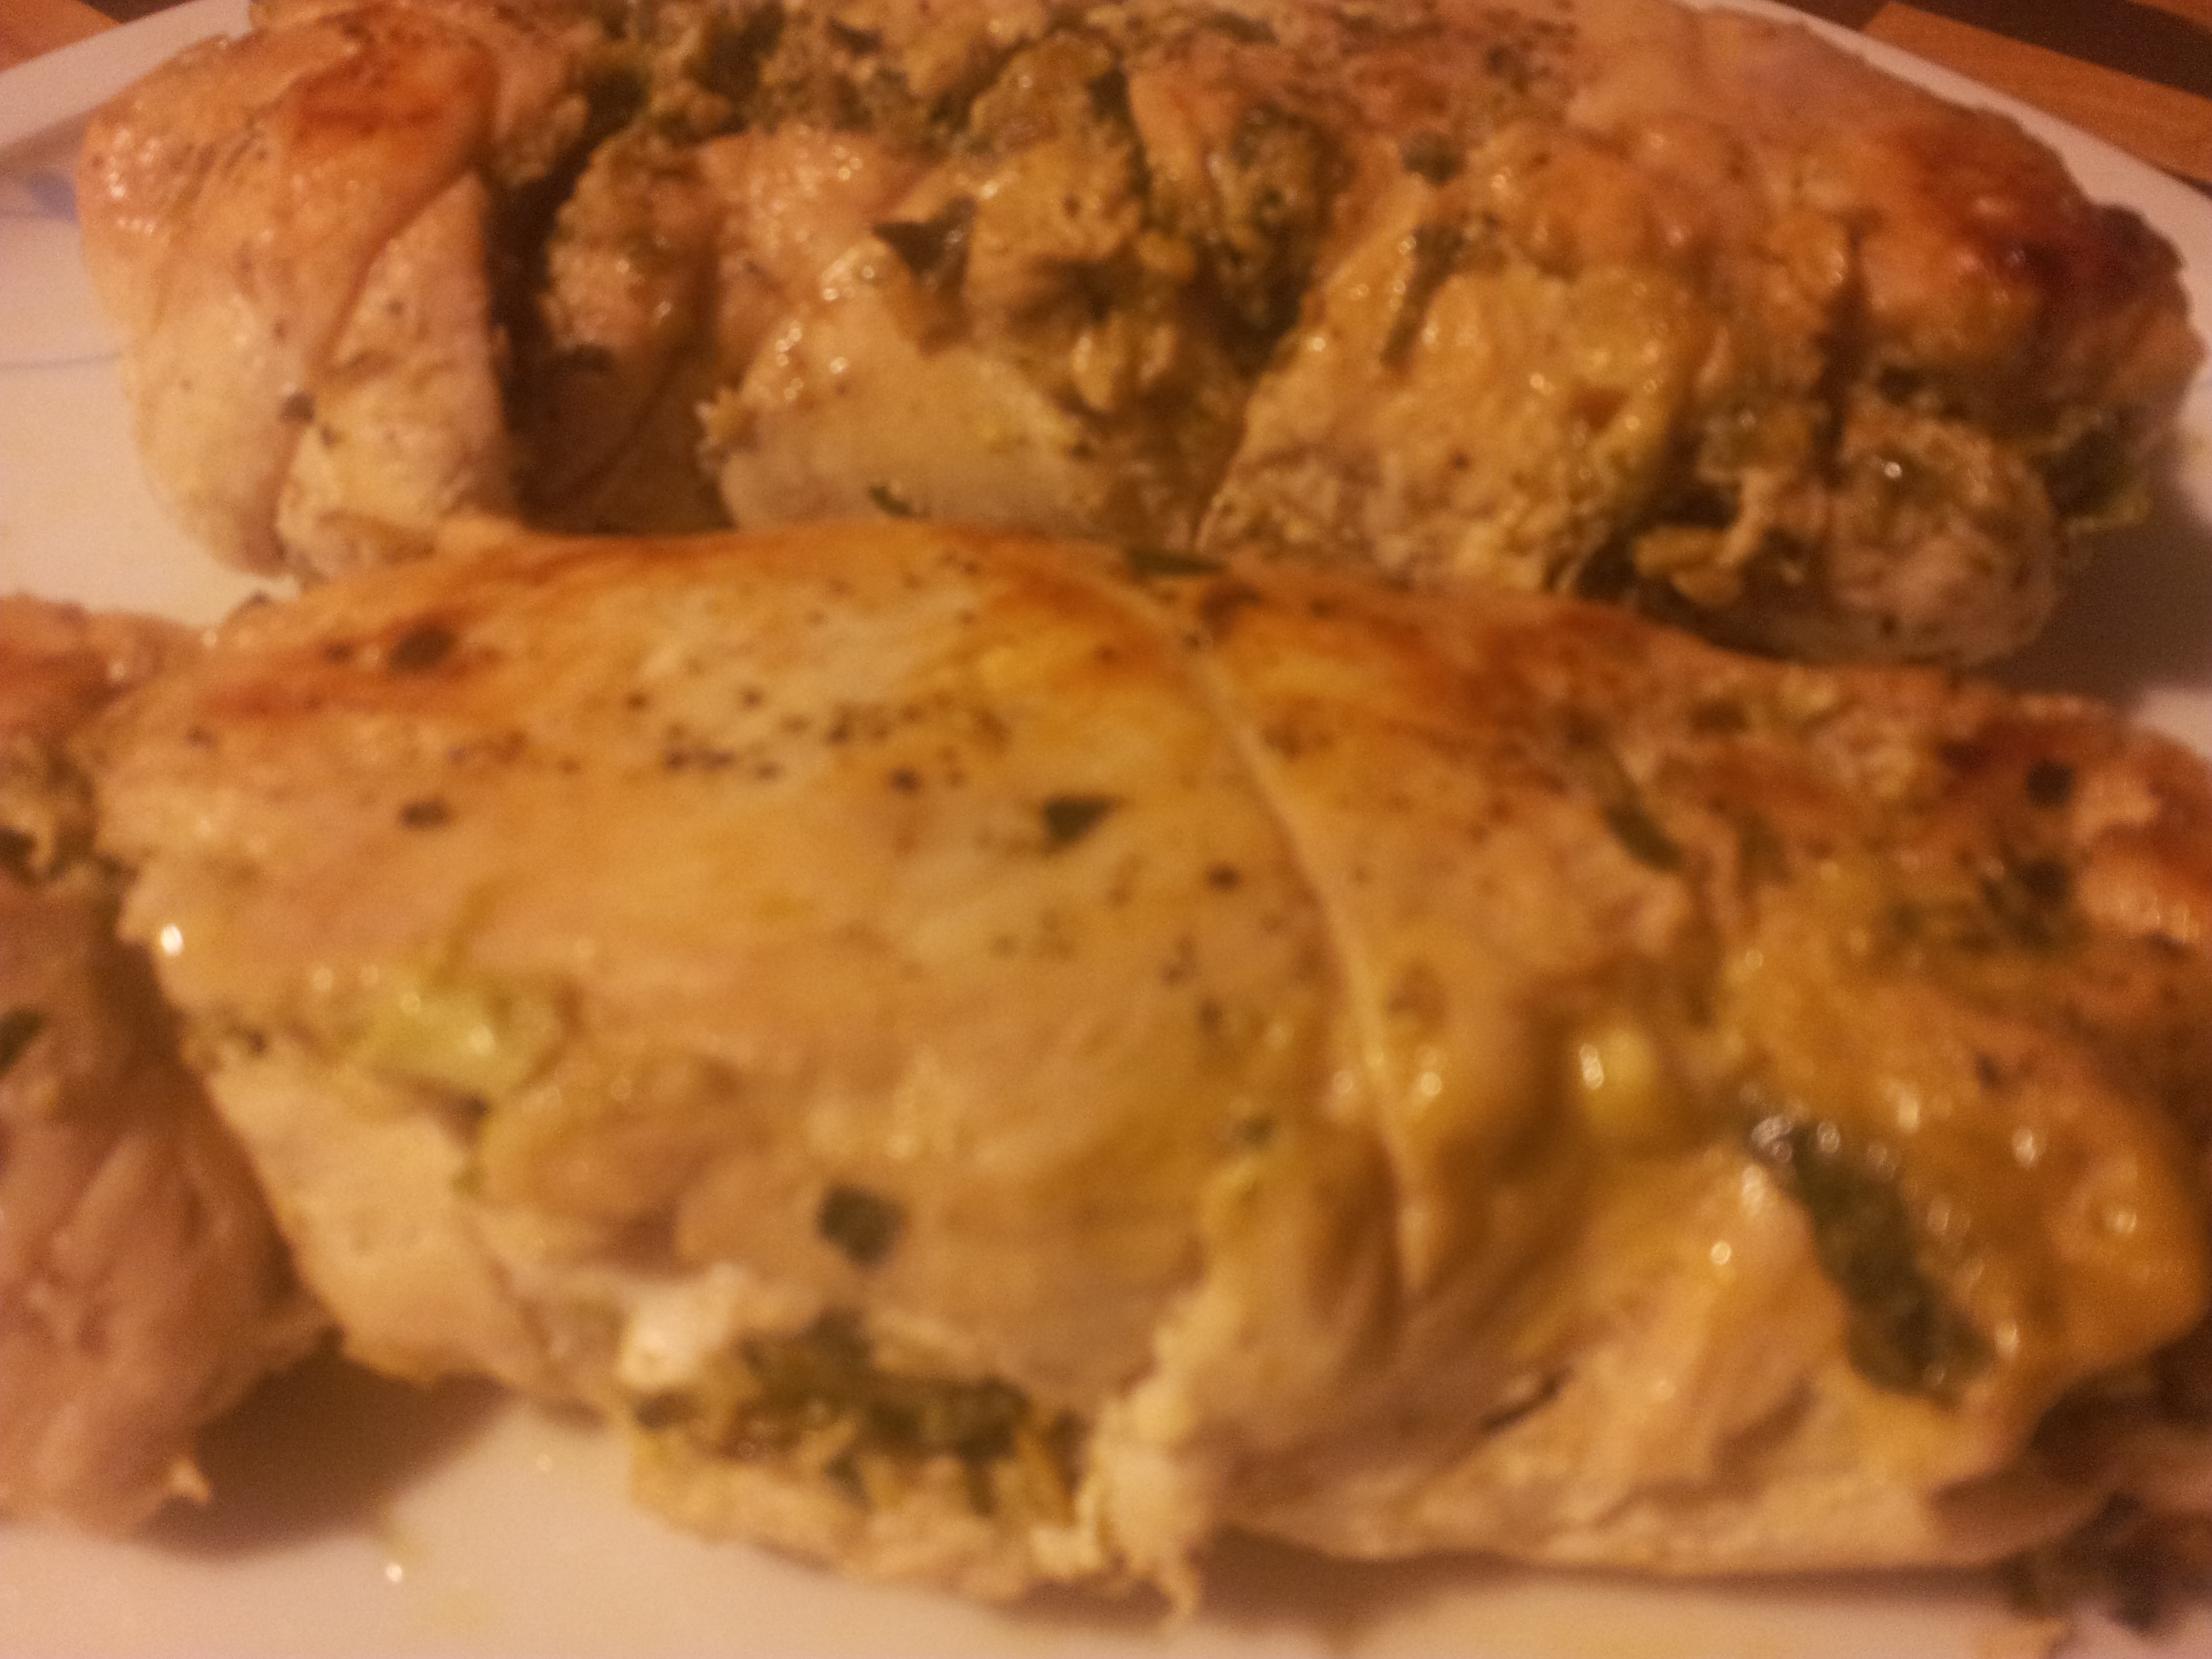
I feel quite clever making this dish as it is quite fiddly, but well worth the effort. The filling is a selection of lovely flavours and textures but you can easily change the ingredients to suit your own preferences. I used two chicken breasts which meant l had enough for a hot dinner when it is first cooked and then cold with a salad the next night. Each rolled chicken breast serves three people if you have a portion as in the pictures below which highlight how important it is to balance the meal out with healthy vegetables.

2014-09-10 18.53.19
Have it cold with a salad!
2014-06-14 19.45.28
Rolled chicken served with roasted swede chips, steamed brussel sprouts and roasted pumpkin slices topped with raw organic honey and organic sesame seeds.
2014-09-09 18.55.38
Served with steamed pumpkin, brussel sprouts and cauliflower.

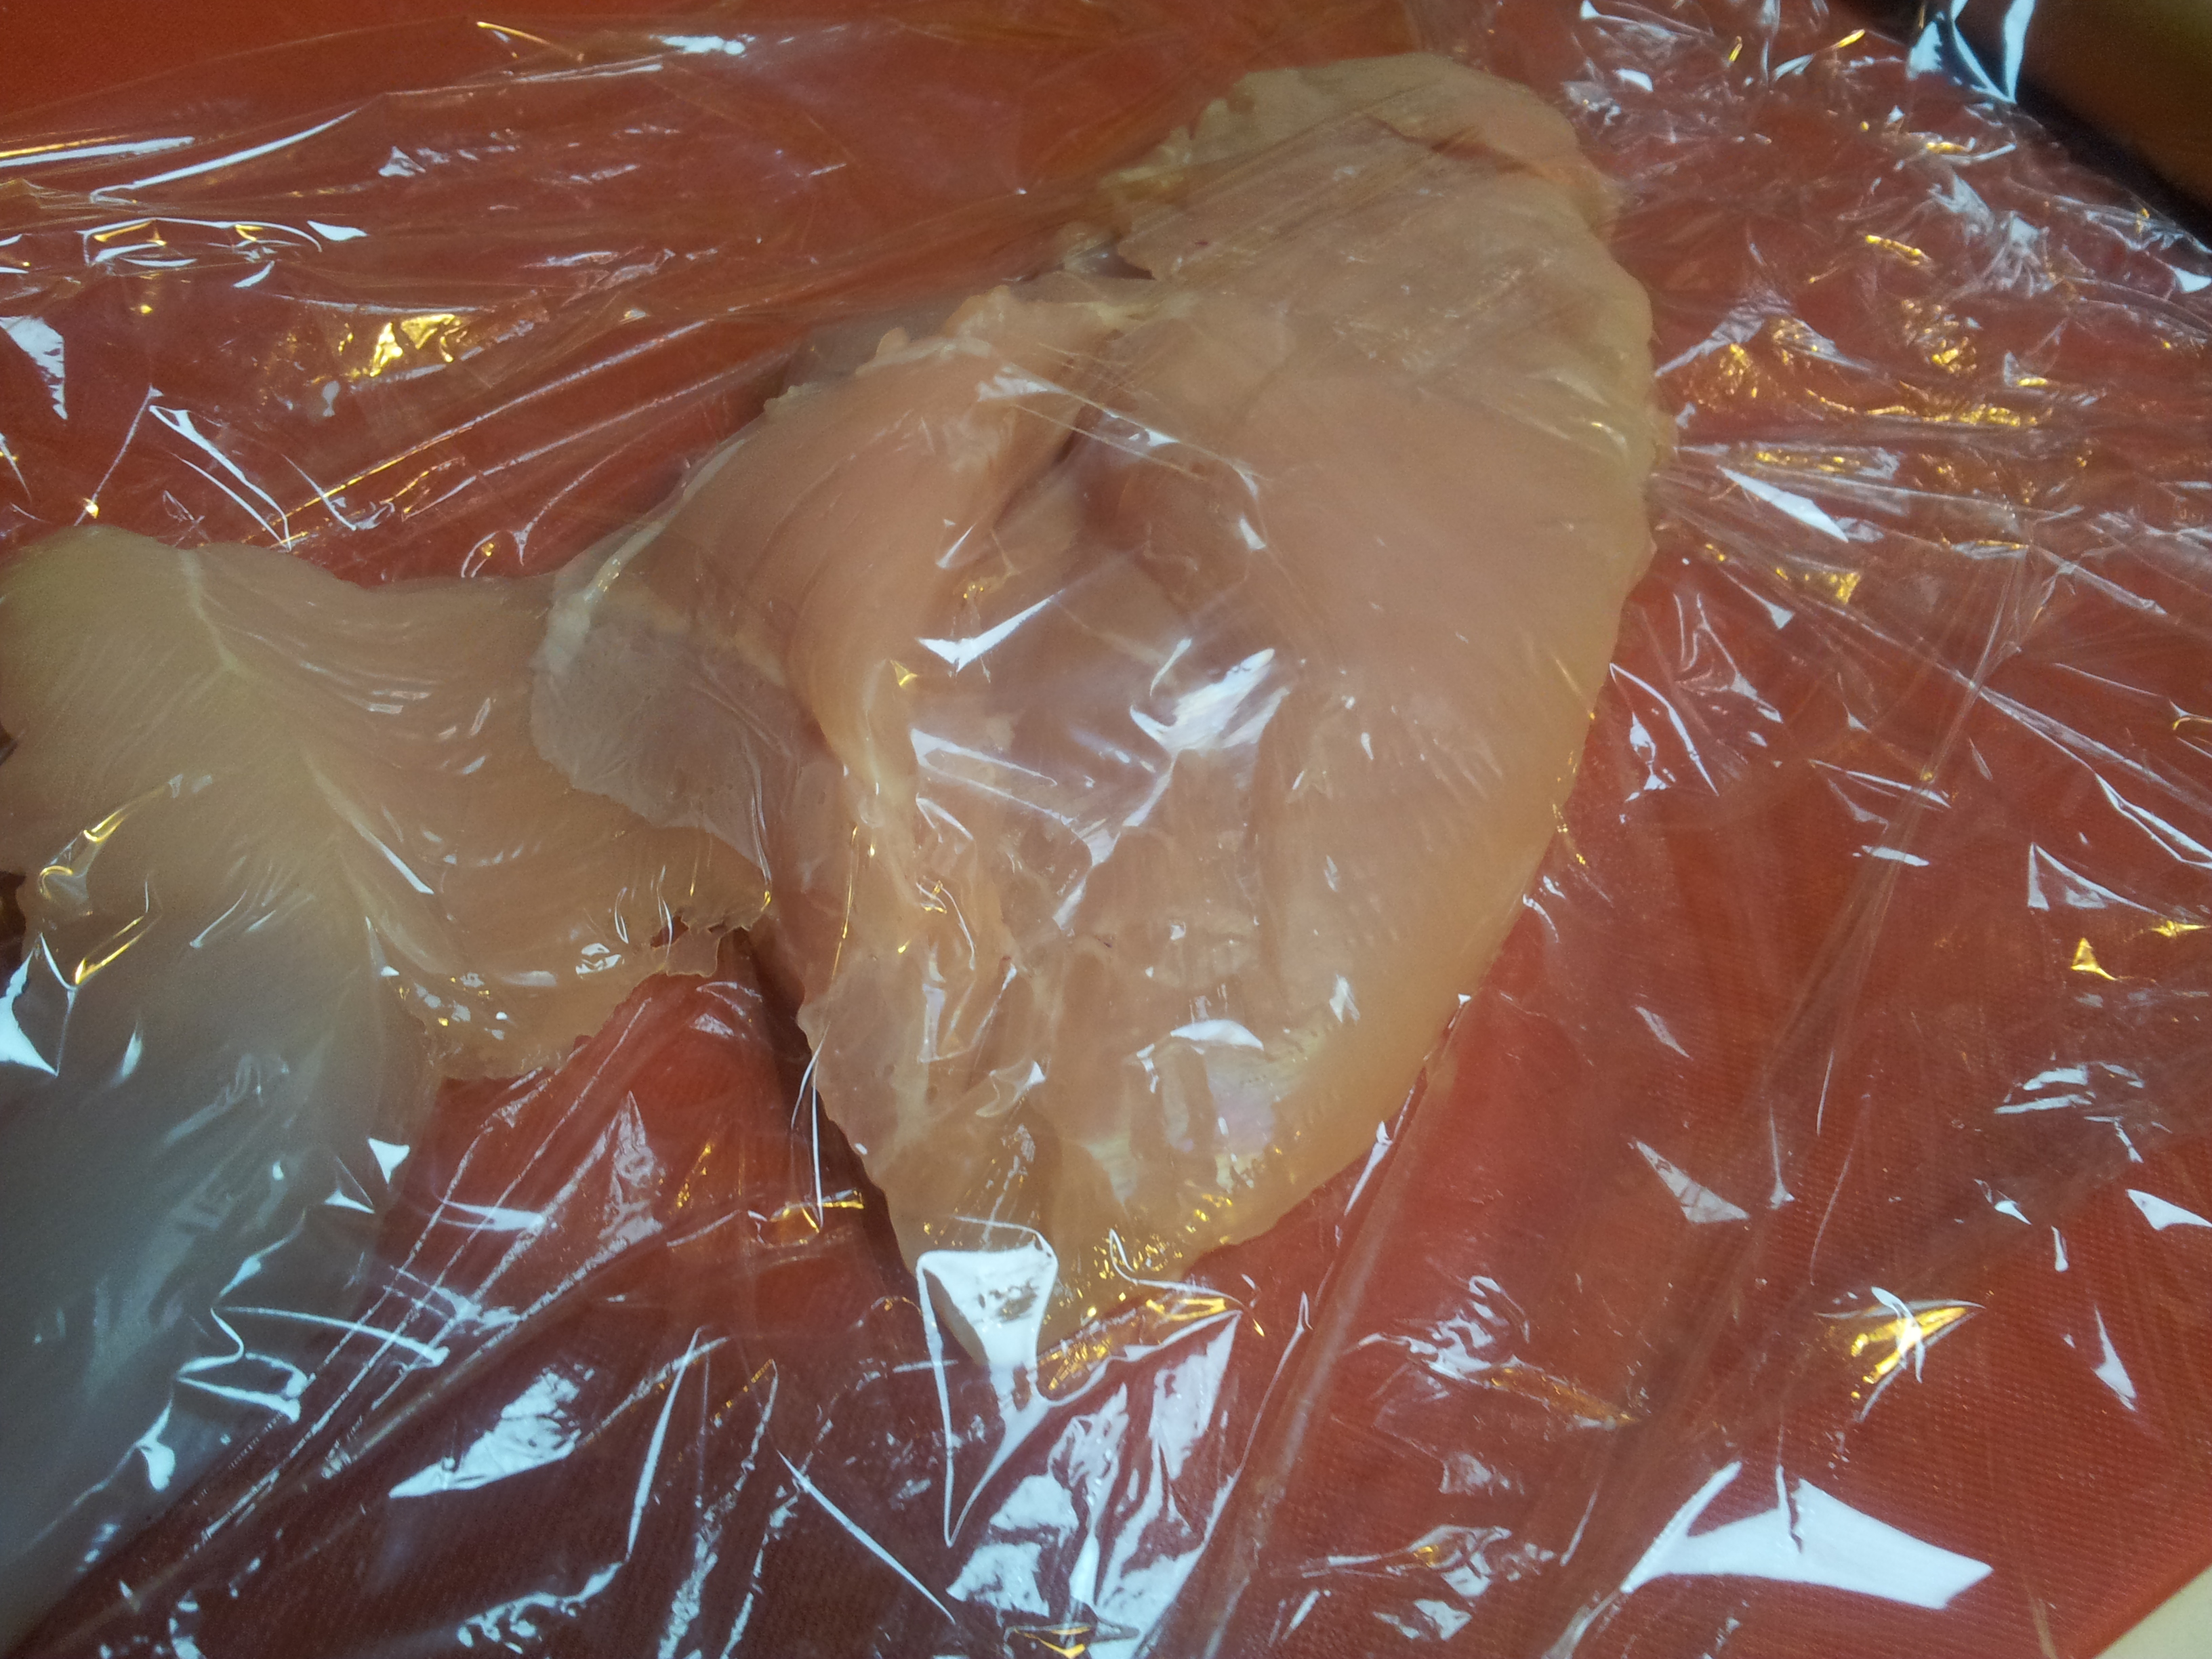
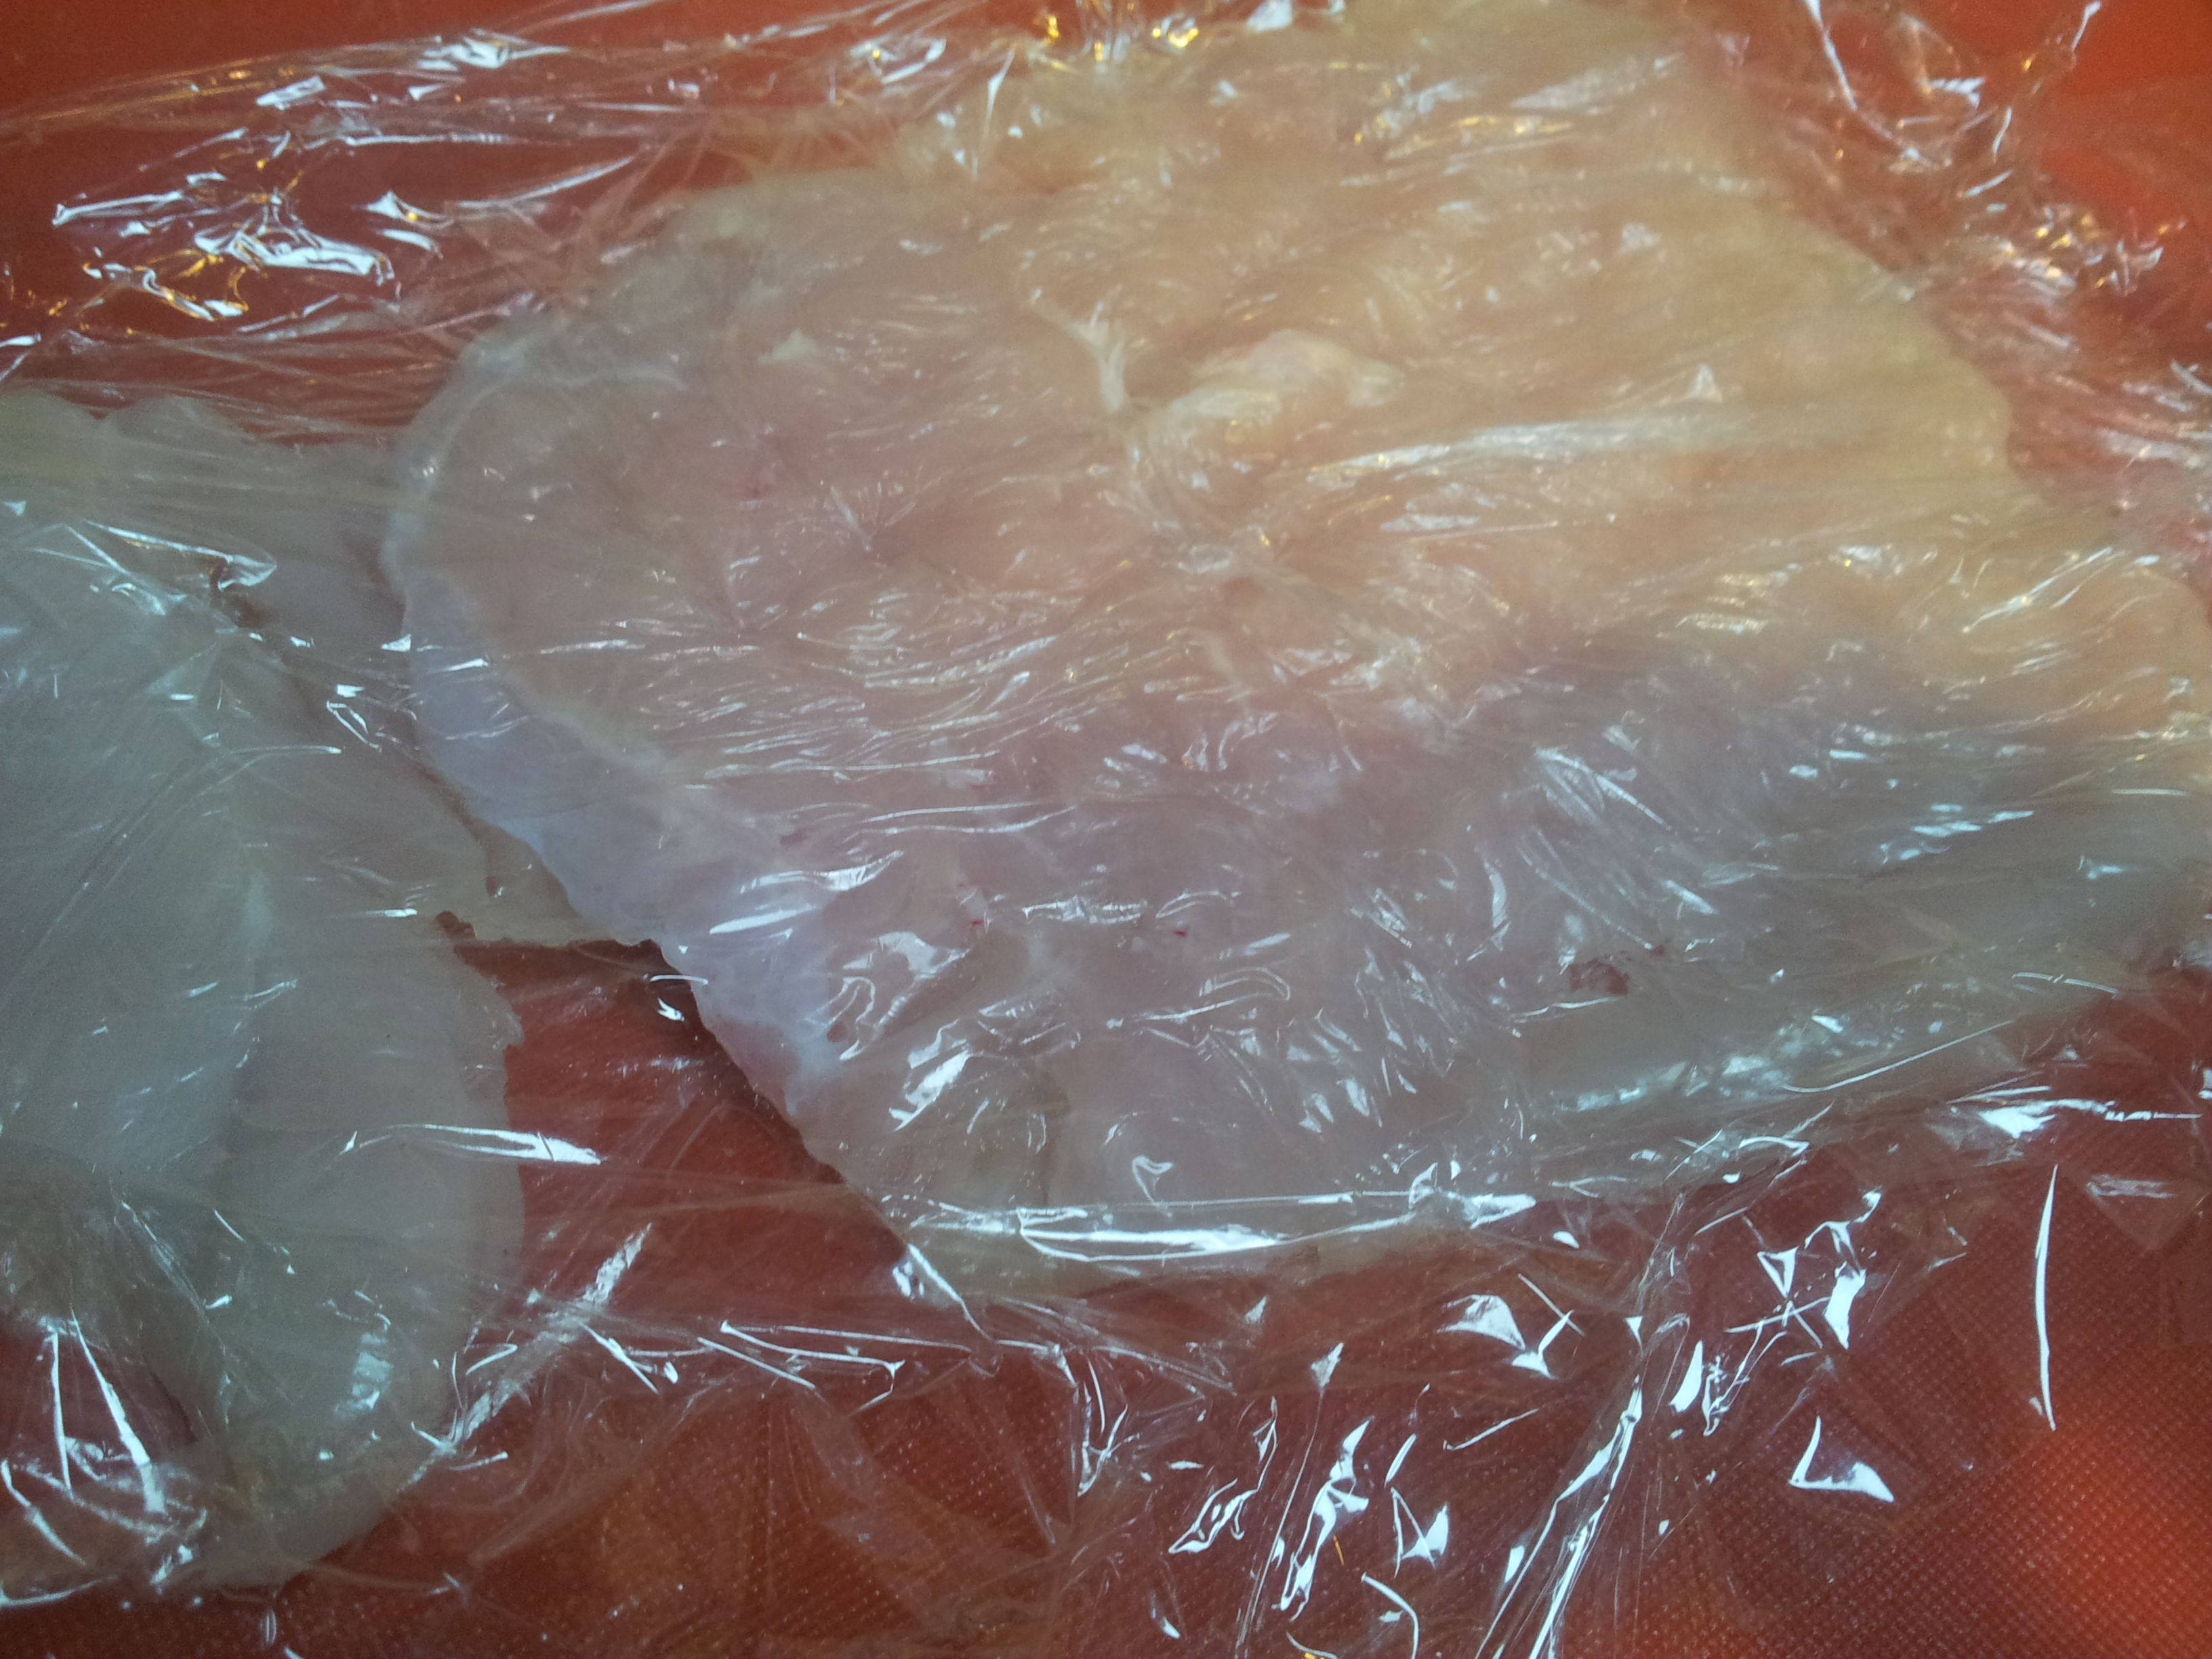
You can use as many chicken breast as you like but l buy the free-range breasts in a pack of two. Give them a good wash with filtered water and pat dry.

2014-09-09 16.44.16
Place the chicken breast in between two pieces of cling wrap. Put a tea towel under the chopping board in preparation for the flattening of the chicken as this will make the noise less and stop the board moving on the bench.
2014-09-09 16.46.51
Flatten the chicken so that it is a nice shape by gently pounding it with a wooden rolling pin.

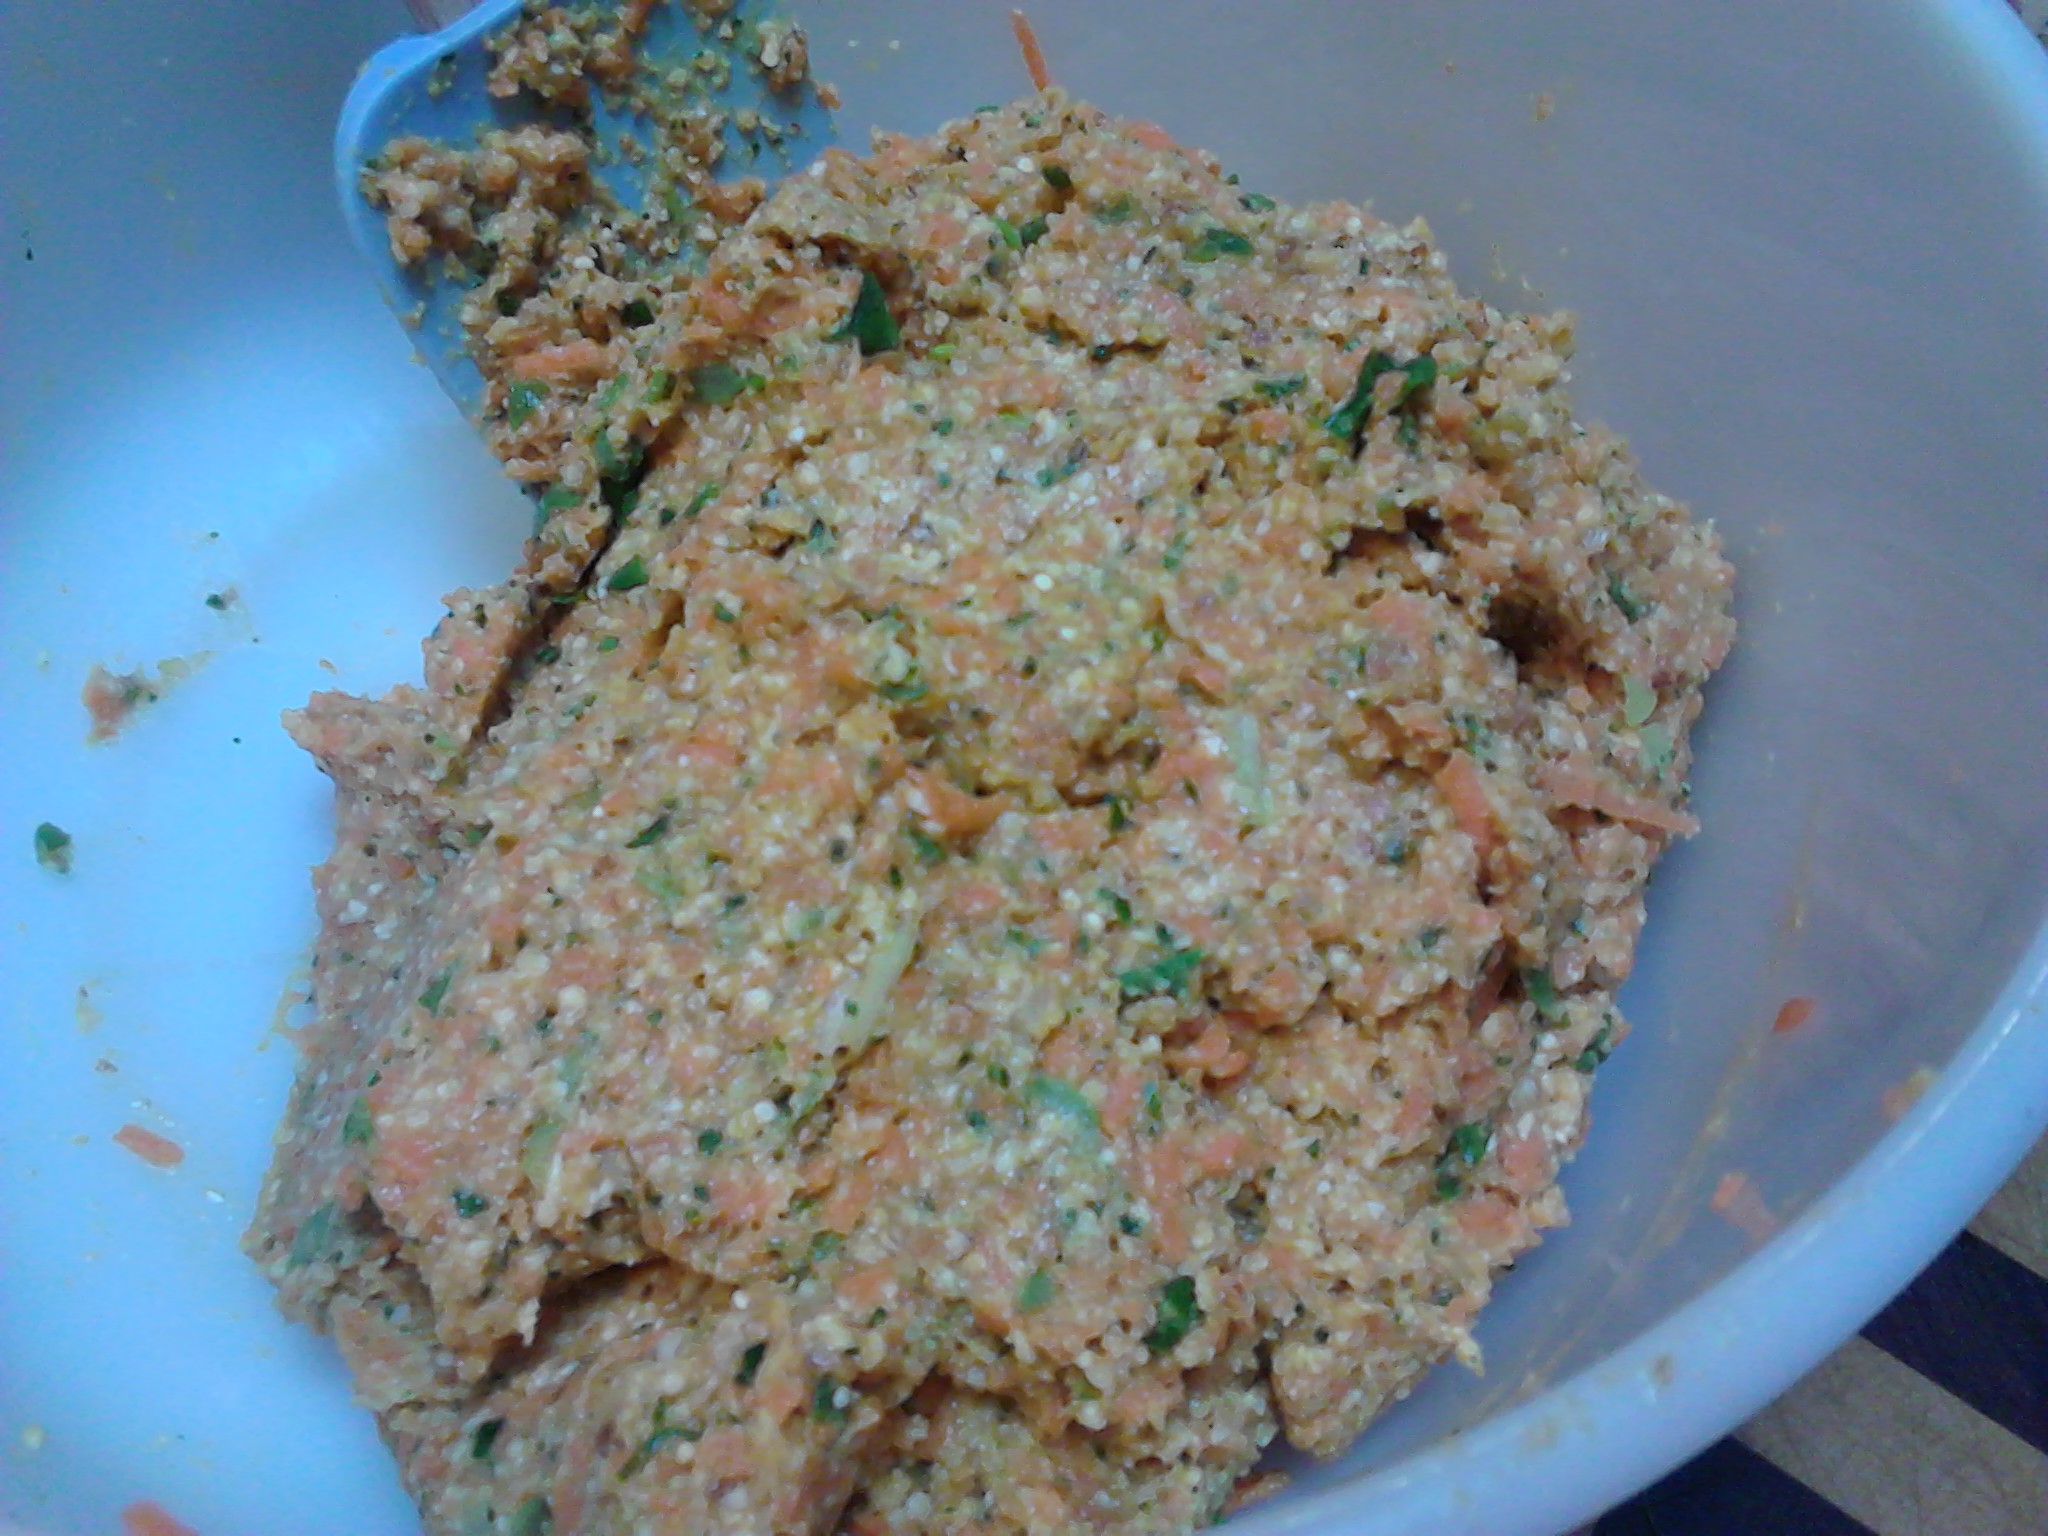
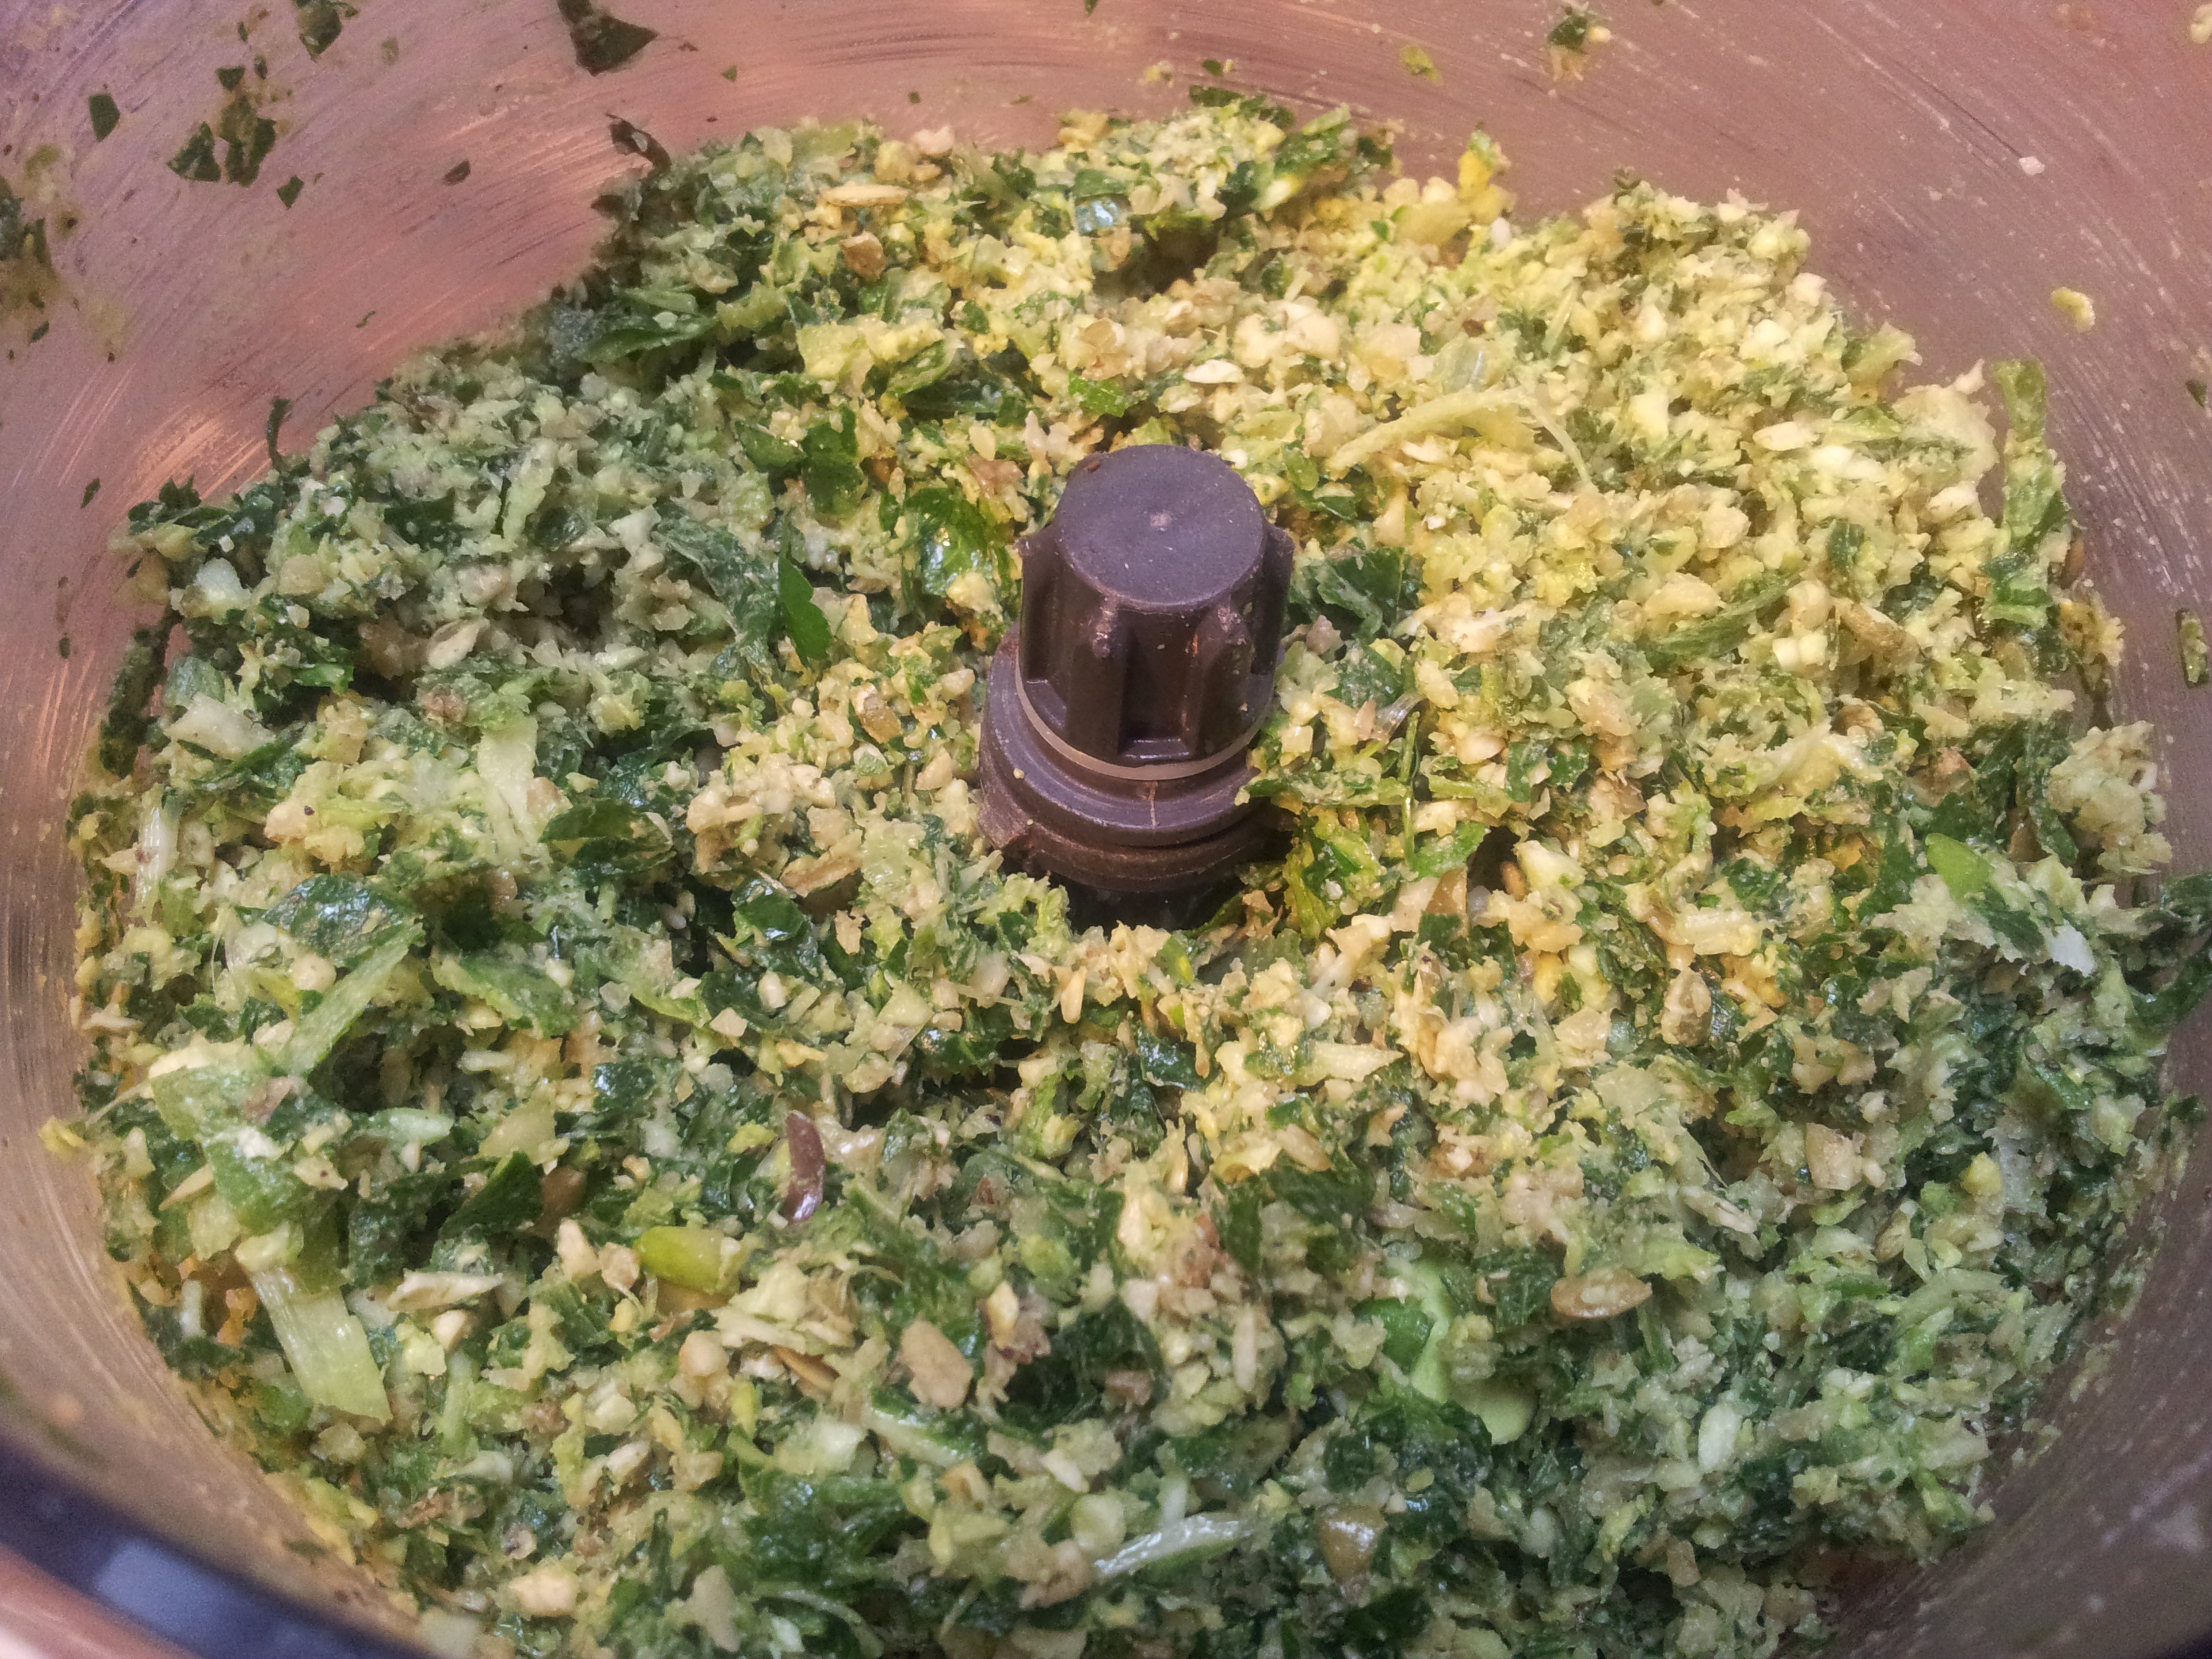
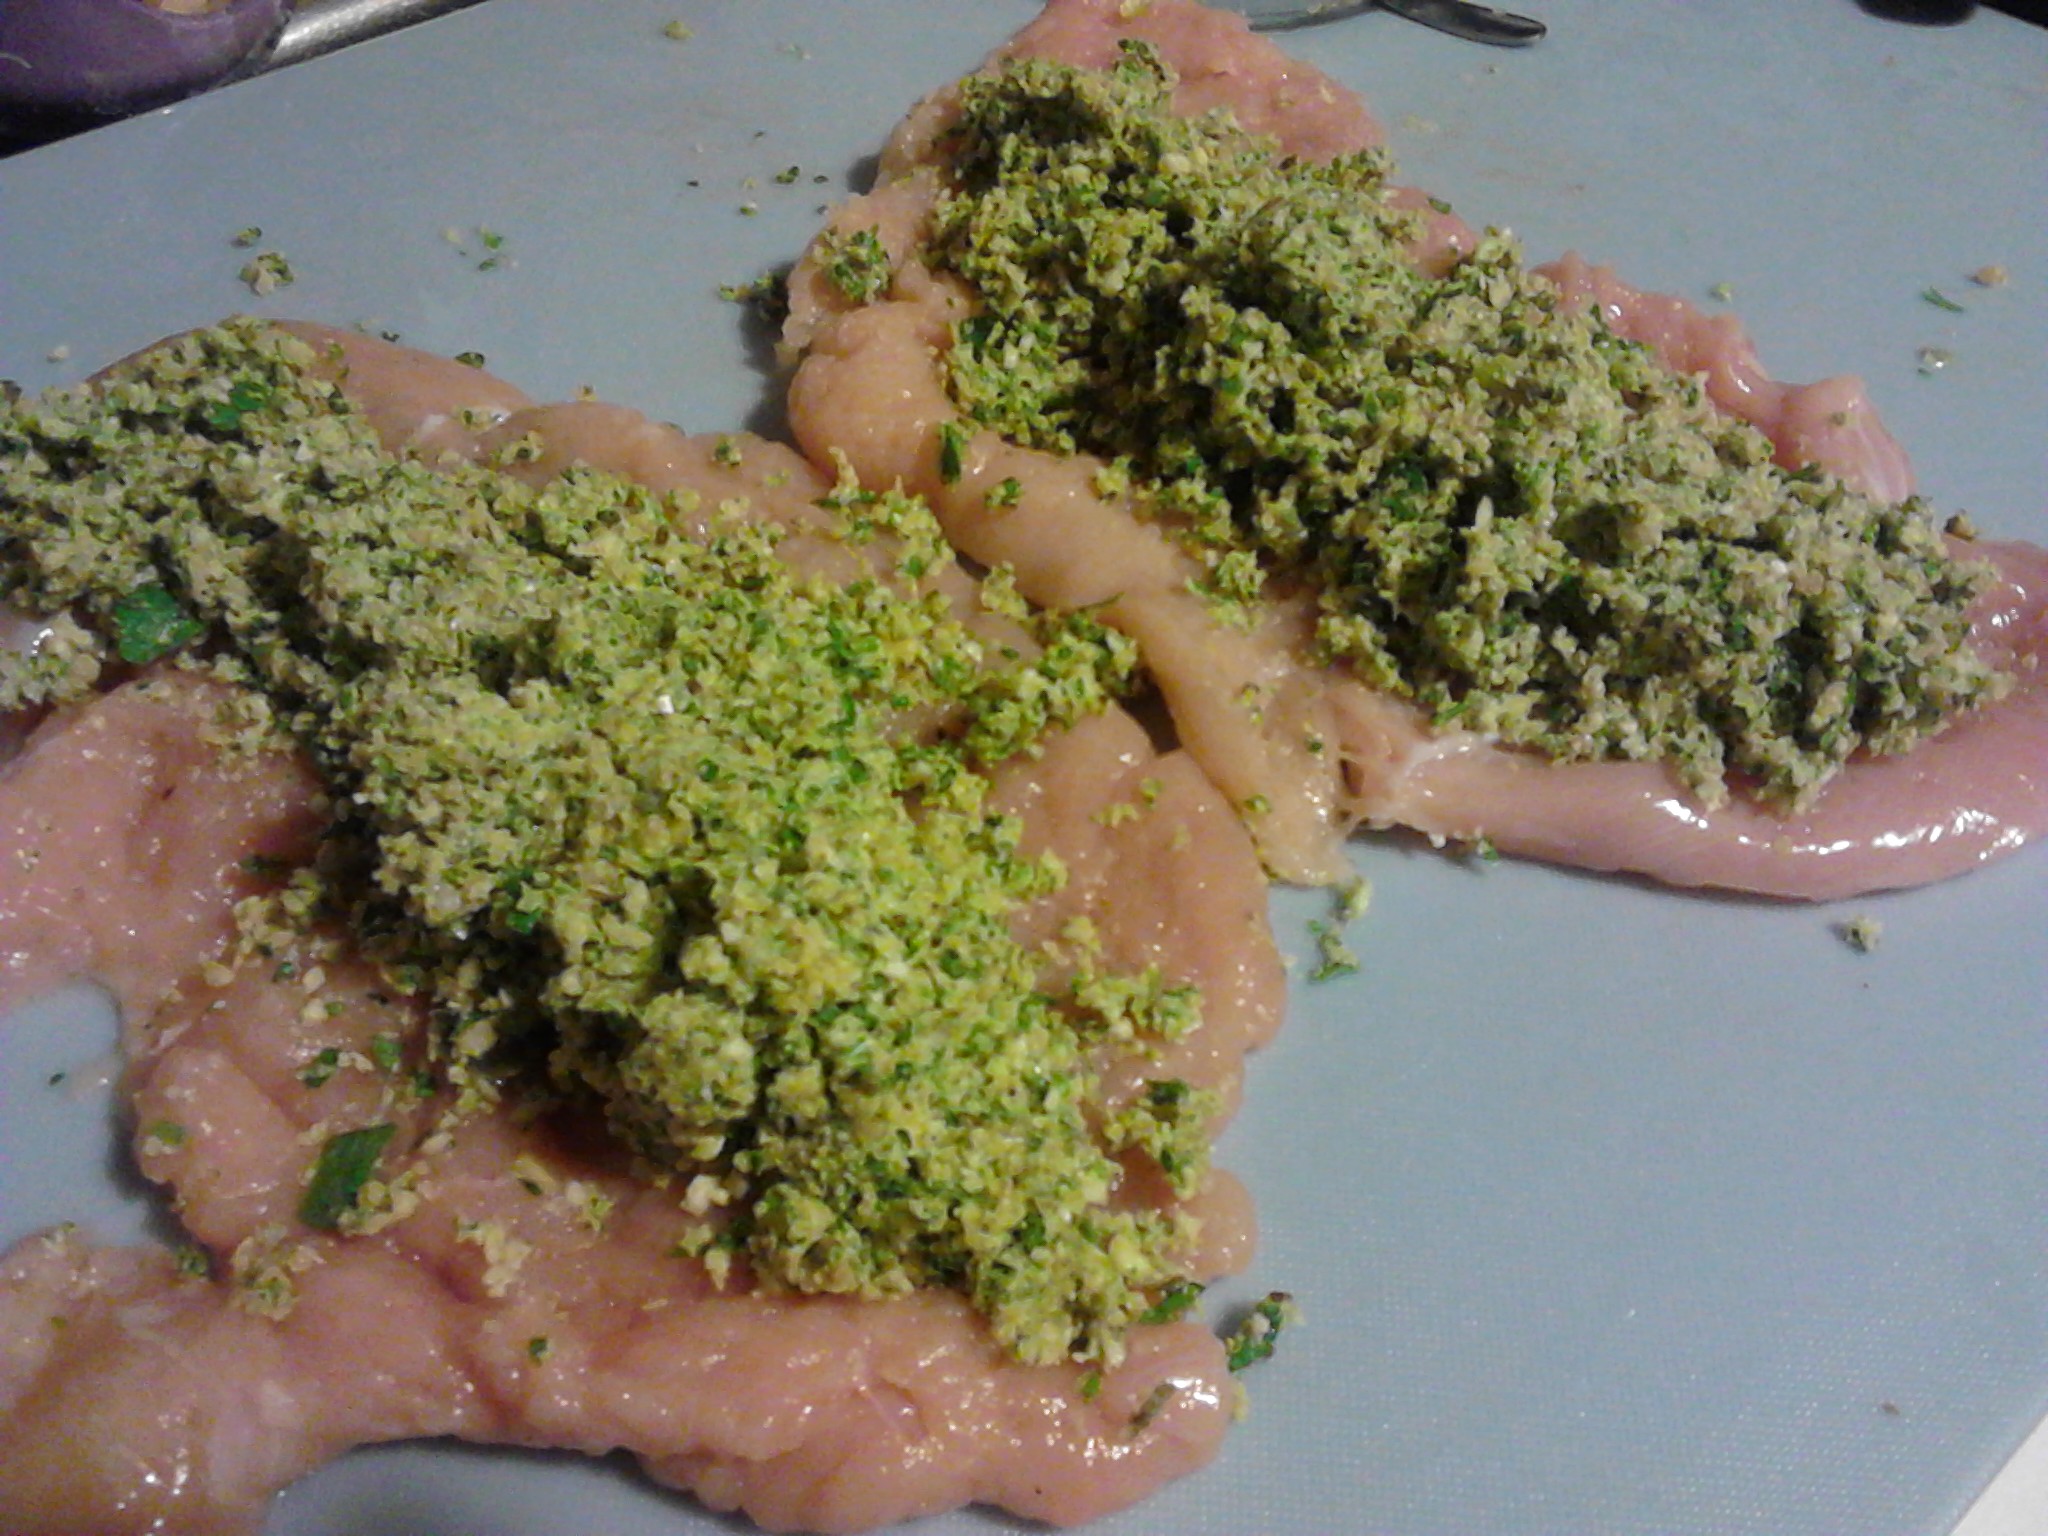
Make the filling by combining all of the ingredients in a food processor, or alternatively cut and chop them by hand and mix in a bowl. Change any of the ingredients if you don’t like the flavour combination or add in some more spices. The ingredients below don’t have to be exact as long as there are a good mix of flavours.

Ingredients for the filling:

4 brussel sprouts

2 spring onion green tops

1/2 cup raw activated walnuts

1/4 cup raw activated pepitas (pumpkin seeds)

Pink rock salt and ground black pepper

1 tablespoon organic coconut oil

1/2 cup fresh parsley and mint (or any other herbs you have)

A few leaves of silverbeet(use spinach, kale or bok choy as an alternative)

2014-09-09 16.39.53
A food processor is convenient here but not essential.

Spread the filling on top of the chicken breasts.

2014-06-14 18.45.43
The free range chicken breasts flattened and topped with the filling.
2014-09-09 16.53.41
Roll the breast around the filling

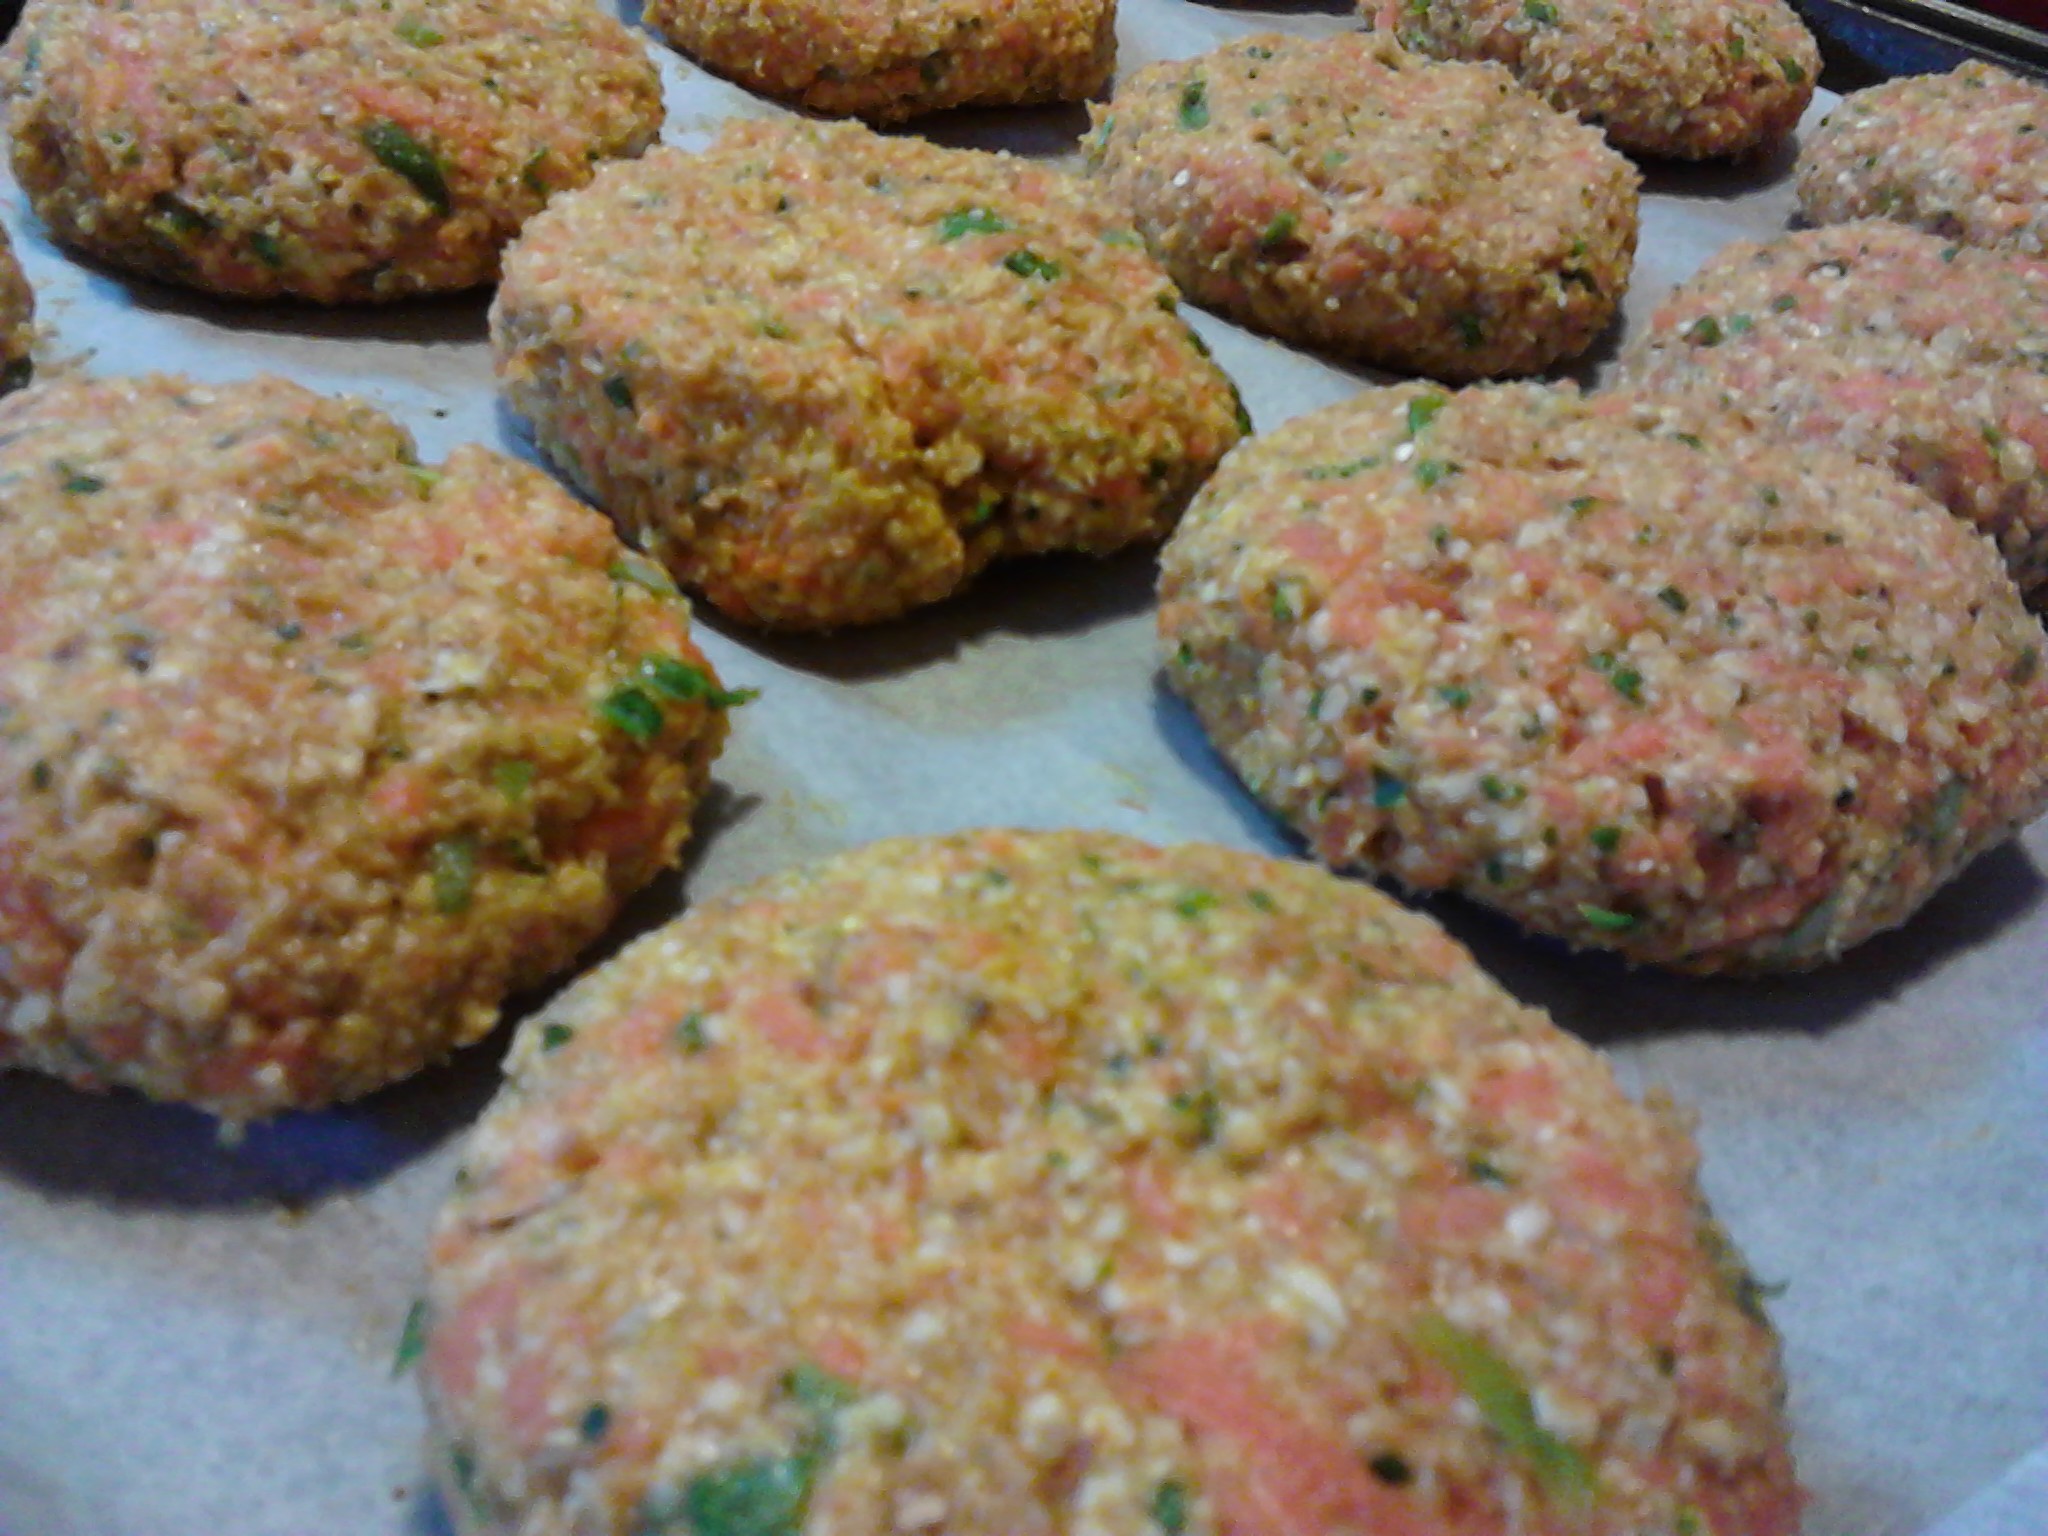
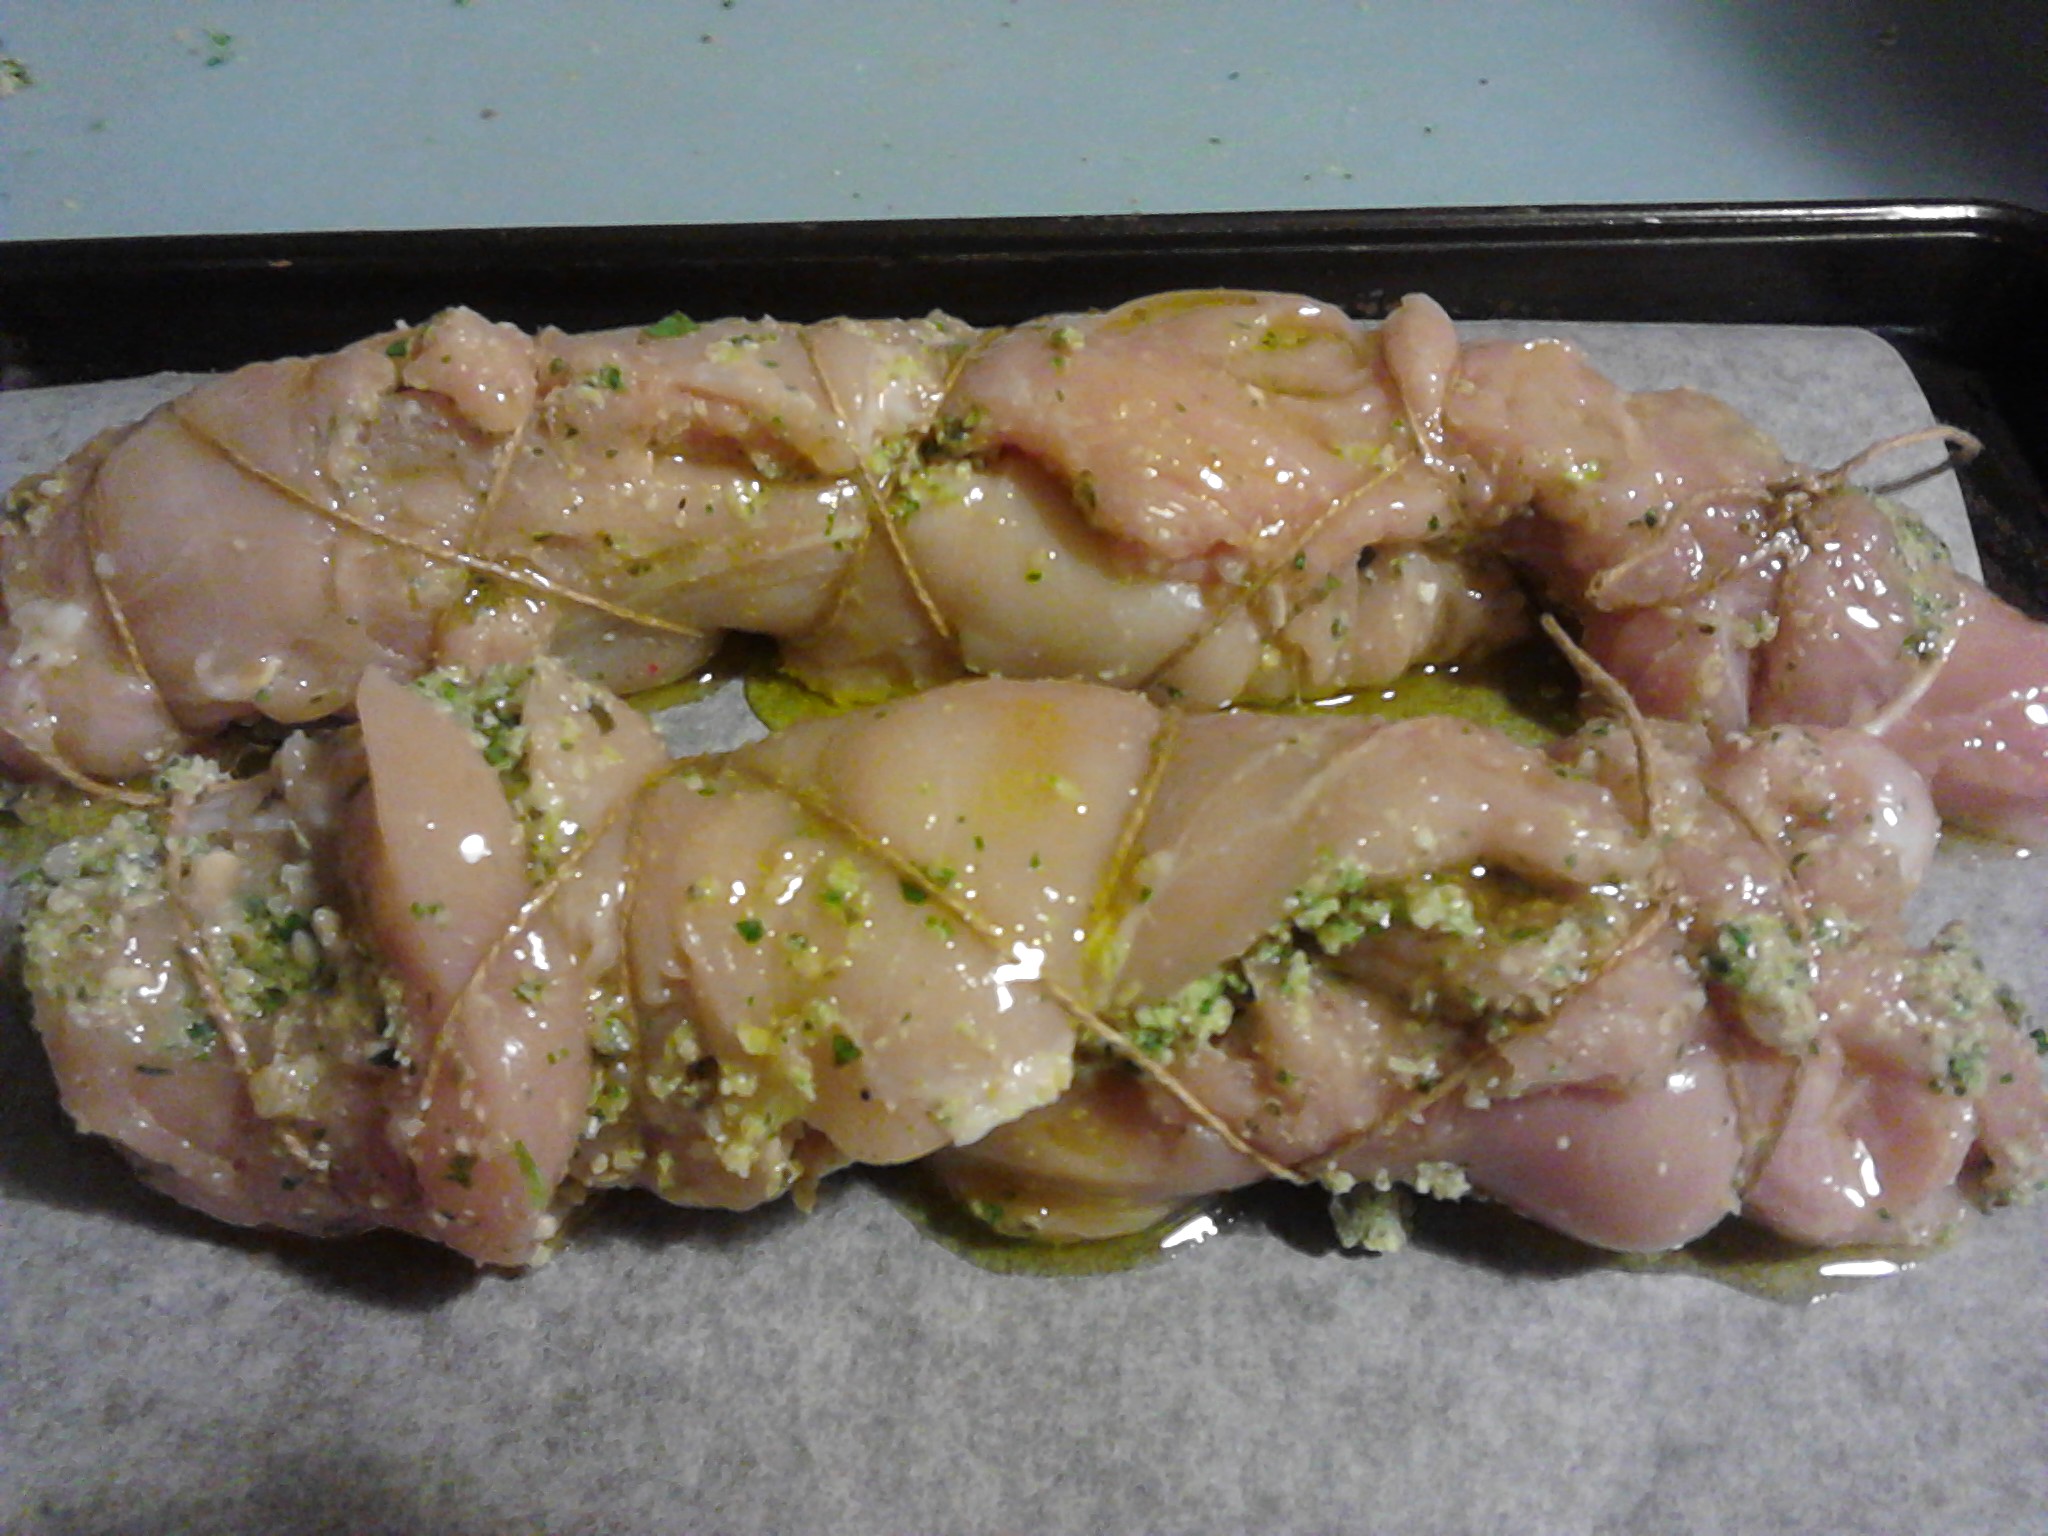
Use kitchen string to gently hold the breast in place. Tie the string at each end and push in any filling that has come out. Gently lift onto a lined baking tray and drizzle with your favourite oil, pink rock salt and black pepper.

2014-06-14 18.51.38
The rolled and tied chicken breast drizzled with extra virgin olive oil, pink rock salt and black pepper.

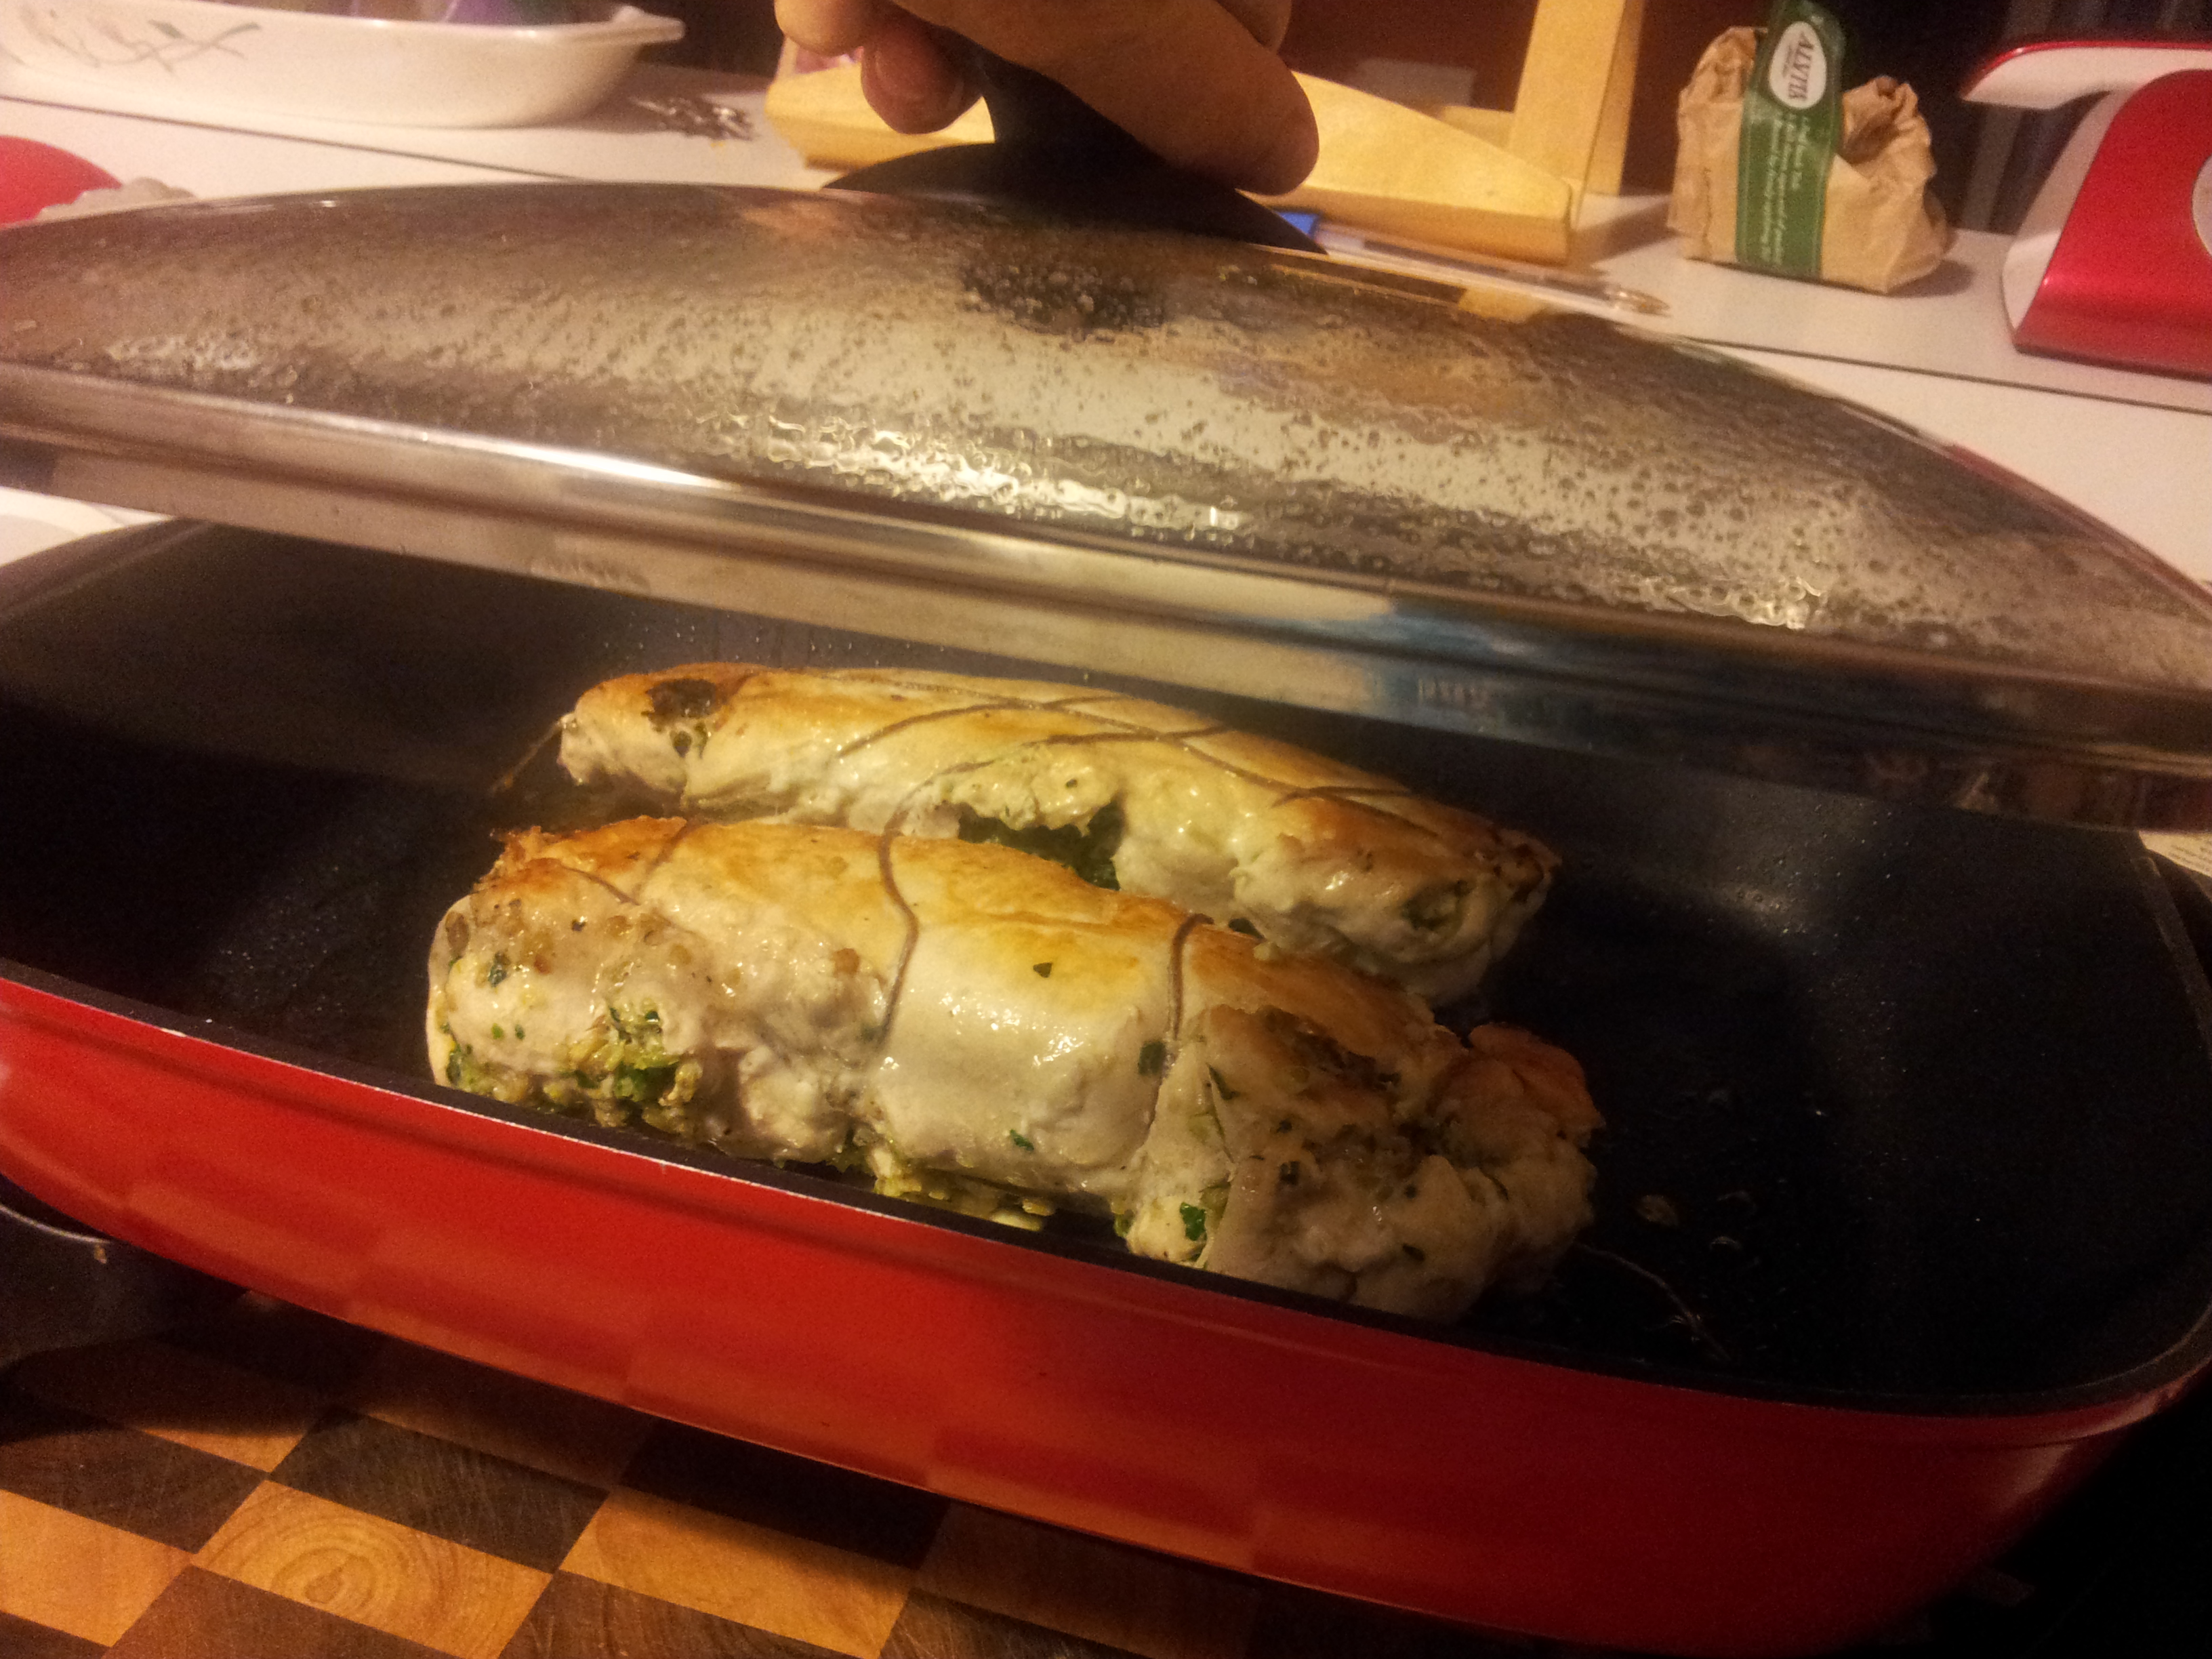
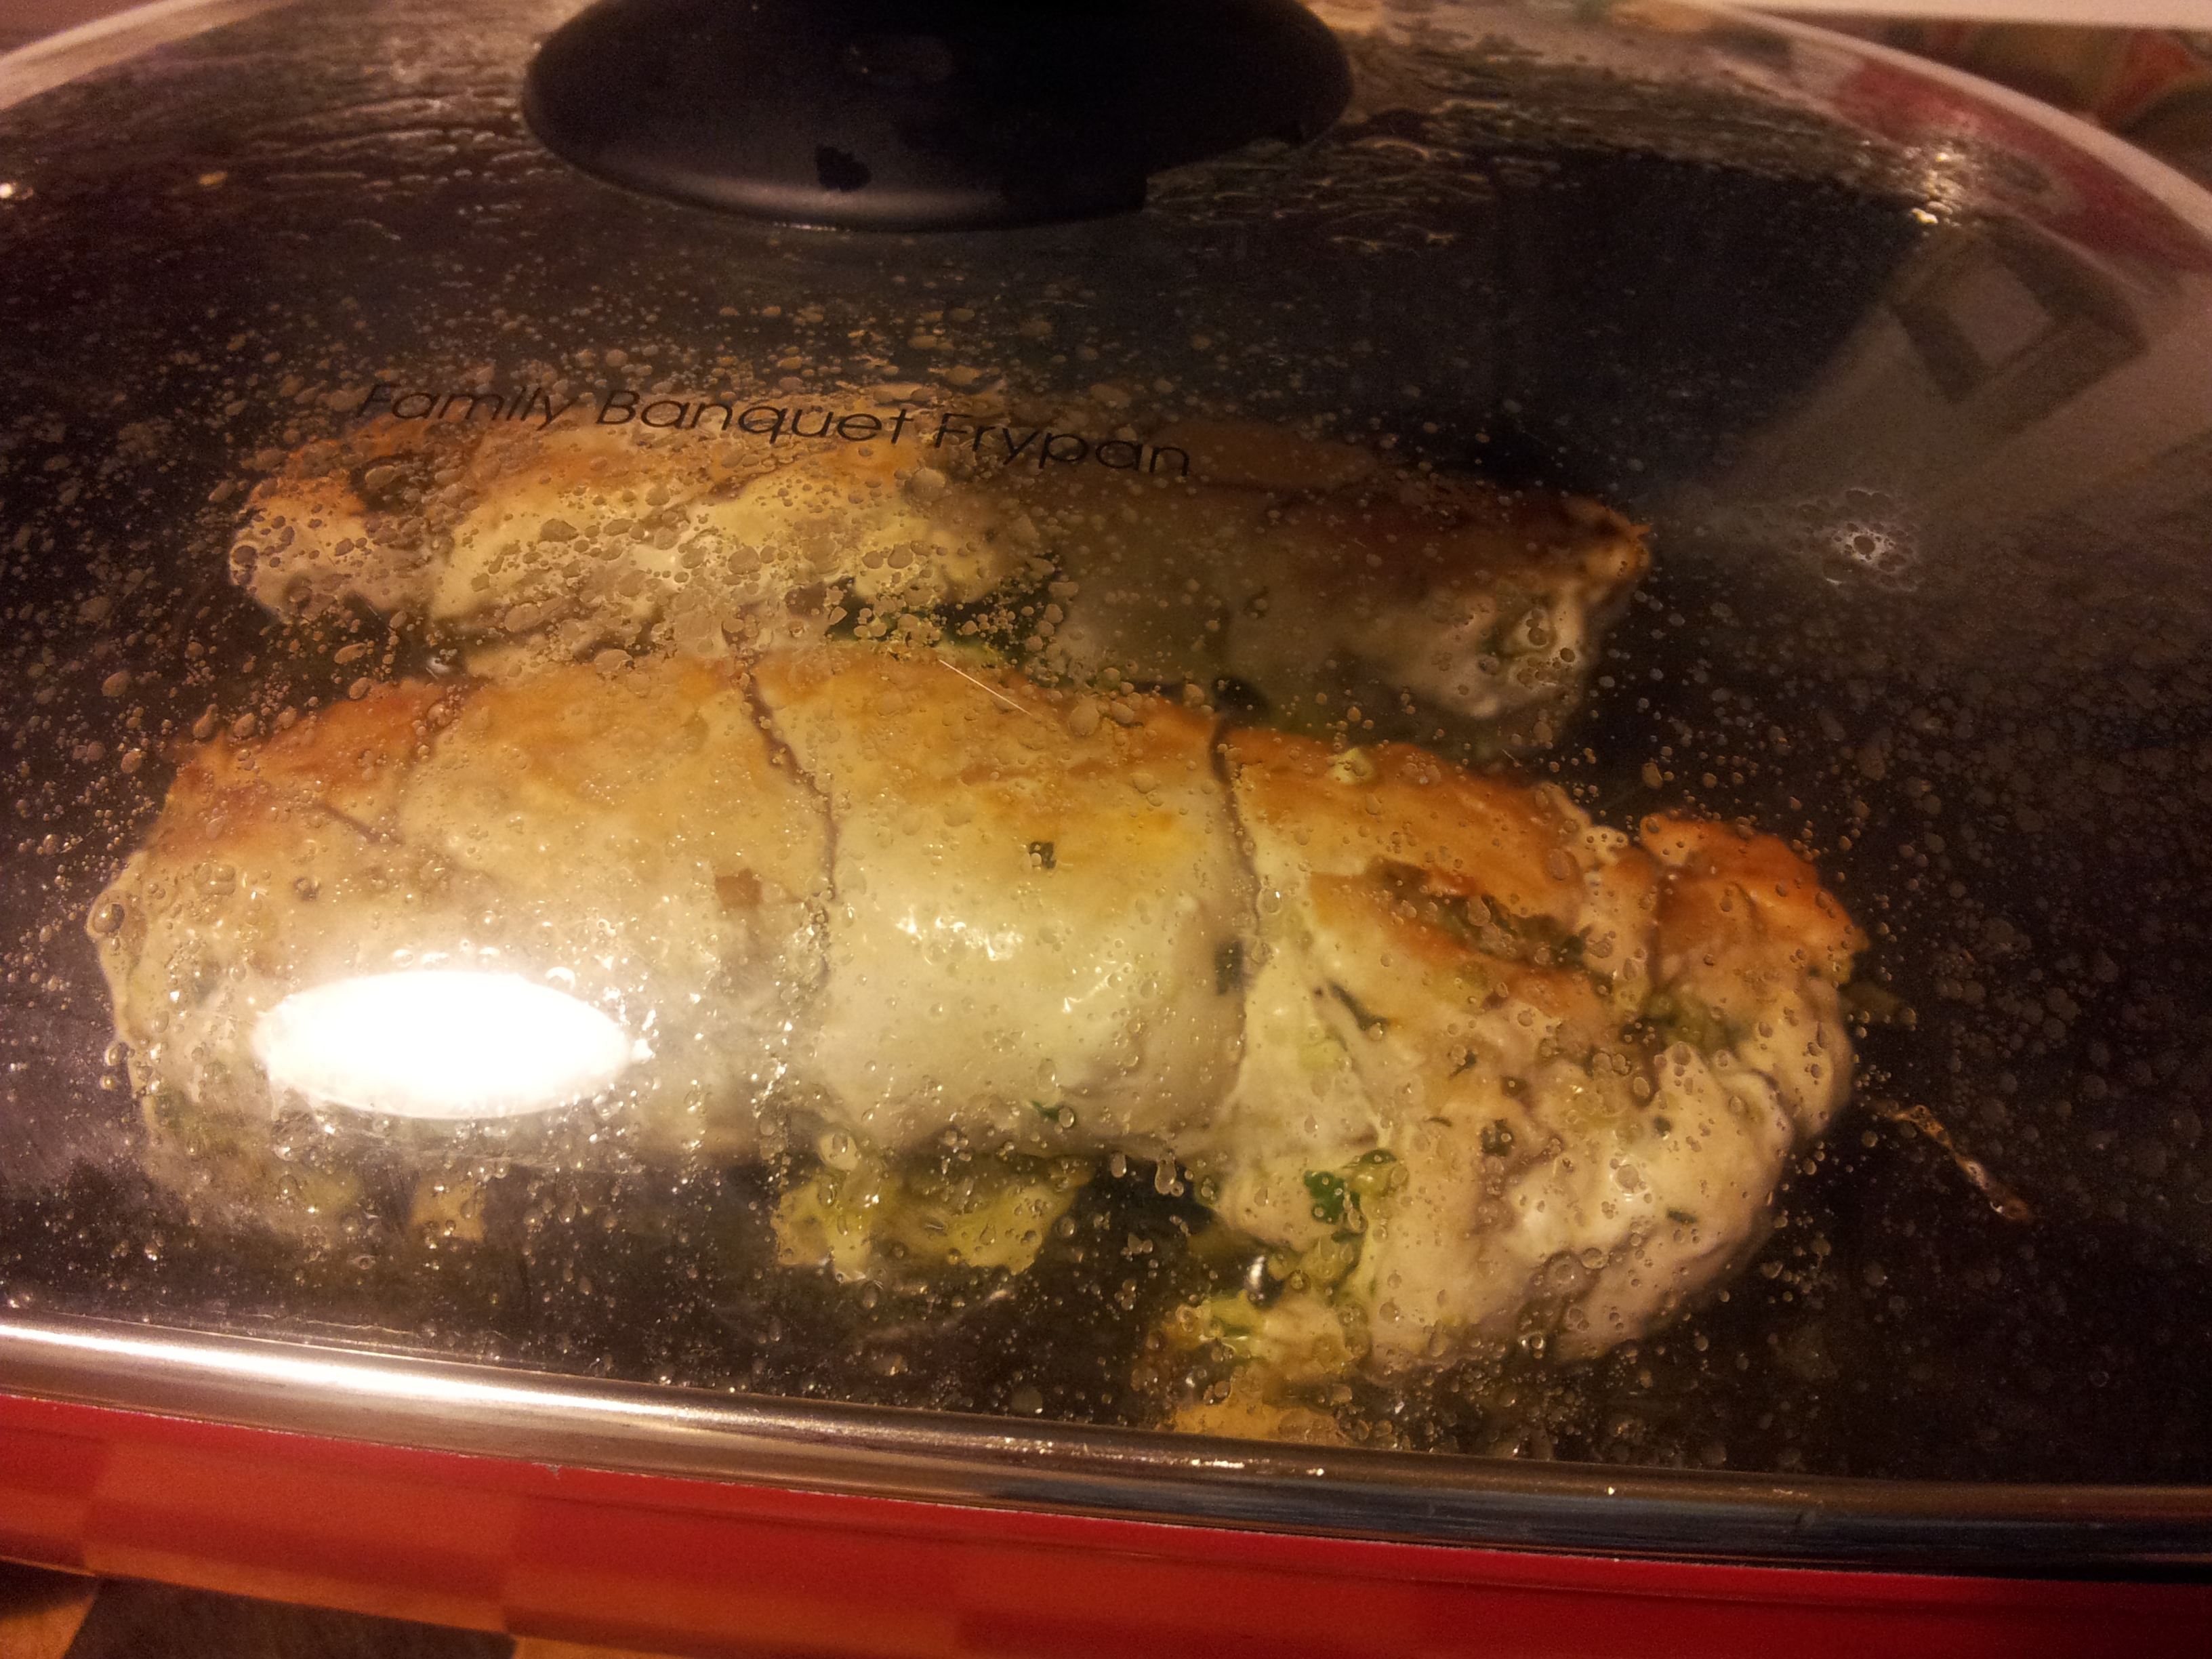
Cover with foil and place in the oven. Cook until the chicken is golden and then take the foil off and let it brown or place under the grill ensuring it doesn’t dry out.

Another option is to pan fry the rolled chicken which will give a more golden appearance.

2014-09-09 18.24.52
Cook on a very low heat with the lid on.
2014-09-09 18.24.46
Both the oven and fry pan methods work well.

Carefully cut the string along the length of the chicken and remove. Let the chicken rest for a few minutes before serving.

2014-09-09 18.42.55
Golden and delicious!

There are so many fillings that would be delicious with this recipe. I am going to try a pumpkin or sweet potato filling next, but the combinations are really endless.

2014-09-09 18.48.28
Have one for dinner and the second one cold the next day. A great way to add variety to the same dish and the flavours are quite different between the warm and cold versions.

If you have enjoyed this post please share it with a friend. I also post my recipes and wellness tips daily on Instagram at holistic_paleo.

TheRawFoodStore_KitchEss_468x20

bulk wholefoods

healthy-home-water_web

Lemon, walnut and silverbeet quinoa risotto

Quinoa (pronounced Keen-wah) is a nutritious gluten-free grain alternative and is in fact a seed from a vegetable linked to swiss chard, spinach and beets. It is considered a super food and is high in protein, with a good balance of all 8 essential amino acids, making it a good choice for vegetarians. It is also high in fibre and has a low-GI, beneficial for keeping blood sugar levels stable as well as having a slightly alkaline effect on the body.

This dish was very quick to make as l pre-cooked the quinoa and the flavours in it were lovely. There was a strong hint of lemon, a crunch from the walnuts and a flavour kick from the addition of fresh ginger and cumin.

2014-09-05 18.38.15
The risotto is quite sticky so it held together nicely when l placed it in a glass ramekin to shape.

I was inspired to make this risotto as l have a vegetable garden filled with greens including masses of silverbeet. There is no need to follow my recipe to the letter as part of cooking is having fun and experimenting with new ingredients and flavours, and my cooking is quite plain due to food intolerances, so you may wish to spice it up a bit more.

Ingredients:

2 cups organic quinoa (l used white)

Filtered water

Olive oil

1 tablespoon organic tomato paste

1 small tomato diced

1/2 red capsicum diced

1/2 teaspoon cumin

3 large leaves of silverbeet

Fresh parsley and basil chopped

1 cm fresh gInger finely sliced

2 spring onion green tops sliced

5 snow peas sliced

1/2 carrot finely diced

1 cup roughly chopped raw activated walnuts (or another nut)

Lemon juice and zest of 1/2 a lemon

1 tablespoon Organic apple cider vinegar

Pink rock salt and ground black pepper (season to taste)

Quinoa_grain_white__14609.1405467022.220.220
White quinoa

Cooking quinoa requires some pre-planning as it needs to be soaked and rinsed prior to cooking. I soaked 2 cups of quinoa in filtered water all day and then rinsed just before cooking to remove the bitter tasting saponins. You can soak it for a shorter time such as 30 minutes if that is all the time you have. I placed the rinsed quinoa in a saucepan and covered with filtered water so that there was about an inch of water on top of the grain. I brought it to the boil, then let it simmer with the lid on until the water was absorbed and the seeds had popped open. You can turn the heat off at this point while the rest of the dish cooks.

In a fry pan place a splash of olive oil, the organic tomato paste, tomato, red capsicum and cumin. Let that cook for a minute then add the quinoa and mix well. Now add the rest of the ingredients and season well to taste with pink rock salt and ground black pepper.

Give it a good mix for a couple of minutes and serve. I spooned mine into a ramekin, then turned it upside down and let it slip out onto the plate. It looked lovely when it was on the table garnished with lemon rind and parsley.

If you don’t have the ingredients listed just use what you have in the fridge and you can also make the risotto the traditional way by adding the liquid in small intervals to the uncooked quinoa.

Below l have included a link to my favourite supplier of all organic goods such as quinoa and other pantry essentials. They offer a great service and very good prices with free delivery if your purchase is over a certain amount which is listed on their website depending on your location.

bulk wholefoods
A fabulous online store for my Australian followers.

If you have enjoyed this post please share with a friend. You can also follow me on Instagram at holistic_paleo where you will get daily photos of the meals l prepare and a few other interesting things aimed at inspiring a healthier life.

Golden rissoles with a colourful mash

A healthy twist on some old favourites in a recipe which is gluten, dairy and processed sugar-free. There are so many wonderful ingredients in this meal and the cooking methods of almost dry baking and steaming are very healthy and help to retain the nutrients in the food. I have used quinoa flakes in this recipe and if you are a strict Paleo follower you can leave them out, but l don’t mind having them now and again.

2014-08-09 18.40.29
There is so much goodness in this meal.

These golden rissoles were so crunchy and delicious. I made them early in the day and had them ready on the tray so that when dinner time came l just had to place them in the oven and steam the vegetables for the mash. I didn’t coat the rissoles in anything such as a flour before baking as is normally the custom and just drizzled a tiny amount of olive oil on them. They turned the most beautiful golden colour when cooked and had a delightful flavour from the spices, herbs, nuts, seeds and vegetables. The mixed vegetable mash is a new favourite of mine and had some crunch from the addition of pumpkin seeds and a lovely spicy taste as well.

Golden rissoles:

2014-08-09 14.22.56
The processed mixture should look like this. It sticks together well, but isn’t overly wet or dry.

Feel free to add or delete any ingredients that you don’t have as rissoles are very flexible in what can be used in the mix. You can also make them spicier or use more meat than l have depending on your tastes. This particular mixture was amazing in that it stuck together, and when cooking, the rissoles held their shape and didn’t split in half or have bits breaking off which is often the case with rissoles, especially ones that don’t have a lot of meat in them. The spices used in this recipe are all the dry ground versions and try to use organic versions if you have them. I also used activated almonds which are quite moist, and if you use raw almonds you may need to add another egg to compensate.

Place the following into the food processor (this mixture made 12 rissoles)

1 washed and roughly chopped free range chicken breast

1/4 teaspoon organic curry powder

1/4 teaspoon turmeric

1/4 teaspoon cumin

1/4 teaspoon ginger

A pinch of paprika

1/4 teaspoon pink rock salt

1/4 teaspoon black pepper

2 finely grated carrots

1/2 cup flat leaf parsley

1/4 cup quinoa flakes

1 tablespoon black chia seeds

2 free range eggs

2 spring onions roughly chopped (I don’t use the white parts)

1 cup of activated almonds.

2014-08-09 14.31.33
The mixture was just sticky on my hands, but l was able to roll each rissole easily.

Once the mixture is processed, form into small balls using your hands and flatten slightly as you place them on a tray lined with baking paper.

Drizzle a tiny amount of olive oil onto each rissole and cover the whole tray with Aluminium foil. I let mine set in the fridge for a few hours and this may have contributed to them staying in shape so well. Place in a pre-heated 200 degree celsius oven until the tops look golden, then turn over and give them a few more minutes.

2014-08-09 18.38.46
These will be amazing cold the next day.

Making the vegetable mash:

While the rissoles were in the oven cooking l steamed the vegetables for the mash. Into the steamer l placed roughly diced sweet potato (1 medium), beetroot (1/2 of one large or a whole small one) and carrots (2 medium carrots). Steam the vegetables until just done to preserve nutrients and them place into the food processor with a cup of activated pumpkin seeds, pink rock salt, black pepper, 1/4 teaspoon organic cinnamon and 1/4 teaspoon organic curry powder (or similar). Process until it all looks blended but not smooth as this is a rustic mash with lots of texture.

2014-08-09 18.41.04
I served the meal with steamed brussel sprouts but you could have any vegetable on the side. The green is a nice contrast to the colours in the mash though.

This is a lovely family meal and l love it when there are left overs for the next day. I used to always think a mash had to be potato and then on the Paleo diet l switched to sweet potato mash, and now l just think the possibilities are endless and that l can have a rainbow of vegetable mash!

If you have enjoyed this post please share with a friend. You can now also follow me on Instagram, Facebook, Twitter and Flickr.

Eat a fresh rainbow everyday!

Better than medication
Let nutrition be the focus of our eating habits.

There are so many ways to add colour to your meals, but the best way is to include a variety of fresh fruit and vegetables in your daily diet. The health benefits of eating a diet filled with a rainbow of colours is well known, but as l have tried to incorporate more vegetables into every meal, l have discovered the joy of eating food that is a range of bright colours. Not only are the range of flavours so amazing, but eating fresh colourful food is exciting, motivating and makes me feel happy.

2014-08-05 08.02.34
A green pancake for breakfast. Paleo recipe, gluten, dairy and sugar free filled with loads of parsley, bok choy, spinach and kale. Topped with activated almonds, organic coconut flakes and organic maple syrup. Served with fresh avocado and a daily magnesium drink.
2014-07-31 08.09.14
Breakfast pancake topped with fresh fruit, activated walnuts, coconut flakes and organic maple syrup.

A food as Medicine approach underpins my nutritional motivation, and everything l eat has a purpose and a high nutritional value. Eating a rainbow of fresh, healthy food will ensure you are consuming healthy vitamins, minerals, anti-oxidants and fibre that will help you on your wellness journey.

2014-08-04 13.50.13
Lunch: A beautiful fresh raw salad.

If your daily rainbow consists of peas, carrots and corn then it is time for a change. Our taste buds can get a bit lazy and are a victim of our comfort zone just like the rest of our habits are. Trying new foods can be challenging and it can take a number of goes at eating a food, or preparing it in a variety of ways before we become accustomed to its taste, texture and how it feels in our mouth when eating. There is also the challenge of learning how to prepare new foods, but if you add one in at a time then it can be exciting and an adventure.

2014-08-05 11.46.15
Lunch: Spiced beetroot & vegetable cauliflower rice, with tuna, avocado, tomato and seeds.
2014-07-30 13.05.40
Lunch: Poached free range eggs & bacon with fresh avocado and carrot strips.

The first step after deciding you want more colour in your food is to buy a selection so it is available for you when preparing meals. If you need guidance, use a recipe that appeals to you as a starting point. I have found Instagram to be an amazing source of inspiration as l can visually see what other people are cooking and eating which helps my motivation to try new foods.

2014-08-05 16.55.28
Cold pressed green juice made from bok choy, celery, green apple, lime and ginger.
2014-07-27 16.00.00
Amazing red juice of beetroot, celery, pear, carrot & fresh ginger.

Take ownership of your food intake and start experimenting with new ingredients. It can be fun and rewarding to sit down to a meal that you have lovingly prepared for yourself and family, especially if it has an array of lovely stimulating colours that gets the family talking about what you have made.

2014-07-24 19.05.24
Dinner: Baked fish on a bed of beetroot noodles with a vegetable stir fry.
2014-07-09 19.31.21
Dessert: Banana, apple & mandarin ice-cream made with the cold pressed juicer and an avocado based chocolate mousse.

I try to make my meals interesting, flavoursome, paleo friendly and highly nutritious. It takes planning, thought, time, motivation and a strong commitment to staying on track when life inevitably throws a few challenges into the mix. I live in a busy household with a husband and three children who are mostly non-paleo. This is a major challenge for me and l am educating them, but this nutritional and lifestyle path that l am following is not without its challenges.

Top tips:

  • Take an interest in what you are eating. Help with the shopping and cooking and plan your meals.
  • Be prepared. Have a plentiful supply of fresh fruit and vegetables in the house.
  • Try to incorporate colour into every meal, ideally by using mostly vegetables and some fruit with a focus on raw or lightly cooked where possible.
  • Have a positive attitude to trying something new and do some research by looking at magazines, online or speak to a friend who inspires you. Better still, study Nutrition as l have done!
  • Take it slowly. Change is difficult and our old habits are comfortable and easy to fall back into when a challenge comes our way. Slowly form new habits and incorporate them into your daily life.
  • Have fun with it! Go to local markets and explore. Experiment in the kitchen with the fresh ingredients.
  • Have a good attitude. See it as a diet of abundance rather than a diet of deprivation.
  • Think of your short and long term goals and make every bite you take a nutritious one.
  • Eat because you are hungry! Cut out the emotional, social, bored or habitual eating.

Follow these tips and you will be on the road to a healthier you!

If you have enjoyed this post please share it with a friend. I post daily on Instagram, Twitter and Facebook with pictures of the food l prepare and eat, as well as a few wellness tips and healthy resources. Thank you Carolyn

Rolled Chicken Breast with a tasty herb, nut and vegetable filling

2014-06-14 19.40.41
Just out of the oven and smelling amazing!

Rolled Chicken Breast: A lovely centre piece for a main dish. 

2014-06-14 19.45.28
Rolled chicken served with roasted swede chips, steamed brussel sprouts and roasted pumpkin slices topped with raw organic honey and organic sesame seeds.

This was my first attempt at using a chicken breast like this and l was motivated by all the wonderful roulage recipes l have seen on the television show Master Chef recently. While not to the same standard it was delicious and met all my dietary requirements.

2014-06-14 18.45.43
The free range chicken breasts flattened and topped with the filling.

I flattened two free range chicken breasts by placing each one inside cling wrap and pounding with a mallet. To do this l placed cling wrap on the chopping board, placed the washed meat on top and covered it with more cling wrap. I gently pounded the meat with a kitchen mallet and you could also use a rolling pin to gently get it a bit flatter at this point. I did this for each breast separately.

I then made a delicious filling in the food processor which was a handful of raw walnuts, a couple of spring onion tops (the green parts), two large brussel sprouts, 1 tablespoon of organic coconut oil, a handful of flat leaf parsley, a small handful of pepitas, ground black salt and Pink Himalayan Crystal Salt. I processed this until it was evenly chopped and then placed half on each chicken breast. I used organic coconut oil in this mix as l do not eat dairy but if you do eat dairy then an organic grass fed butter would be very nice in its place.

2014-06-14 18.51.38
The rolled and tied chicken breast.

I pulled the two sides of the breast together and wrapped some twine (cooking string) around the chicken as in the picture above, Be sure to tie it at each end and push the filling in as you go along. Place the rolled chicken on a baking tray lined with baking paper and drizzle generously with olive oil and season with salt and pepper. Cover with foil and place in the oven. Cook until the chicken is cooked and then take the foil off and let it brown or place under the grill ensuring it doesn’t dry out. Carefully cut the string along the length of the chicken and remove. Let the chicken rest for a few minutes before serving. Each rolled chicken piece will serve a few people if you add vegetables or salad and l had a piece cold the next day which was lovely.

2014-06-15 12.56.15
Cold rolled chicken breast. Just as nice as when it was first cooked.

I cooked up some roasted swede chips and they were very delicious. I like their unusual taste and they were nice cold as well. Pumpkin dressed with honey and sesame seeds is really nice, but drizzle the honey on in the last five minutes and only quickly cook the sesame seeds so they don’t lose their nutrients.

I hope you enjoy this recipe. Experiment with the filling to suit your tastes and serve it with your favourite vegetables or salad.

If you have enjoyed this post please share it with a friend. I also share my recipes and wellness tips daily on Facebook, Twitter and Instagram. I would love you to follow me. Thanks Carolyn

The Joy of Cos Lettuce

Romaine-lettuce


You can’t go wrong with this versatile and healthy vegetable.

Cos lettuce or alternatively known as Romaine lettuce is my new favourite lettuce. After spending years eating Iceberg lettuce and then sorting through the many new varieties on the market, l have now settled on Cos lettuce as my new favourite. I have seen short stemmed and long stemmed varieties, but prefer the long stemmed ones for the versatility of their leaves. I really like that the leaves are so big and soft and then the lower part is really crunchy. You can just pick off one leaf as you need it, especially if you are growing your own, or cut the bottom off the whole bunch and watch the leaves just move apart. I used to battle with the Iceberg lettuce trying to make lettuce cups as the pieces were hard to pull away in tact, and it was so difficult to store as it was a big round shape. The Cos lettuce can be laid flat and fits nicely in lots of small places in the fridge.

Grow your own.

It is so easy and handy!. Not sure about the cost saving but definately a healthier option for you and fun for the whole family.

2014-04-11 09.00.272014-04-11 07.41.33

The leaves are so versatile

The challenge for me lately has been to find a suitable lettuce, not to put in salads as those are plentiful, but to use as an alternative to wraps. Removing grains from the diet does pose a meal planning challenge to those who like to have wraps as a meal and the Cos Lettuce is marvelous for this purpose. The first photos show the larger leaves laid out to use as wraps, while the second photo uses a smaller Cos lettuce where the leaves have a natural cup shape to them and are perfect to fill with your favourite ingredients.

2014-04-02 19.22.16
All laid out for self-serve. Looks nice. Salad, free-range roasted chicken and roasted sweet potato.
2014-04-02 19.27.57
Larger leaves used as wraps.
2014-03-31 19.25.55
Lettuce wraps filled- chick peas, egg, snow peas, carrot, avocado and tomato with a small piece of fish

Nutrition Facts:

  • Low Calorie and great taste
  • High in Vitamin A(Beta-Carotene), Calcium, Vitamin C, Iron, B Vitamins and a good source of Omega 3 Essential Fatty Acids
  • A complete protein so that it has all 8 essential amino acids
  • Composed of 17 % Protein
  • Is heat tolerant so great on top of those home made pizzas just out of the oven
  • Excellent to use in smoothies
  • Low in the anti-nutrient Oxalic Acid
  • Rich in the minerals Selenium, Zinc, Copper, Magnesium, Manganese, Potassium and Phosphorous

What’s not to love! Do yourself a favour and add this delicious and nutritious food to your daily diet.

If you have enjoyed this post please share with a friend. I am also on Facebook at Holistic Wellness For Life and Twitter at Holistic Wellness@carolynlgray

Spicy Chicken and Sweet Potato Casserole

2014-04-10 18.25.43


A very warming and tasty casserole which will stimulate your taste buds.

I surprised myself by making such a spicy dish. I was originally going to make apricot chicken but the apricots have vanished from the shops so l had to make some adjustments to my thinking. I also didn’t have time to use the hot pot so just used a saucepan on the stove top. The result was really warm with the mix of spices just right. Of course, spiciness is very personal so feel free to add more or less of the spices depending on your tastes. I served this casserole with some lovely brown rice that l put in a ramekin to get the nice shape. The kids think it is funny when l serve the rice this way rather than just spooning it on to the plate.

Ingredients:

A pack of free range or organic chicken thighs (approximately 6) chopped into small pieces

1 medium sweet potato peeled and diced

1 tablespoon of Millet flour (or any other flour you like)

1 tablespoon organic tomato paste

Herbs- I used chives, parsley and mint because that is what l had in the garden. Just a small amount of each.

Spices- 1/2 teaspoon curry powder and 1/2 teaspoon cinnamon, a generous 1/4 teaspoon each of ginger, cumin, turmeric and a pinch of paprika

Juice of half a lemon

1 tablespoon black chia seeds

Sea salt and ground black pepper to season

1.5 cups approximately of stock or filtered water. Use your judgement here. Add a cup and see if you think it needs more. The chia seeds will soak up some of the water but you don’t want it to be too runny.

Extra Virgin Olive Oil

2014-04-10 14.57.46


In to a saucepan place some Olive Oil, the diced chicken, sweet potato and flour. Place on the heat and lightly brown. Give it a good mix as it is cooking so the flour coats all of the surfaces. Now add the tomato paste and let it cook for a minute. Add all of the spices, lemon juice and smell the aroma. Mix well. Add the stock, herbs, chia seeds, salt and pepper. Bring to the boil then let simmer for several hours. Mine simmered for around 6 hours and this was a good amount of time for the flavours to really develop. Serve with steamed vegetables or rice. You can freeze the left overs or take it to work for lunch the next day.

If you have enjoyed this post please share it with a friend. I am also on Facebook at Holistic Wellness For Life and Twitter at Holistic Wellness@carolynlgray. Thanks Carolyn

The omelette: A meal you can always count on

2014-03-14 19.18.20

Quick to cook, healthy and simple.

The omelette has become the meal l use when l need to make something quick for lunch, or we have arrived home late from sports training and l haven’t organised dinner. It is so easy to individualise an omelette as they can be filled with ingredients which each family member likes, or you can have it plain just as my young son does. I buy some nice free range eggs and keep them in the fridge. We go through a lot of eggs in our home so l don’t need to check the use by dates, but l always rotate the boxes of eggs in the fridge so l am using my oldest ones first. I like to fill my omelettes with lots of fresh ingredients such as spinach, snow peas, grated carrot, tomato and a meat of some kind which is usually free range chicken, tuna or salmon. I often add some pumpkin or chia seeds for added crunch and when cooked will sprinkle some Kapai Puku seed mix over the top.

When l make my omelettes l place some extra virgin olive oil into a hot pan and pour the beaten eggs into it. I like to use a small pan so that the omelette is as big as the pan as this gives a nice shape. If l use a big pan l give the pan a bit of a lift as the egg spreads to try and get a nice shape. As the egg is cooking l add the ingredients to half of the egg with foods such as spinach added last as l don’t want it to cook very much. When the egg looks cooked and firm l use a spatula to lift the plain side of the egg over the filling and press the top with the spatula. I let it cook for about another minute and then carefully lift with the spatula and place on a plate. I can quickly cook the five omelettes required to feed my family if l have all of the ingredients prepared before l start cooking. Omelettes can be eaten at any time of the day and can be added to with a nice salad or steamed vegetables. I don’t eat dairy but if you do, cheese can also be added to the omelette. It can be seasoned with some nice sea salt and ground black pepper. Enjoy!

If you have enjoyed this post please share with a friend. I am also on Facebook and Twitter. Thankyou Carolyn