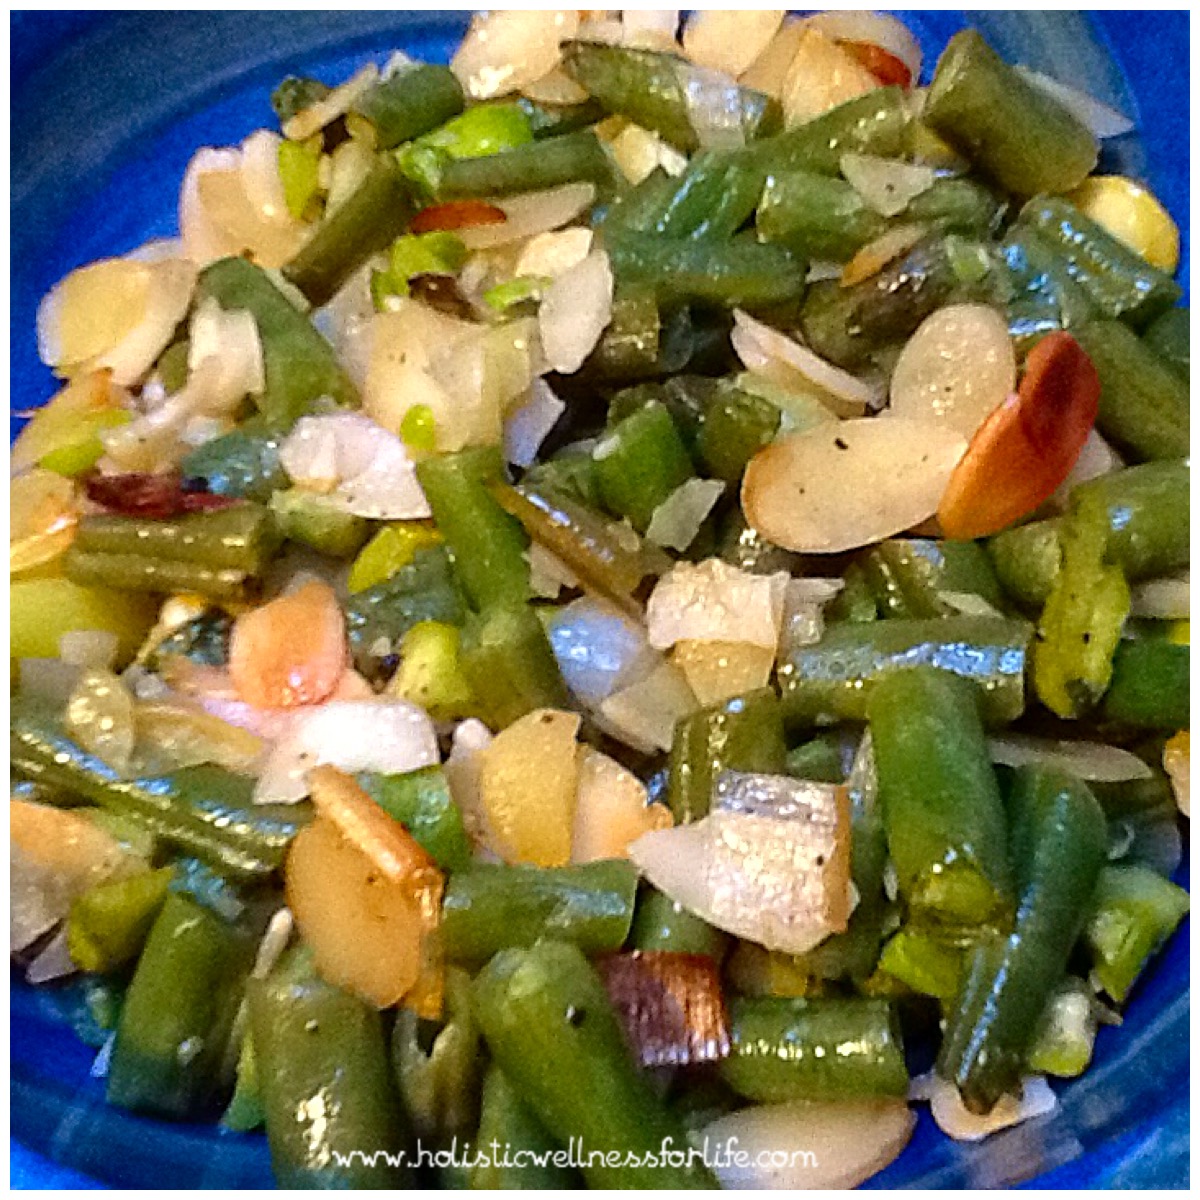
A delicious side dish that is sure to become a favourite. An unusual mix which can be eaten on its own, in an omelette or with a range of other vegetable and meat ingredients.
I am thanking the team at Peninsula Fresh Organics in Baxter for this dish as they are the ones supplying me with amazing fresh produce that l have to admit l may not otherwise have tried. My first go at eating broad beans was a magnificent success and very popular with the family. I admit to googling how to prepare the broad beans and spent a considerable time along with my daughter peeling off the pod and second skin. Combining them with the other ingredients was kind of like eating them in disguise but the result was magnificent.
Ingredients:
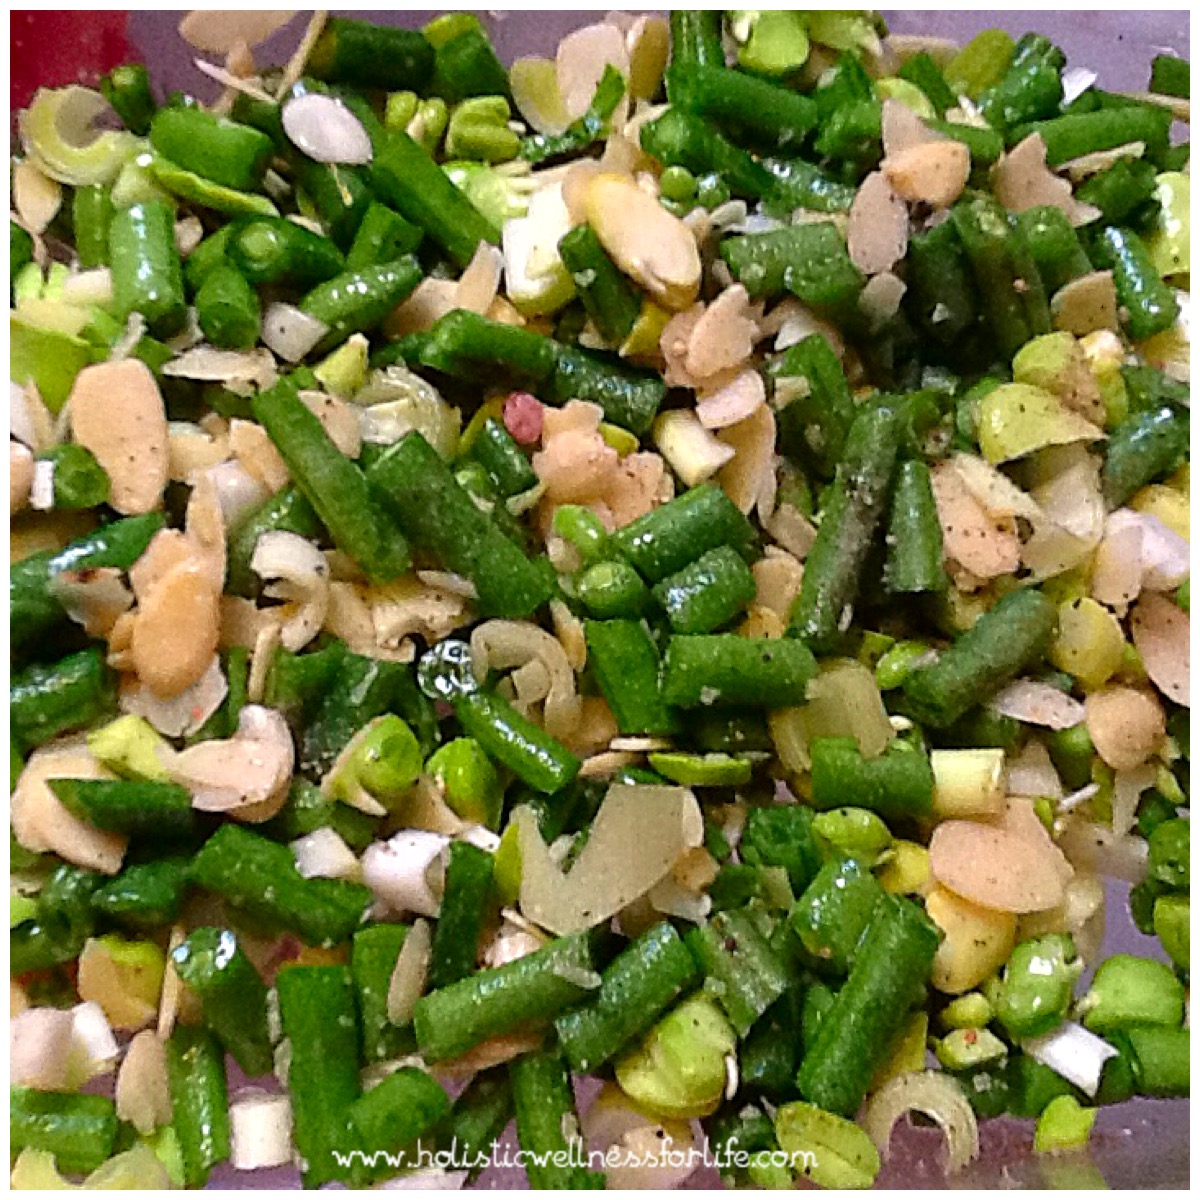
Green beans (sliced)
Broad beans (depodded and second skin removed then roughly sliced)
Leak (finely sliced)
Flaked almonds
Coconut oil
Pink rock salt
Black pepper
This may frustrate you but l am not putting exact quantities as this is really a throw together and see what happens kind of a dish. Here is a guide: A large handful of raw whole broad beans and the same of green beans, a handful of flaked almonds or more if you love them, a couple of inches of the whitish part of the leak and oil plus seasoning as you like. Give it all a mix and place in a baking dish.
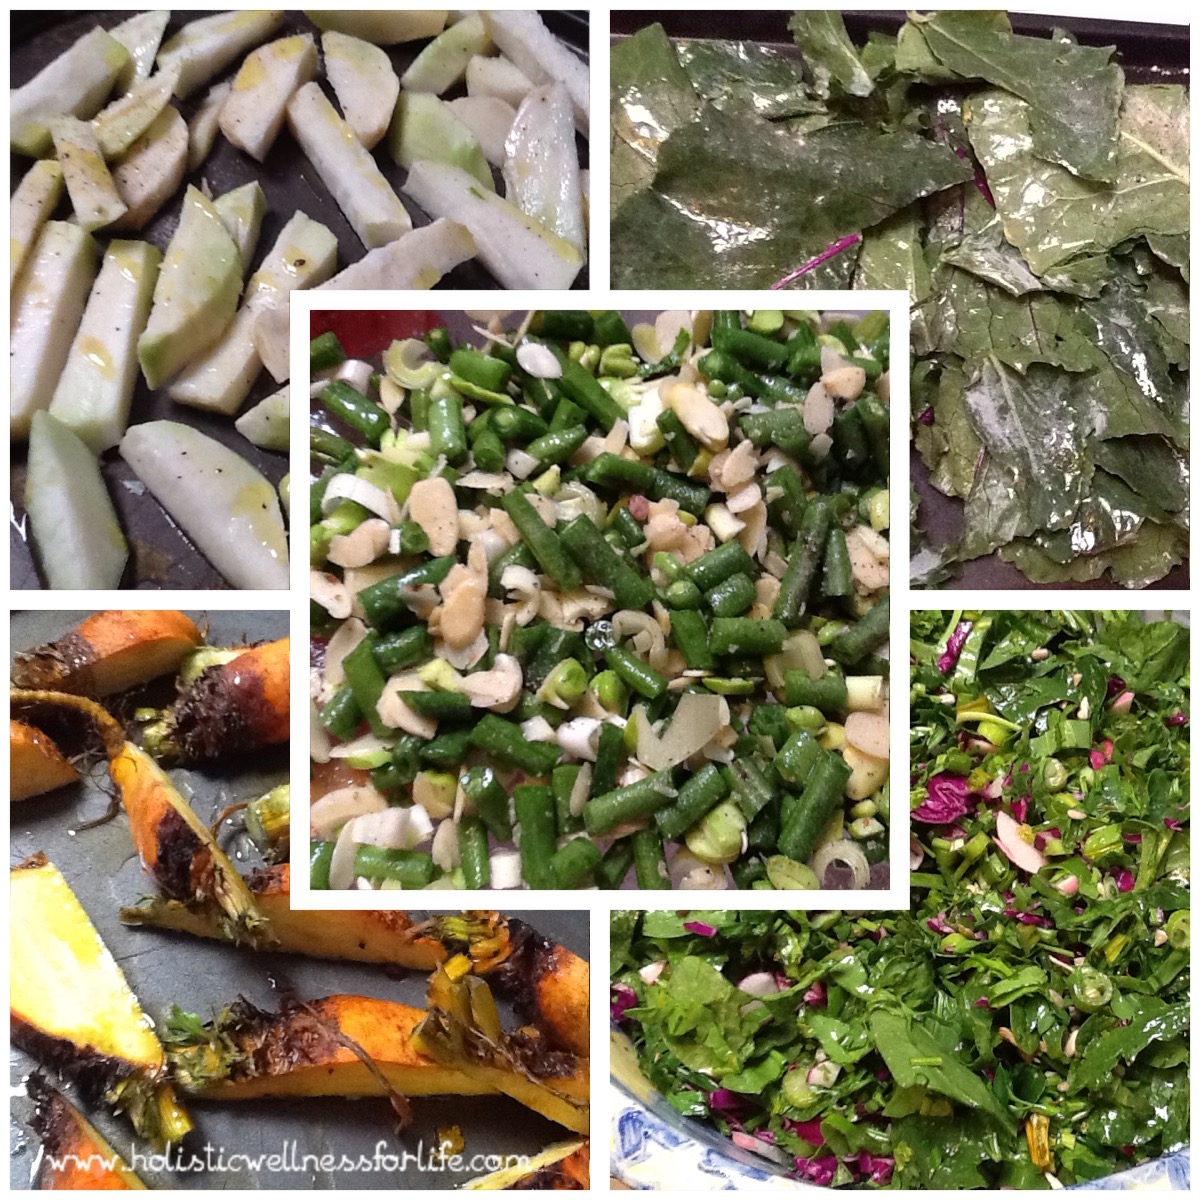
Place in a 180 degree celsius oven and bake until just turning golden.I served this with a whole range of other veggie dishes: Baked kohl rabi chips, golden beetroot, a healthy salad and kohl rabi greens baked in the oven.
I also had this mix in the centre of an omelette and my daughter especially loved it on its own a couple of days later when l just gently reheated it in a saucepan.
A lovely combination of flavours and a new adventure in my world. I know what you are thinking. Green beans and broad beans are legumes and not Paleo. That may be so but they are a whole food and although l only eat them now and again, if they arrive in my seasonal, local, organic and whole veggie box l am going to eat them!
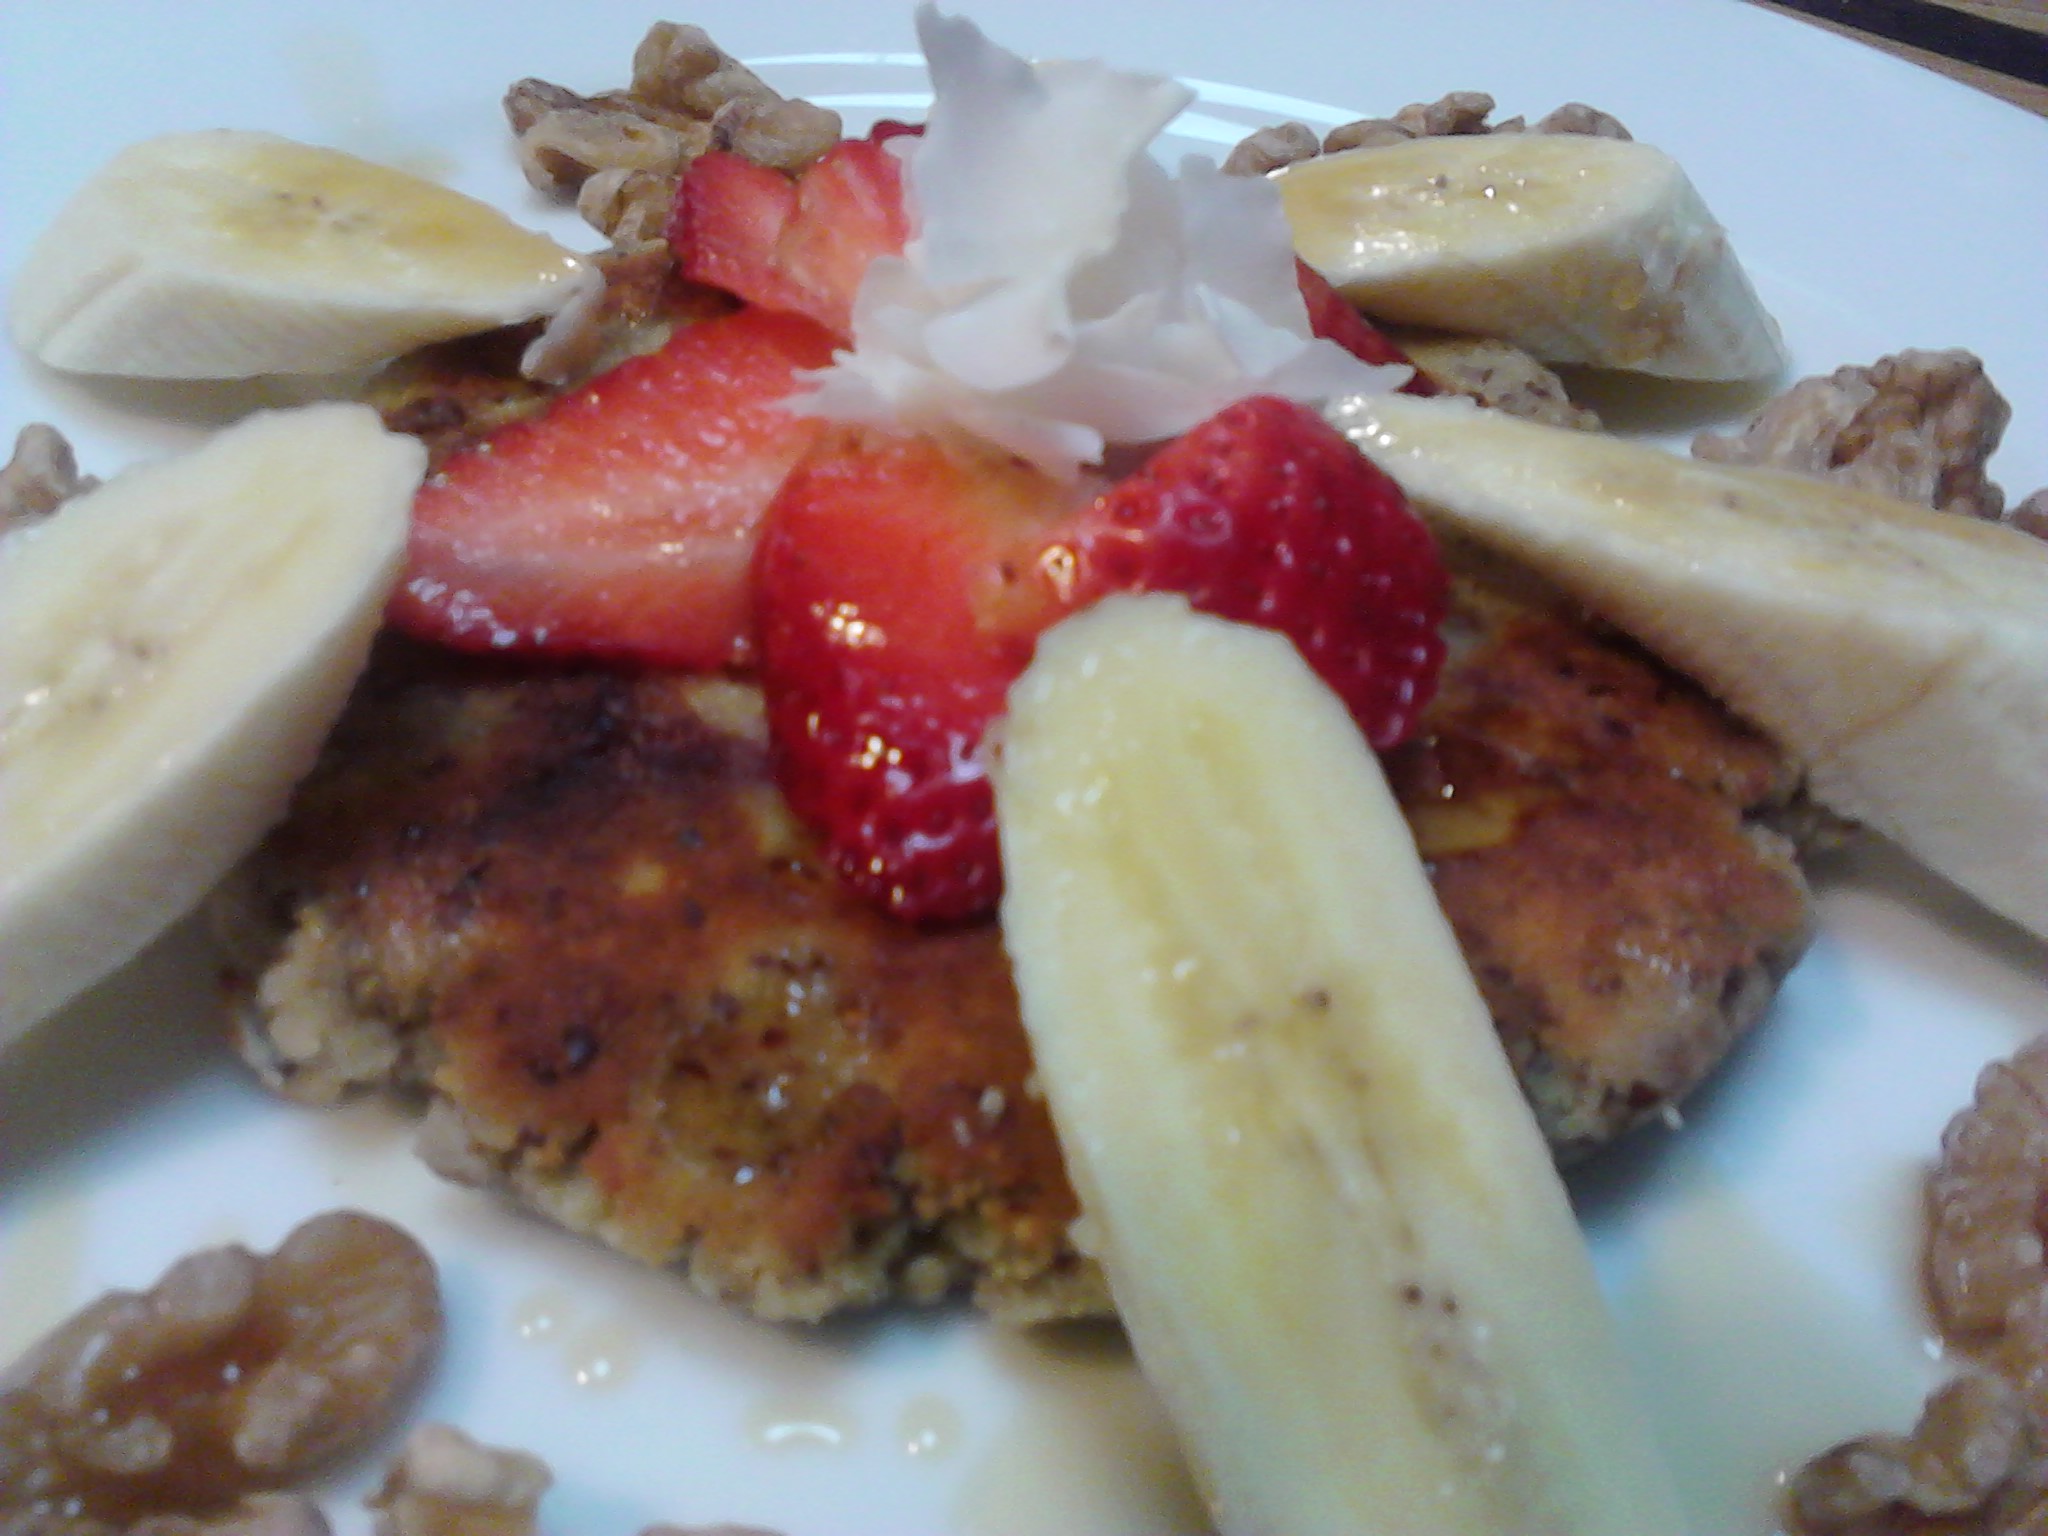
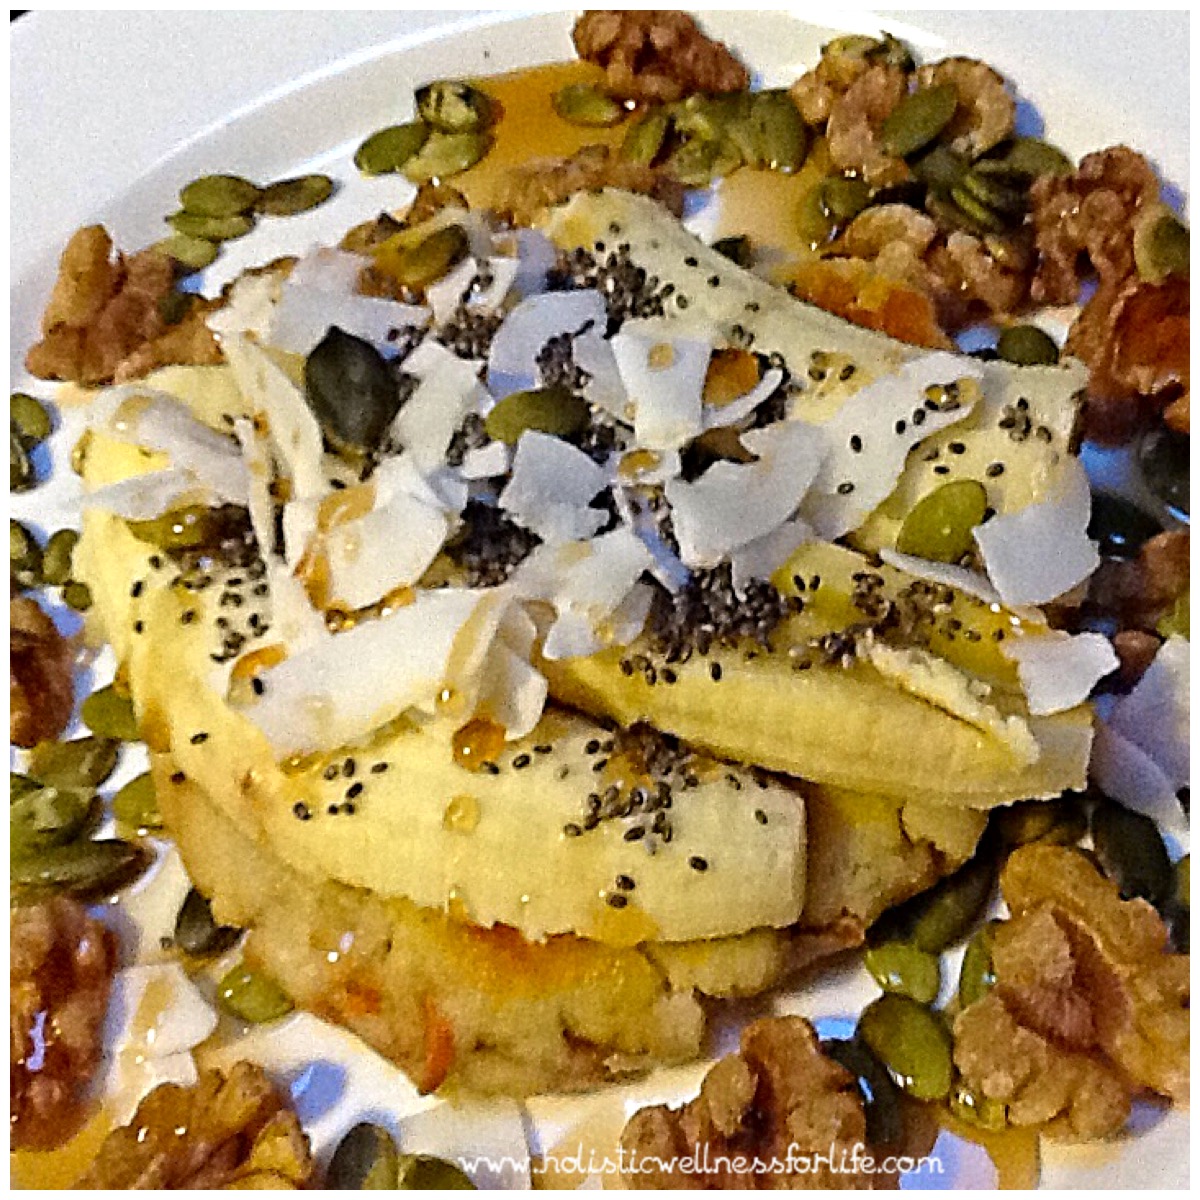
Start your day with a delicious flavoursome pancake which is gluten, dairy and processed sugar free. Make a batch of mix up for the week and enjoy a breakfast which is quick to prepare, colourful and very tasty. Easily adapt this recipe to suit your own tastes and to provide variation to your diet.
Top the pancake with your favourite fruit, seeds, nuts, coconut flakes and some maple syrup.This pancake features seasonal mandarin with cinnamon.Some lovely kiwi fruit and banana add an interesting element to this pancake.Pureed raspberries with banana, seeds, nuts and maple syrup
Basic Recipe: This is the basic recipe that you can make at the start of the week.
1 cup coconut flour
1/2 cup buckwheat flour
2 free ranges eggs
Filtered water (enough to make a moist dough)
Additions to the basic recipe: Add different flavours to your mix by adding grated beetroot, grated sweet potato, grated carrot, cinnamon, chia seeds, apple, flaked almonds or coconut flakes as examples.
Method: This is a small pancake so once you have made your dough you just need to an amount to form a small ball which you can then flatten in your hands before placing into a pan with some oil. I usually use olive oil or coconut oil. Just a small amount. Gently cook until golden then flip over. A guide to the size of the pancake is to make it just bigger than an egg ring when flat and then the toppings fill out the meal.
Toppings: This is where you give your pancake a personality by adding fruit, nuts, seeds, coconut flakes and a natural sugar. I activate my nuts and seeds and keep them in tubs in the fridge and freezer so they are always on hand. This part of the meal preparation takes just a few minutes. I like to use either organic maple syrup or organic raw honey. They have a different flavour but ensure it is just a teaspoon. Such a quick meal to make and you can really make it look pretty and impress everyone with your skills. My new podcast has just launched and l would love you to subscribe and leave me a rating/review.
A magnificent beetroot and coconut pancake topped with seasonal mandarin.
You can subscribe through Stitcher and iTunes. Support your wellbeing today and listen as you drive, cook or exercise. I have also become an affiliate for Froothie and you can buy the latest range by clicking on the link below. I have the Optimum 9400 High Speed blender and really love it. I use it to make smoothies and sauces mostly. It is very powerful and handles ice really well. You can also follow me on Instagram at holistic_paleo or on Facebook at Holistic Wellness For Life, Primal Living Melbourne or Gluten Free Central.
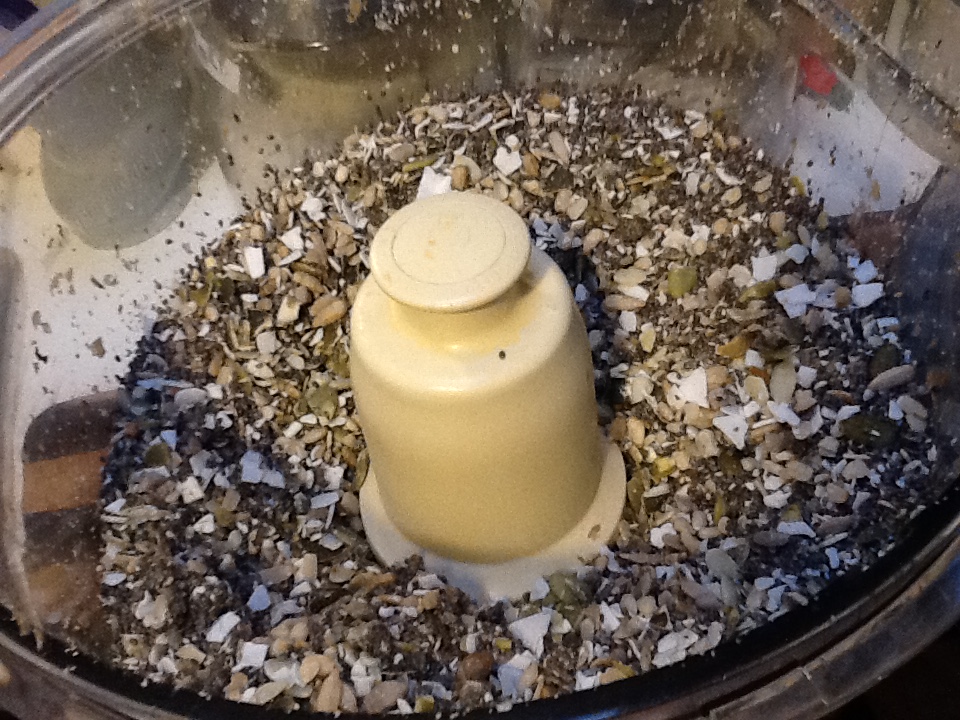
These are delicious lunch box bars that are raw, frozen and highly nutritious. With the help of a food processor these are so quick to make with just a few simple and natural ingredients. This recipe can also be made without a food processor but the mix may not hold together as well and be more like a trail mix.
Into the food processor (chopping blade) place:
1 cup pumpkin seeds
1 cup sunflower seeds
1 cup sesame seeds
1 cup coconut flakes
1 cup chia seeds
1/4 teaspoon sea salt.
Nicely broken down
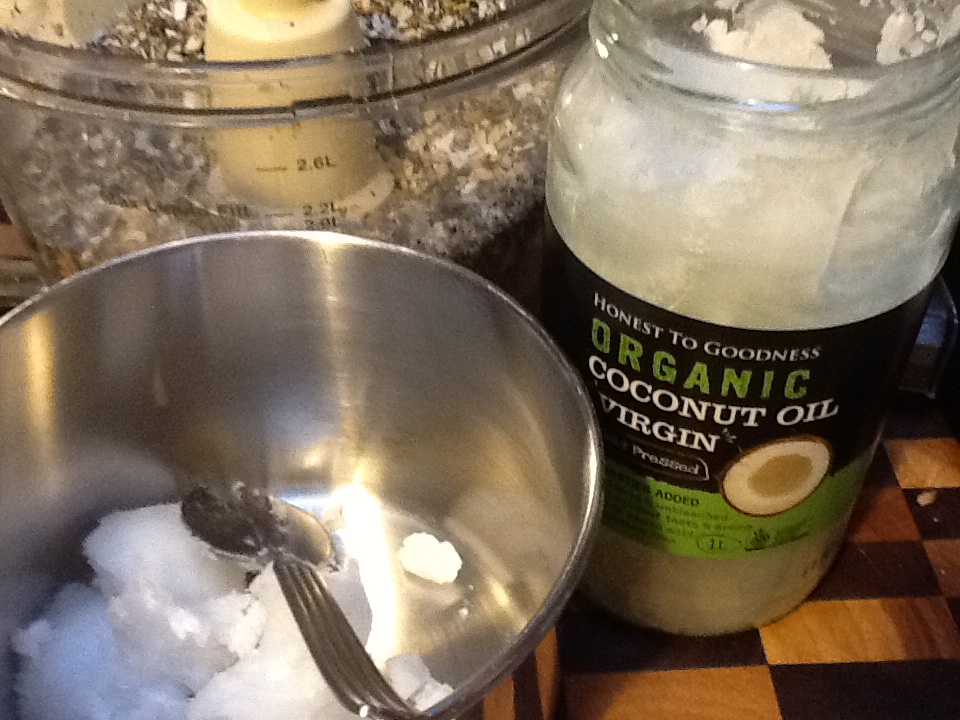
Other ingredients:
1 cup organic coconut oil
1/2 cup raw organic honey
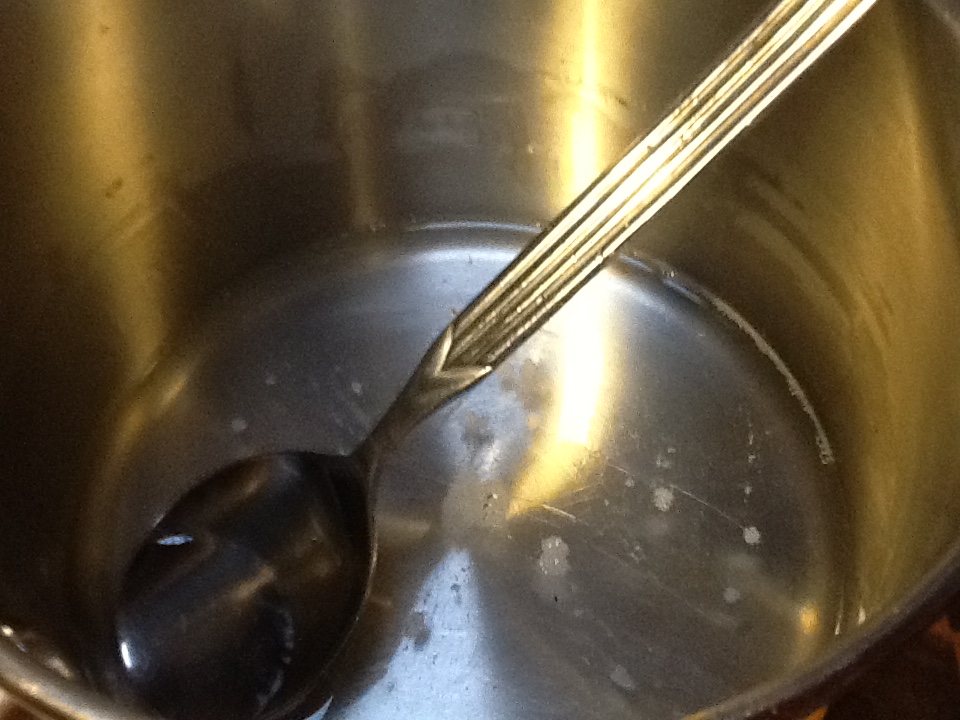
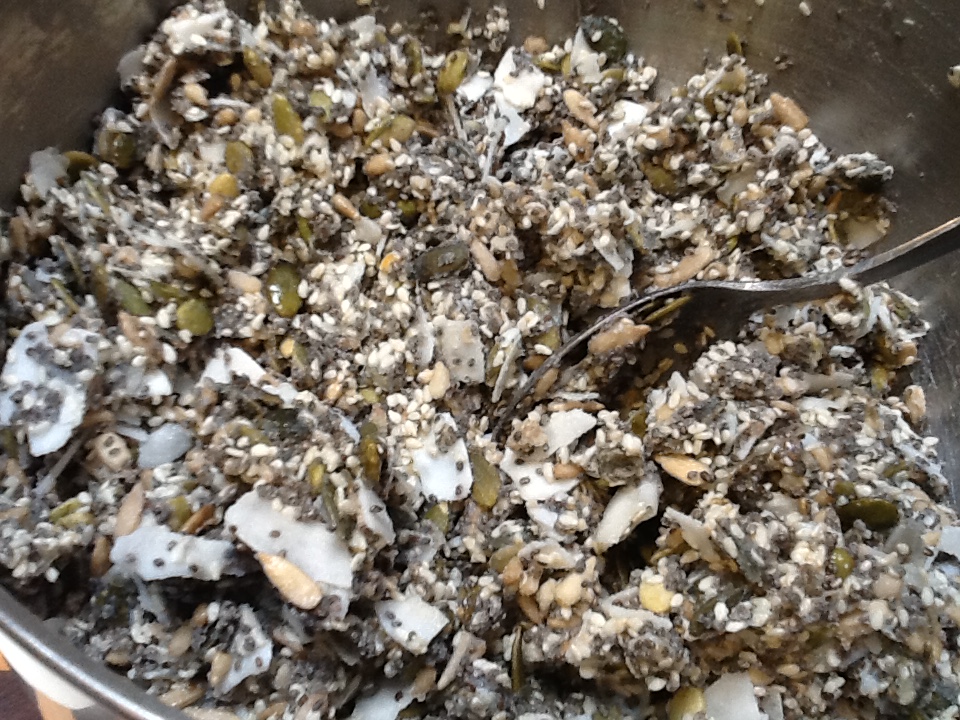
Place your coconut oil in the saucepan. If it is hot weather the oil will already be either soft or a liquid so you won’t need to do this step.Gently melt the coconut oilAdd the oil to the dry ingredients and then add the honey. Mix well. You may need to gently warm the honey but don’t melt on a high heat as this will damage the nutrients. I often just place the jar under warm running water.This pan is a good shape and size.
Place the mix into a rectangular baking tray and even out with the back of a spoon. You can line it with baking paper or if you are using a metal tray like this one can just tap the bottom to remove it when frozen. Ensure it is pressed very firmly. I like to cut the mix into bars at this point but you can also do it later when the slab comes out of the freezer. If you do it now then when frozen the pieces just snap apart, whereas later you will slice the slab with a knife.
Place into the freezer for about an hour and then either snap the pieces apart of slice. Return to the freezer and eat as desired. So delicious.
I cut this batch after they were frozen. Slightly messy but you get to eat the crumbs.Nicely cut into bars
I have now launched my new podcast and would love you to subscribe on either iTunes or Stitcher. Please also leave a rating and review.
Click on the picture to subscribe.Click on the picture to subscribeA proud moment launching my own podcast.
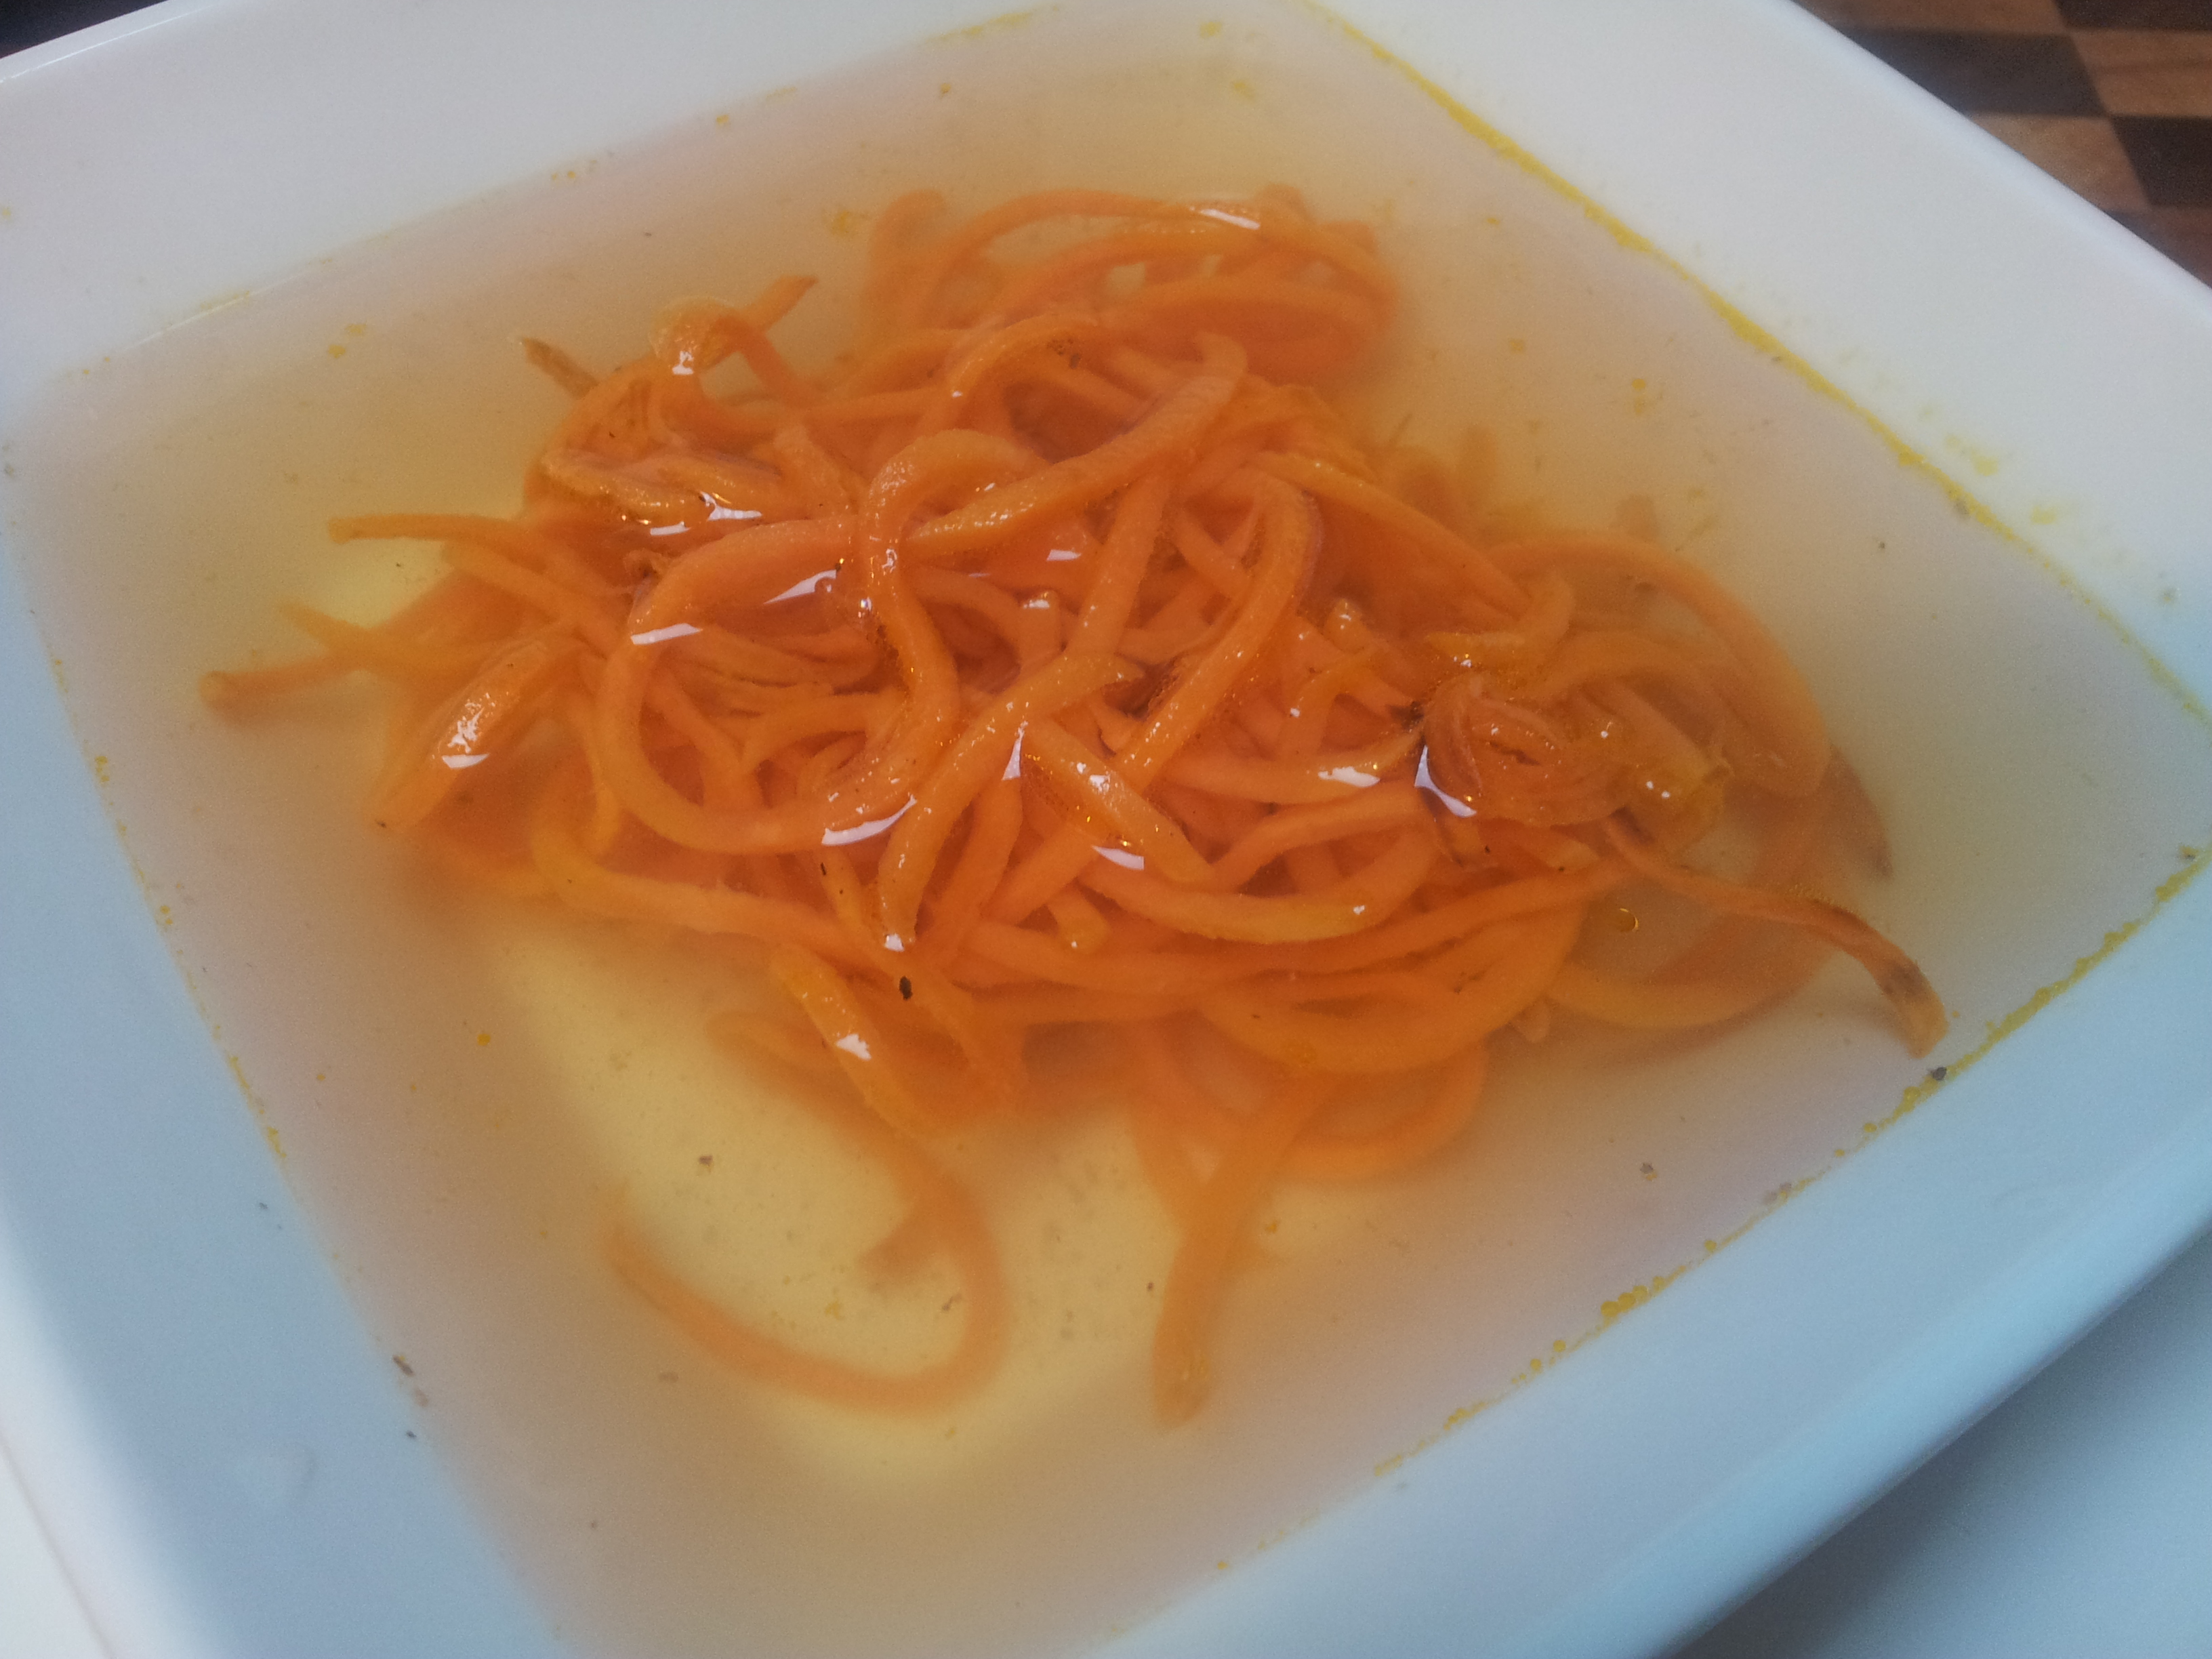
A flavour taste sensation filled with so many wonderful nourishing nutrients and making use of ingredients that usually go to waste.
An amazing turkey bone broth with pan fried sweet potato noodles. It was completely delicious.
Bone broth is nutrient dense and extremely healing for the digestive system. In addition to this it is filled with an incredible flavour that can be enjoyed on its own as a drink or used in your favourite meals.
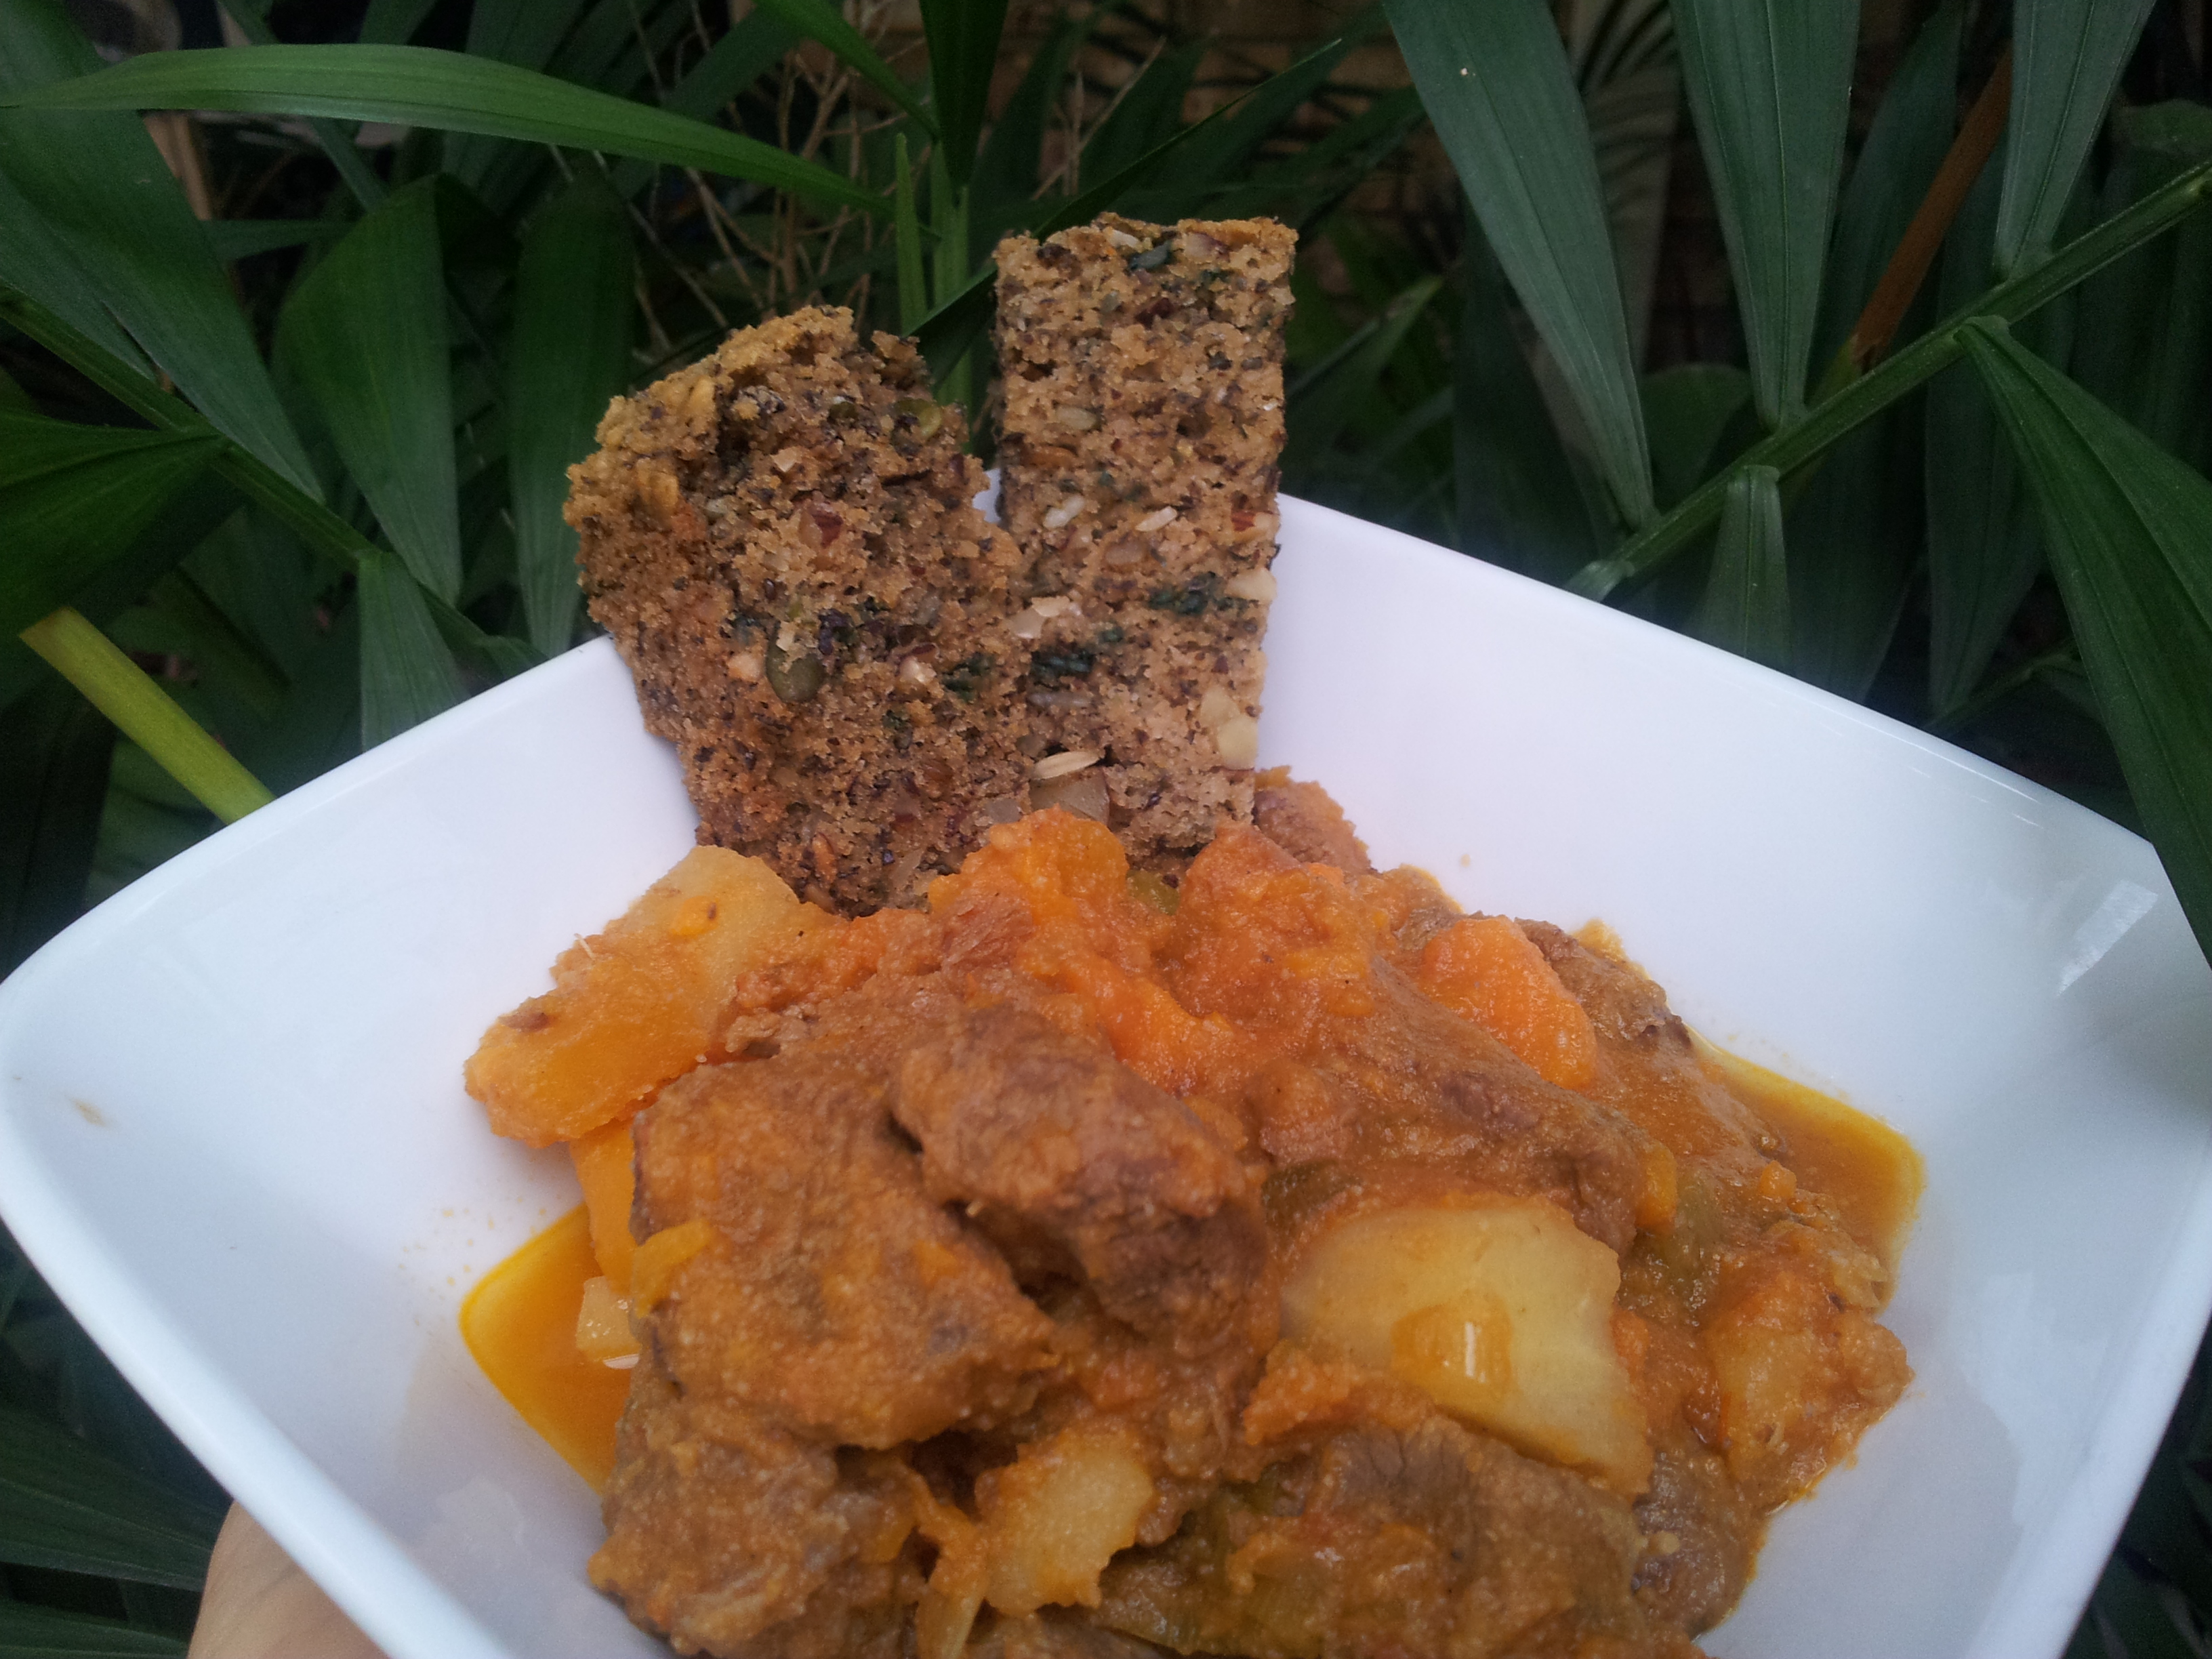
This is a beautiful beef and vegetable casserole where l added about 1 litre of turkey stock to create an amazing flavour.
To make the stock you need to have the remainders of the turkey after you have cooked it and enjoyed a lovely meal.
Cook your turkey and enjoy a delicious meal saving the leftover meat, skin and bone for your broth.
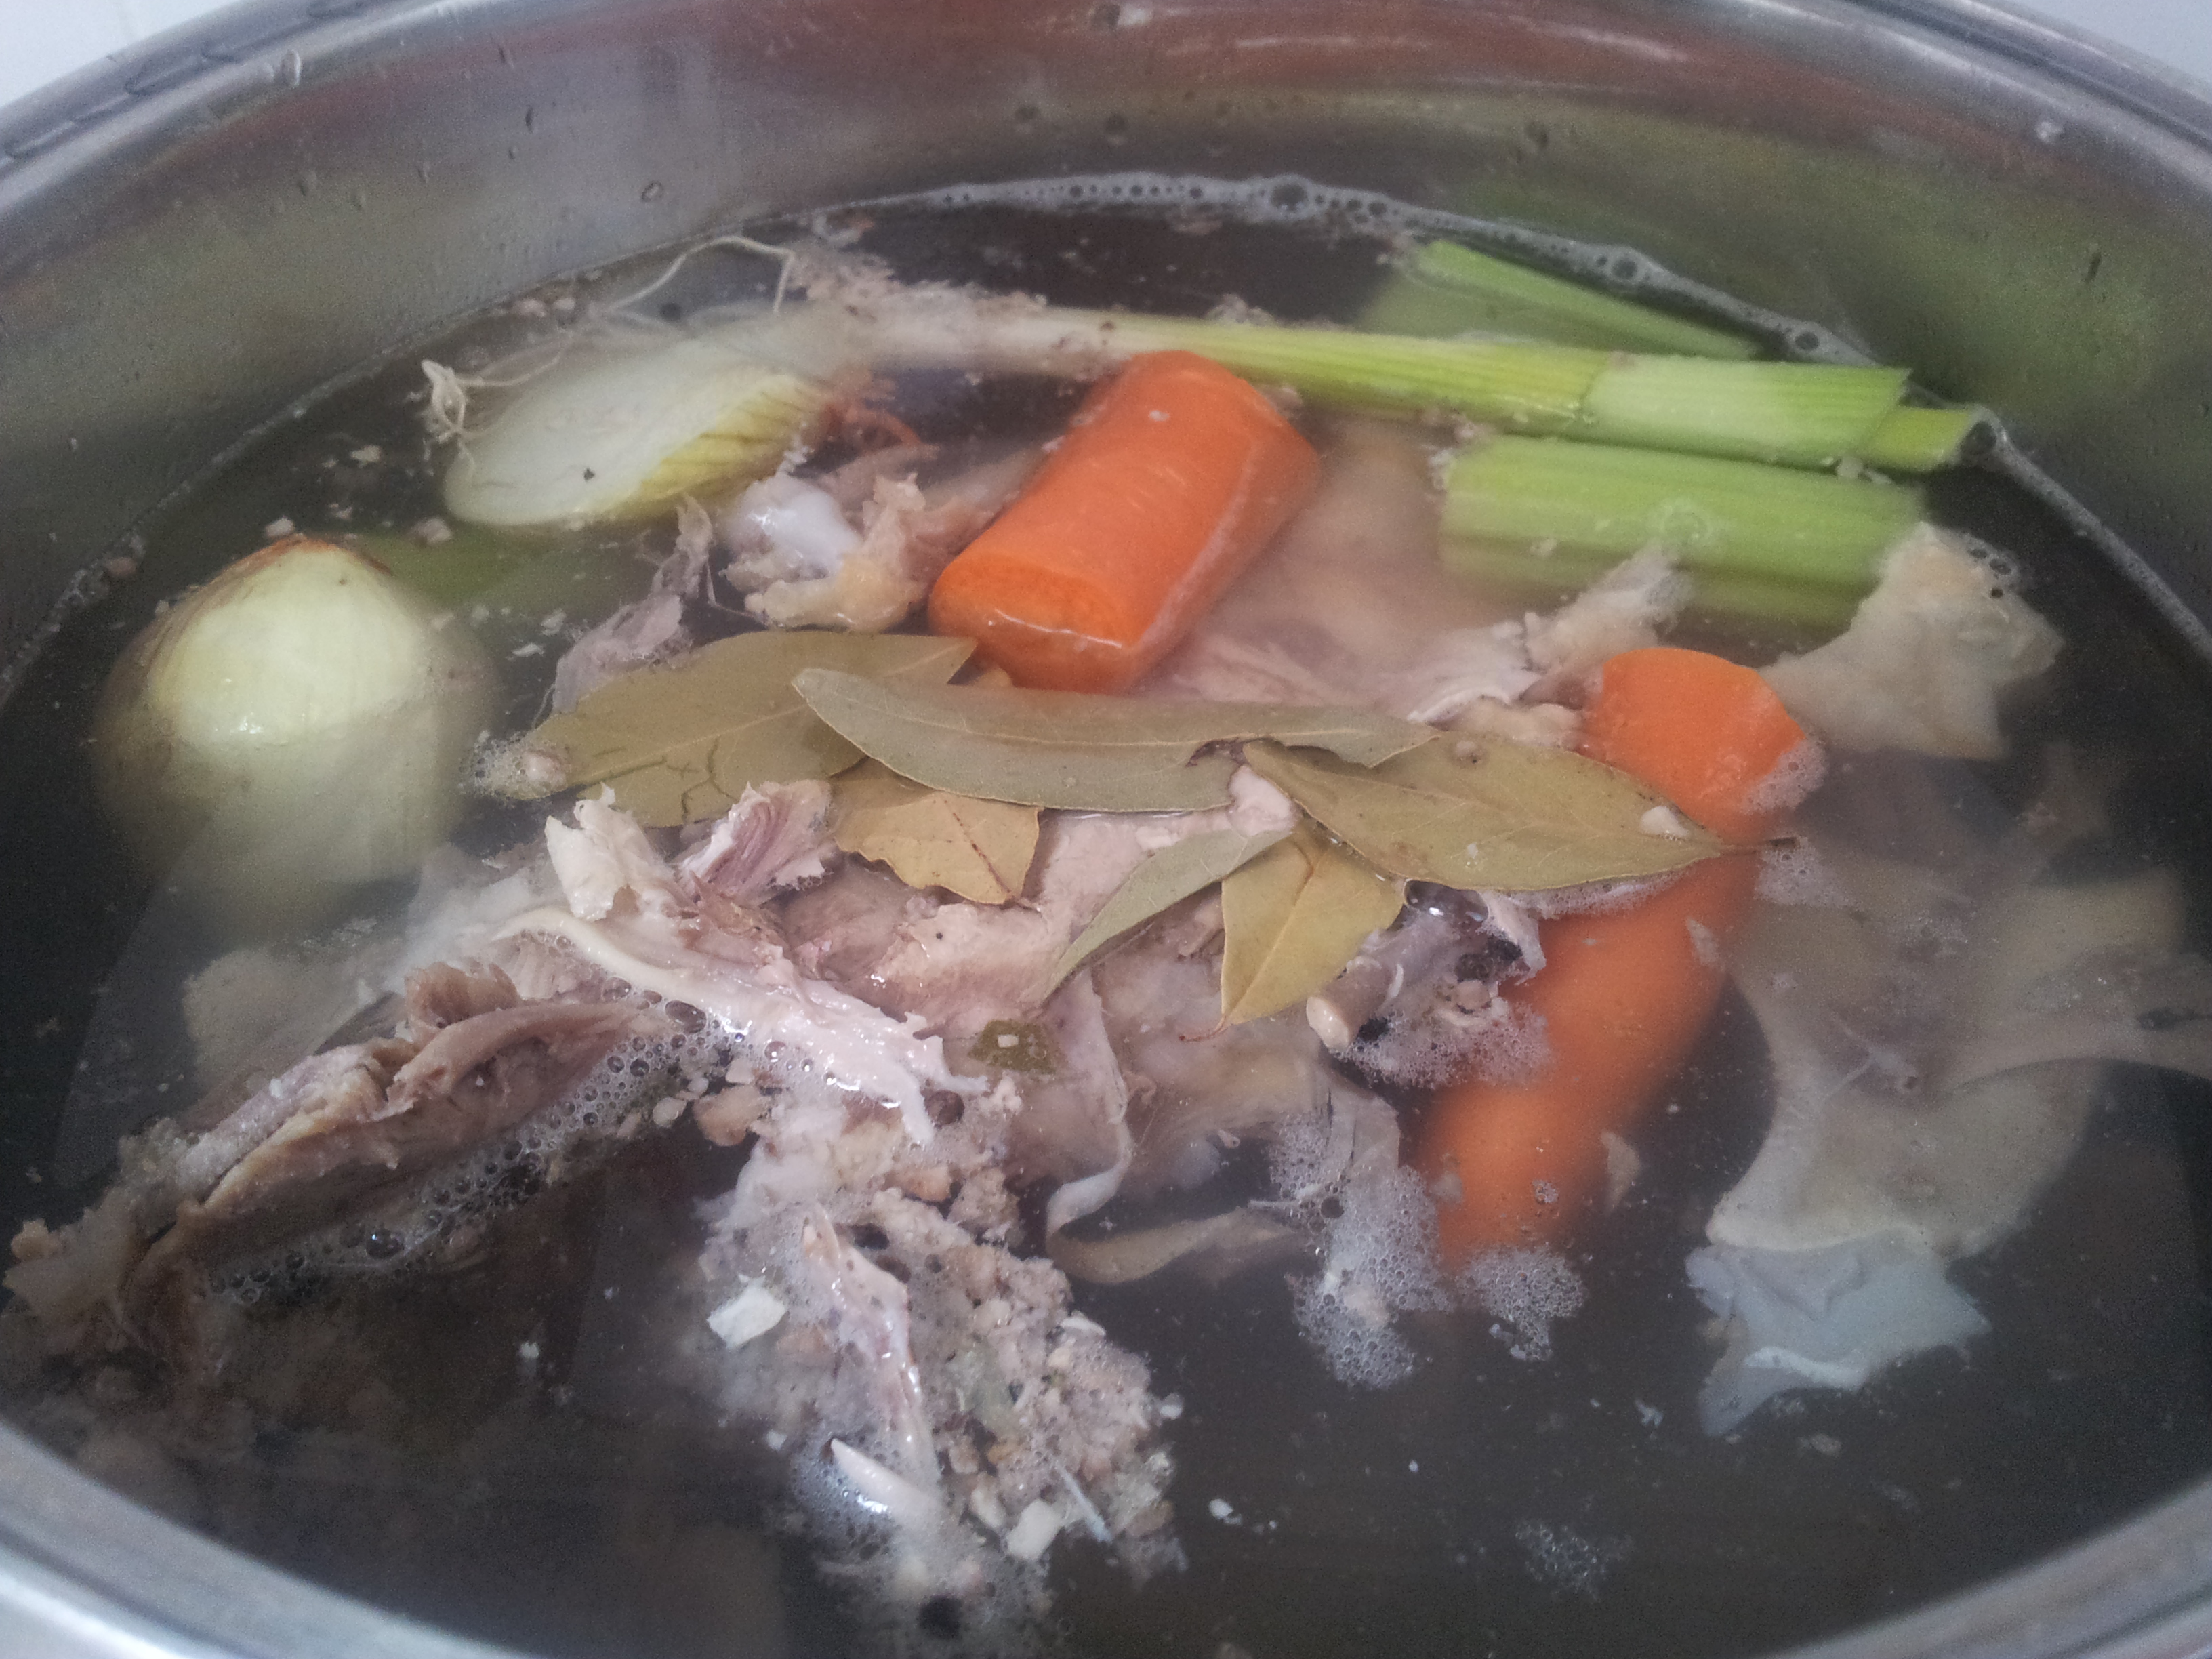
To make the broth place your turkey leftovers in a big pot and fill it 3/4 of the way with filtered water. Add to the pot 1/4 cup of organic apple cider vinegar, a few peppercorns, onion, 1/2 teaspoon sea salt, a few bay leaves and an assortment of vegetables such as celery ends or carrots.
Everything is in the pot.
It is hard to go wrong and the actual quantity of each ingredient doesn’t have to be exact. The apple cider vinegar is important though as it helps to leach the minerals and nutrients from the bones.
Bring the broth to the boil and then let simmer with the lid on for around 24 hours. The house will smell lovely.
When the broth is cool strain it to so you are left with a clear liquid. Let it cool in the fridge and then skim the fat and solids off the top. The broth is now ready to use or can be frozen.
This broth is so precious. Try to always have a broth of some kind in your fridge or freezer.
A budget friendly, nutritious and easy to prepare meal. I used a whole cauliflower for this recipe and was amazed at the plentiful quantity it made. Cauliflower rice is a great alternative to real rice, and you will be amazed at how similar it looks and tastes.
Enough to feed the whole family.
Ensure that you use fresh ingredients. You can use your favourite vegetables but l used mostly greens in this one such as bok choy, celery, broccoli, spring onion tops and snow peas, plus some carrot and bean sprouts.
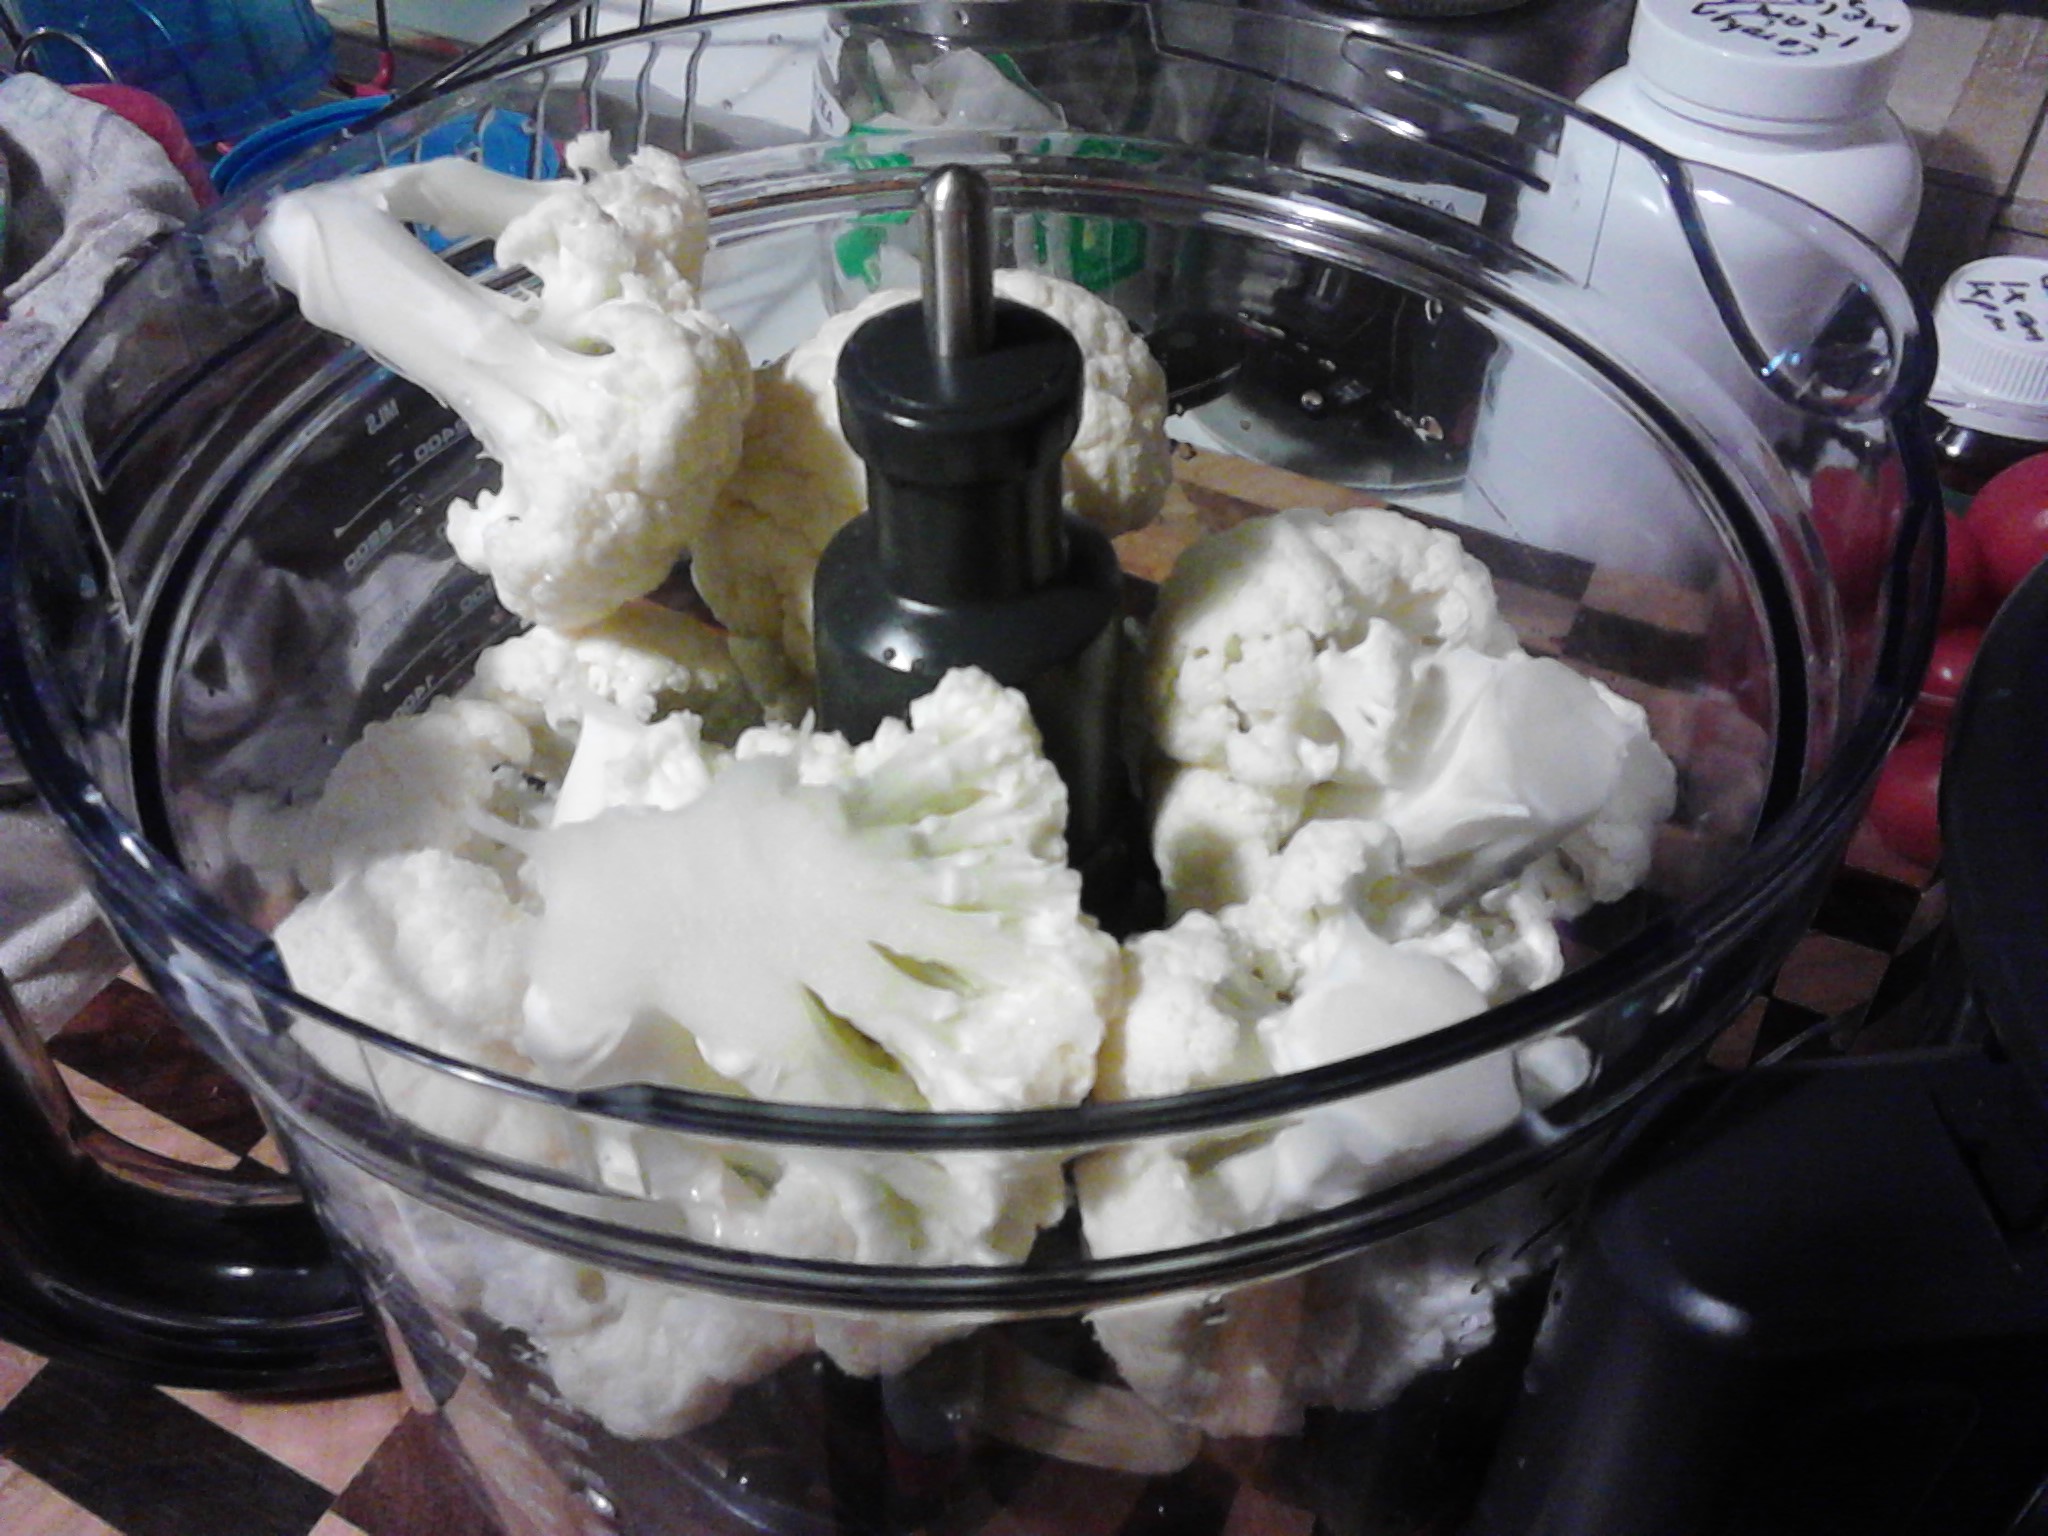
A beautiful fresh cauliflower.
This is a dish that can be pre-prepared early in the day so that at dinner time it will take a very short time to cook. It is a matter of processing the cauliflower, washing and chopping all of the vegetables and dicing the chicken. This can all then be kept in separate bowls or containers in the fridge until required.
Preparation is the key! One whole cauliflower, 2 free range chicken breasts and your favourite vegetables.
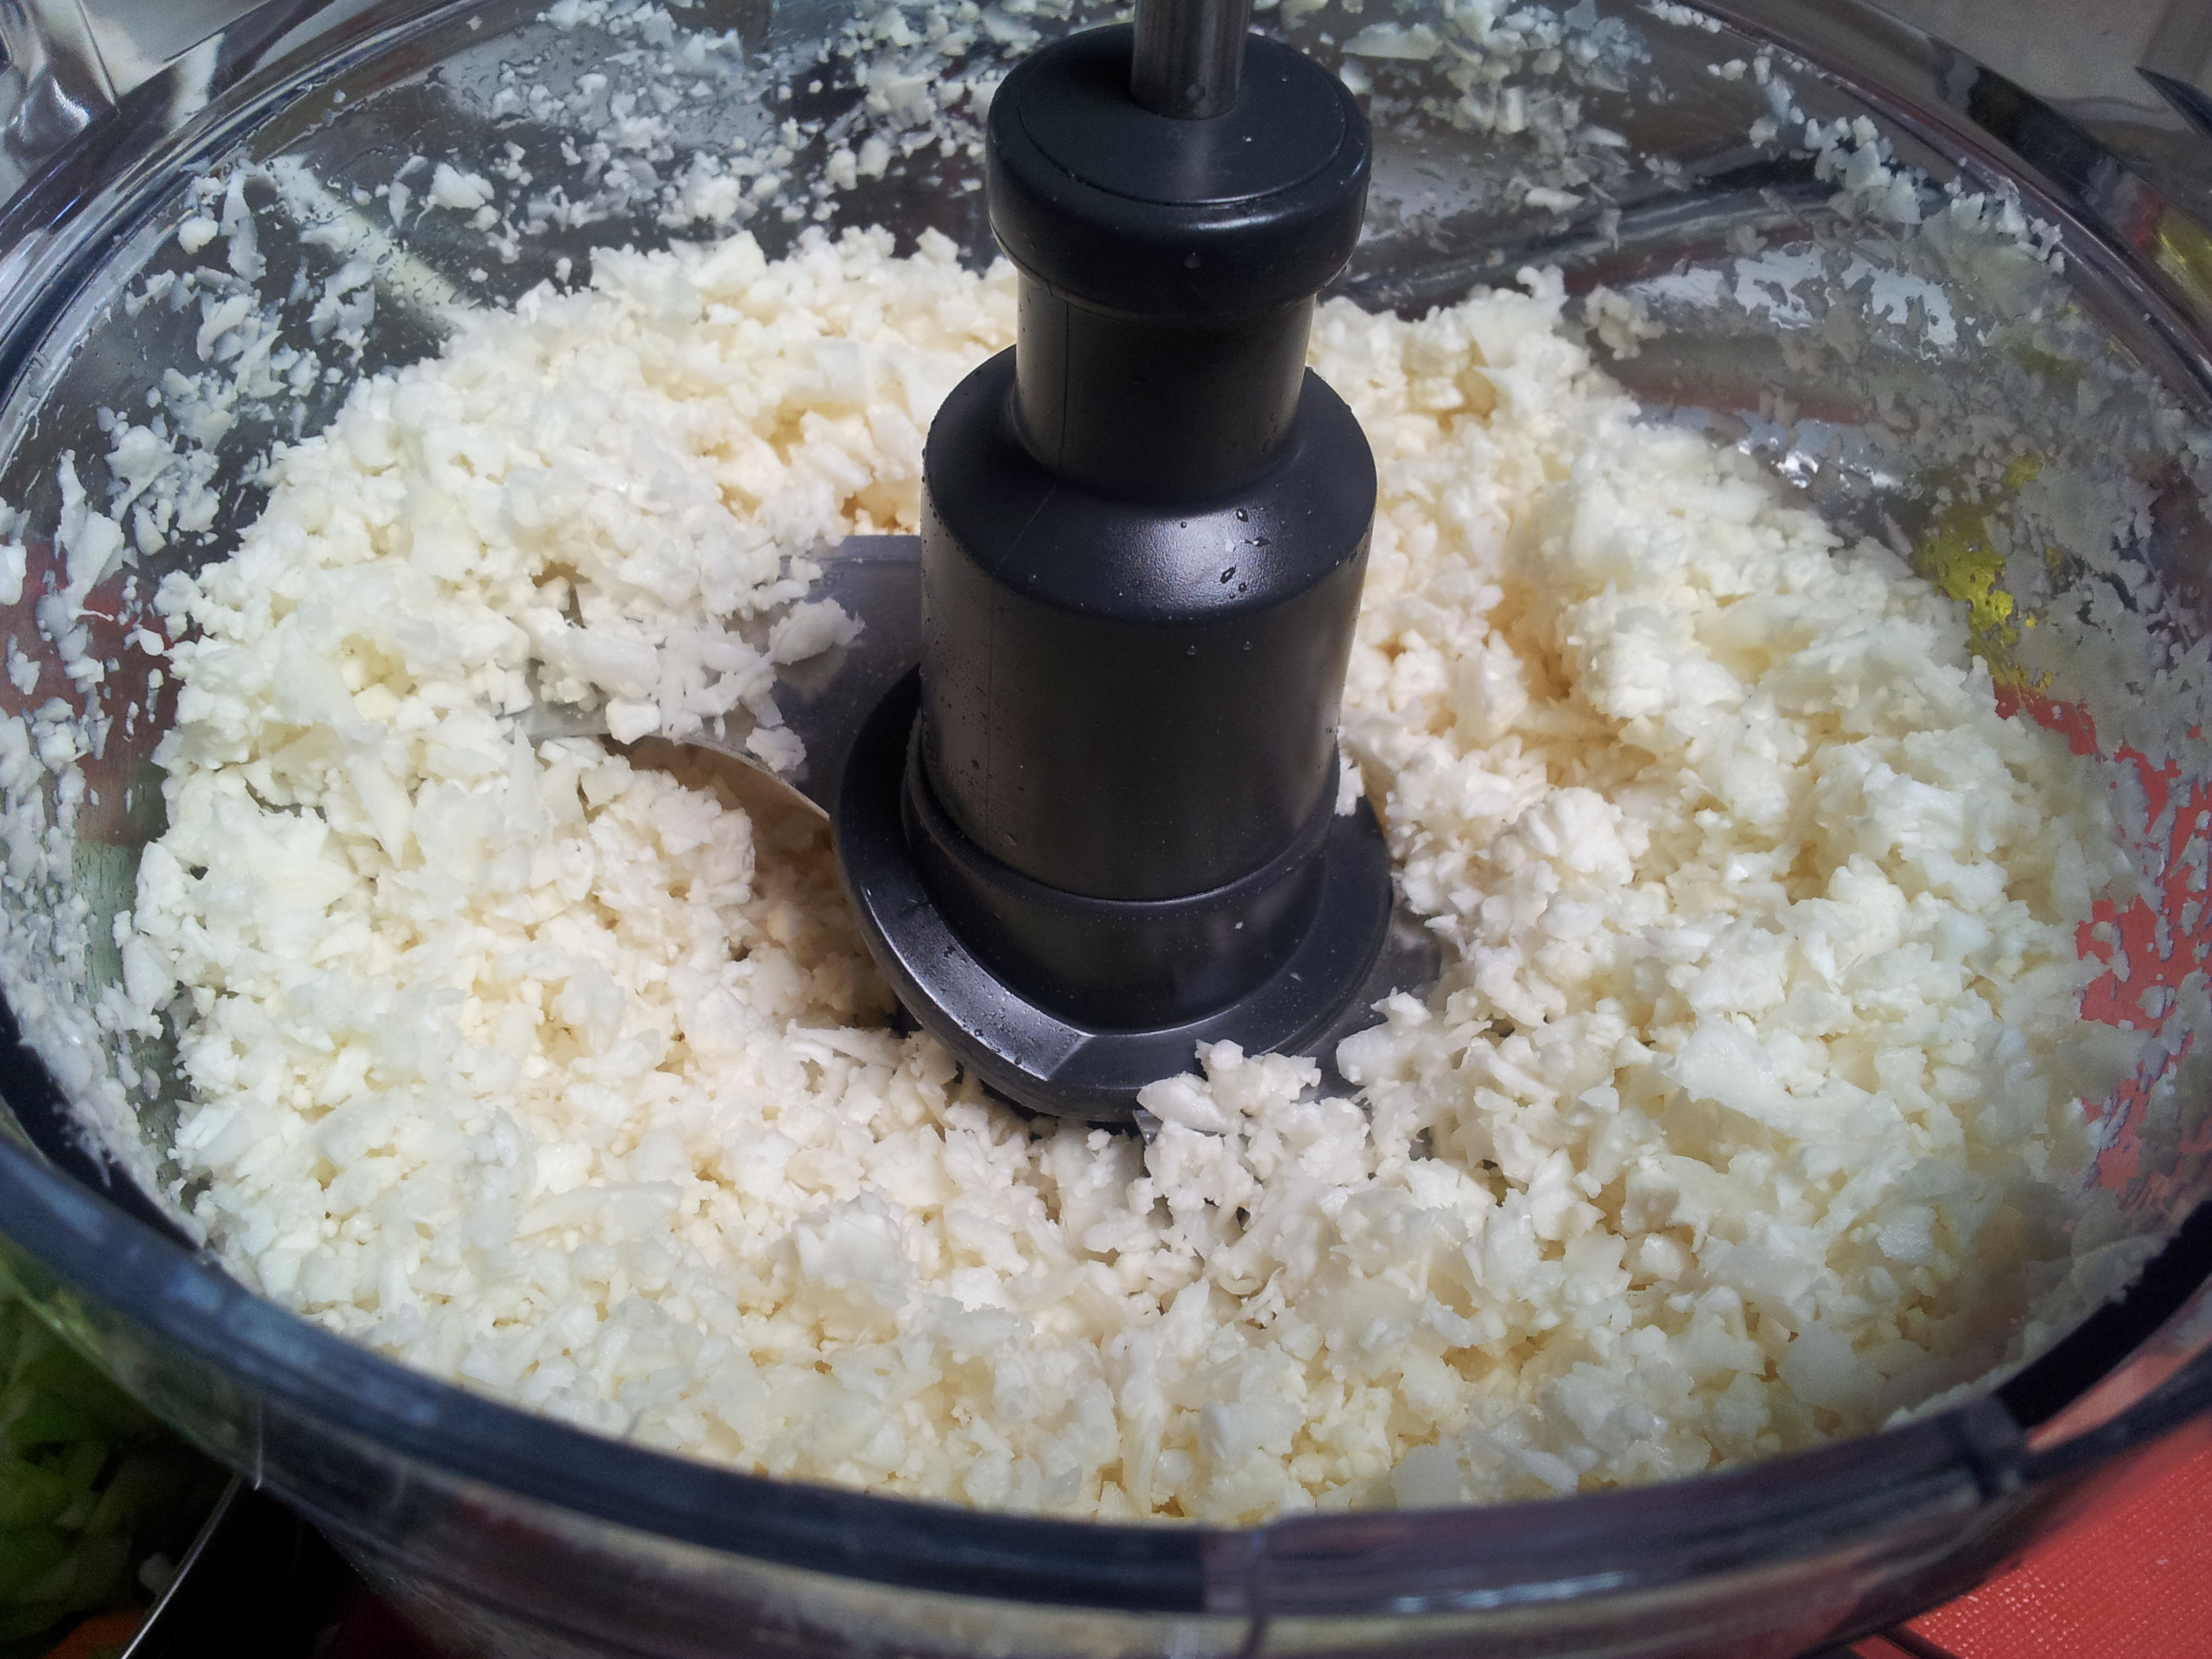
My favourite way to make cauliflower rice is to cut the fresh cauliflower into smallish pieces and then blend it in the food processor. This takes about 10 seconds to turn into cauliflower rice. You don’t want it in the food processor too long or it will be a pulp and wont cook nicely.
Wash the raw cauliflower and cut it into pieces that will fit into the food processor.Process the cauliflower until it resembles rice and is an even consistency.
Steps:
I used a largish fry pan which l pre-heated on a low temperature and added some olive oil. You know the pan is too hot if the oil is smoking. High heats will damage the oil so go gently with the heat.
Add the diced chicken to the pan and lightly brown. Next add the cauliflower rice and let it cook for a few minutes, followed by the vegetables and any spices you are using. I just used pink rock salt and ground black pepper, but l have in the past added fresh garlic, ginger and lots of spices such as tumeric, cumin, paprika and cinnamon. You can also add some sauces such as a fish sauce or Tamari, but l have been having food intolerance reactions to a lot of spices at present so kept this dish plain. The cauliflower rice often changes colour depending on the spices or vegetables you use and can look so stunning. Don’t over cook the vegetables or rice to retain the nutrients. I put mine on a nice large platter to serve and it looked wonderful.
You can take this to work the next day for lunch to have cold and use different meats, or just have it as a side dish. A very fresh and clean cauliflower is essential to the success of this dish and it is so light and healthy that it is a great meal to have at night when you don’t want to overload your digestive system.
If you have enjoyed this post please share with a friend. I am on Instagram at holistic_paleo and Twitter at Holistic Paleo@carolynlgray
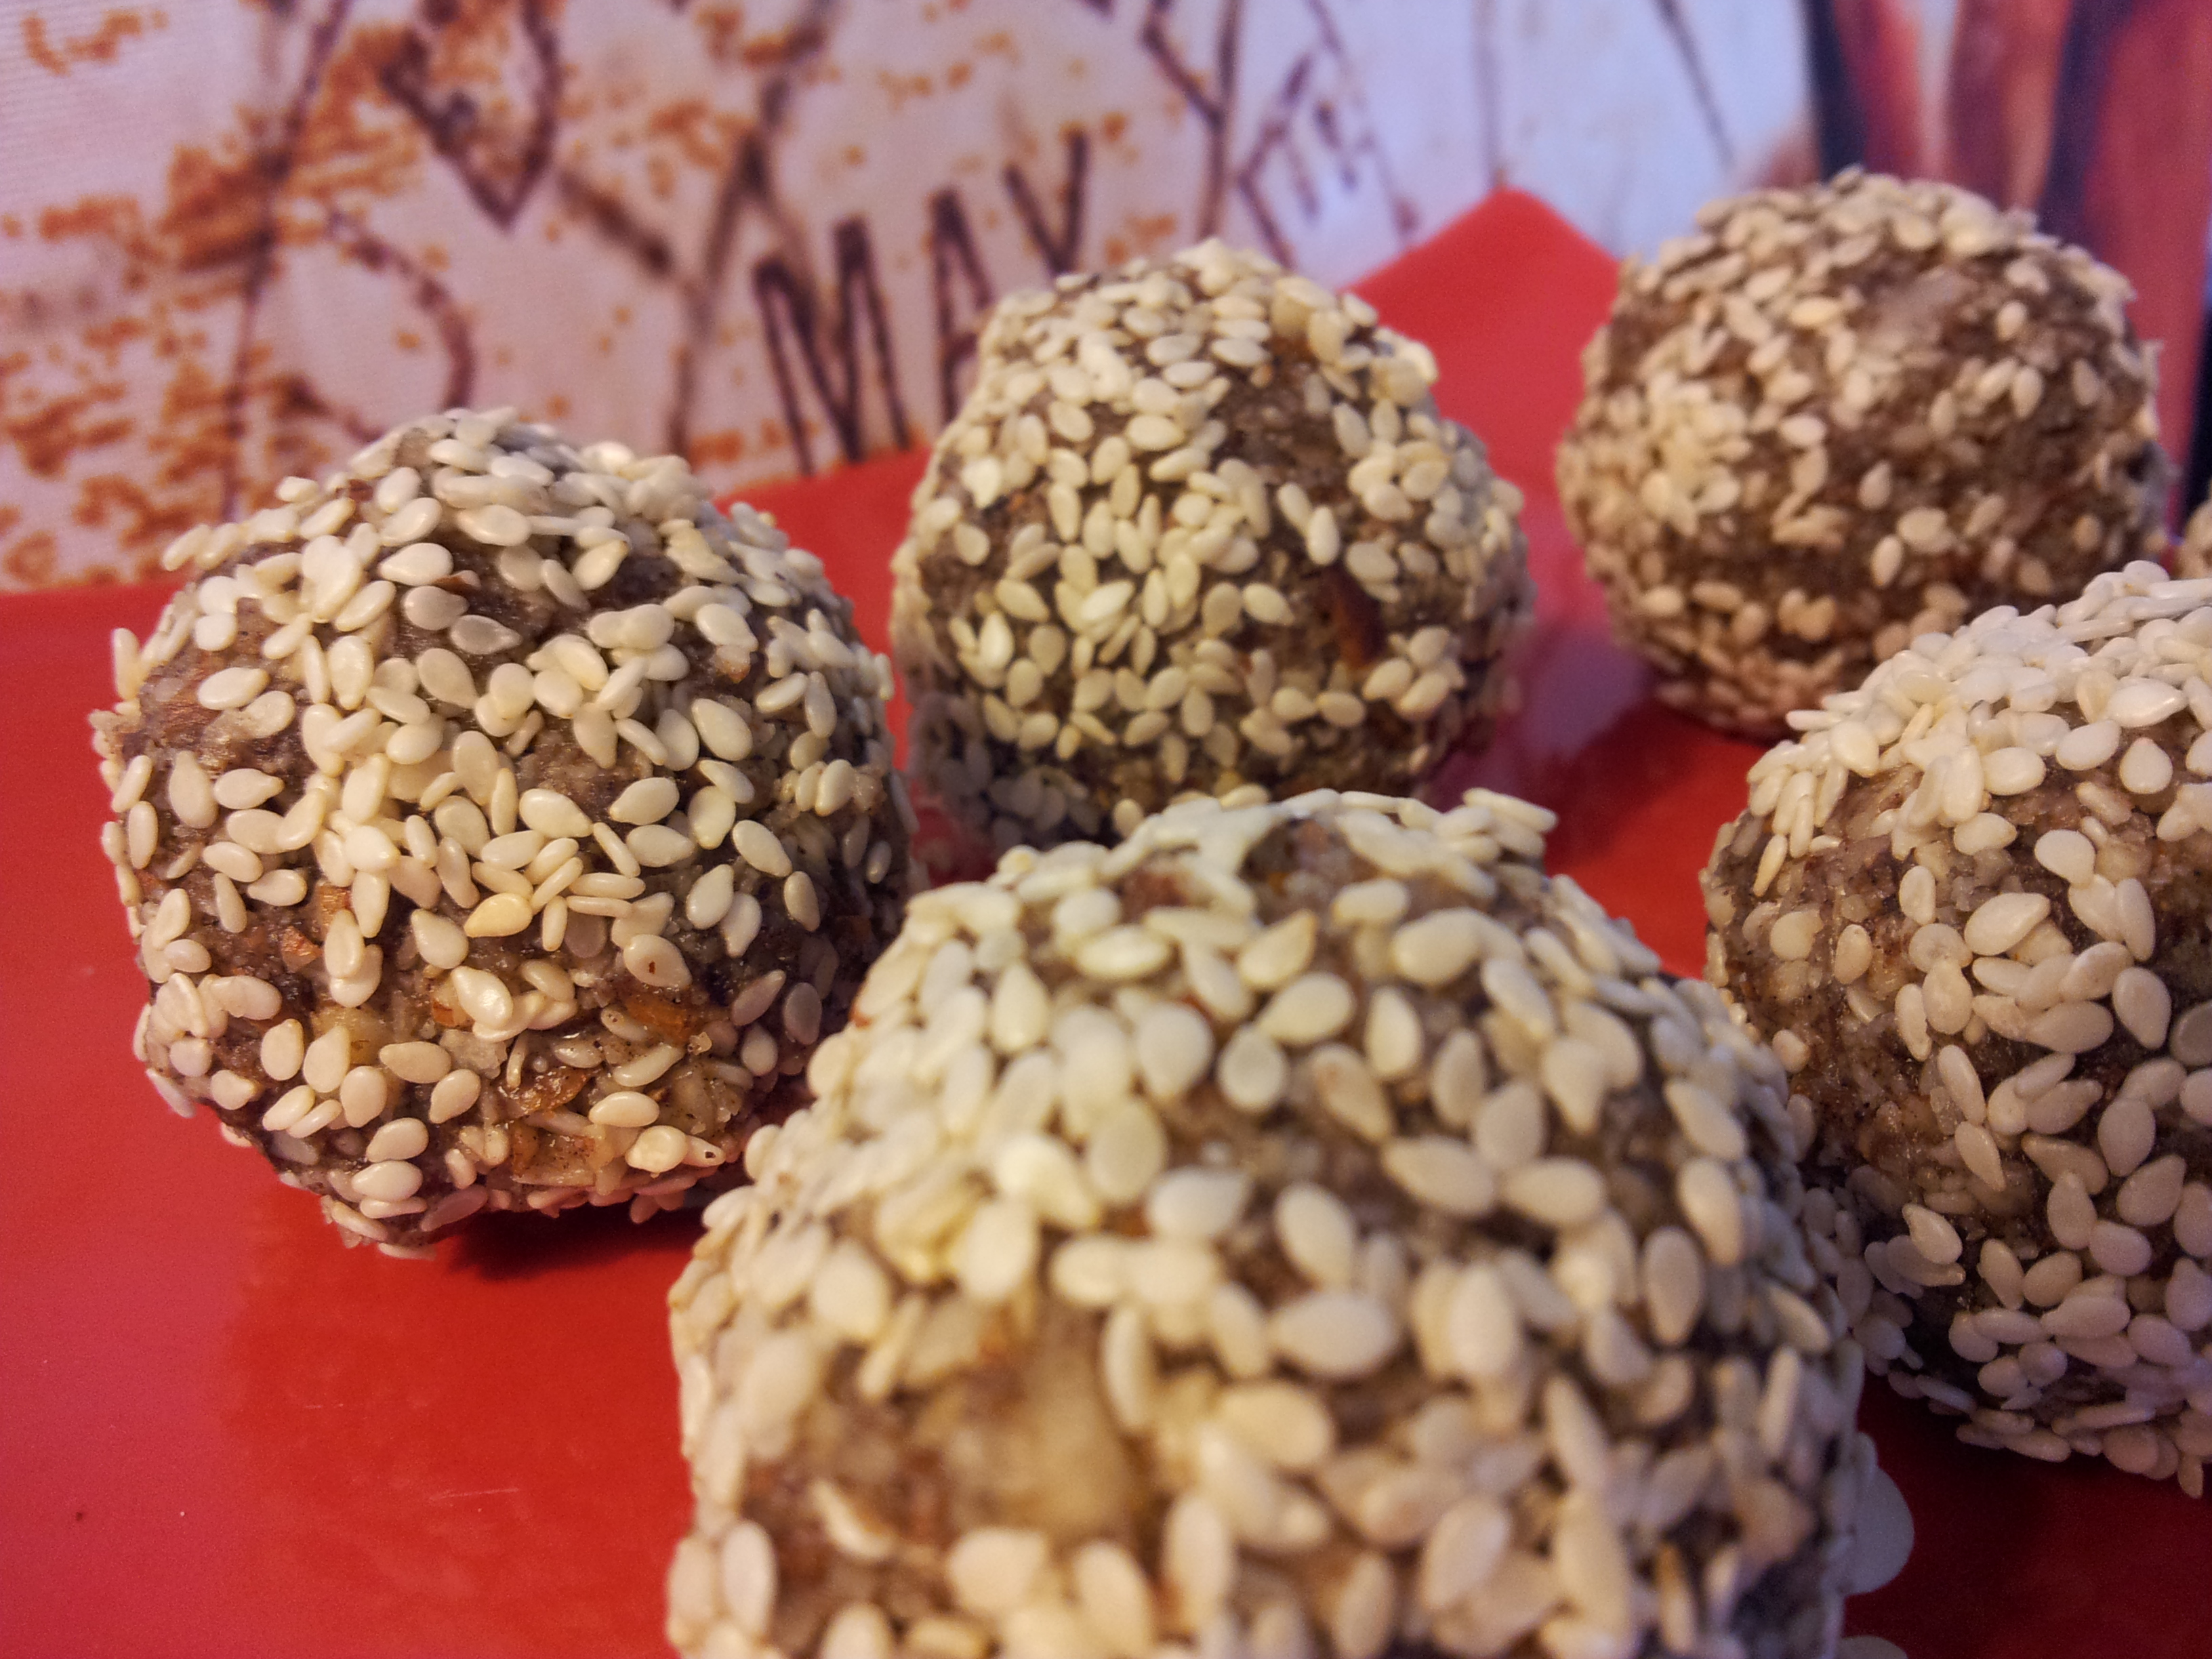
These tasty raw snacks have the most delicious sweet flavour and are packed with goodness. They are Paleo, gluten, dairy and processed sugar free and filled with nutritious ingredients.
Power packed snack.
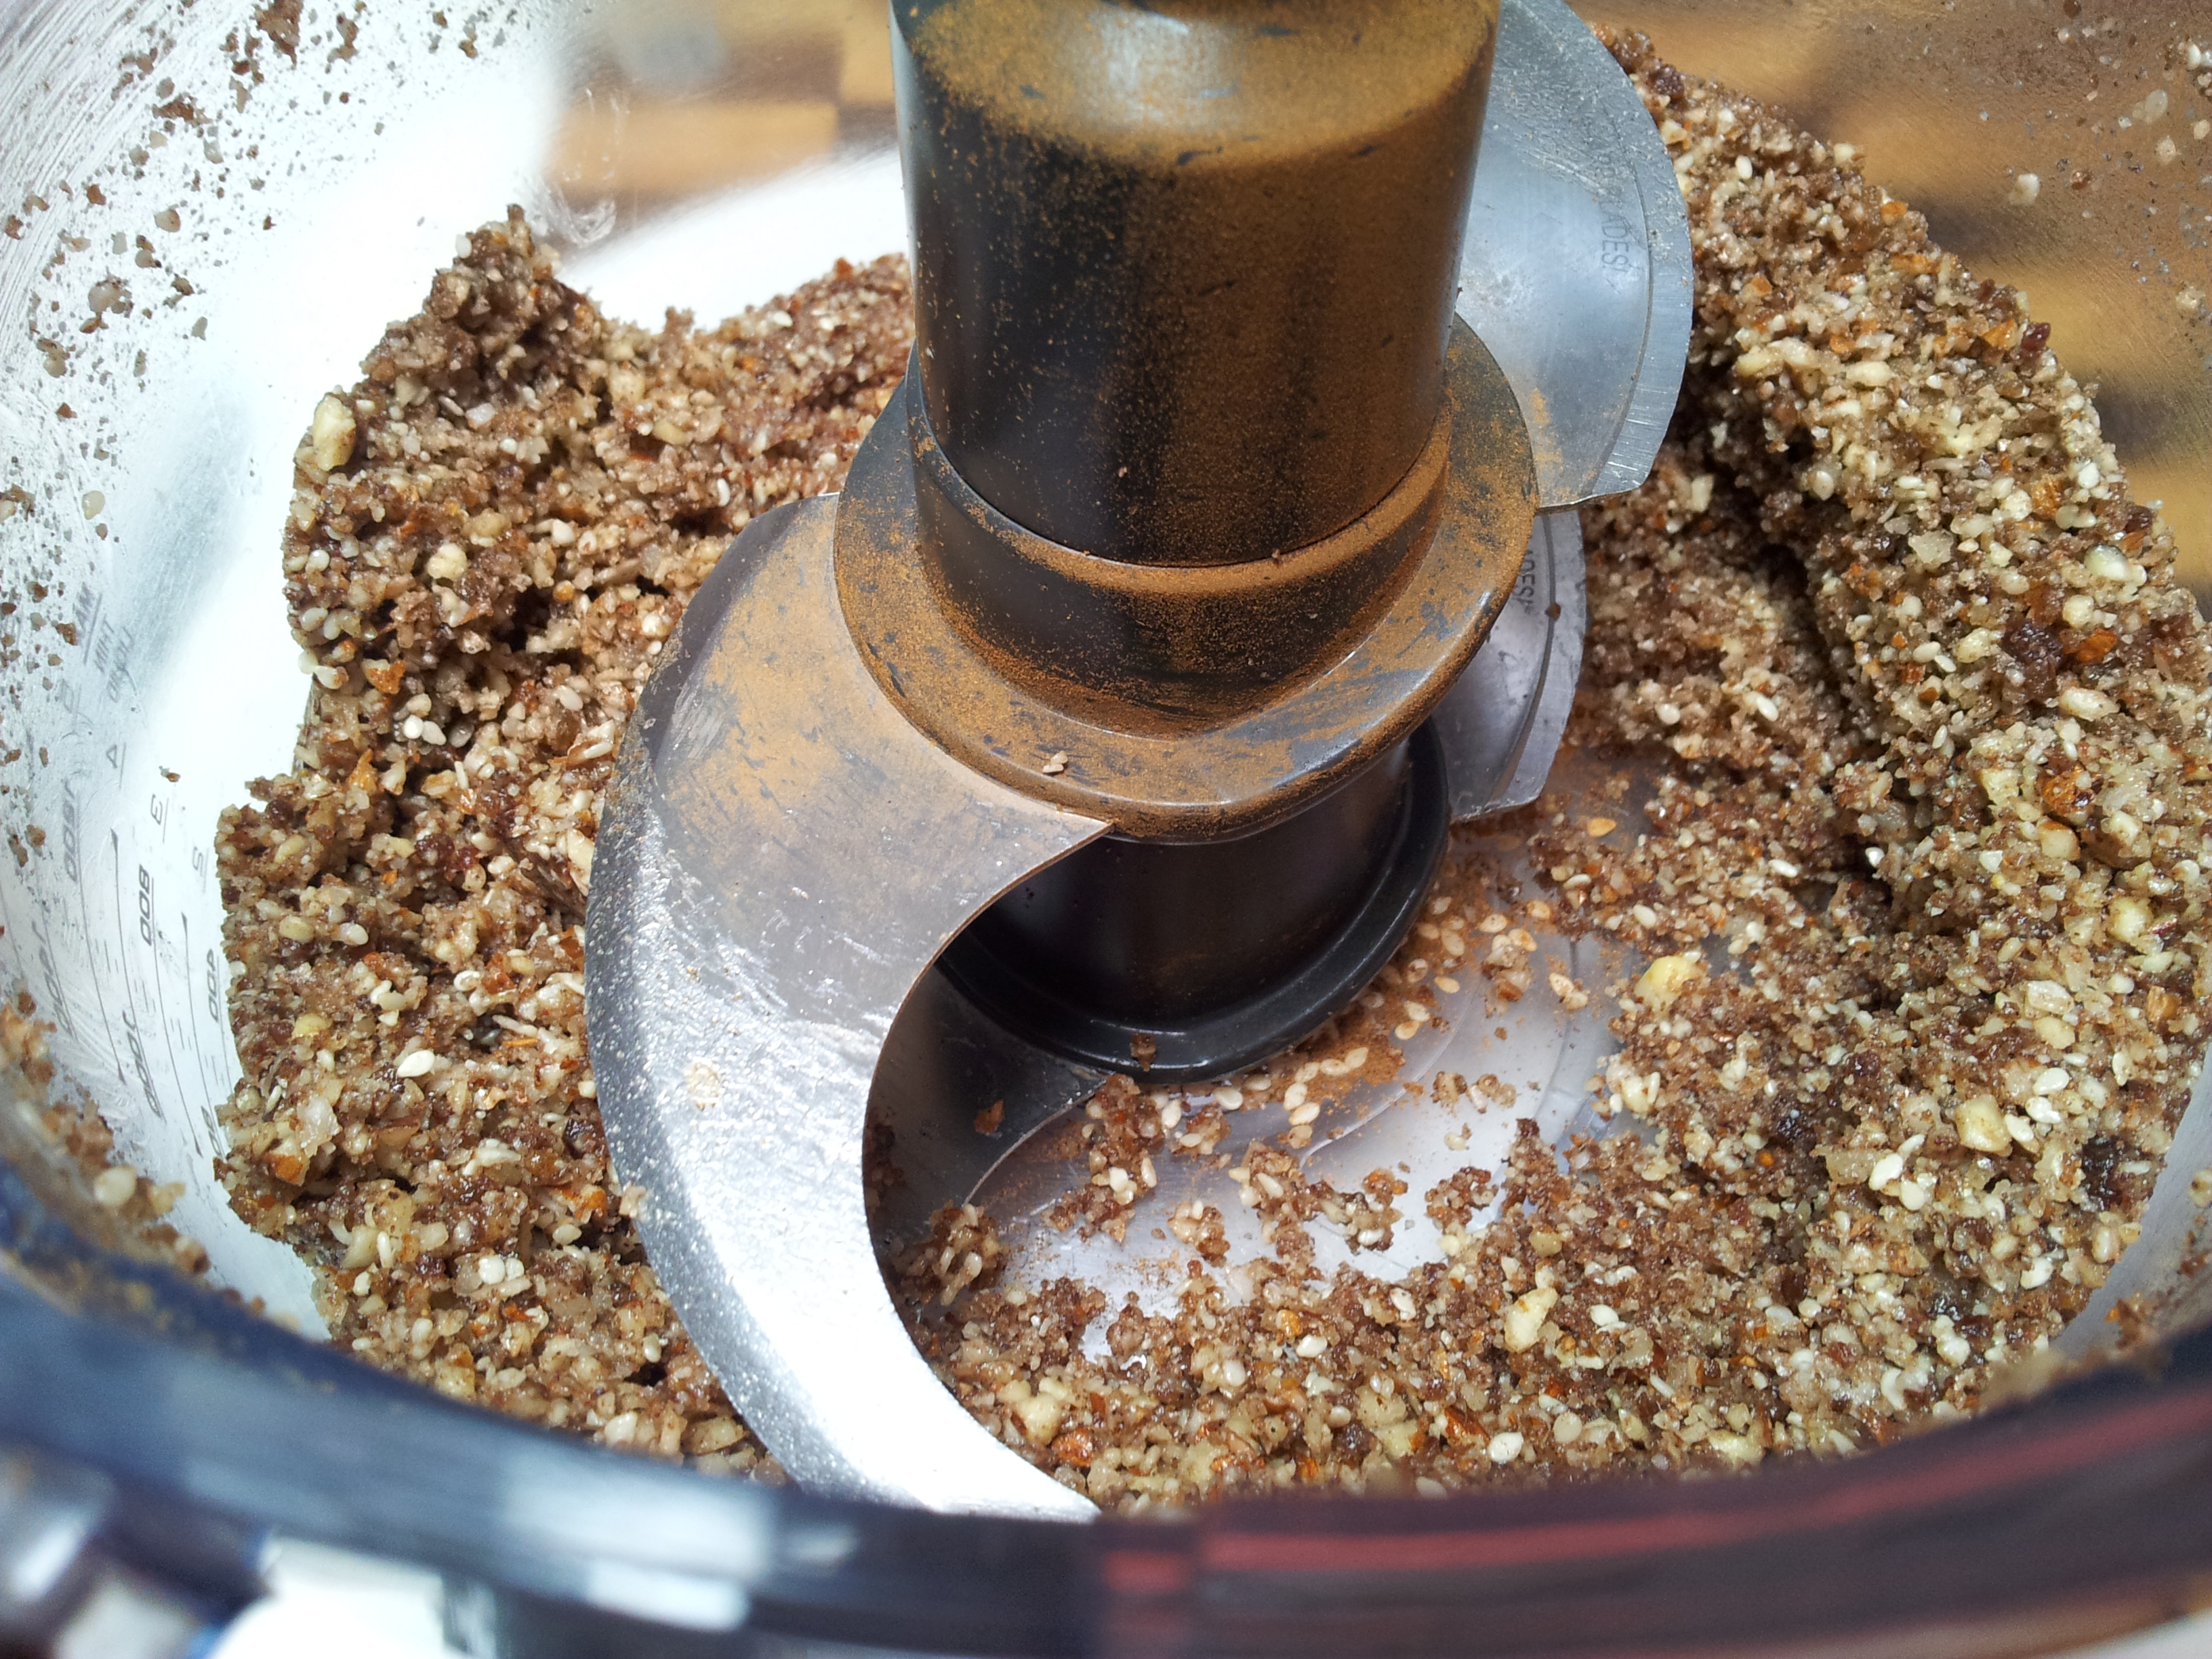
These are the simplest balls to make and taste testing the mixture is part of the fun. You need a food processor to make these as there is quite a lot of blending required. The method is so simple with all ingredients placed into the food processor and blended until an even consistency.
Just minutes to make with a food processor.
Ingredients:(everything organic if possible). This recipe makes approximately 12 balls.
1 cup of raw activated nuts (l used almonds and brazil nuts)
3 tablespoons sesame seeds
2 tablespoons coconut flakes
1 teaspoon cinnamon
4 large medjool dates (seeds removed)
3 generous tablespoons coconut oil
1 level tablespoon of a superfood powder (I used Loving Earth Rainbow SuperFood blend)
Use a spoon to scoop a small amount of mixture out of the food processor and using your hands shape into a small ball. Cover in extra sesame seeds.
Ready to be covered in sesame seeds.Looking good at this stage. A taste test here is highly appropriate.
Place the finished balls on a plate and place in the fridge for a couple of hours to firm up.
A delightful Paleo snack.
As this mix makes a small quantity of balls you could keep them in the fridge for a few days and eat as desired. Alternatively you can freeze them especially if you are doubling the recipe. You can experiment with different types of superfood powders such as spirulina or acai berry or add some raw cacao for a chocolate flavour.
The Loving Earth Rainbow SuperFood Blend is in a 150g jar and cost me $45 from the health food shop. The ingredients are raw organic macqui, raw organic acai, wildcrafted gubinge, raw organic camu camu, organic spirulina and organic wheatgrass. I like adding it to raw recipes as heating it too much can impact the nutrient content.
For Australian followers, your pantry needs delivered directly to your door.For everything coconut
Famous for its nutritional qualities, especially for enhancing gut health, this broth is thick and murky which is just how you want it to be.
The hard part is over once you are at this stage. Now what to do with it!
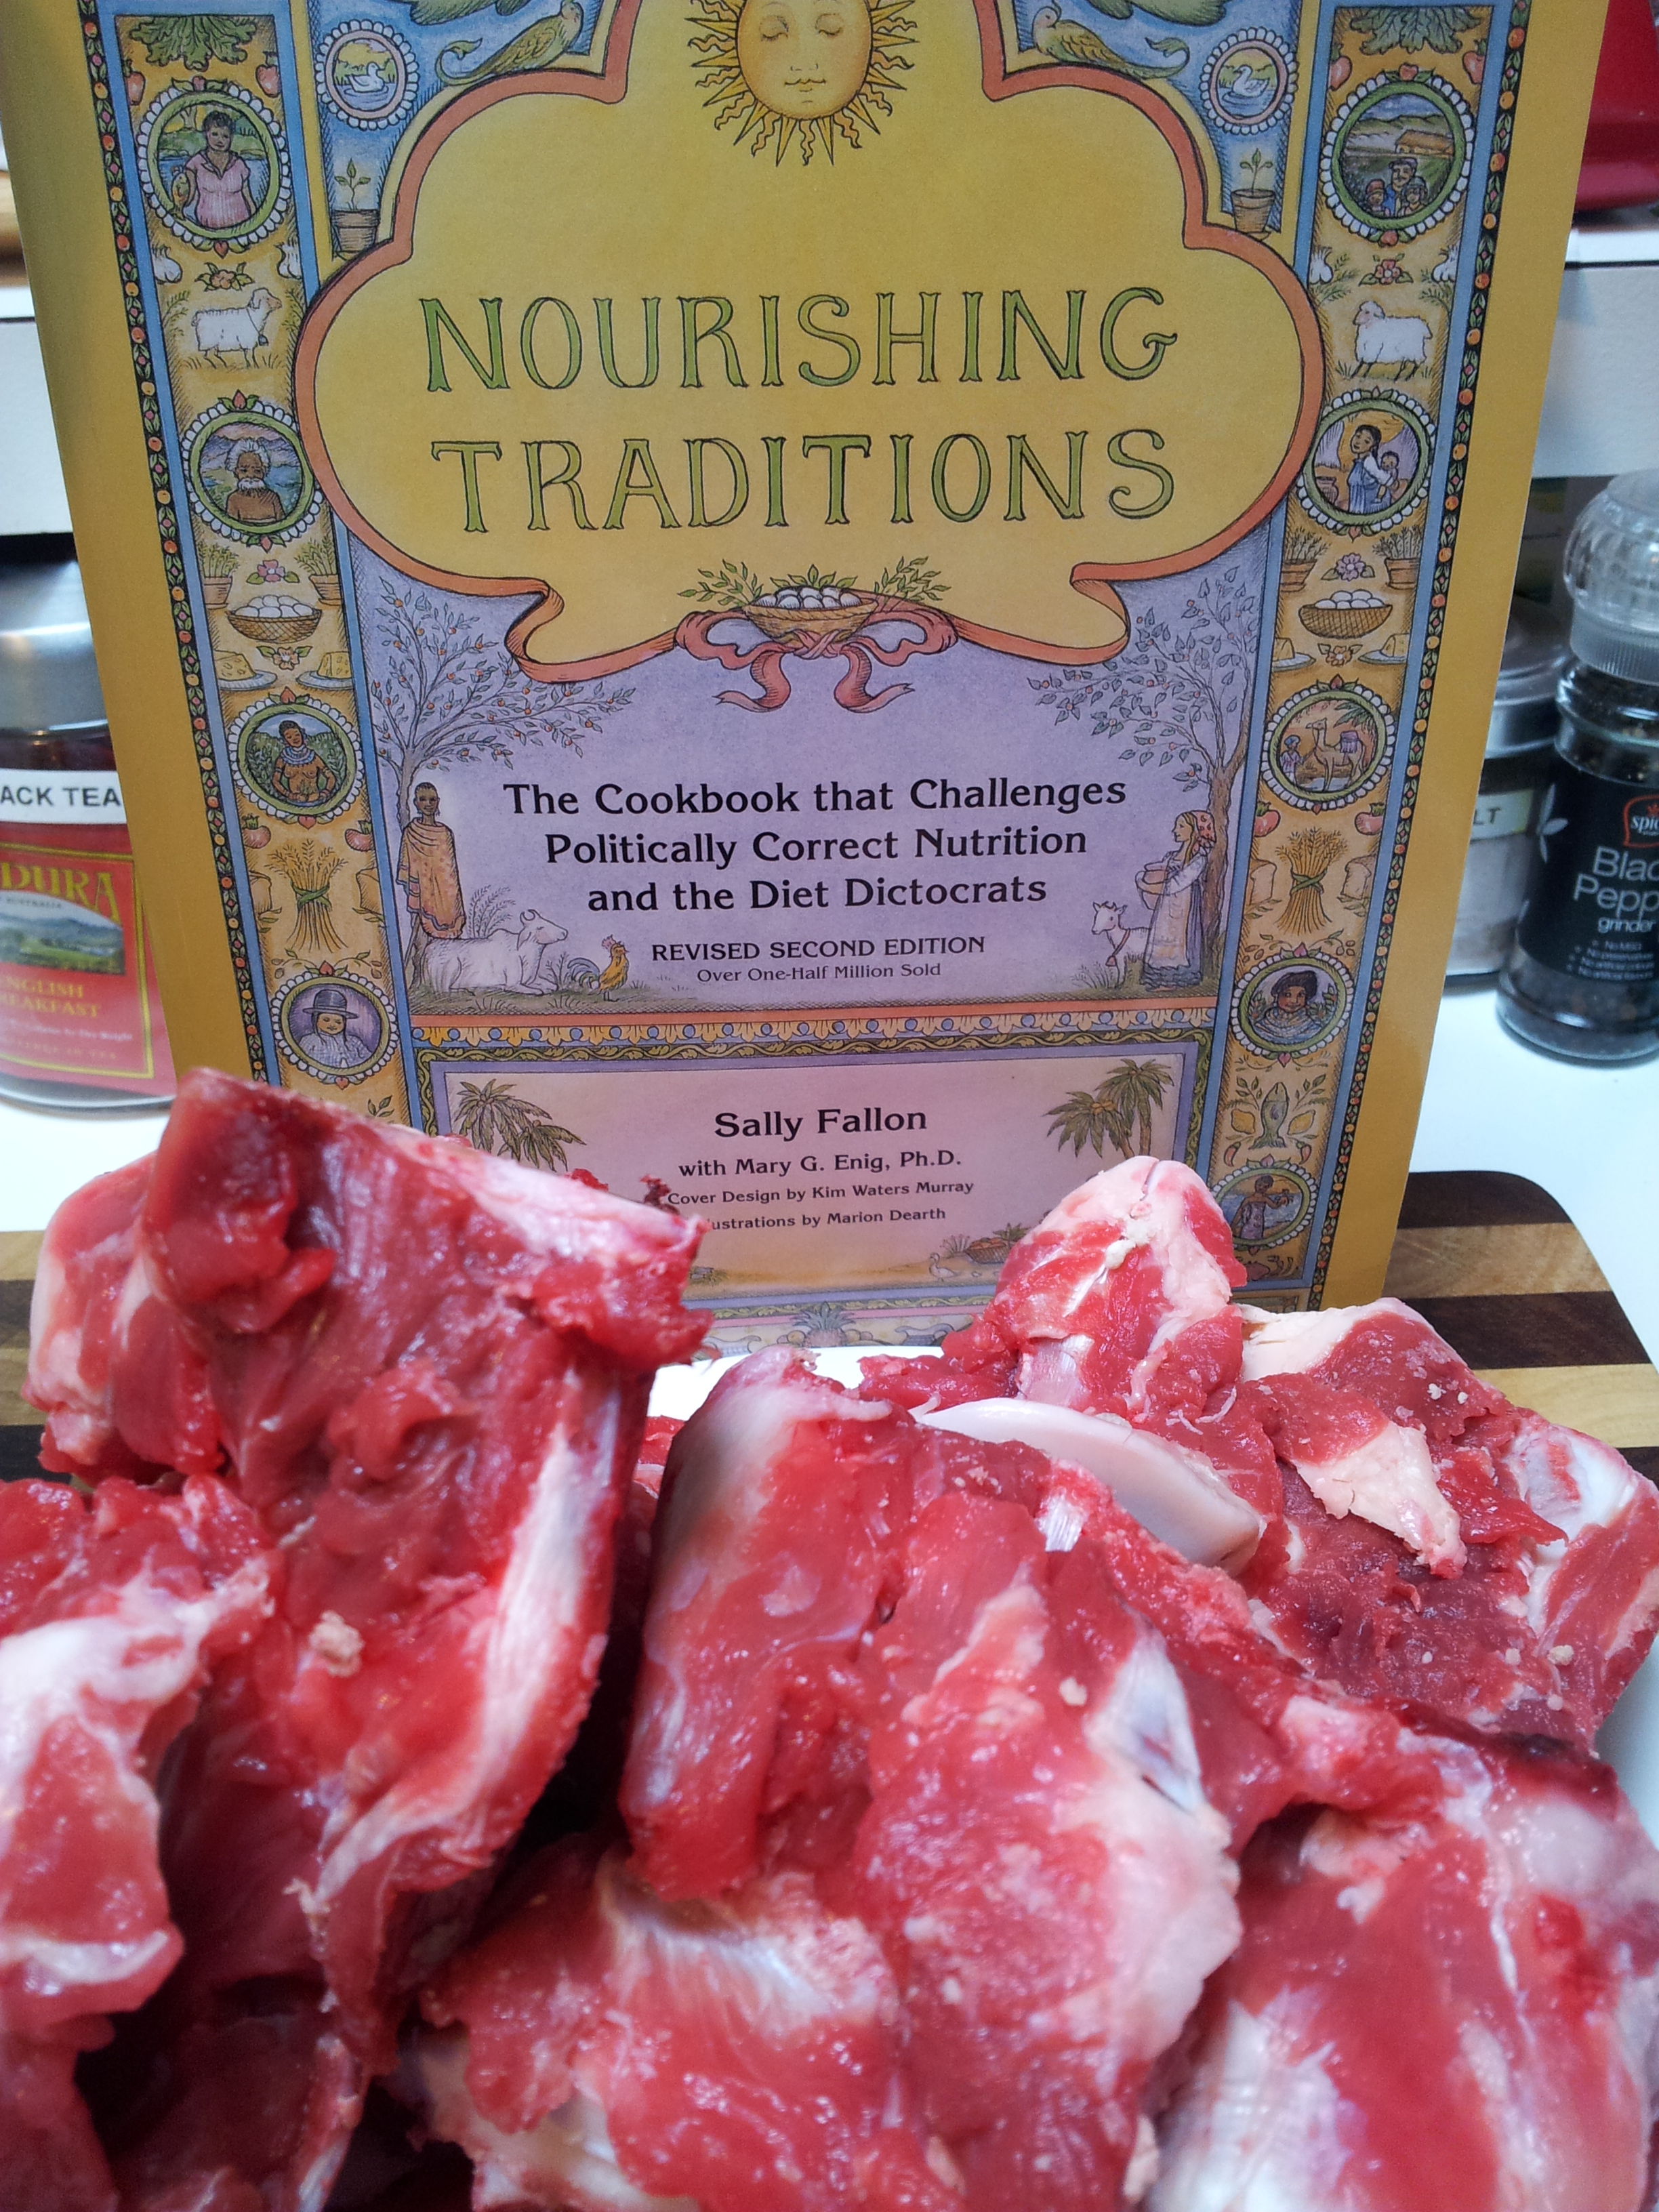
If you want to source the best recipes for broths and other healing foods, l suggest you purchase the book ‘Nourishing Traditions’ by Sally Fallon. It is a wonderful book and has an incredible amount of valuable information in it.
Nourishing Traditions with grass fed beef bones.
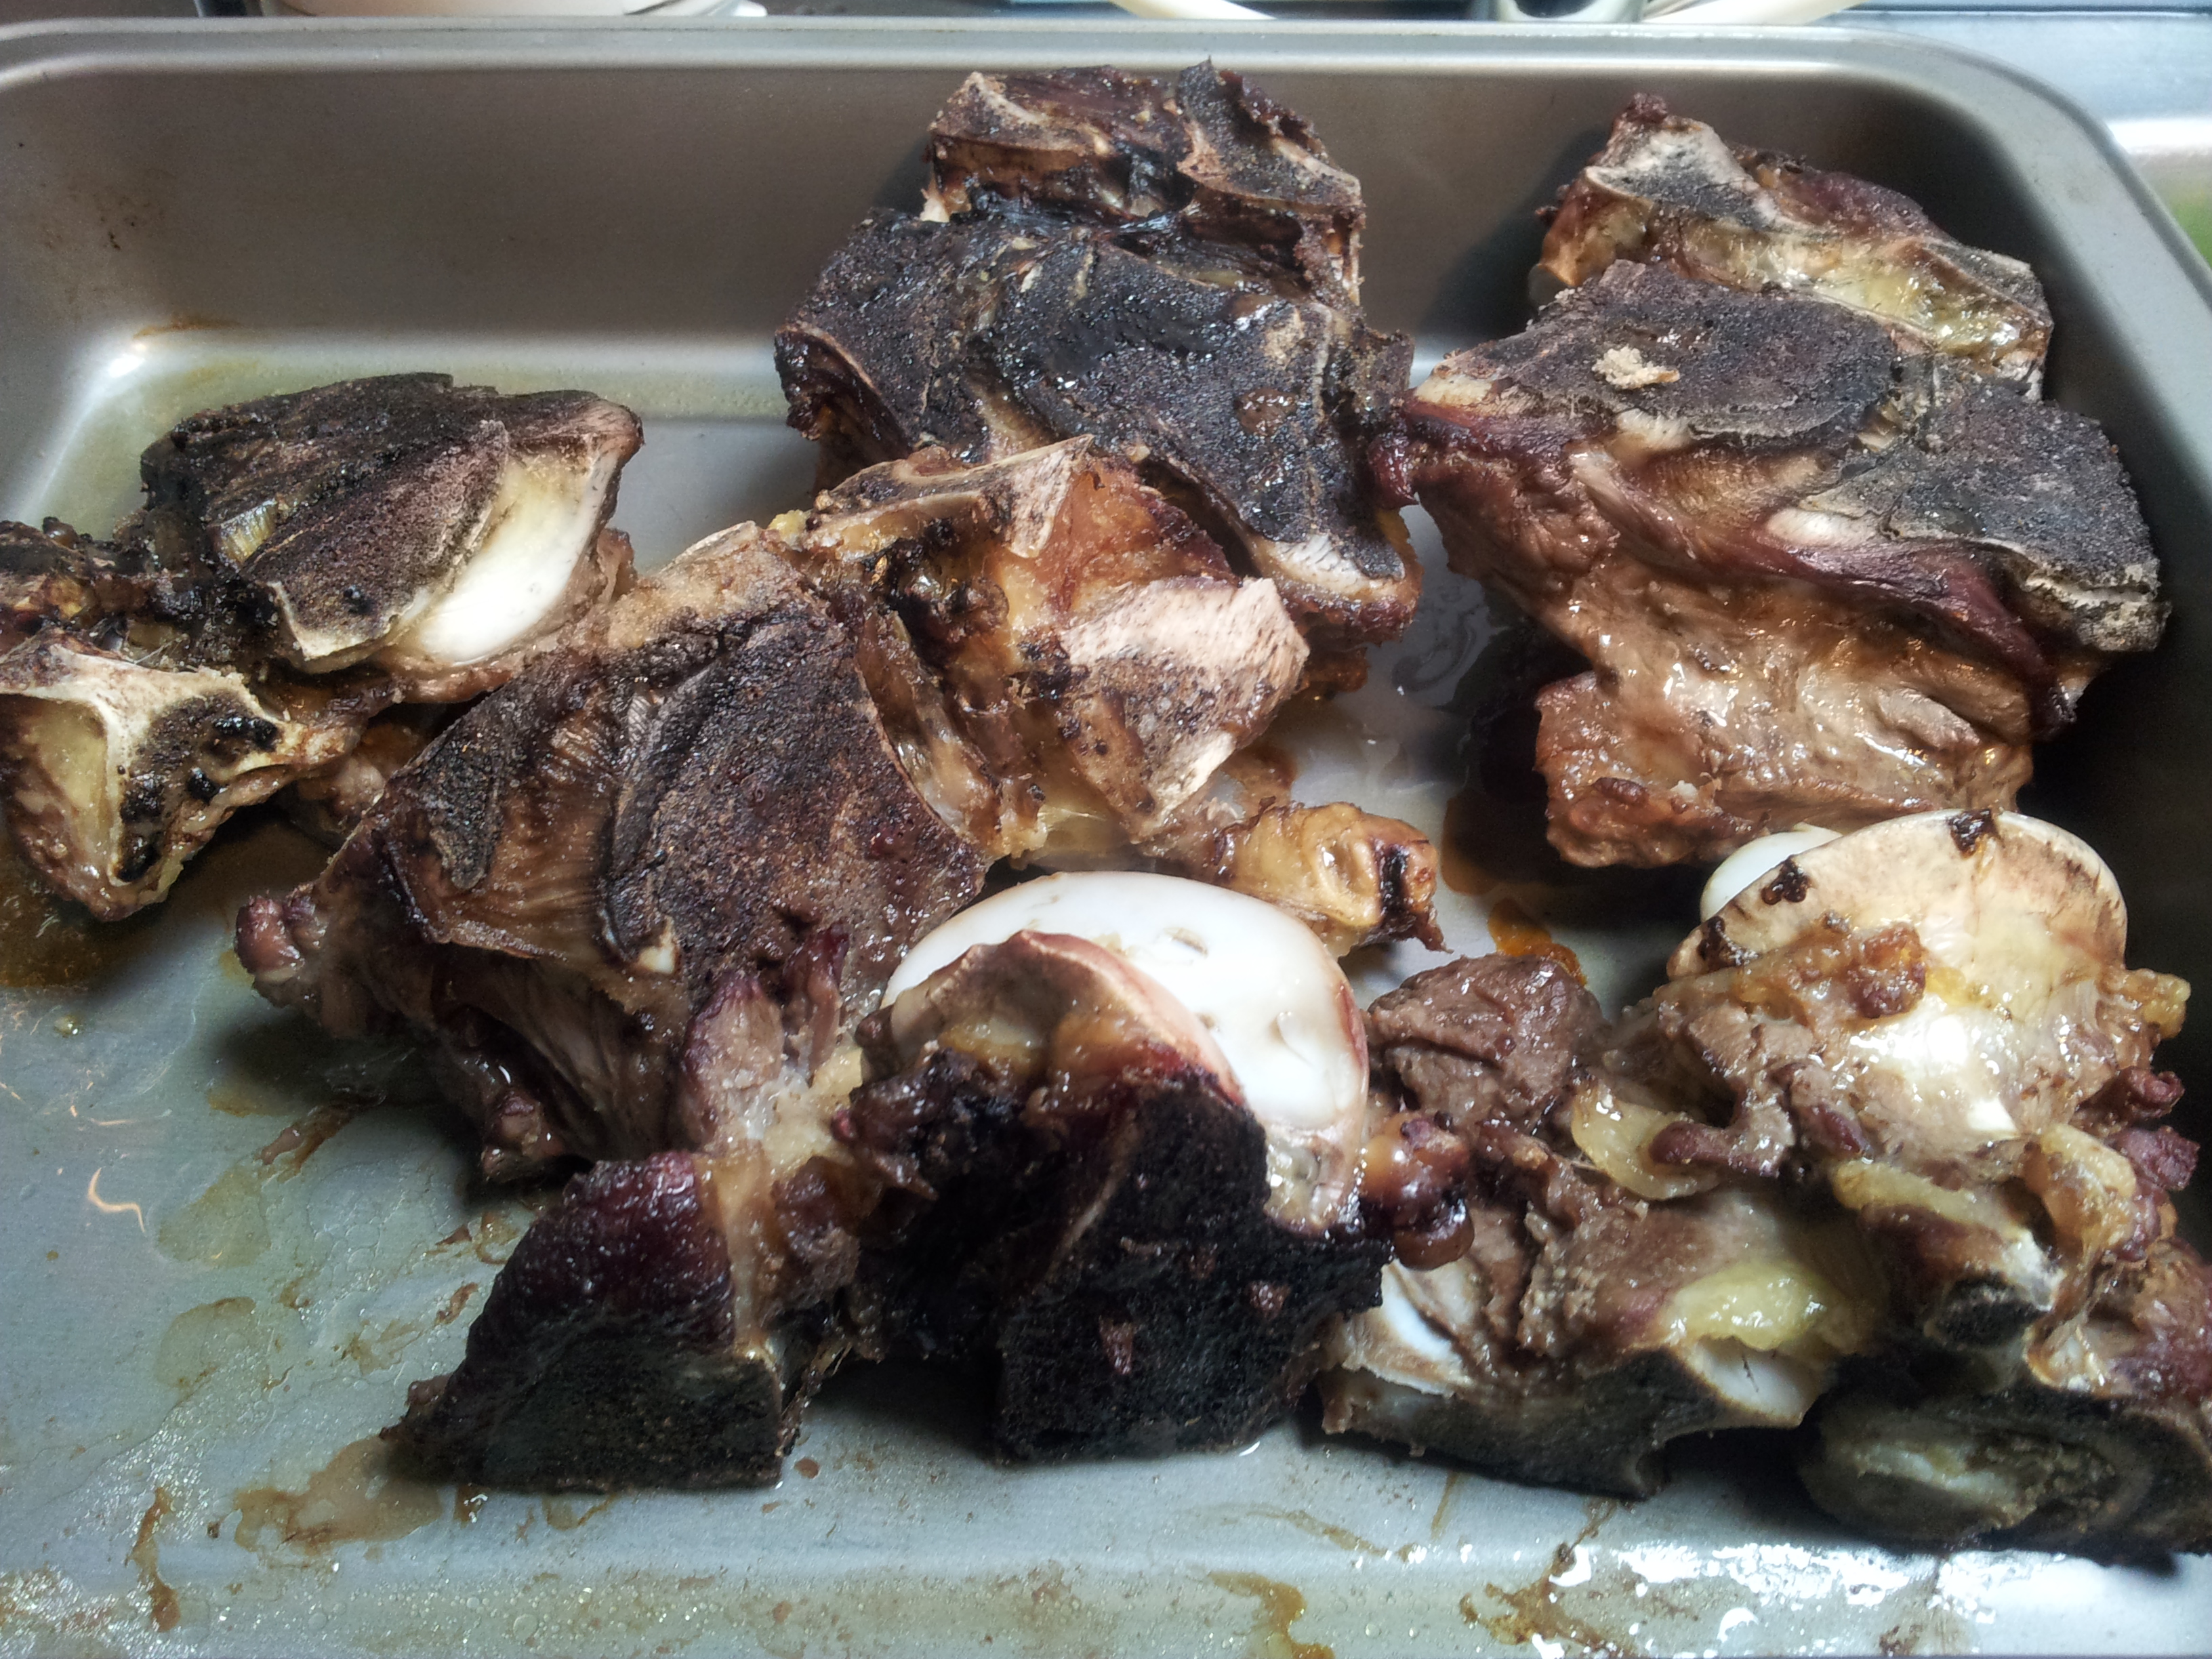
There are lots of ways to make bone broth but this is how l made it.The first thing you need to do is to buy some grass fed beef bones and the ones l purchased were very white and clean with the brightest flesh l have seen. Finding a butcher who stocks these is a challenge and it requires visiting the shop or local supplier and questioning them as to the source of the meat. I found a local butcher and a certain amount of trust is required as he assured me all of his meat was from grass fed animals.
Ingredients:
2 kilograms of grass fed soup bones
Cold filtered water. Just enough to cover the bones in the pot.
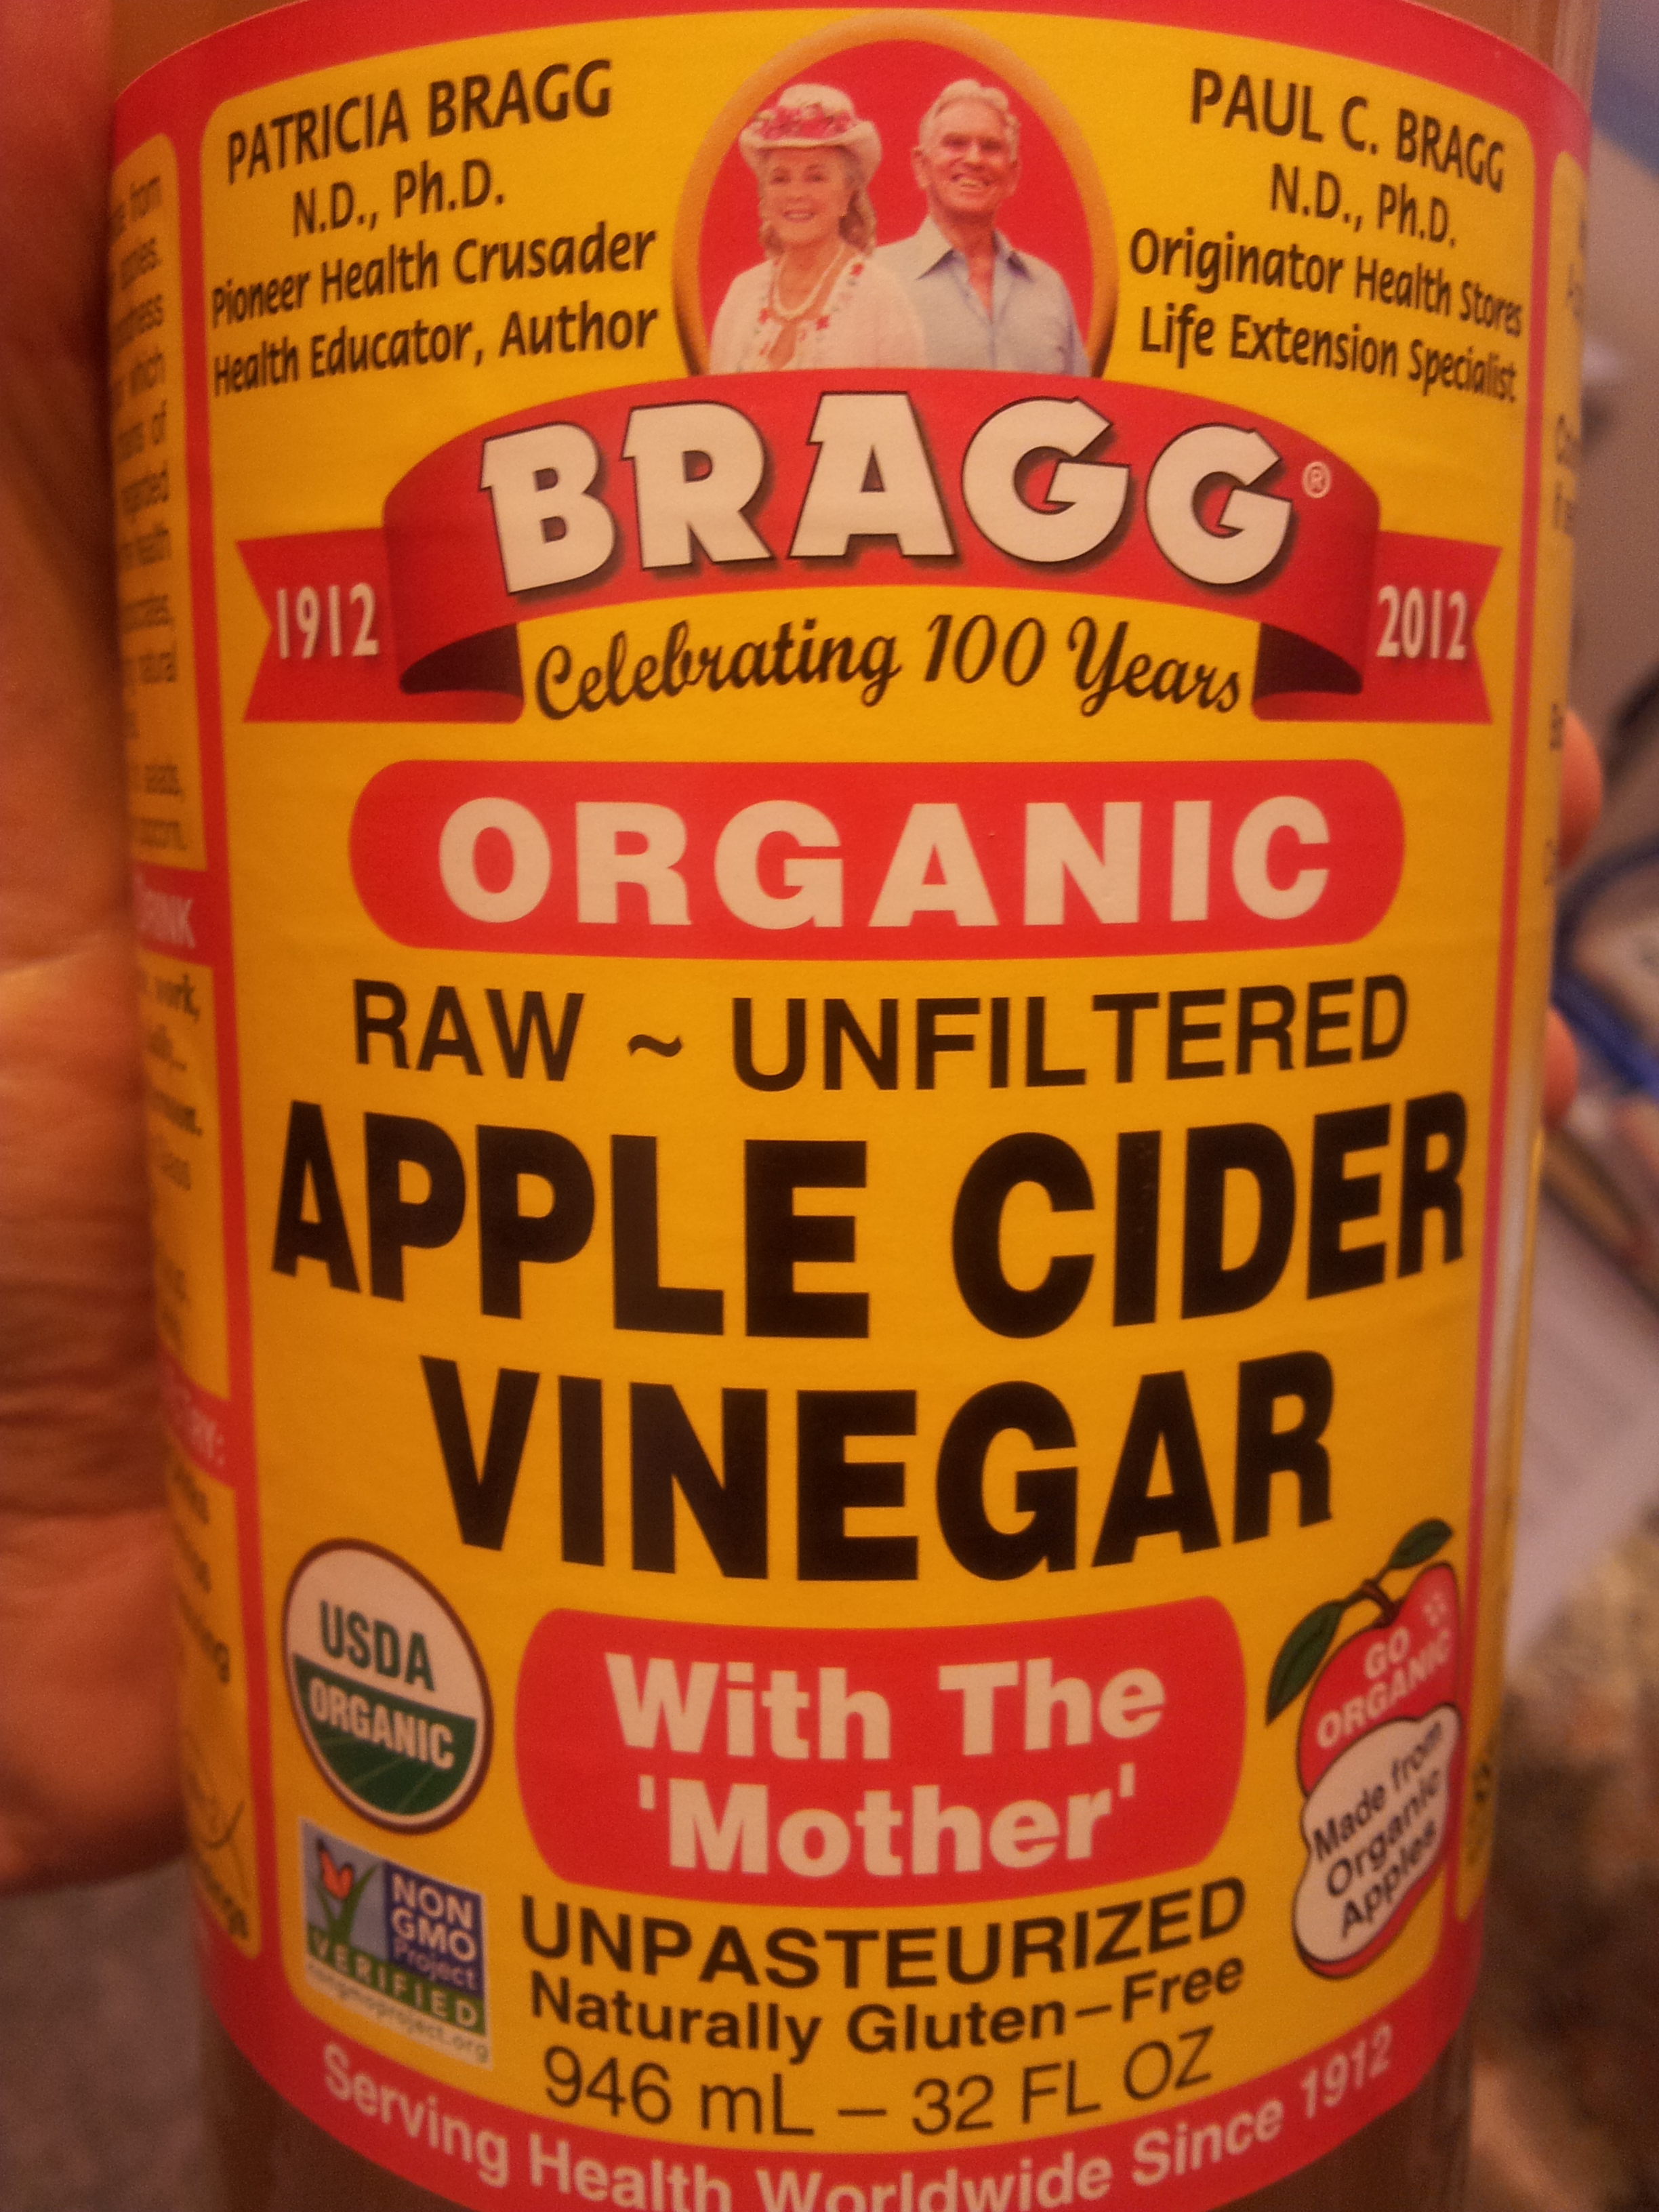
¼ cup of organic apple cider vinegar
2 onions chopped in half
3 carrots coarsely chopped
3 celery sticks coarsely chopped
Black peppercorns
The best apple cider vinegar. Avoid the ones in the local supermarket.
Method:
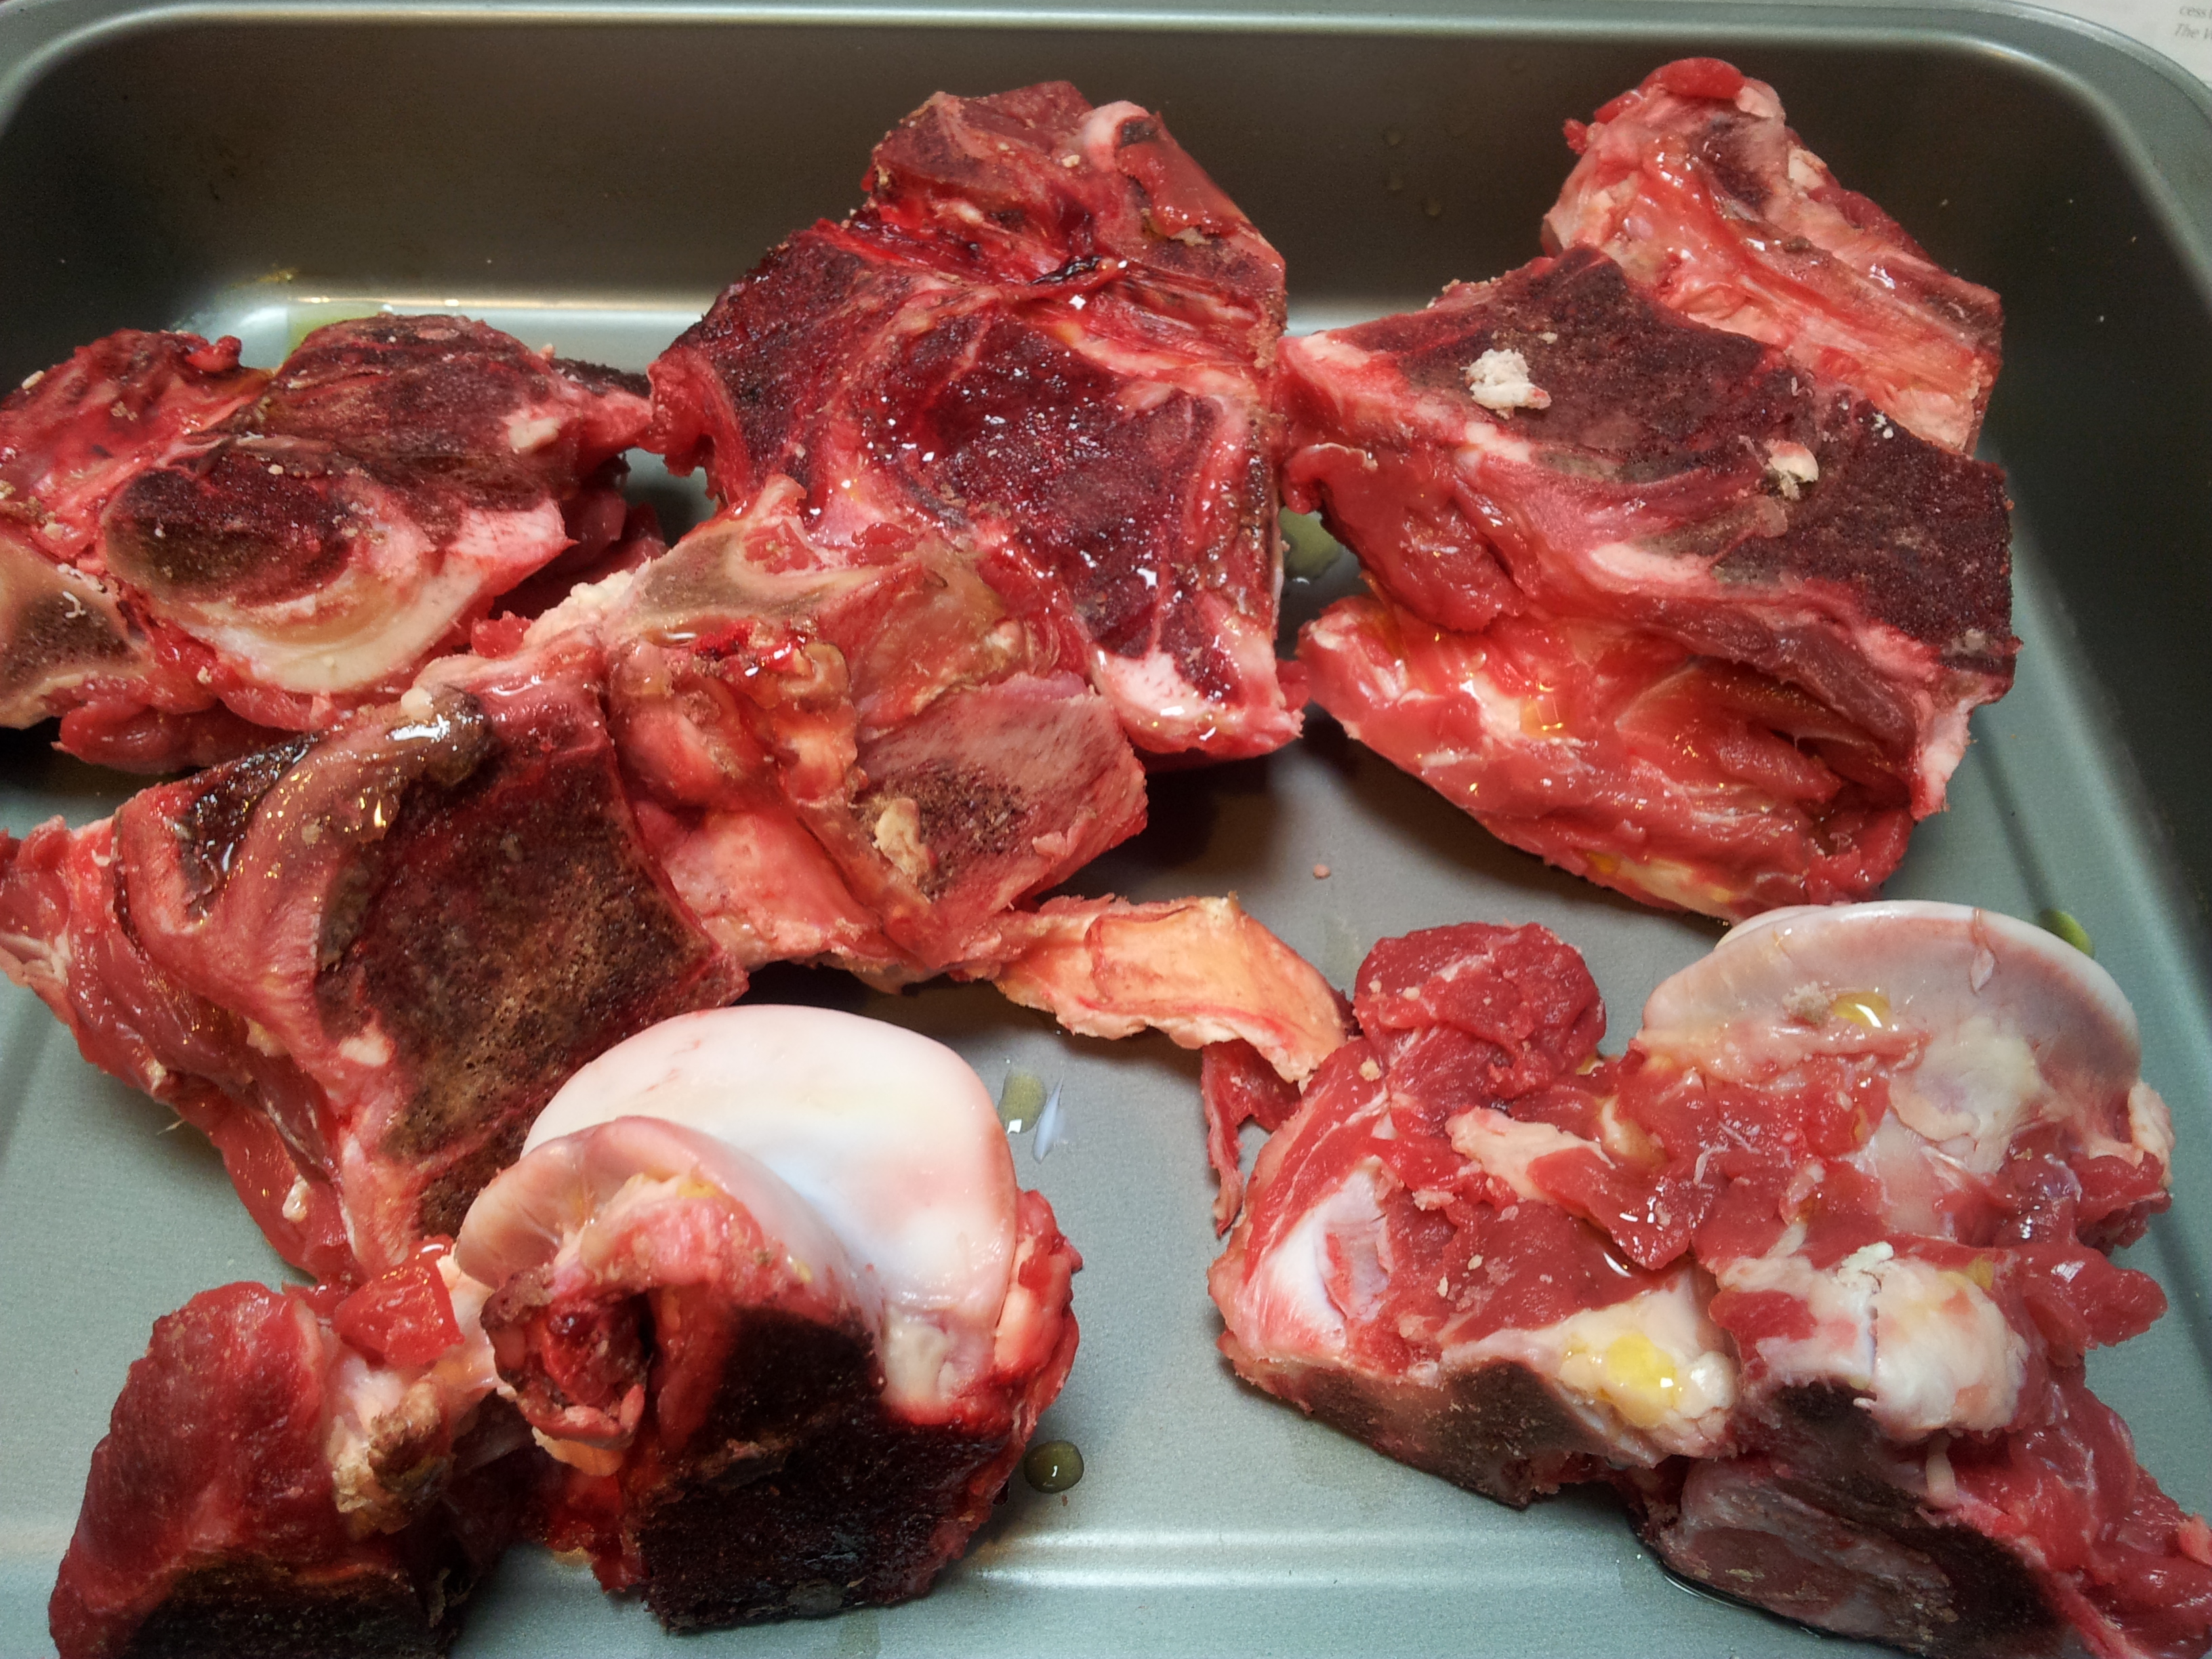
Place all of the bones with meaty bits in a roasting pan and brown in the oven at 180 degrees until well browned for 60 minutes.
Ready to be roastedRoasted and ready to go into the pot.
Meanwhile if you have any non-meaty bones place them into a large stockpot and add the cold water, vinegar, vegetables and peppercorns. Let that sit while the other bones are browning. My bones were all meaty so l didn’t need to do this step. Add your browned bones to the pot and deglaze the roasting pan with hot water. Pour this greasy mix and any leftover meat or bones into the pot. Add more water if you need to so that the bones are covered.
A murky looking liquid.
Bring the pot to boil and remove the foam from the top of the pot. Reduce the heat, cover and let the pot simmer for a good 24 to 48 hours. The longer it cooks, the richer the flavour.A warning here that the smell through the house was so incredible in the night that l had trouble sleeping.
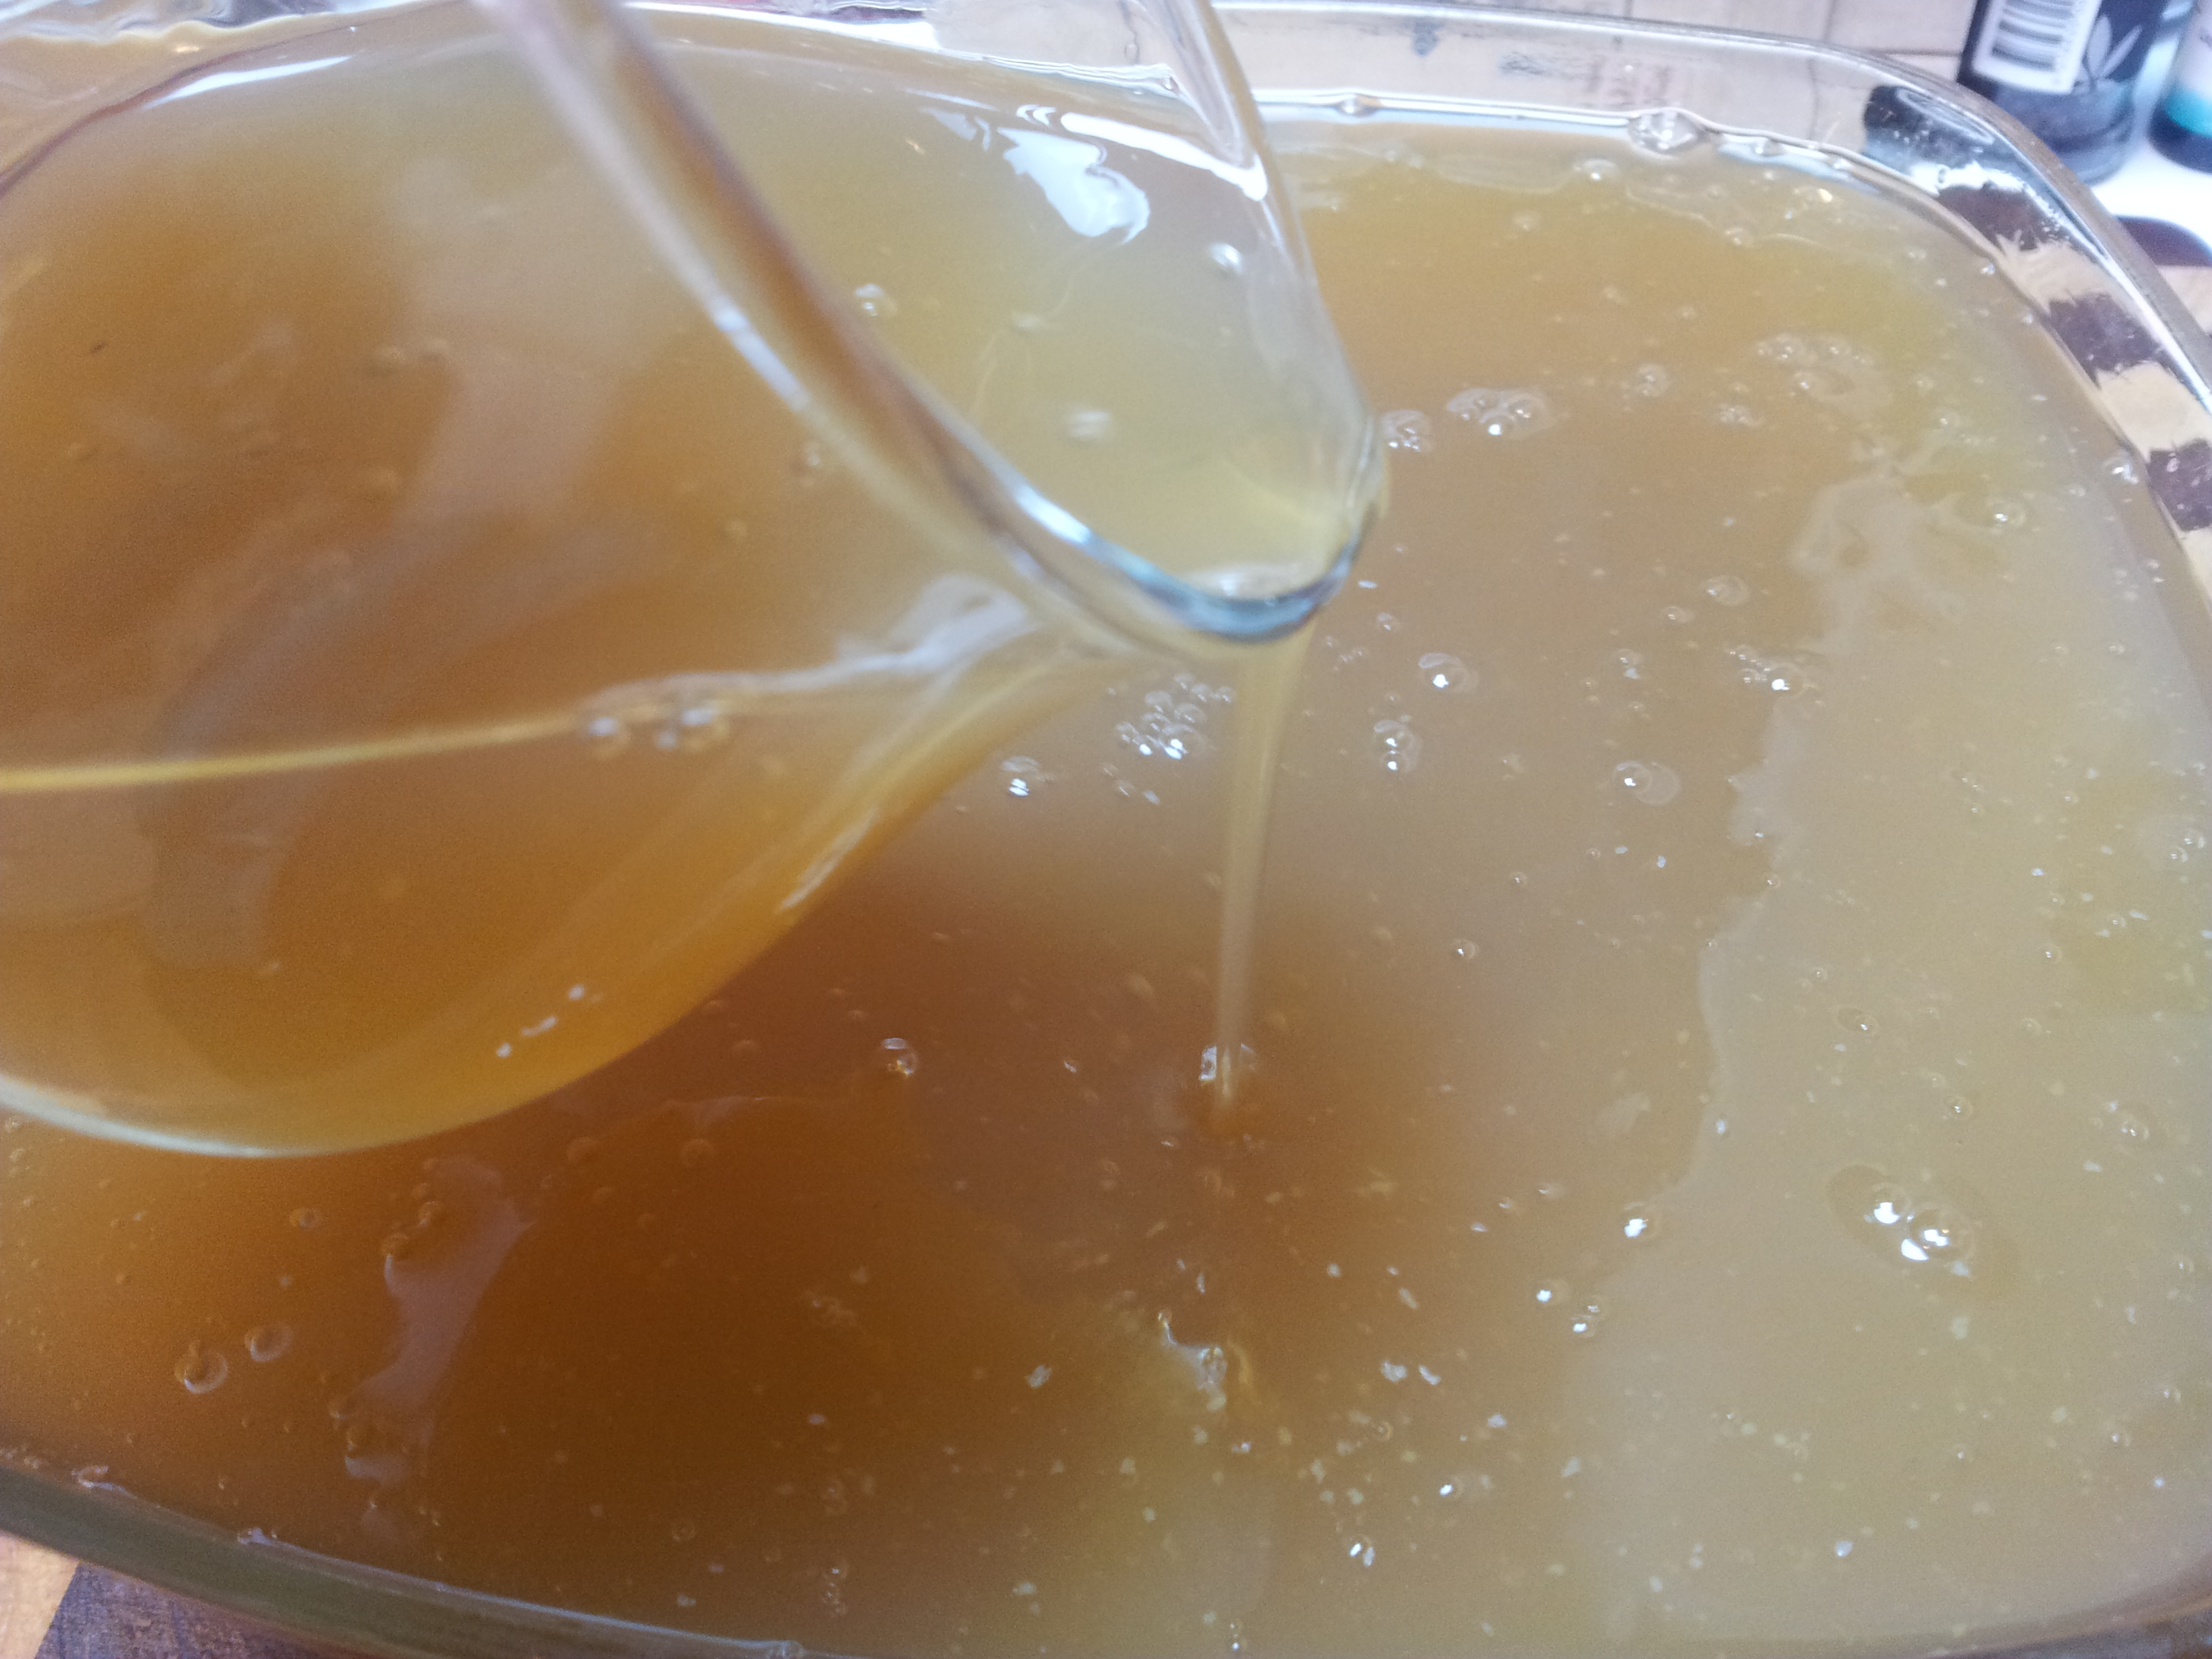
Once the cooking time is up let the stock cool in the pot. When cool pour the broth into a large bowl through a strainer so the liquid is separated from the bones and vegetables. Don’t taste it at this point as it doesn’t taste good. Place the broth in the fridge and let it cool completely until you can see a white layer of fat on top. Use an egg flipper or large spoon to lift this off and then strain again into a clean bowl.
Looking quite awful. Remove the top layer of fat and strain.
A sign of a good broth is that it will be quite thick and jelly like.
Ready to be used or frozen.
The broth is now ready to be used on its own or in your favourite dishes. Transfer the broth to mason jars or any sealed container. The broth can keep in the fridge for a week or in the freezer for 6 months.
The original bones can be re-used and this will produce a clearer broth. To do this follow the recipe again except for the roasting part.
The original bones can be re-used.
Reflection: I went into making this broth with the best of intentions. Not having a gallbladder l have struggled to incorporate red meat into my diet. I can see that this broth is remarkable, and l will use it in the dishes l make for the rest of my family. There is something about the beef fat that just doesn’t agree with me at this point and l will stick to chicken broth for the time being.
A budget friendly, nutritious and easy to prepare meal. I used a whole cauliflower for this recipe and was amazed at the plentiful quantity it made. Cauliflower rice is a great alternative to real rice, and you will be amazed at how similar it looks and tastes.
Enough to feed the whole family.
Ensure that you use fresh ingredients. You can use your favourite vegetables but l used mostly greens in this one such as bok choy, celery, broccoli, spring onion tops and snow peas, plus some carrot and bean sprouts.
A beautiful fresh cauliflower.
This is a dish that can be pre-prepared early in the day so that at dinner time it will take a very short time to cook. It is a matter of processing the cauliflower, washing and chopping all of the vegetables and dicing the chicken. This can all then be kept in separate bowls or containers in the fridge until required.
Preparation is the key! One whole cauliflower, 2 free range chicken breasts and your favourite vegetables.
My favourite way to make cauliflower rice is to cut the fresh cauliflower into smallish pieces and then blend it in the food processor. This takes about 10 seconds to turn into cauliflower rice. You don’t want it in the food processor too long or it will be a pulp and wont cook nicely.
Wash the raw cauliflower and cut it into pieces that will fit into the food processor.Process the cauliflower until it resembles rice and is an even consistency.
Steps:
I used a largish fry pan which l pre-heated on a low temperature and added some olive oil. You know the pan is too hot if the oil is smoking. High heats will damage the oil so go gently with the heat.
Add the diced chicken to the pan and lightly brown. Next add the cauliflower rice and let it cook for a few minutes, followed by the vegetables and any spices you are using. I just used pink rock salt and ground black pepper, but l have in the past added fresh garlic, ginger and lots of spices such as tumeric, cumin, paprika and cinnamon. You can also add some sauces such as a fish sauce or Tamari, but l have been having food intolerance reactions to a lot of spices at present so kept this dish plain. The cauliflower rice often changes colour depending on the spices or vegetables you use and can look so stunning. Don’t over cook the vegetables or rice to retain the nutrients. I put mine on a nice large platter to serve and it looked wonderful.
You can take this to work the next day for lunch to have cold and use different meats, or just have it as a side dish. A very fresh and clean cauliflower is essential to the success of this dish and it is so light and healthy that it is a great meal to have at night when you don’t want to overload your digestive system.
If you have enjoyed this post please share with a friend. I am on Instagram at holistic_paleo and Twitter at Holistic Paleo@carolynlgray
Mental and practical roadblocks people use to not have a green smoothie in their life.
It it scary to drink a green smoothie
I don’t want to drink vegetables, especially green ones
There are things in there l won’t like
I’ve never had a chia seed
I don’t have a blender
The ingredients are expensive
It will taste awful
I’d rather have a normal fruit smoothie
Do any of these sound familiar? They can all be overcome if you can think out side of your comfort zone. If you don’t have a blender they can be purchased very cheaply or you can borrow one, and if you grow your own green leafy vegetables that is another one crossed off the list.
Take the plunge and try a simple recipe for your first smoothie that is guaranteed to be delicious. You can even leave the chia seeds out.
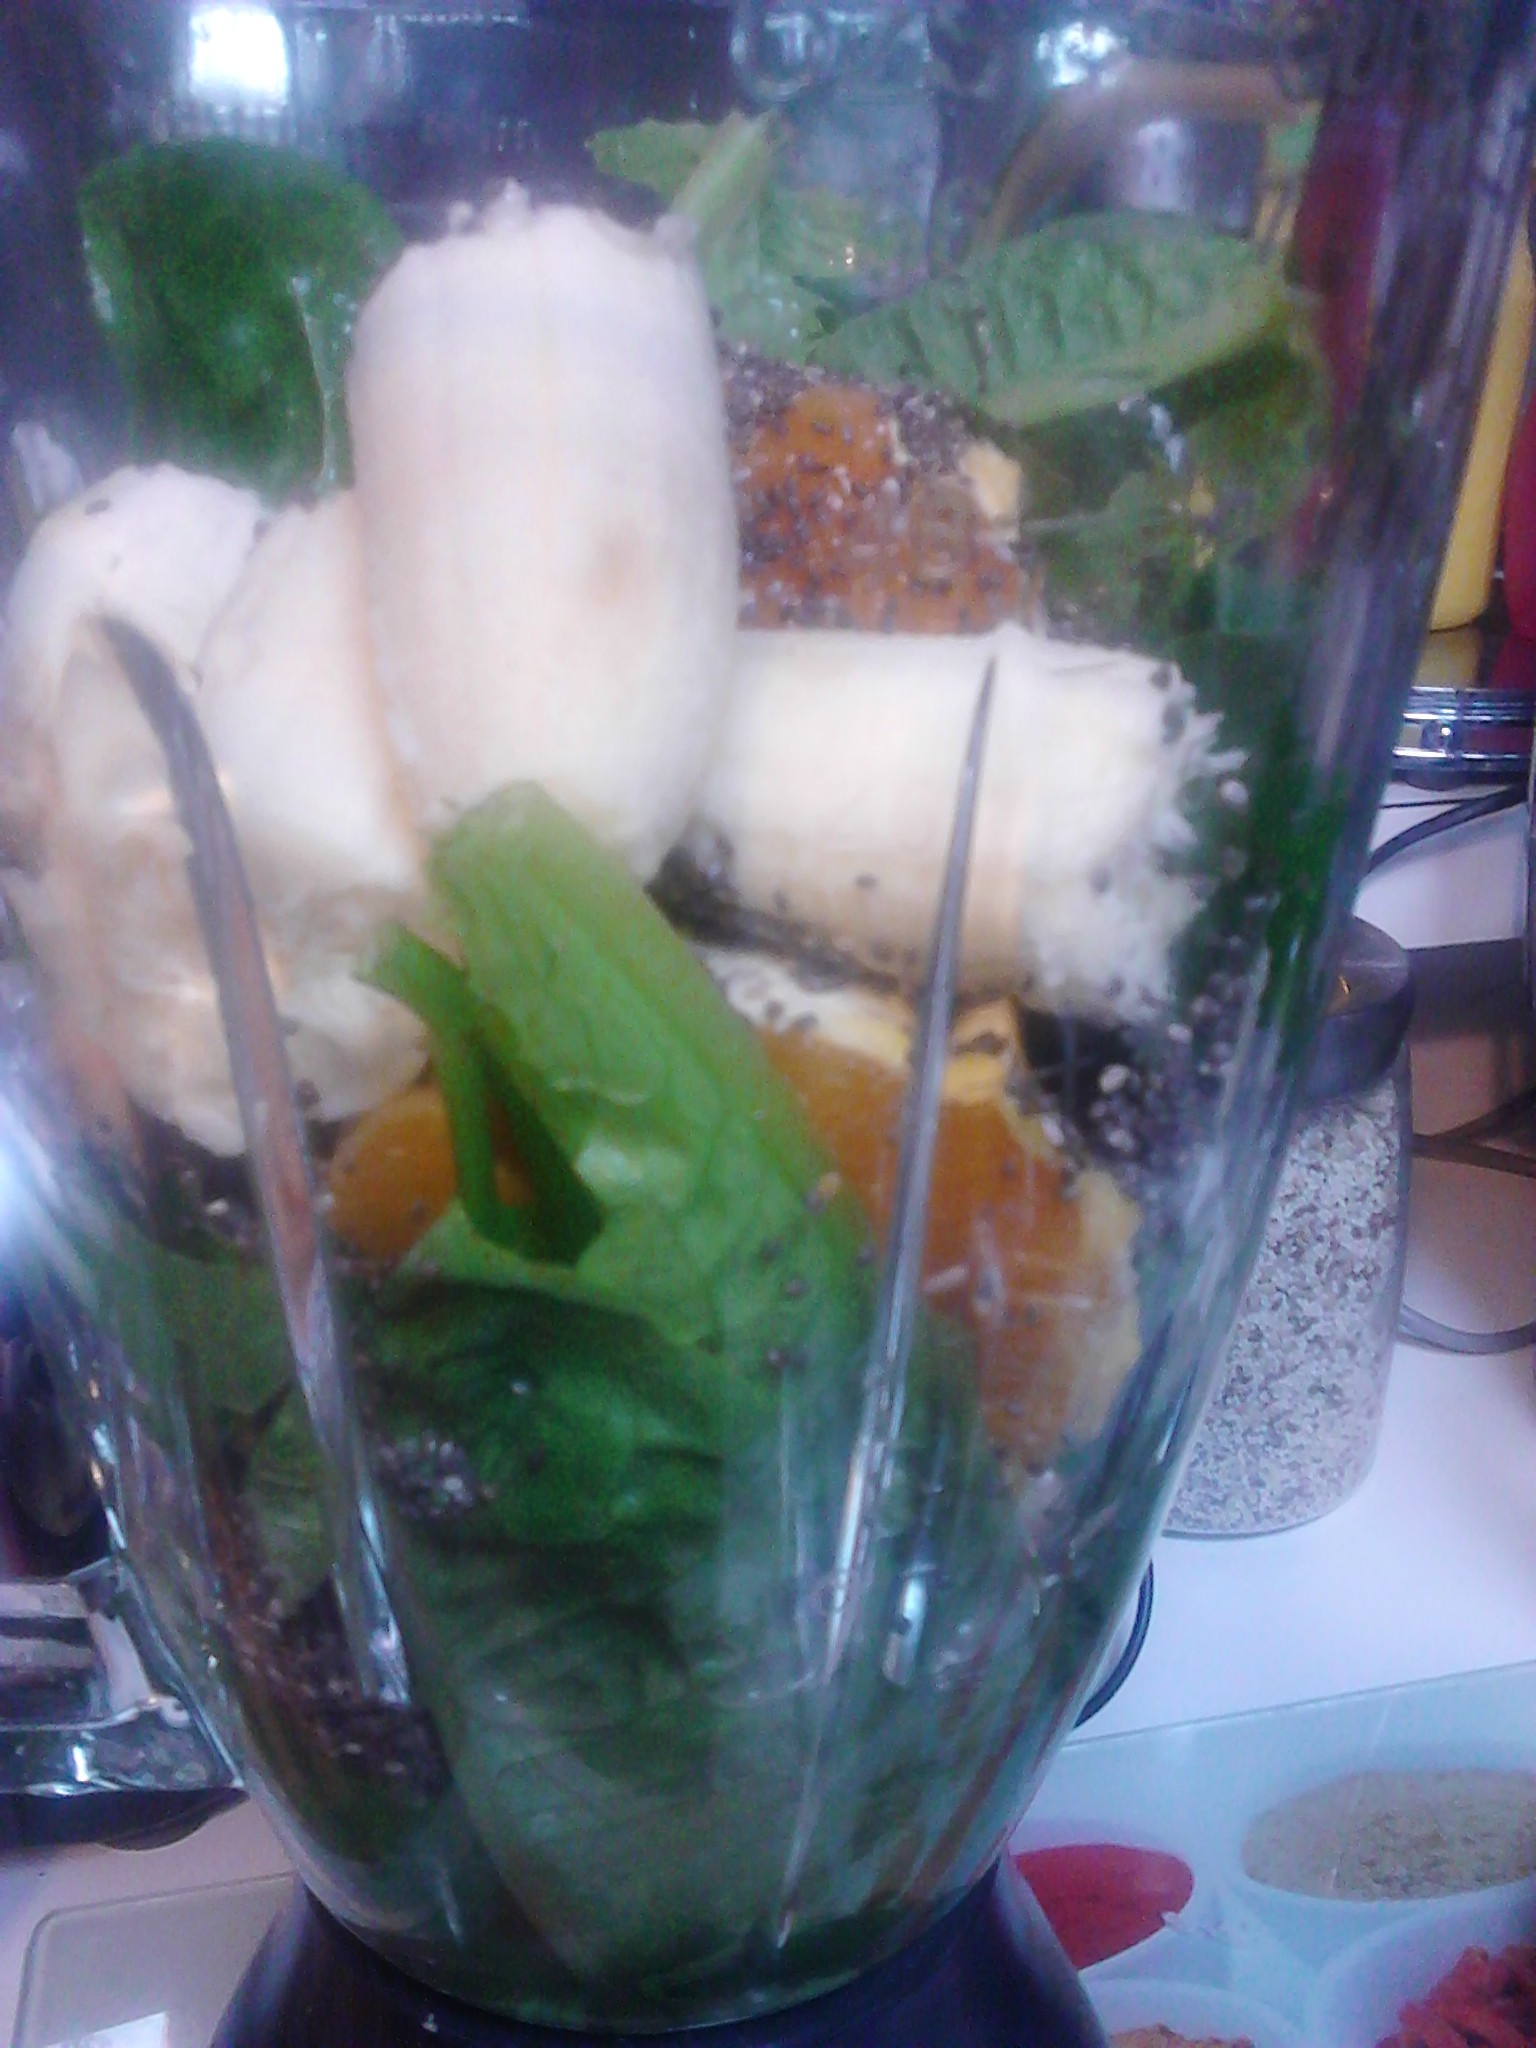
Cos lettuce (fill up half the blender with this, but make sure it is well washed), one small banana, one navel orange, 1 tablespoon chia seeds (optional), some fresh mint and enough plain coconut water to give a good consistency to drink or you can eat it with a spoon.
Just pile all of the ingredients into the blender and process. Pour it into a glass and enjoy!
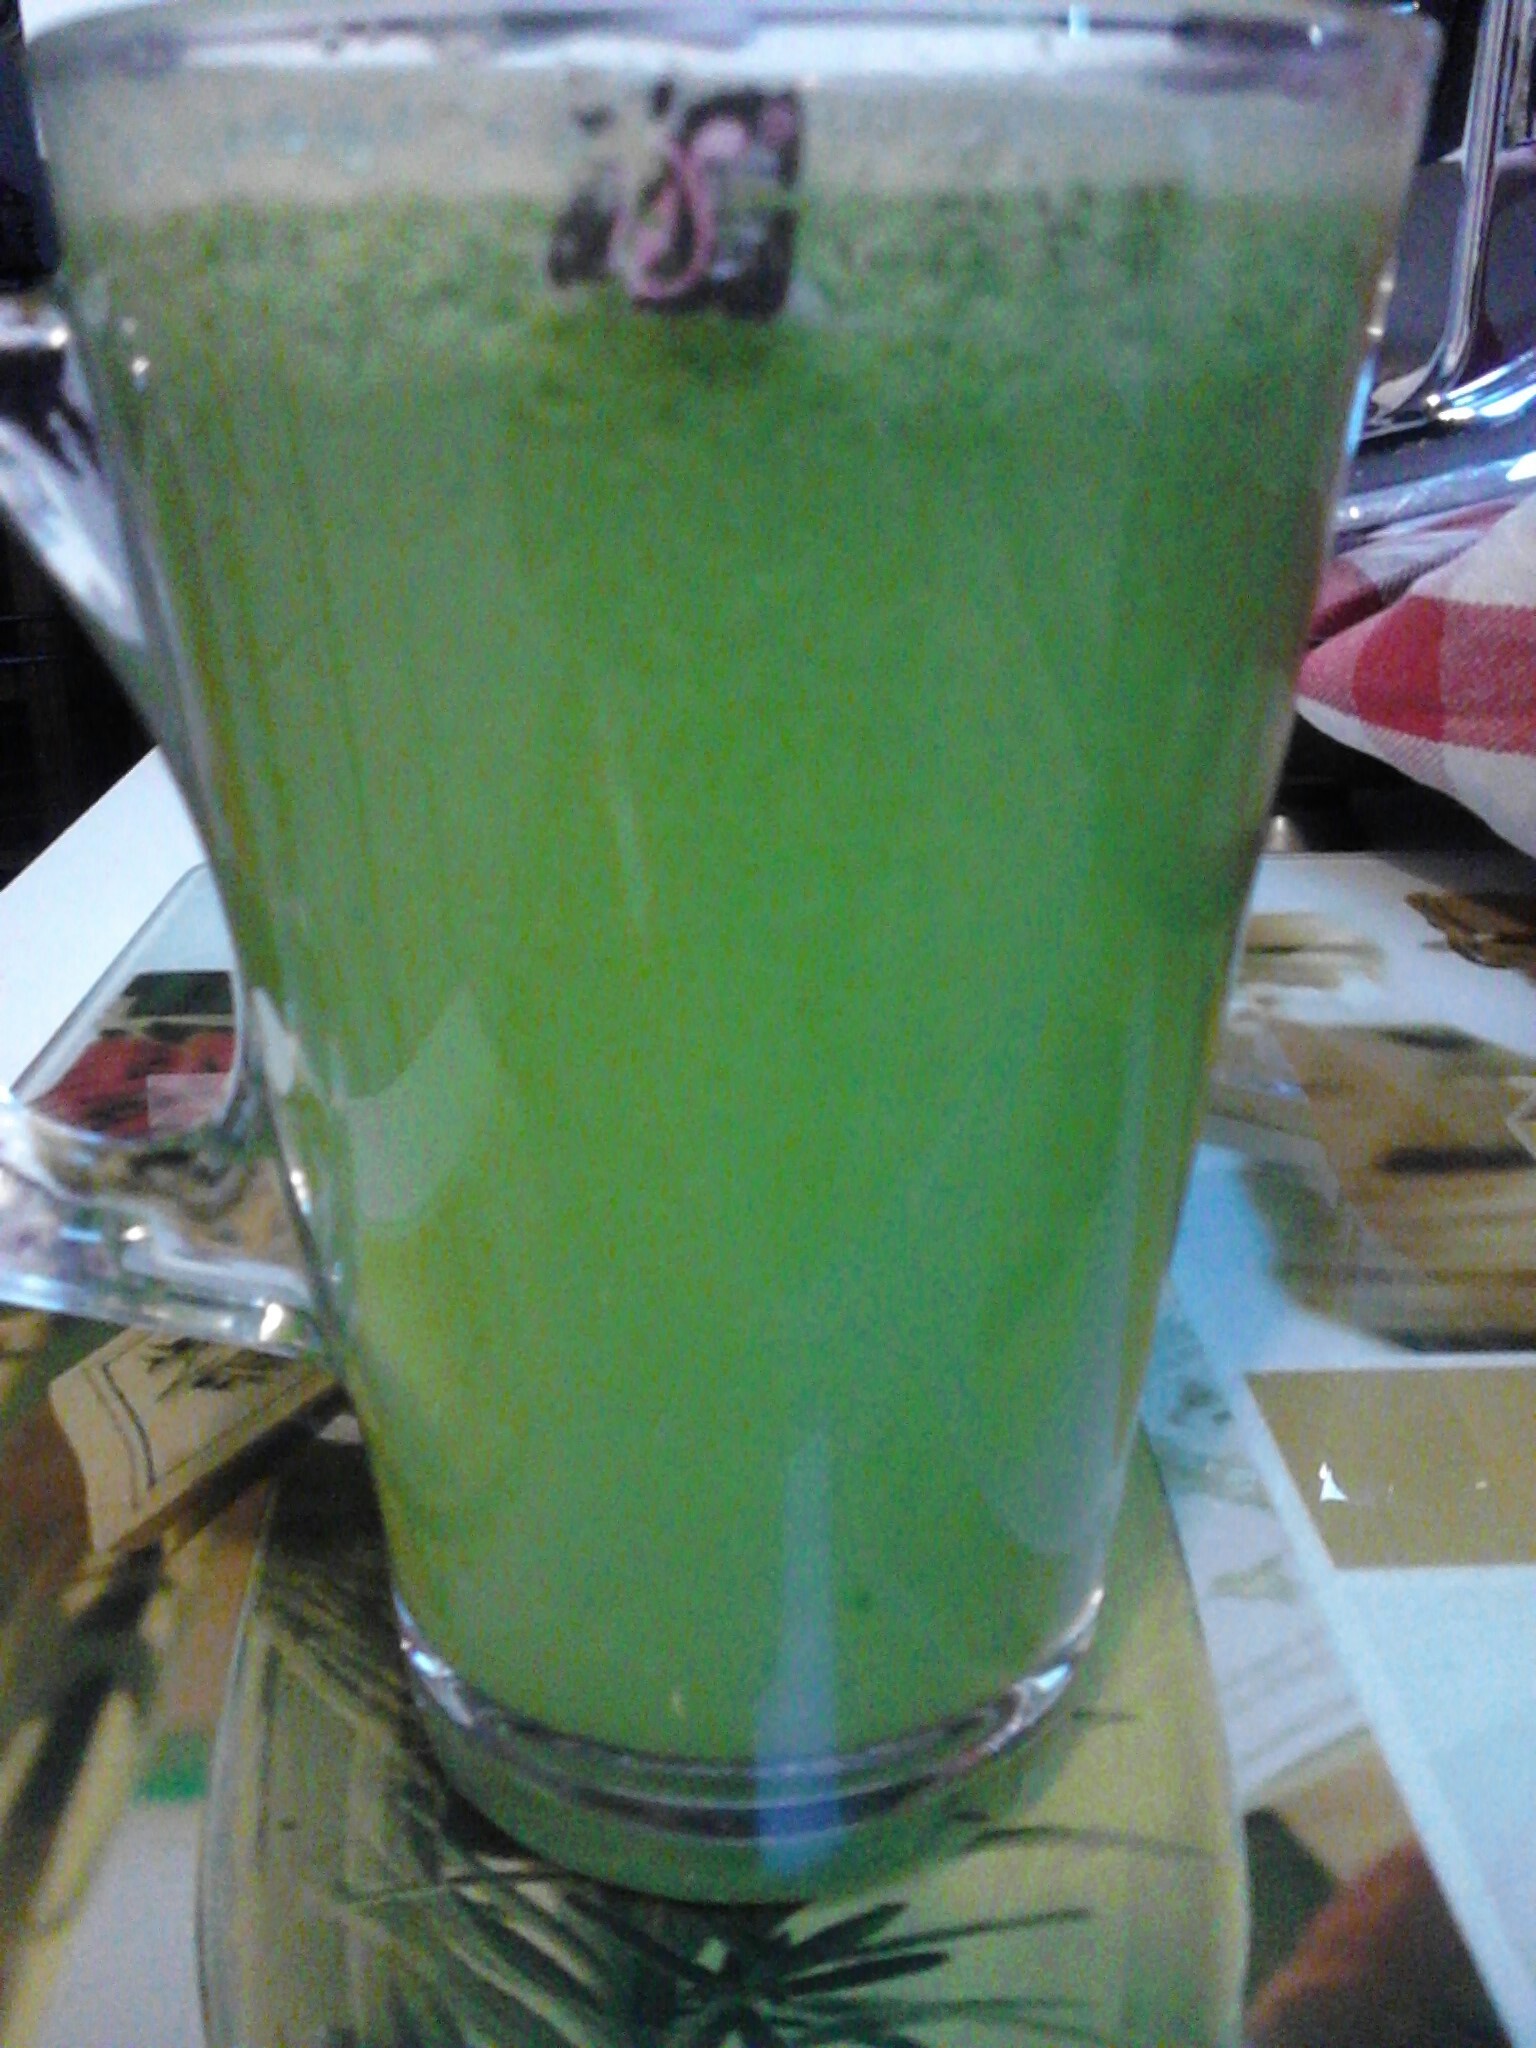
An amazing colour with a wonderful sweet flavour.
A green smoothie is different to a green juice. A juice has most of the fibre removed and is much lighter to drink and digest. When l was very unwell last year l loved having a green juice as the nutrients were quickly and easily broken down and absorbed for use in the body, whereas a smoothie was too heavy for me and l just couldn’t digest them.
A green juice made with the Cold Pressed juicer.
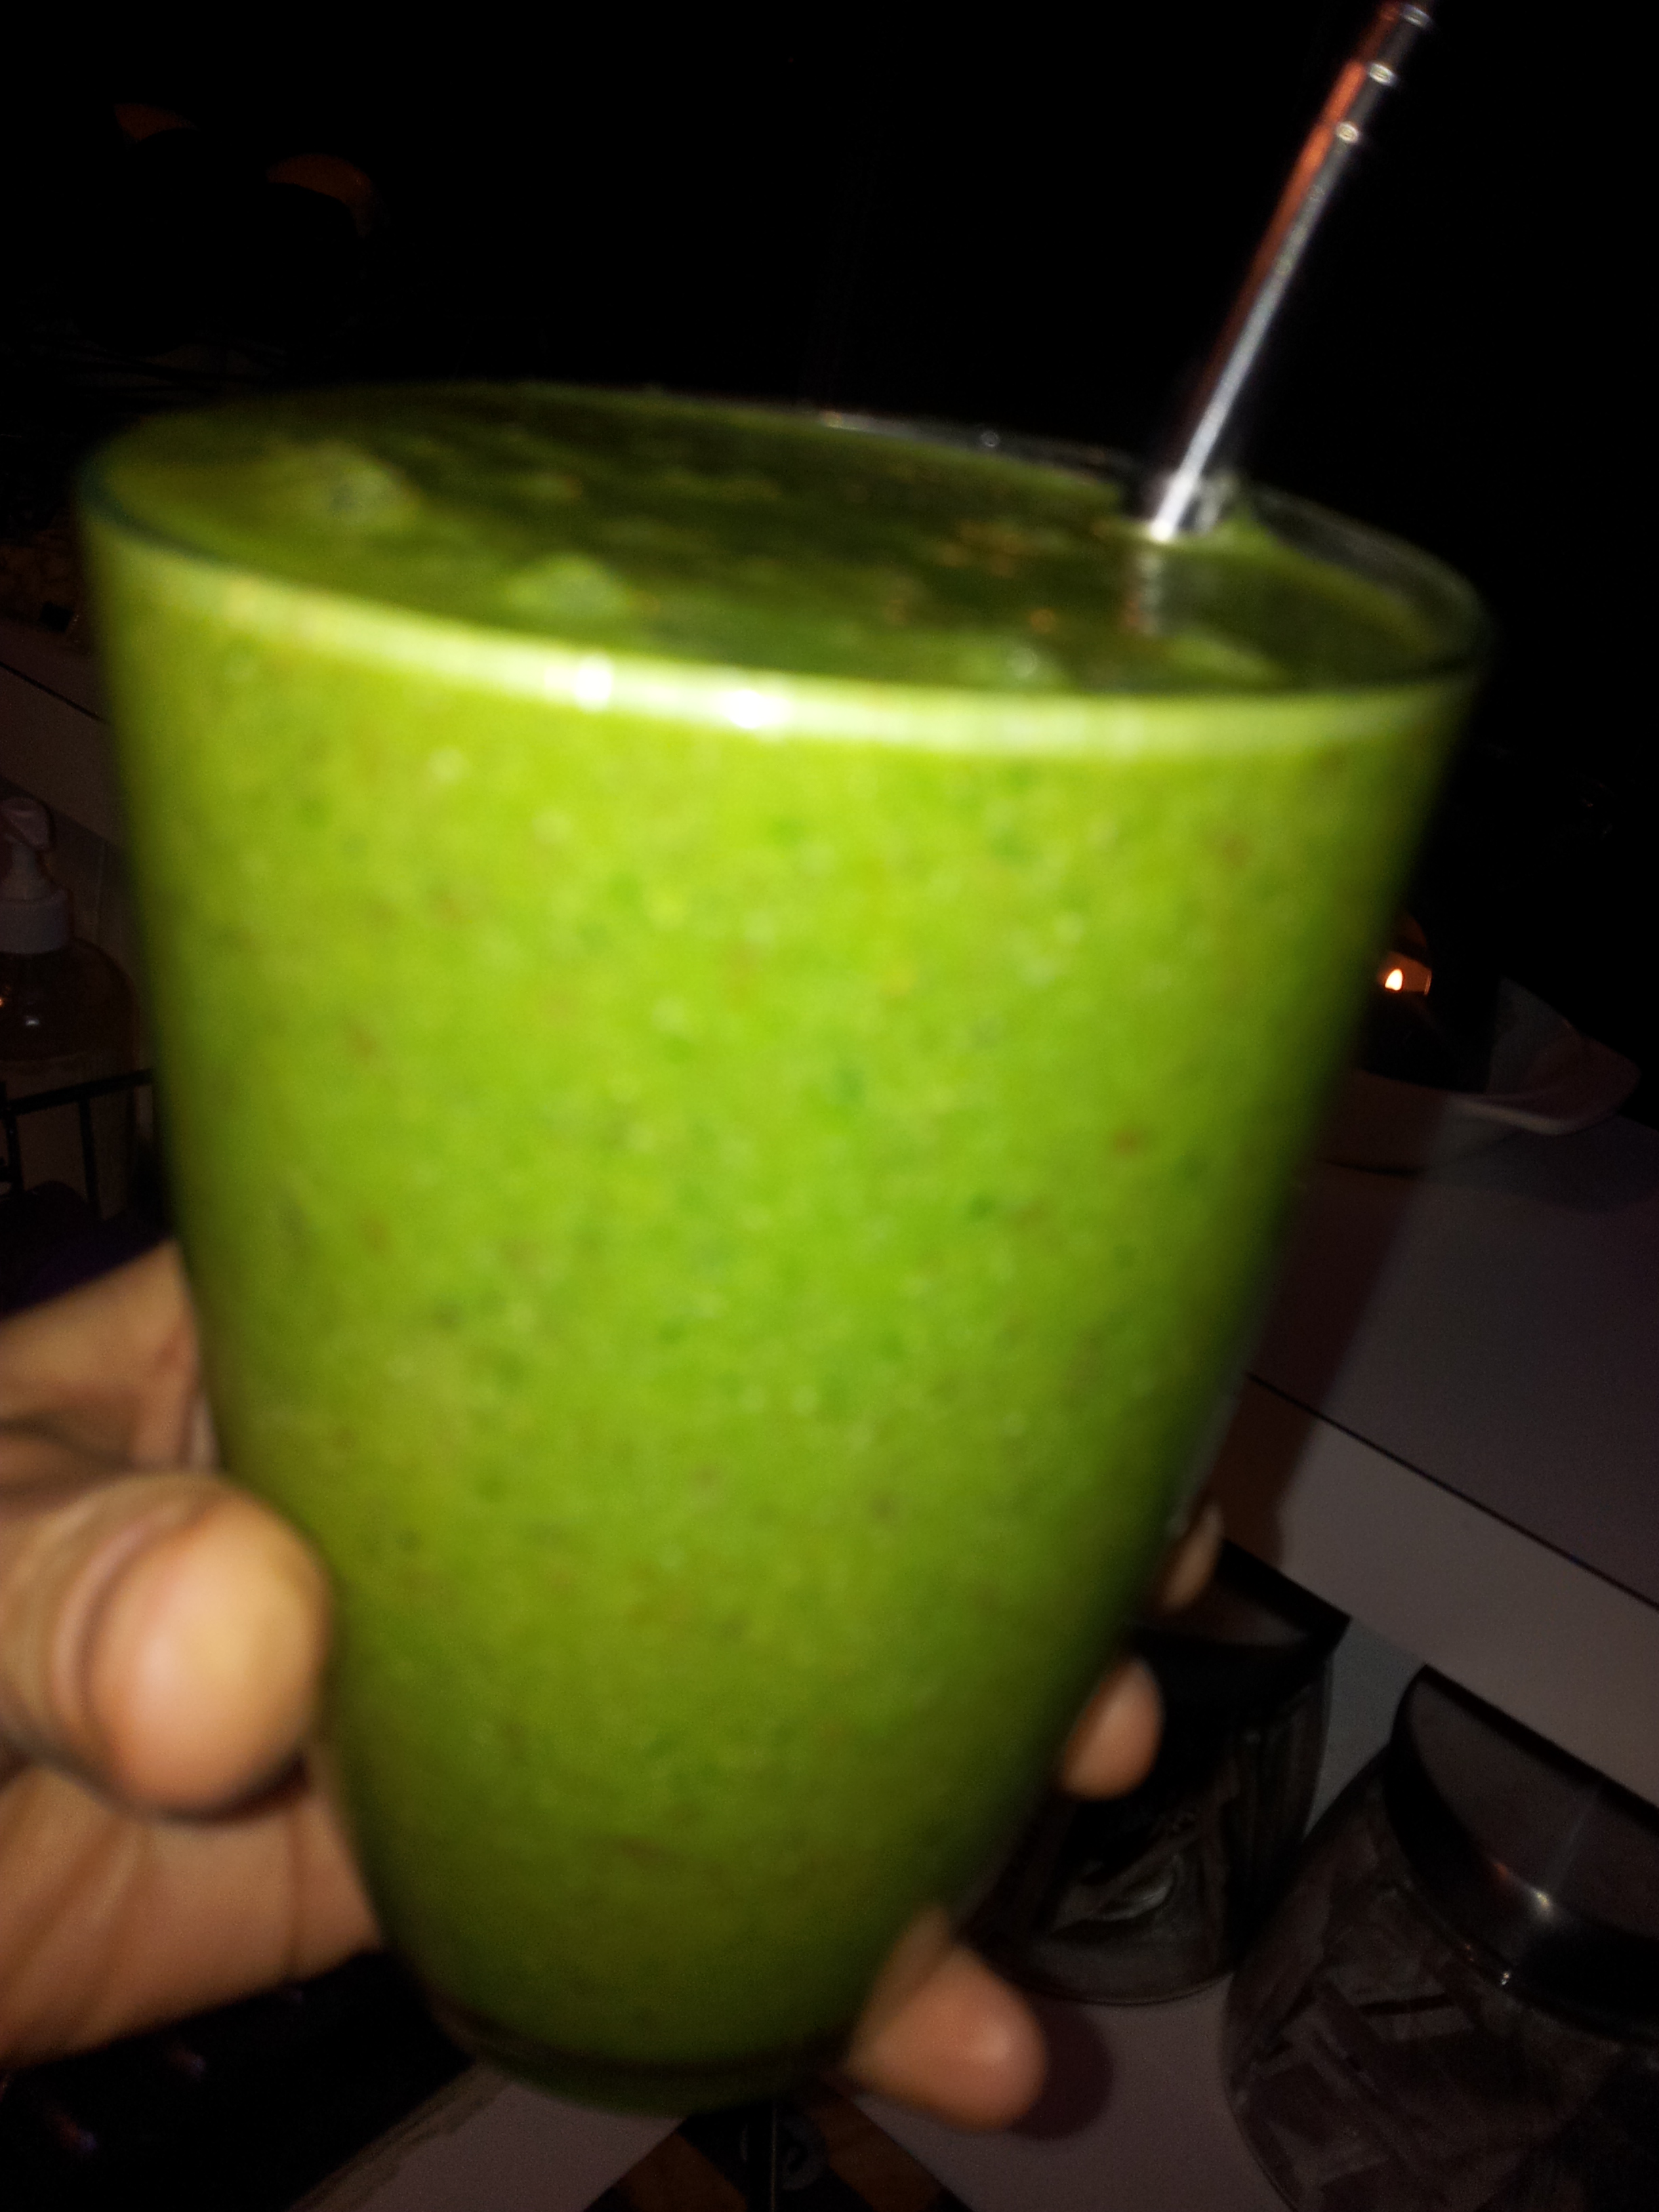
Part of the joy of drinking a green smoothie is that it is green!
A green smoothie can quickly turn a not so nice colour if you add certain ingredients to it such as raspberries, blueberries or blackberries. It could go a brown colour and will taste great, but won’t look so appetising.
Choosing your ingredients:
1. Start by picking your choice of greens. You can have just the one such as cos lettuce, kale, spinach or silverbeet or a mixture. Cos lettuce is so sweet and lovely and l love the smaller green spinach leaves.
2. What liquid are you going to have in your juice? I would advise either plain coconut water or filtered water.
3. Choose the fruit you are going to add. This could be banana, apple, peach, apricot, pear, mango, pineapple, orange and mandarin as examples. Citrus is wonderful as it will help your body absorb the iron from the greens.
4. Add a few interesting things to your smoothie. Limes and lemon’s with the skin on will give the smoothie a kick, while fresh ginger and herbs such as parsley and mint will help to enhance the flavour.
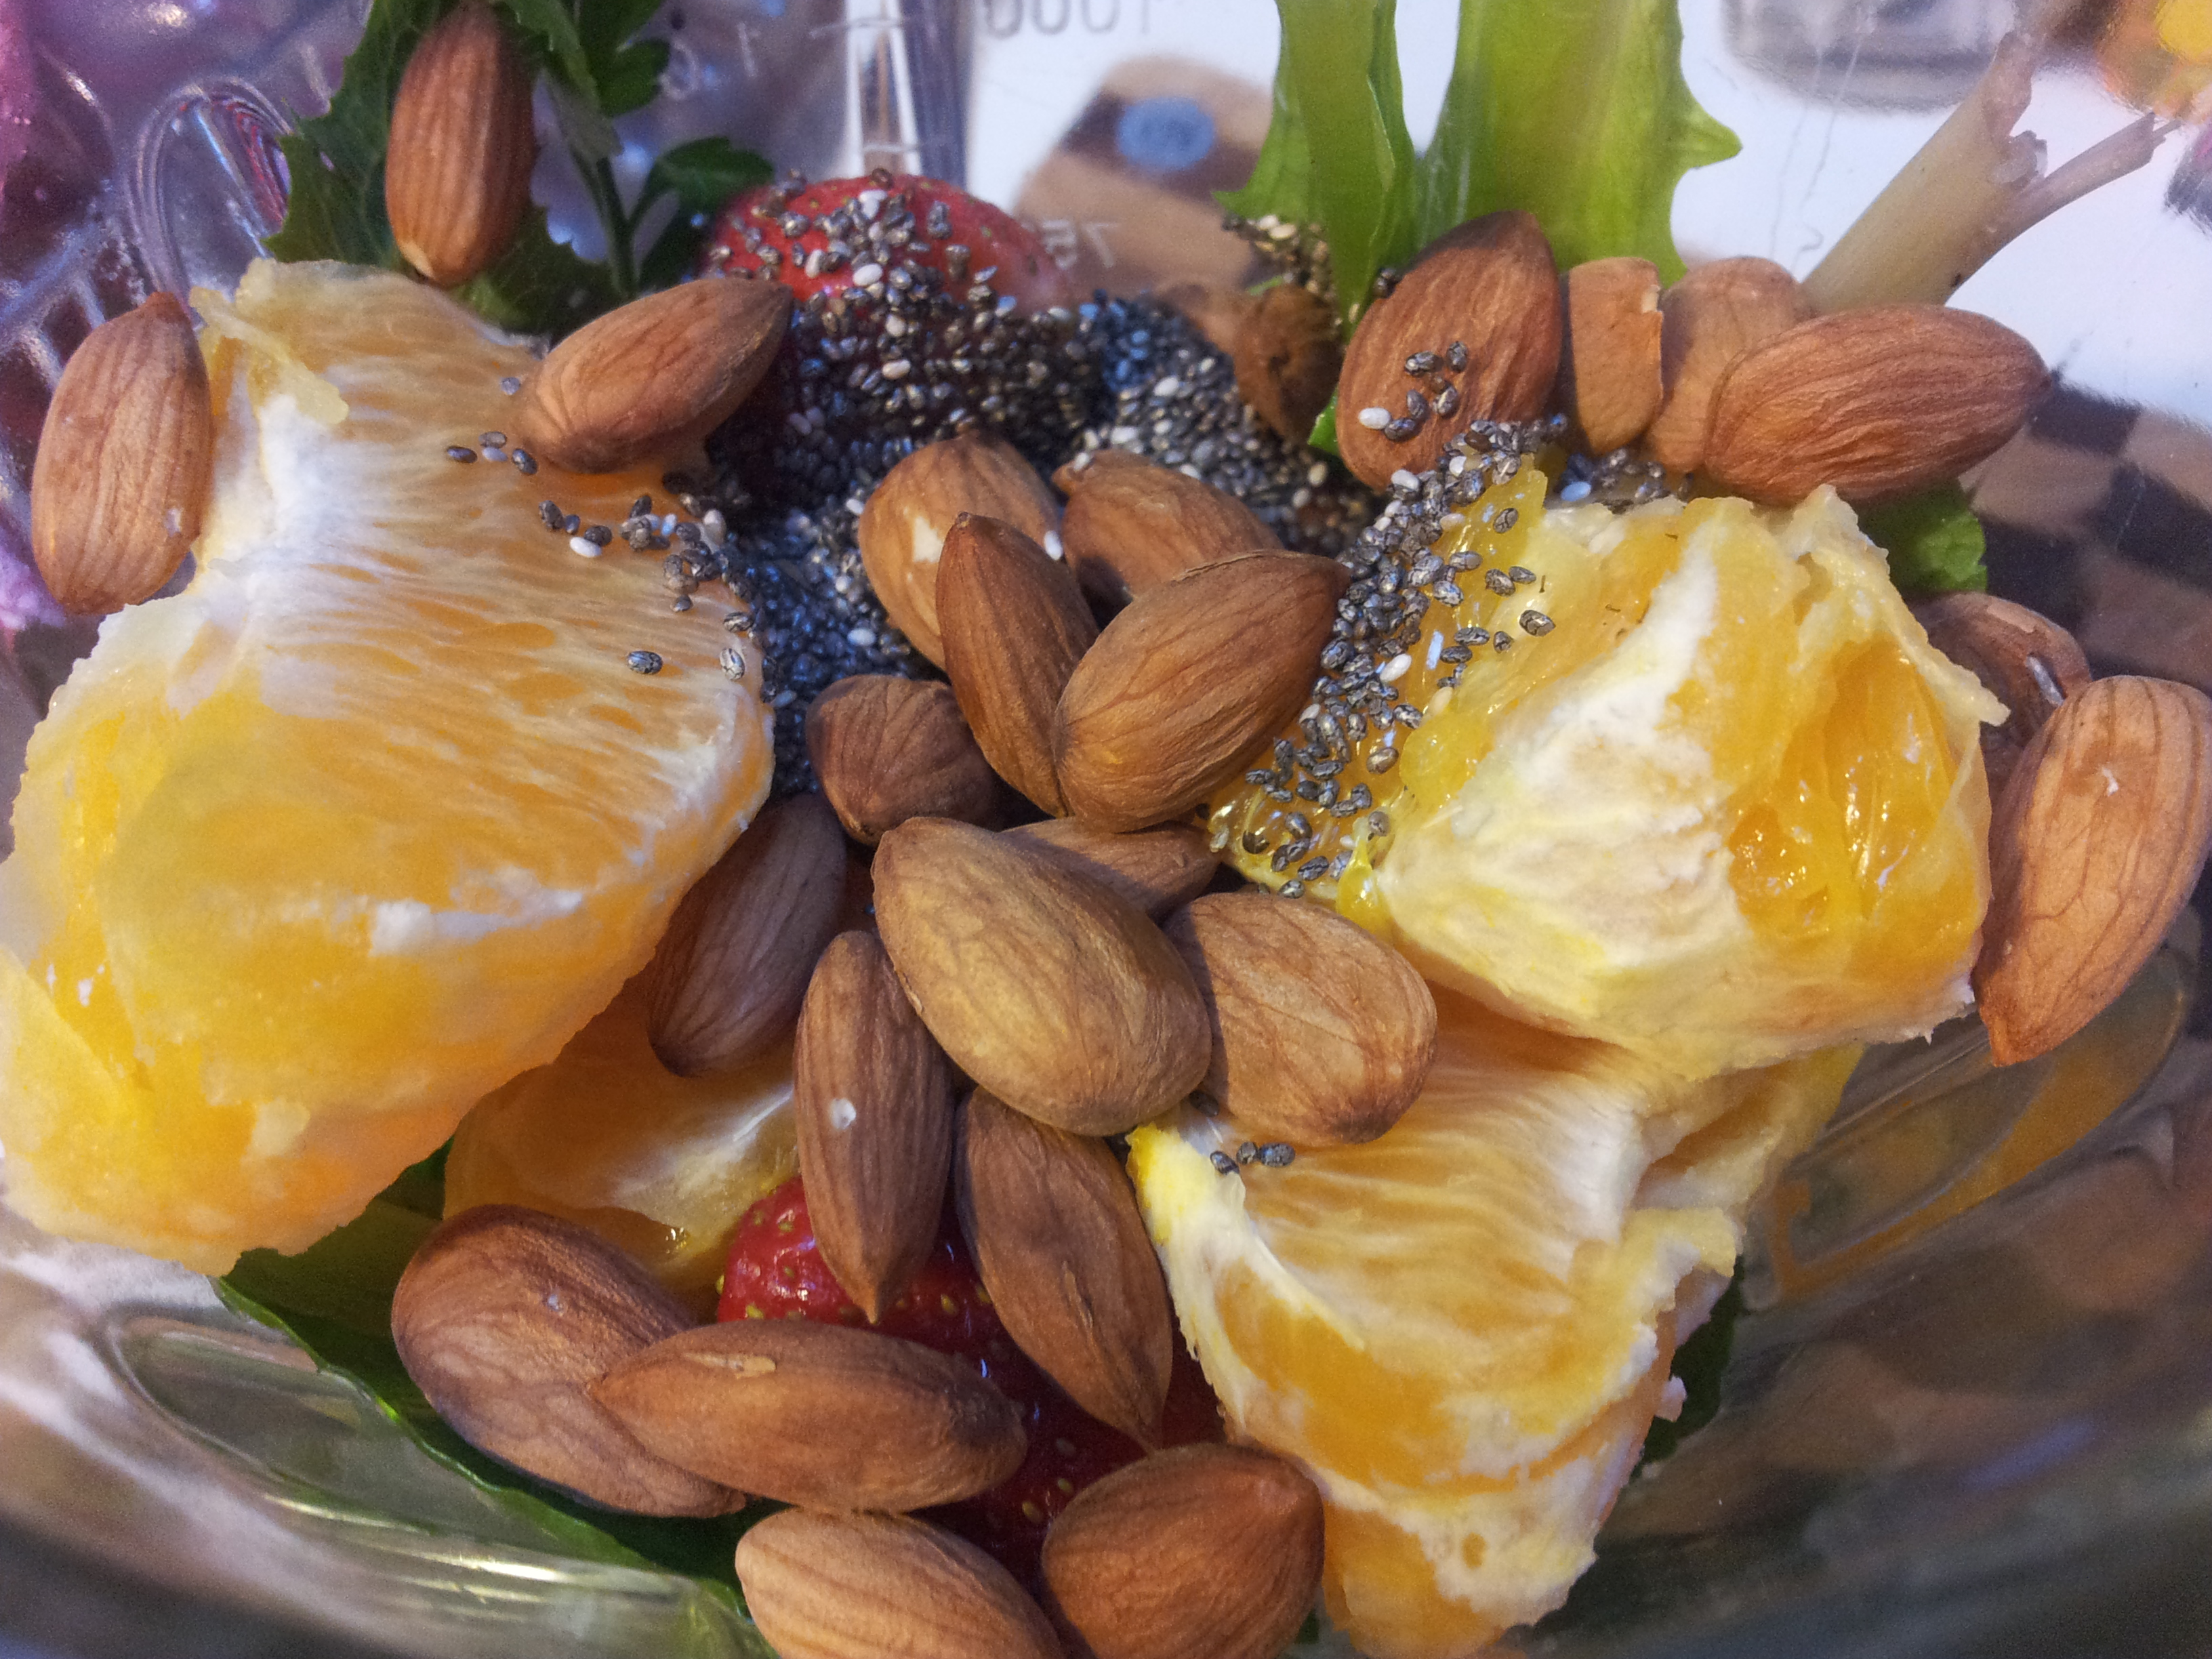
5. Add additional nutrients such as chia seeds, green powders or nuts.
This smoothie has lots of greens, a few strawberries, chia seeds, activated almonds, orange and filtered water.This was such a filling smoothie and there are speckles of red through it from the strawberries.
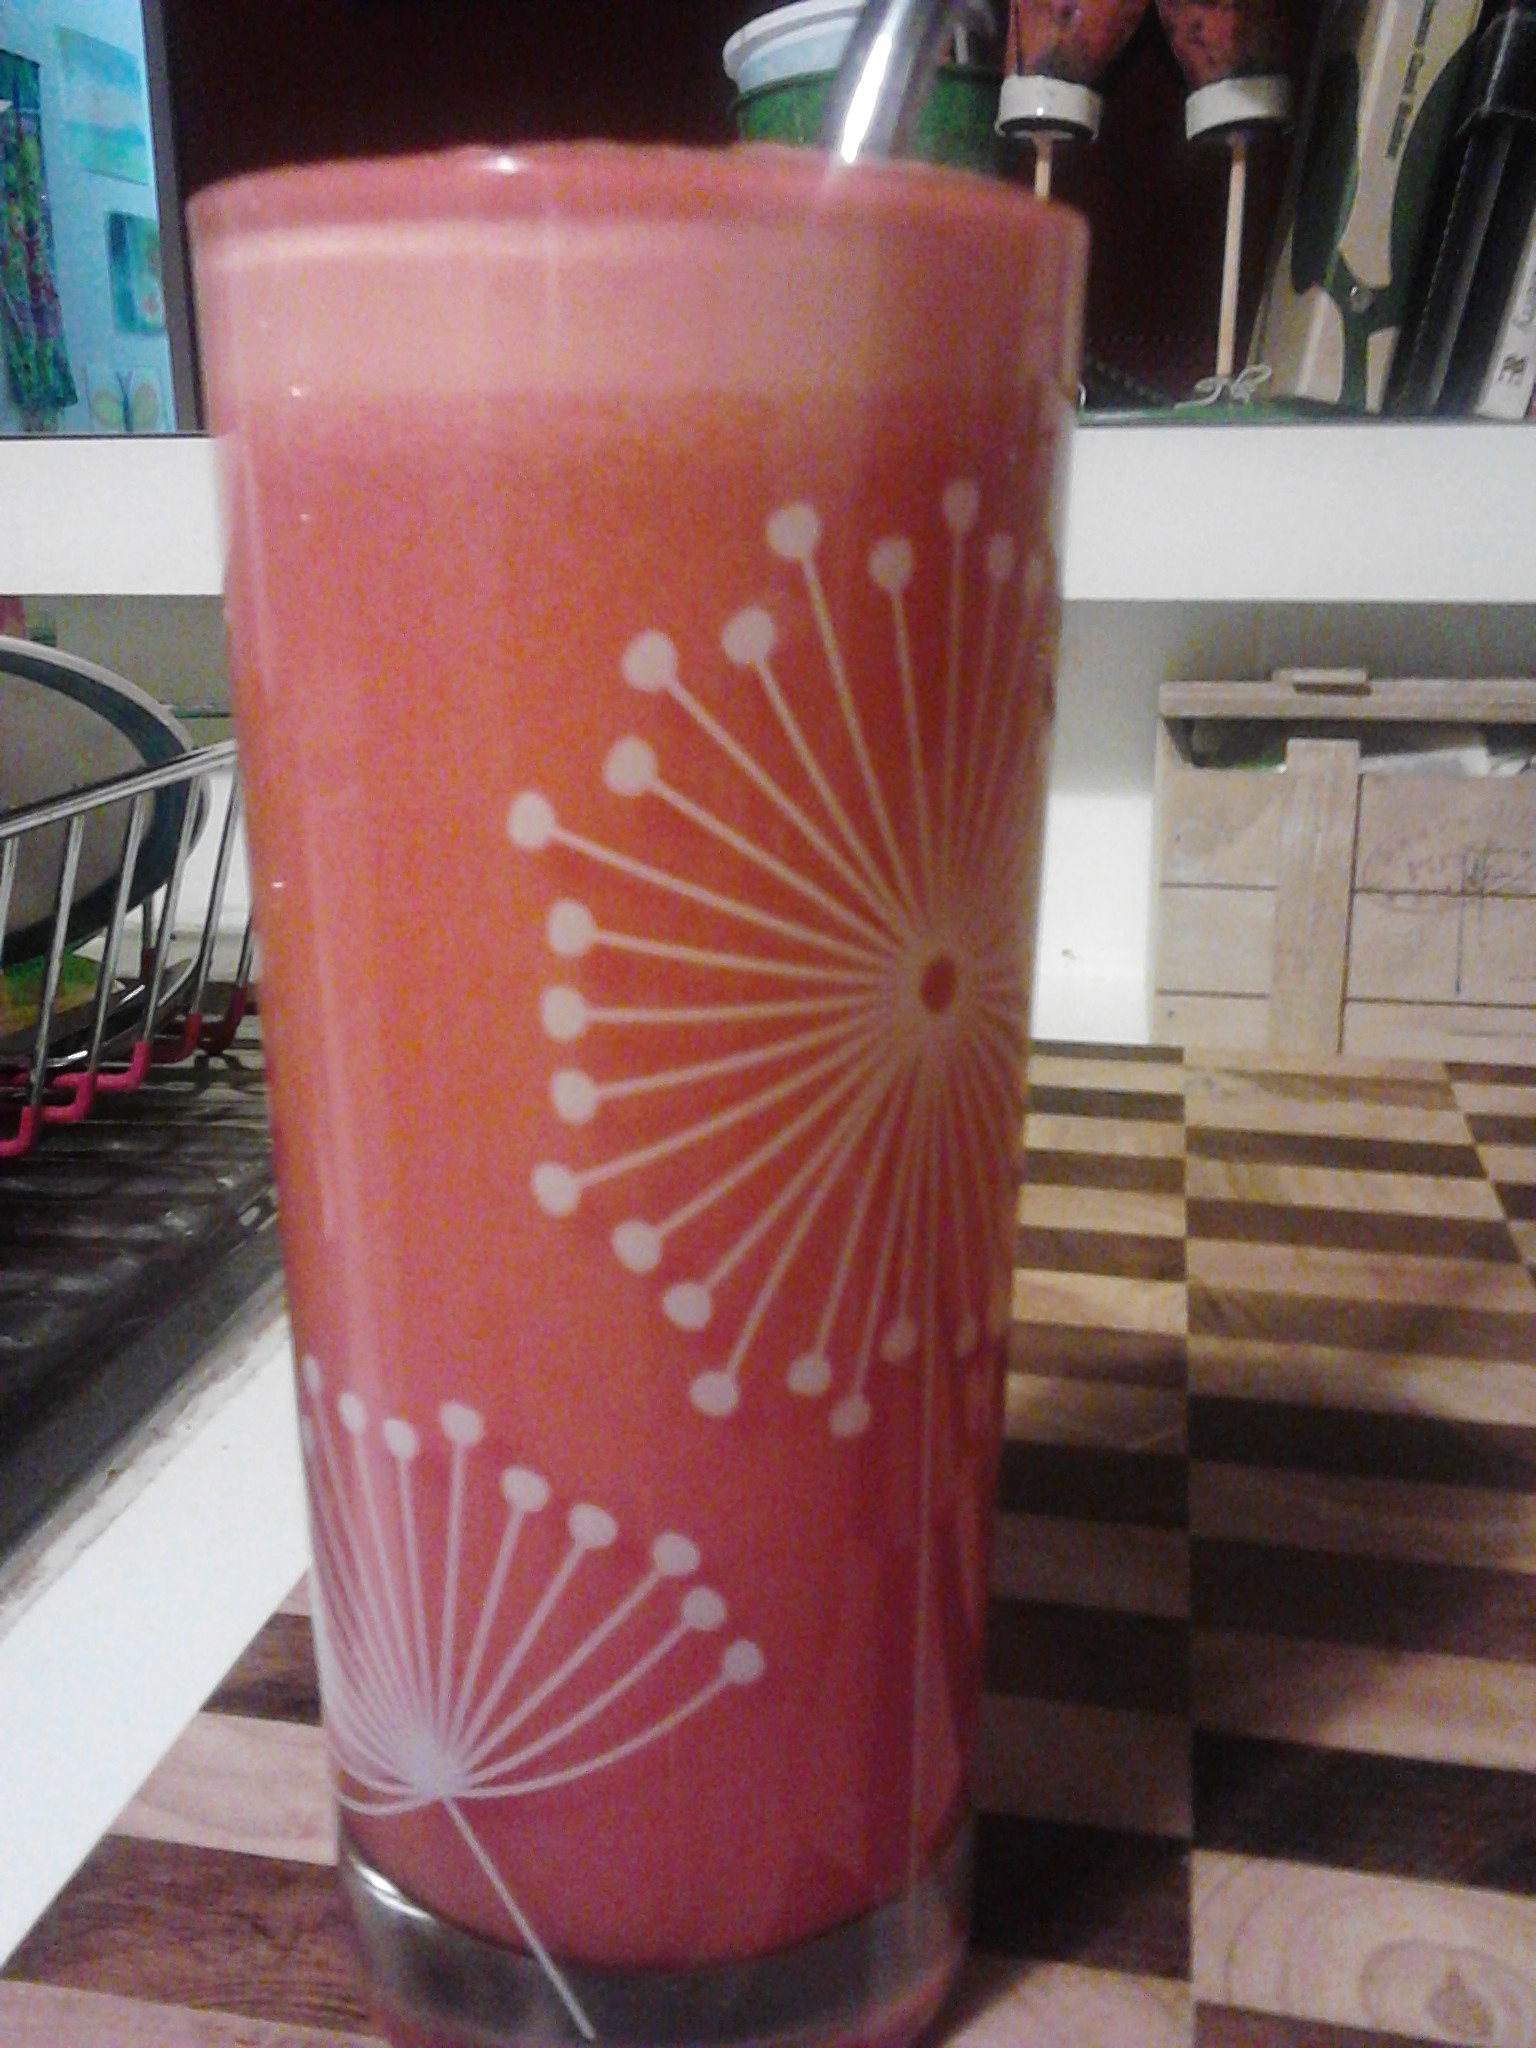
A way to combine a green smoothie with a more colourful ingredients and still have it looking good is to have some fun putting it together as in the one below. Both the green and pink sections tasted wonderful, but when mixed together were a not so nice brown colour.
A green smoothie with a dash of colour!
The green section is cos lettuce, banana, green apple and coconut water. The pink layer is strawberries, blueberries, acai berry powder, chia seeds, banana and coconut water. I make the green part first and pour it into two glasses and wash the blender, then make the pink part. The decorative pointy bits l do with a stainless steel straw and it looks nice to drink!
A smoothie can easily be a meal if you add in good sources of protein such as chia seeds and nuts. I drink them slowly as it is a lot of liquid going into the stomach all at once and adding the nuts and chia seeds make it a bit heavier and thicker as well as slowing down the digestion of the sugars in the drink. Sometimes l have a handful of nuts with the smoothie if it has a lot of fruit in it and this balances out the snack.
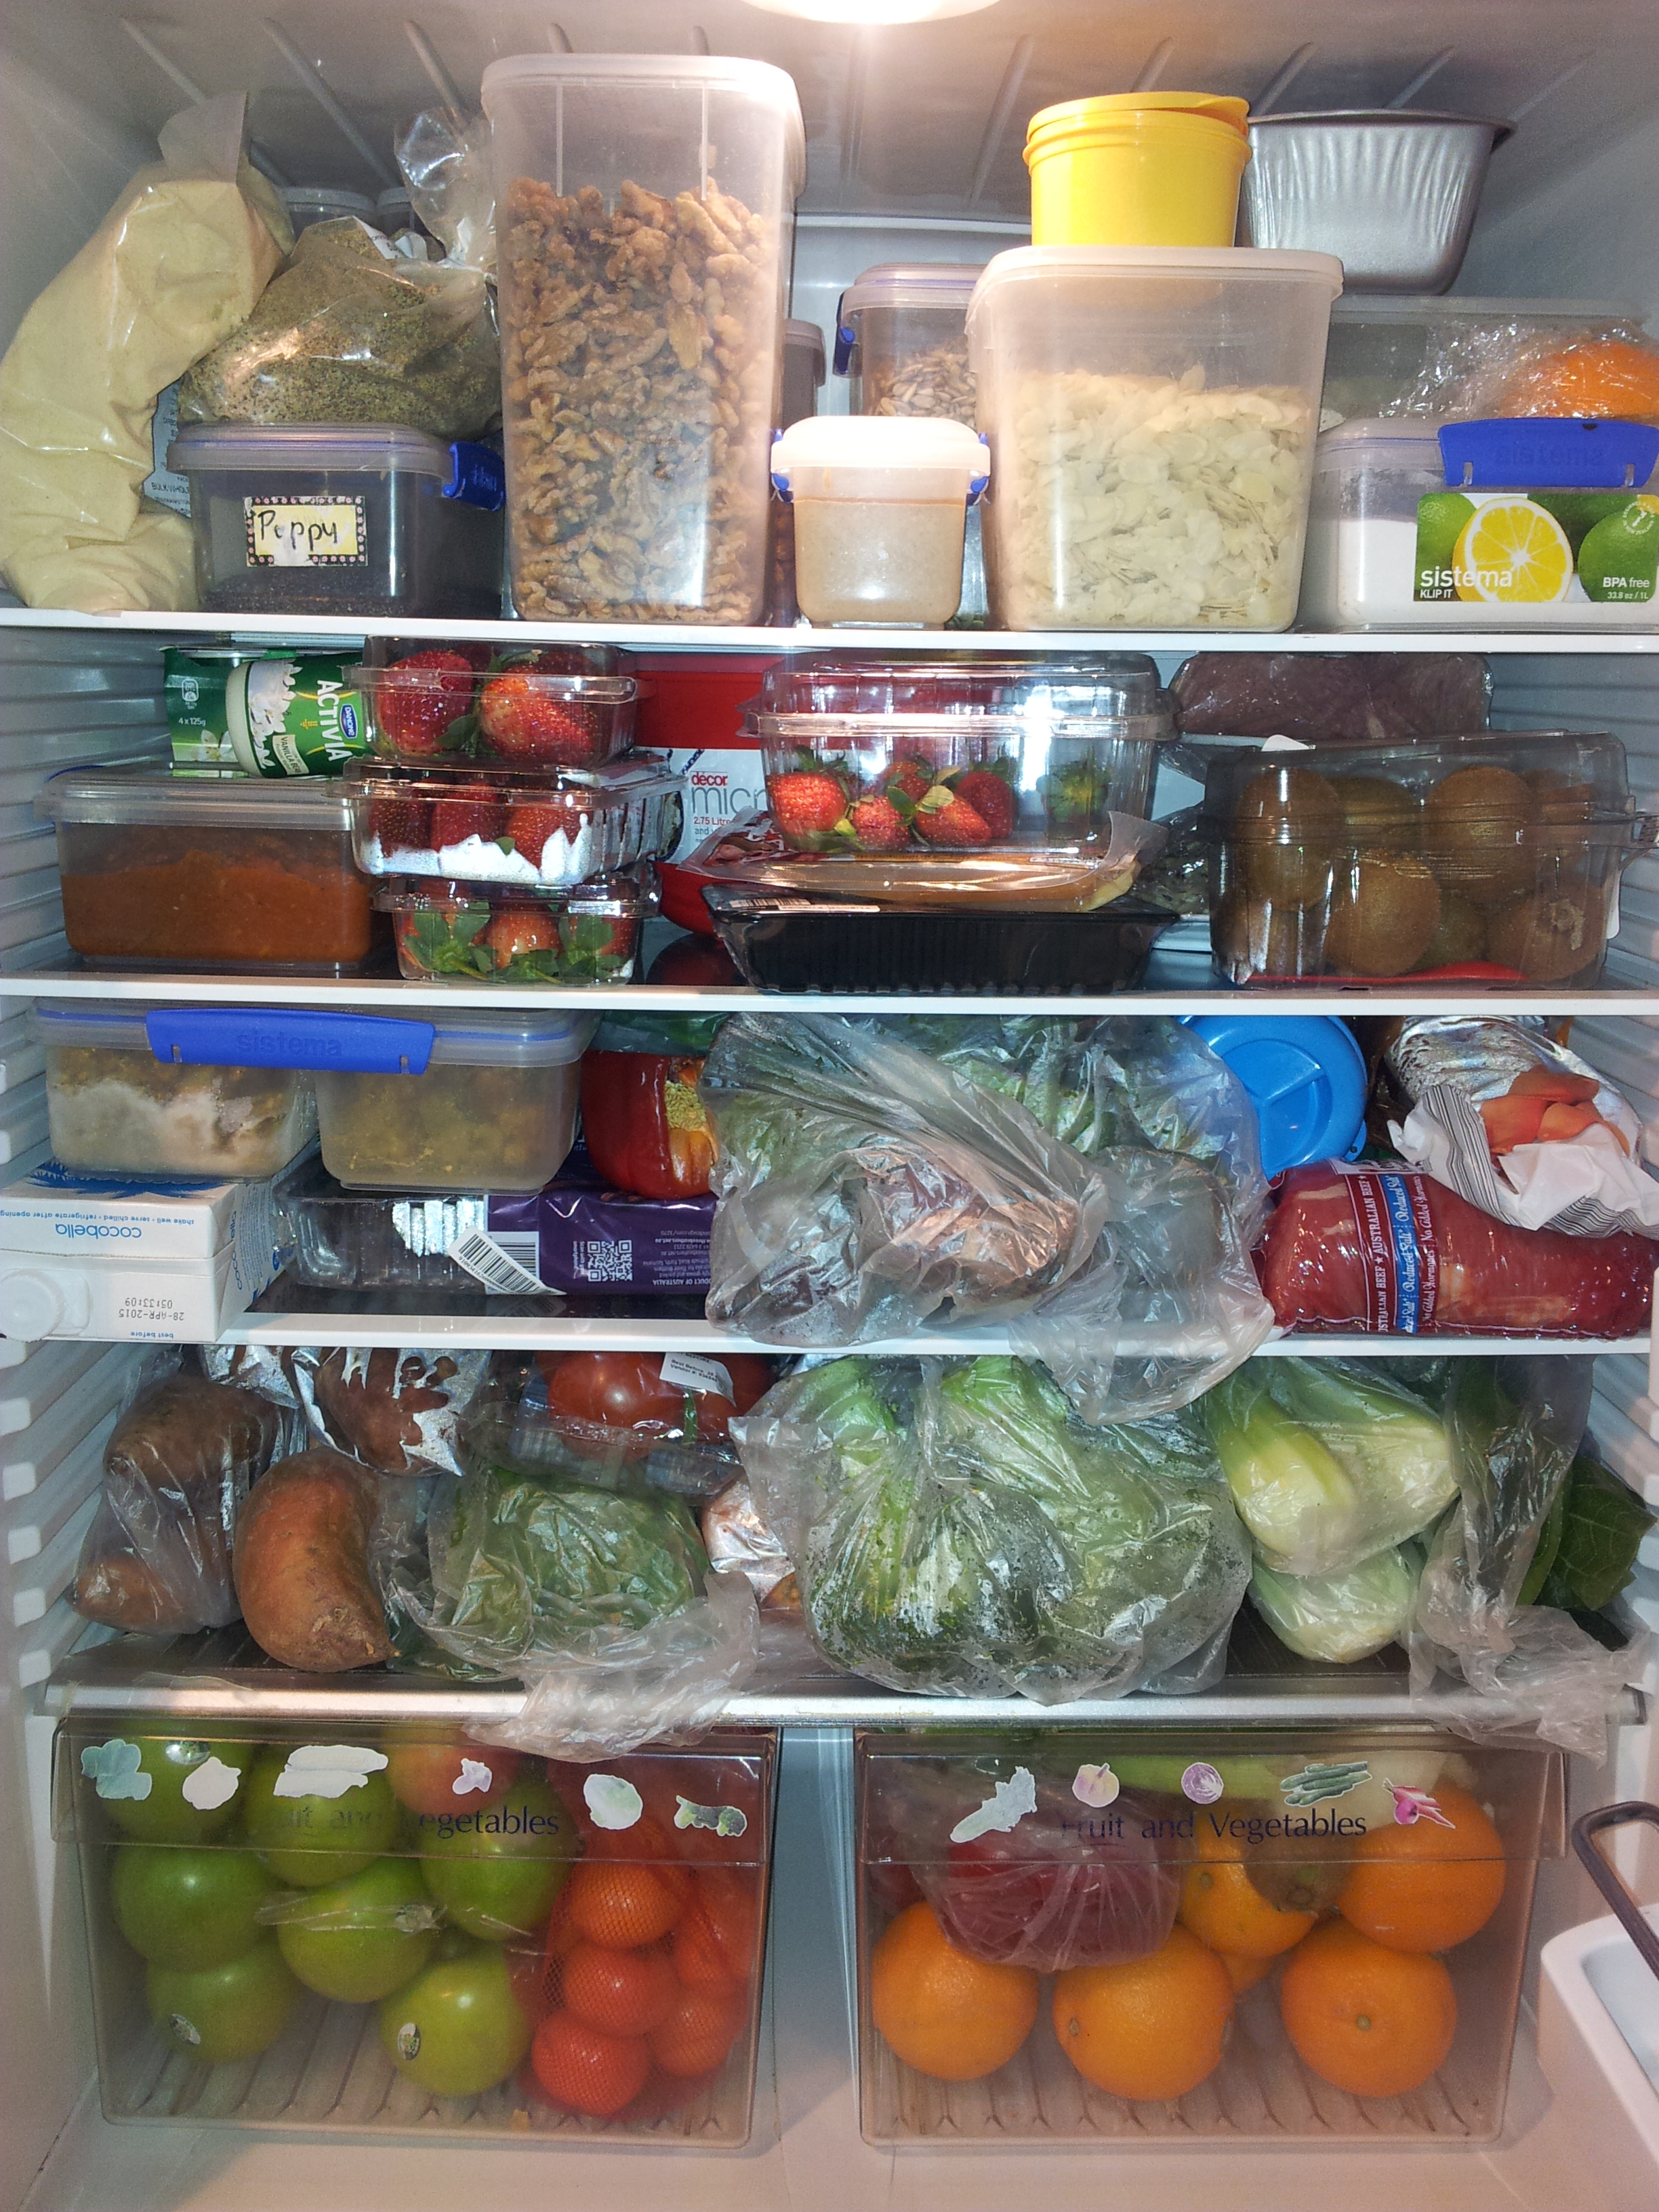
The best way to get started on your smoothie adventure is to fill up your fridge with lots of healthy fresh food. Here is a quick snapshot of my fridge as it looks most of the time.
I really need a bigger fridge!
If you have enjoyed this post please share it with a friend. You can keep up to date with my daily meals and wellness tips on Facebook: holistic wellness for life, Instagram at holistic_paleo as well as Twitter, Flickr, Tumblr and Pinterest.
There are so many ways to add colour to your meals, but the best way is to include a variety of fresh fruit and vegetables in your daily diet. The health benefits of eating a diet filled with a rainbow of colours is well known, but as l have tried to incorporate more vegetables into every meal, l have discovered the joy of eating food that is a range of bright colours. Not only are the range of flavours so amazing, but eating fresh colourful food is exciting, motivating and makes me feel happy.
A green pancake for breakfast. Paleo recipe, gluten, dairy and sugar free filled with loads of parsley, bok choy, spinach and kale. Topped with activated almonds, organic coconut flakes and organic maple syrup. Served with fresh avocado and a daily magnesium drink.Breakfast pancake topped with fresh fruit, activated walnuts, coconut flakes and organic maple syrup.
A food as Medicine approach underpins my nutritional motivation, and everything l eat has a purpose and a high nutritional value. Eating a rainbow of fresh, healthy food will ensure you are consuming healthy vitamins, minerals, anti-oxidants and fibre that will help you on your wellness journey.
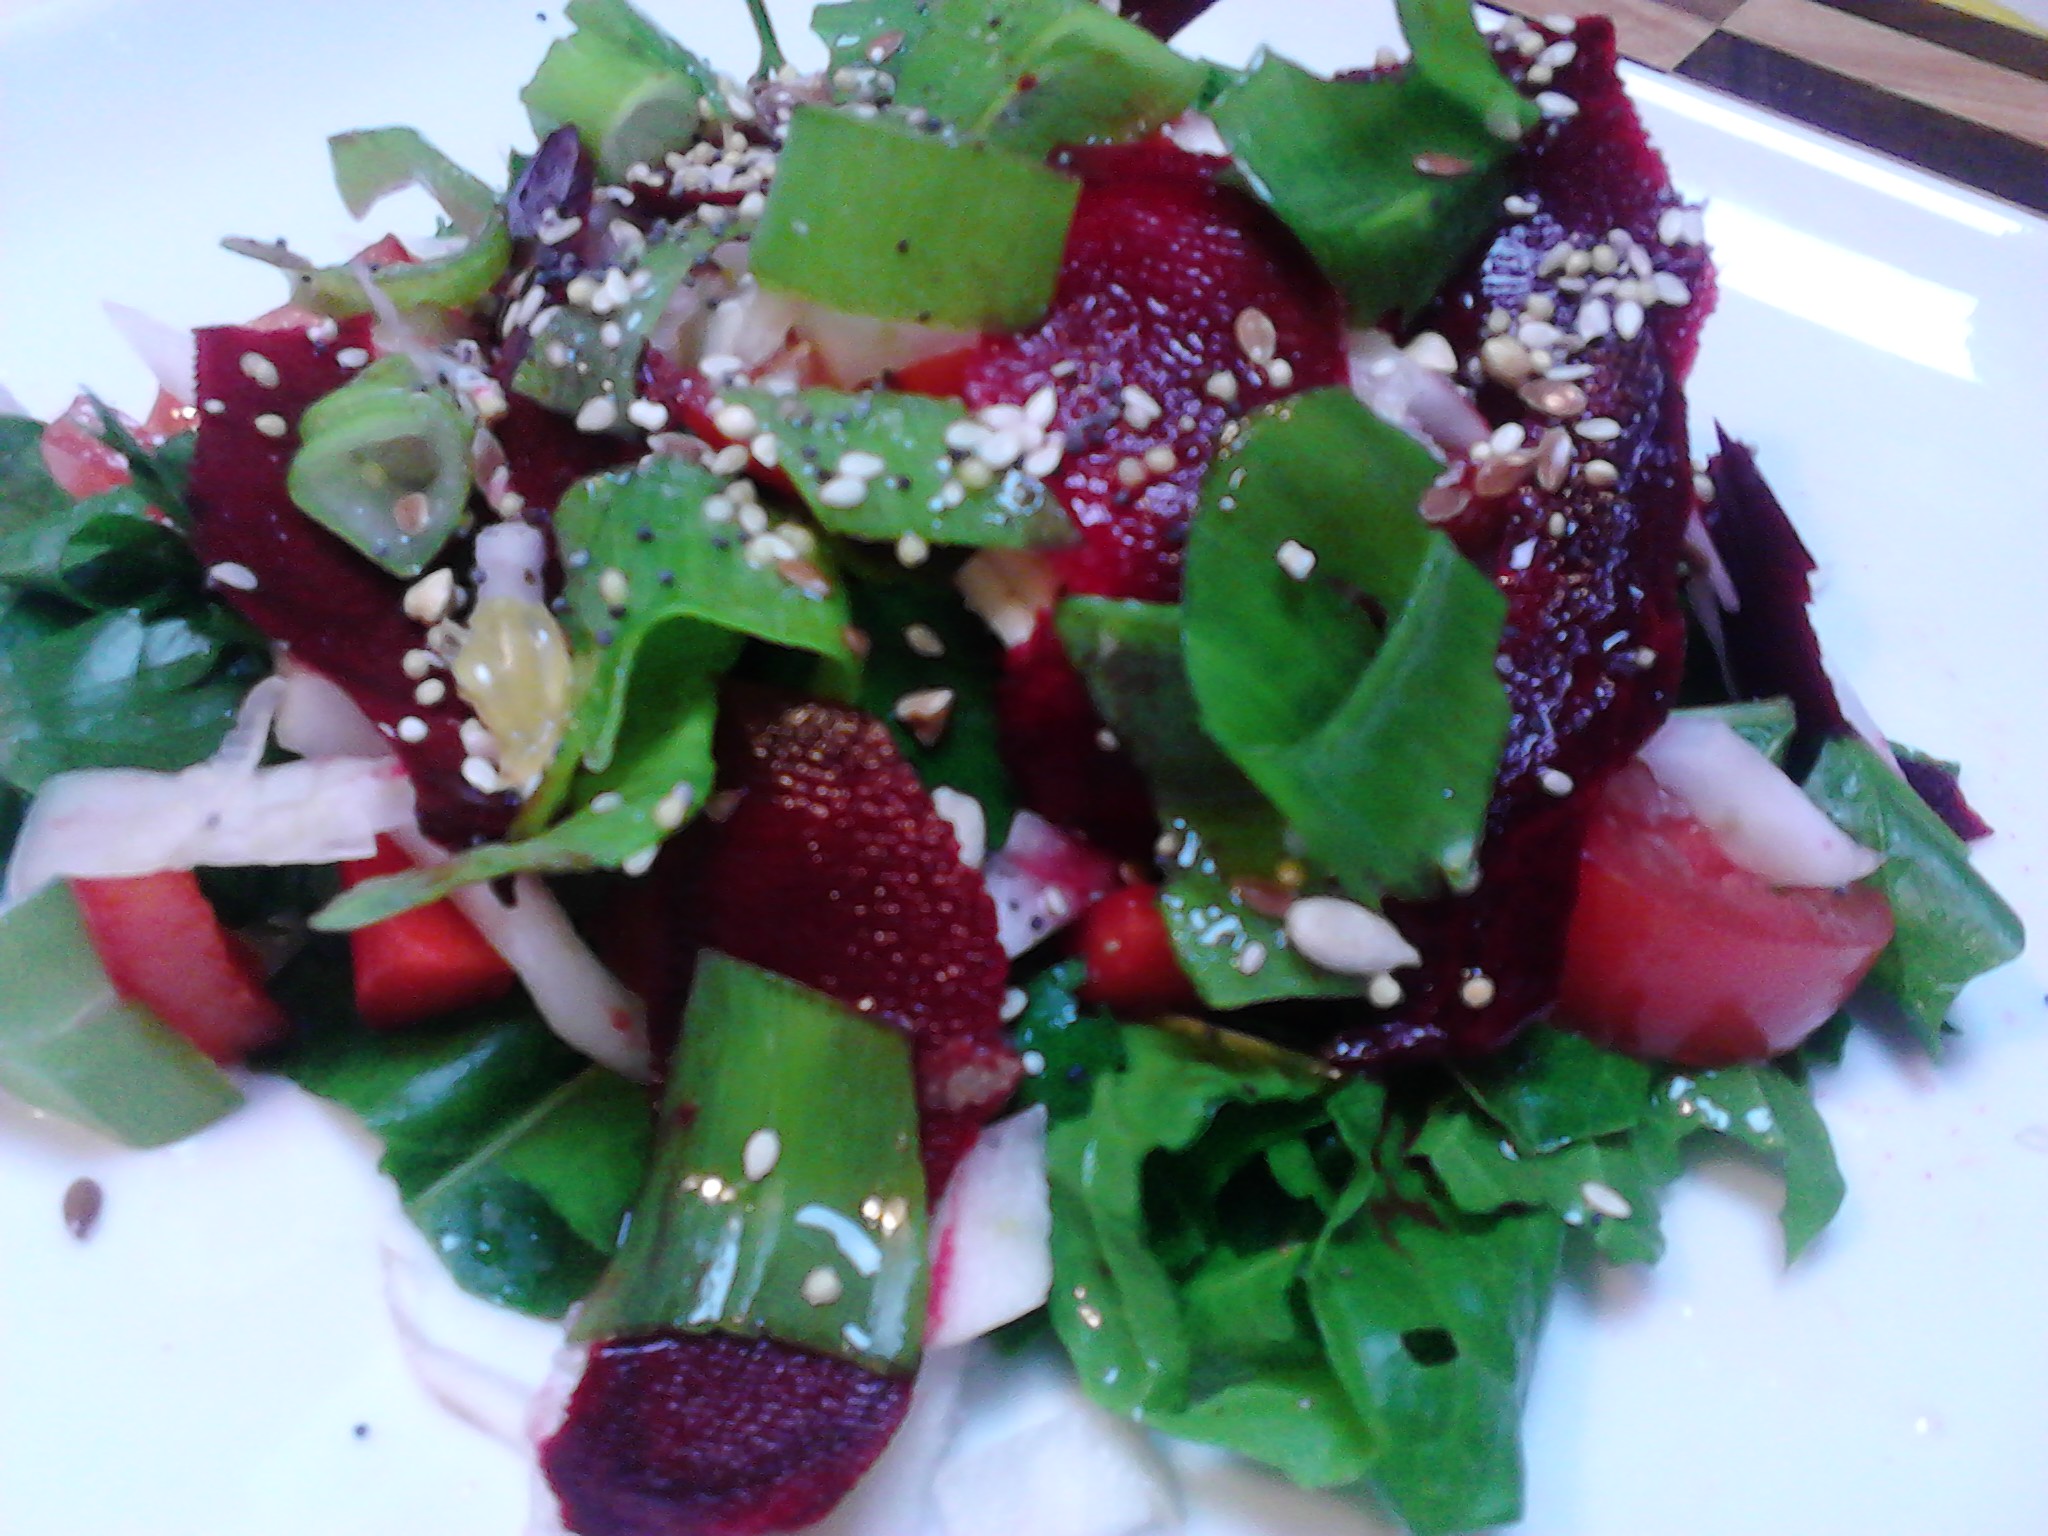
Lunch: A beautiful fresh raw salad.
If your daily rainbow consists of peas, carrots and corn then it is time for a change. Our taste buds can get a bit lazy and are a victim of our comfort zone just like the rest of our habits are. Trying new foods can be challenging and it can take a number of goes at eating a food, or preparing it in a variety of ways before we become accustomed to its taste, texture and how it feels in our mouth when eating. There is also the challenge of learning how to prepare new foods, but if you add one in at a time then it can be exciting and an adventure.
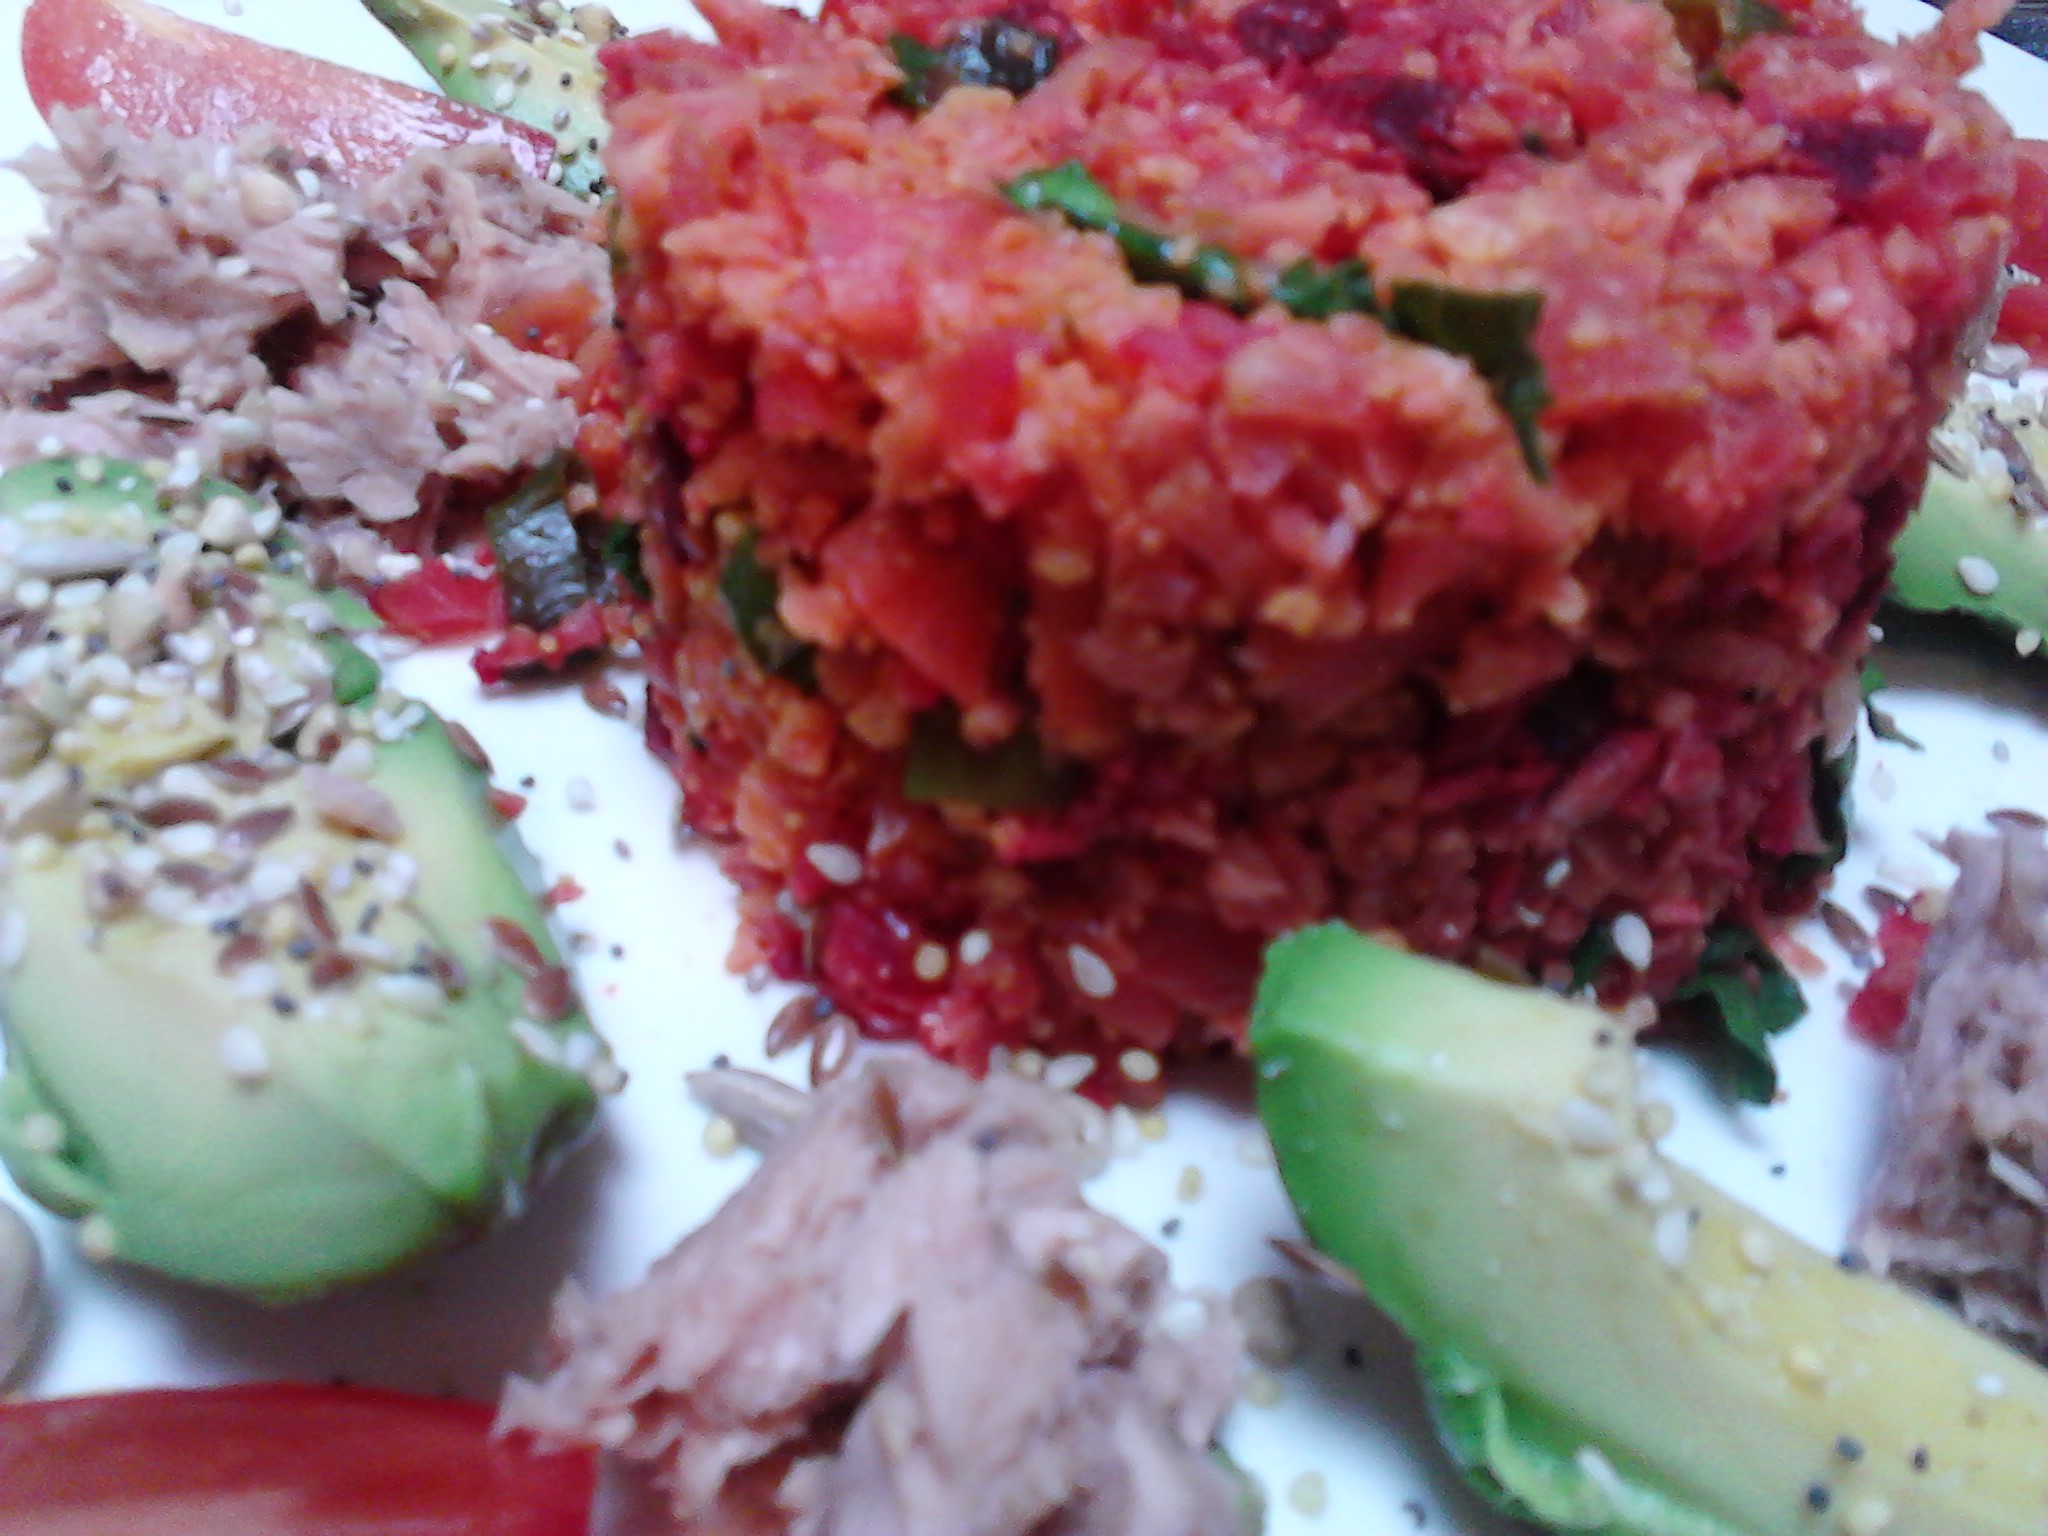
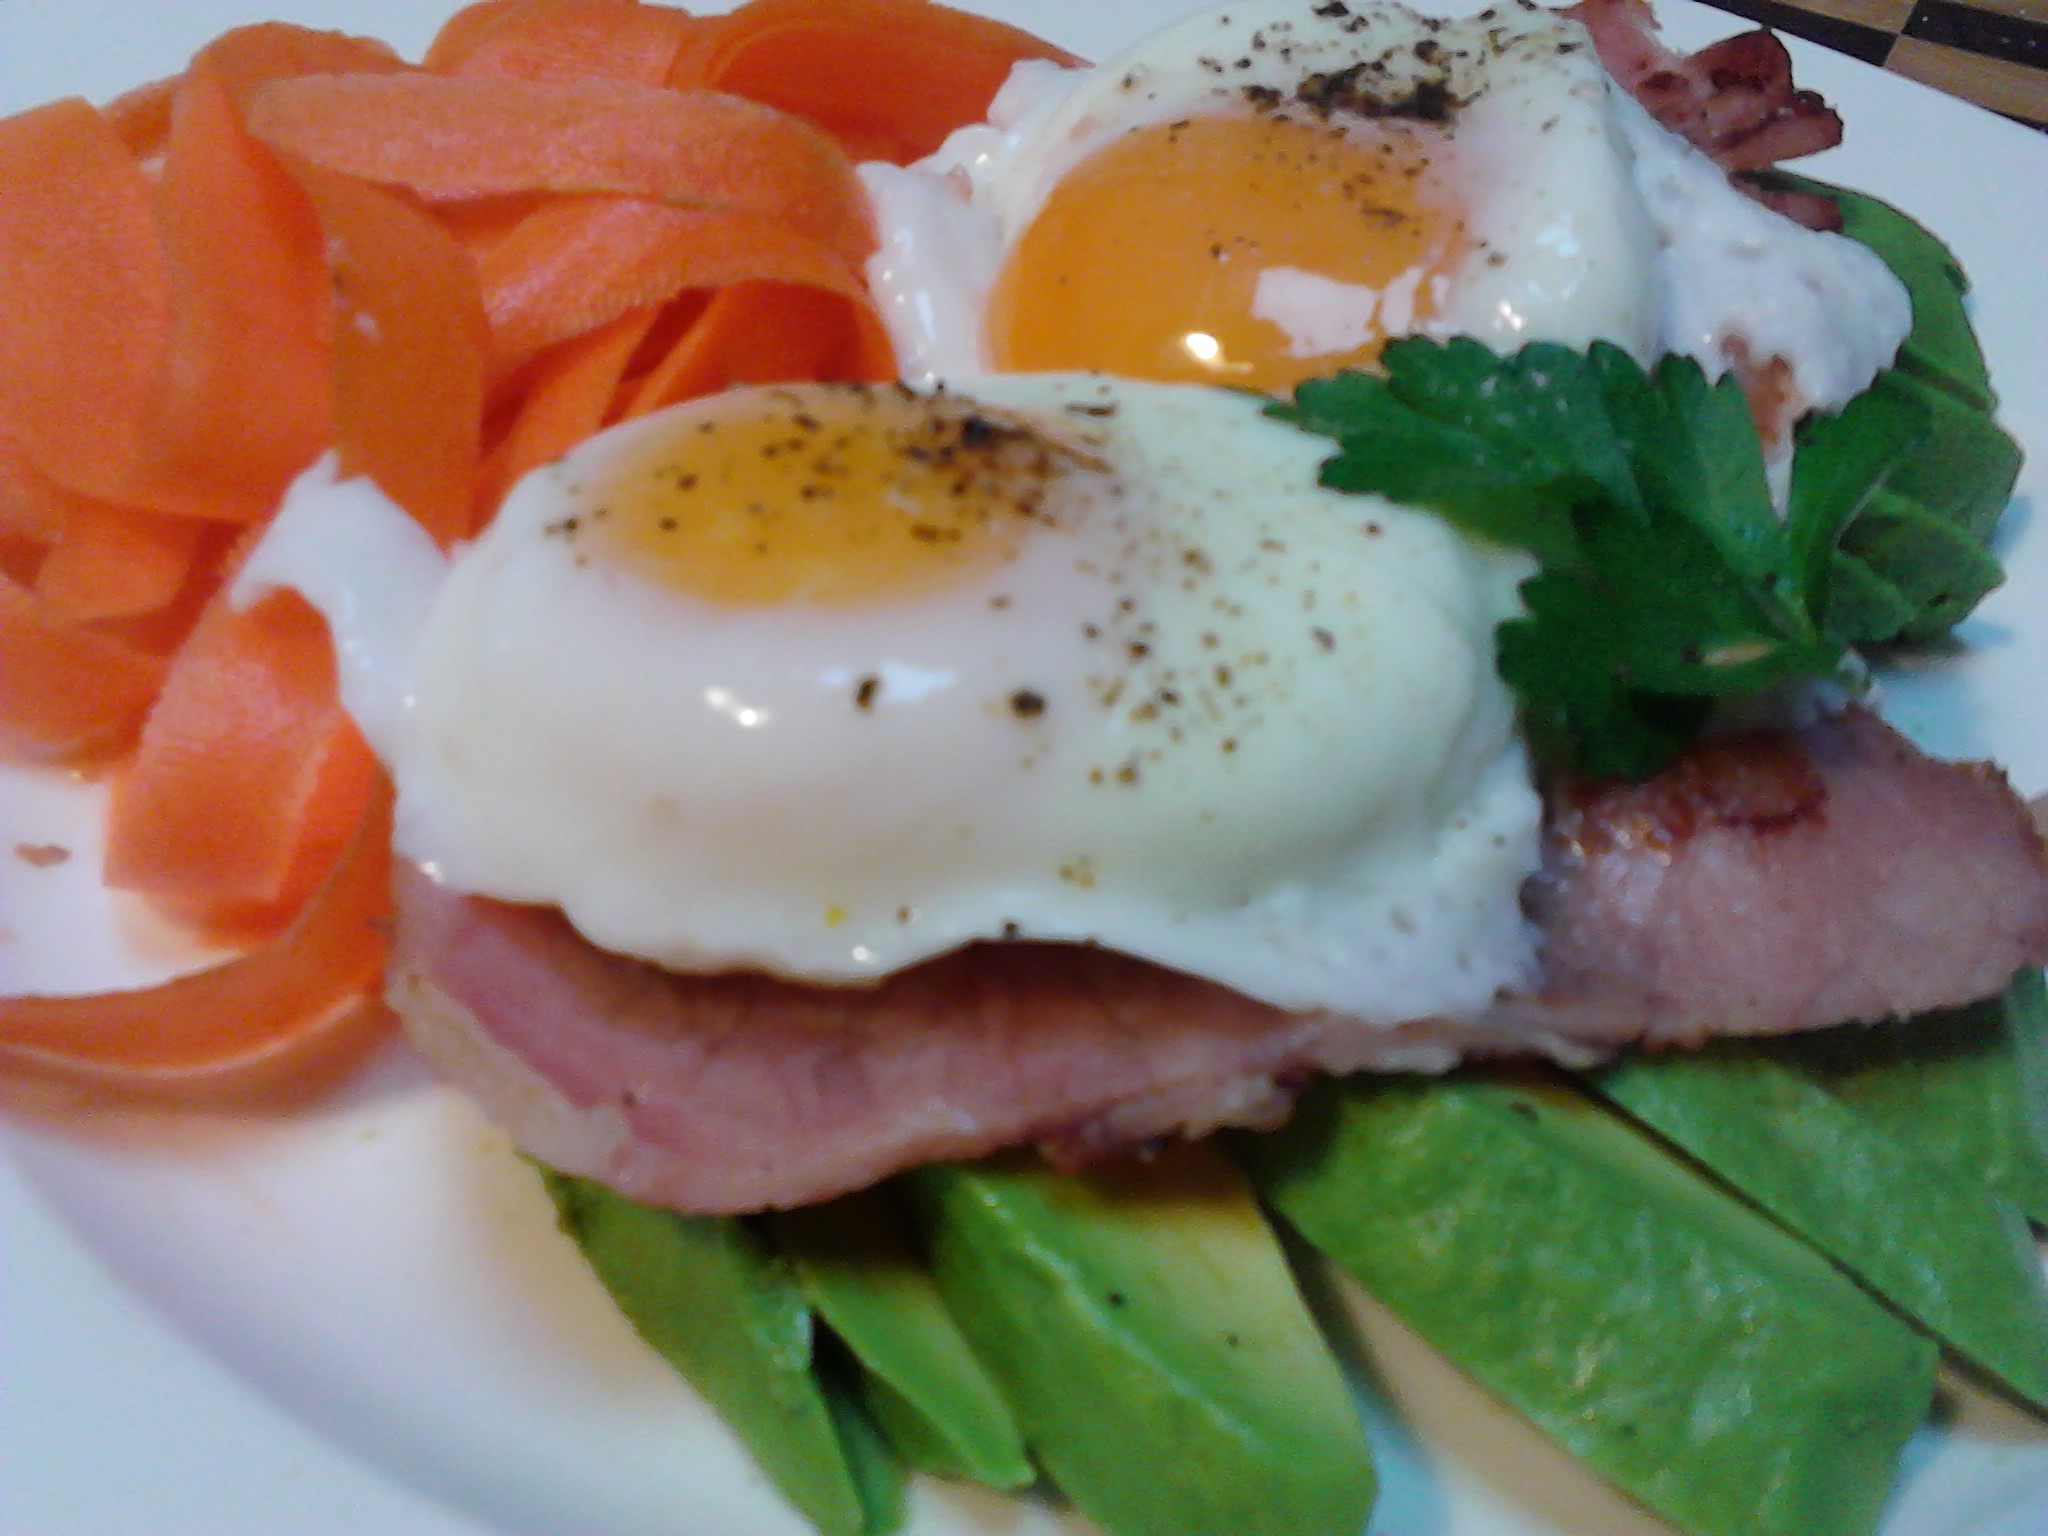
Lunch: Spiced beetroot & vegetable cauliflower rice, with tuna, avocado, tomato and seeds.Lunch: Poached free range eggs & bacon with fresh avocado and carrot strips.
The first step after deciding you want more colour in your food is to buy a selection so it is available for you when preparing meals. If you need guidance, use a recipe that appeals to you as a starting point. I have found Instagram to be an amazing source of inspiration as l can visually see what other people are cooking and eating which helps my motivation to try new foods.
Cold pressed green juice made from bok choy, celery, green apple, lime and ginger.Amazing red juice of beetroot, celery, pear, carrot & fresh ginger.
Take ownership of your food intake and start experimenting with new ingredients. It can be fun and rewarding to sit down to a meal that you have lovingly prepared for yourself and family, especially if it has an array of lovely stimulating colours that gets the family talking about what you have made.
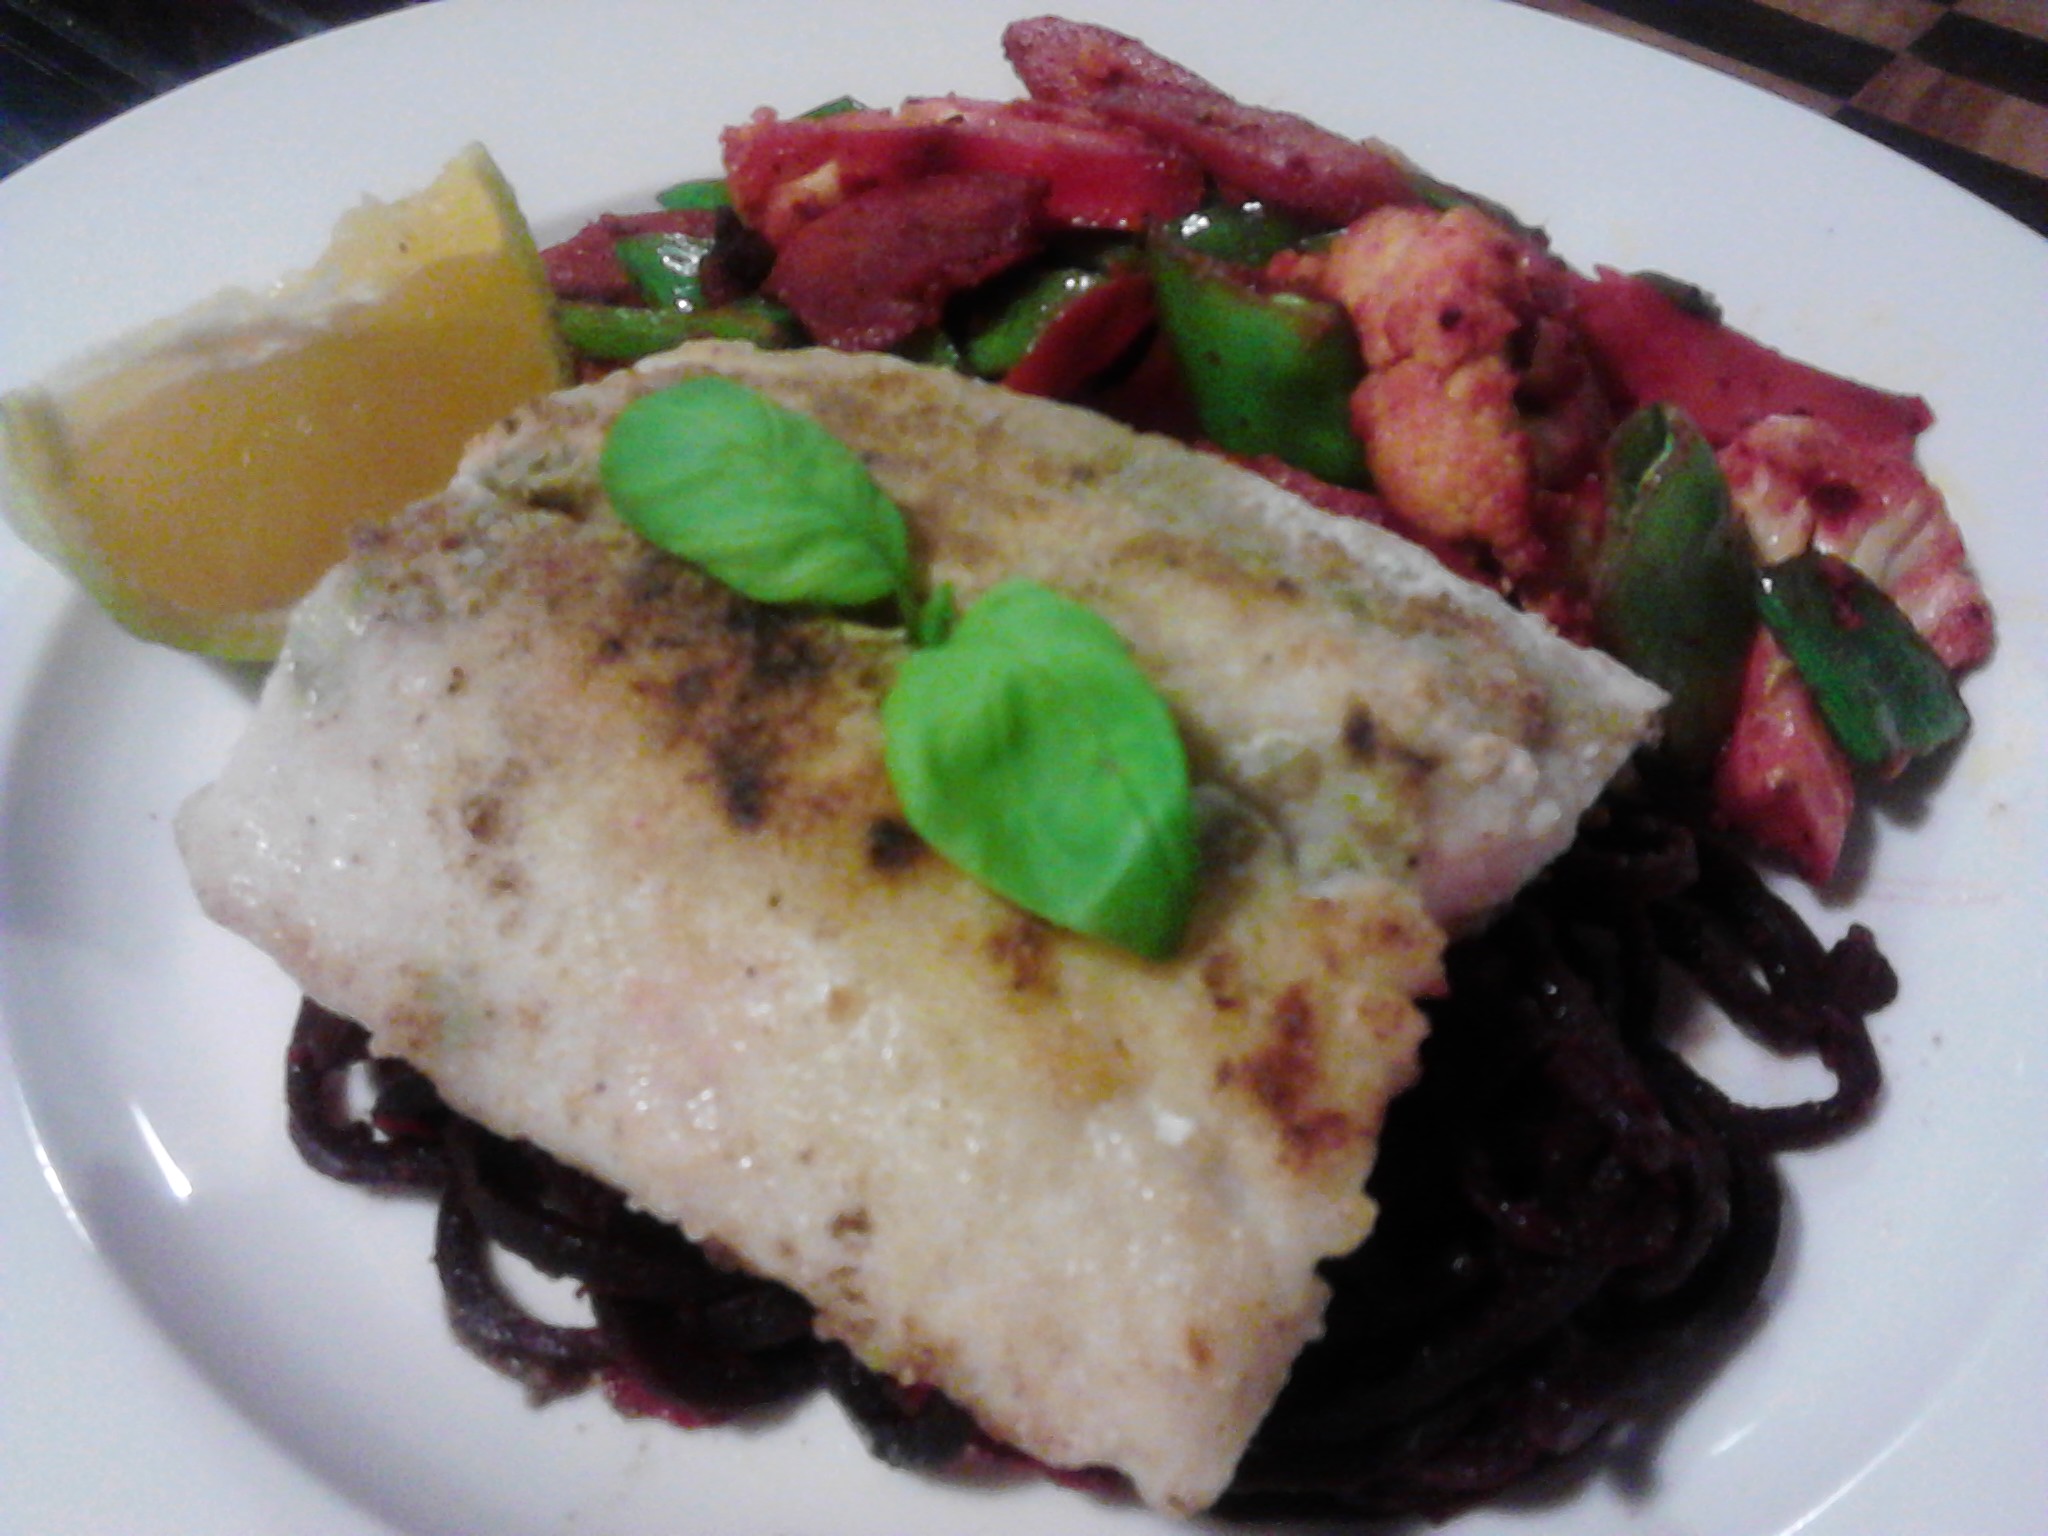
Dinner: Baked fish on a bed of beetroot noodles with a vegetable stir fry.Dessert: Banana, apple & mandarin ice-cream made with the cold pressed juicer and an avocado based chocolate mousse.
I try to make my meals interesting, flavoursome, paleo friendly and highly nutritious. It takes planning, thought, time, motivation and a strong commitment to staying on track when life inevitably throws a few challenges into the mix. I live in a busy household with a husband and three children who are mostly non-paleo. This is a major challenge for me and l am educating them, but this nutritional and lifestyle path that l am following is not without its challenges.
Top tips:
Take an interest in what you are eating. Help with the shopping and cooking and plan your meals.
Be prepared. Have a plentiful supply of fresh fruit and vegetables in the house.
Try to incorporate colour into every meal, ideally by using mostly vegetables and some fruit with a focus on raw or lightly cooked where possible.
Have a positive attitude to trying something new and do some research by looking at magazines, online or speak to a friend who inspires you. Better still, study Nutrition as l have done!
Take it slowly. Change is difficult and our old habits are comfortable and easy to fall back into when a challenge comes our way. Slowly form new habits and incorporate them into your daily life.
Have fun with it! Go to local markets and explore. Experiment in the kitchen with the fresh ingredients.
Have a good attitude. See it as a diet of abundance rather than a diet of deprivation.
Think of your short and long term goals and make every bite you take a nutritious one.
Eat because you are hungry! Cut out the emotional, social, bored or habitual eating.
Follow these tips and you will be on the road to a healthier you!
If you have enjoyed this post please share it with a friend. I post daily on Instagram, Twitter and Facebook with pictures of the food l prepare and eat, as well as a few wellness tips and healthy resources. Thank you Carolyn
Sweet, tangy, invigorating, stimulating, nutritious, alive, enticing and smooth.
Take the juicer out of the cupboard, borrow one or buy one and put making a juice on top of your list of things to do this weekend!
Which juicer to buy is another blog which l have already done, but whether it is a centrifugal juicer or a cold pressed juicer, you can make a delicious refreshing and nutritious juice that will liven up your day. You can experiment with ingredients and use whatever suits. Don’t be afraid to add in vegetables such as beetroot, cos lettuce, spinach, kale, sweet potato or broccoli. You can make this a fun activity to share with family members or challenge yourself to try new and interesting flavours. Juices can literally be the colours of the rainbow!
The first step in making a juice is to get all of your ingredients ready. If you have a centrifugal juicer then it is a matter of washing them, peeling and a bit of chopping. A cold pressed juicer required more preparation, but it is very good for leafy greens and retains more nutrients.
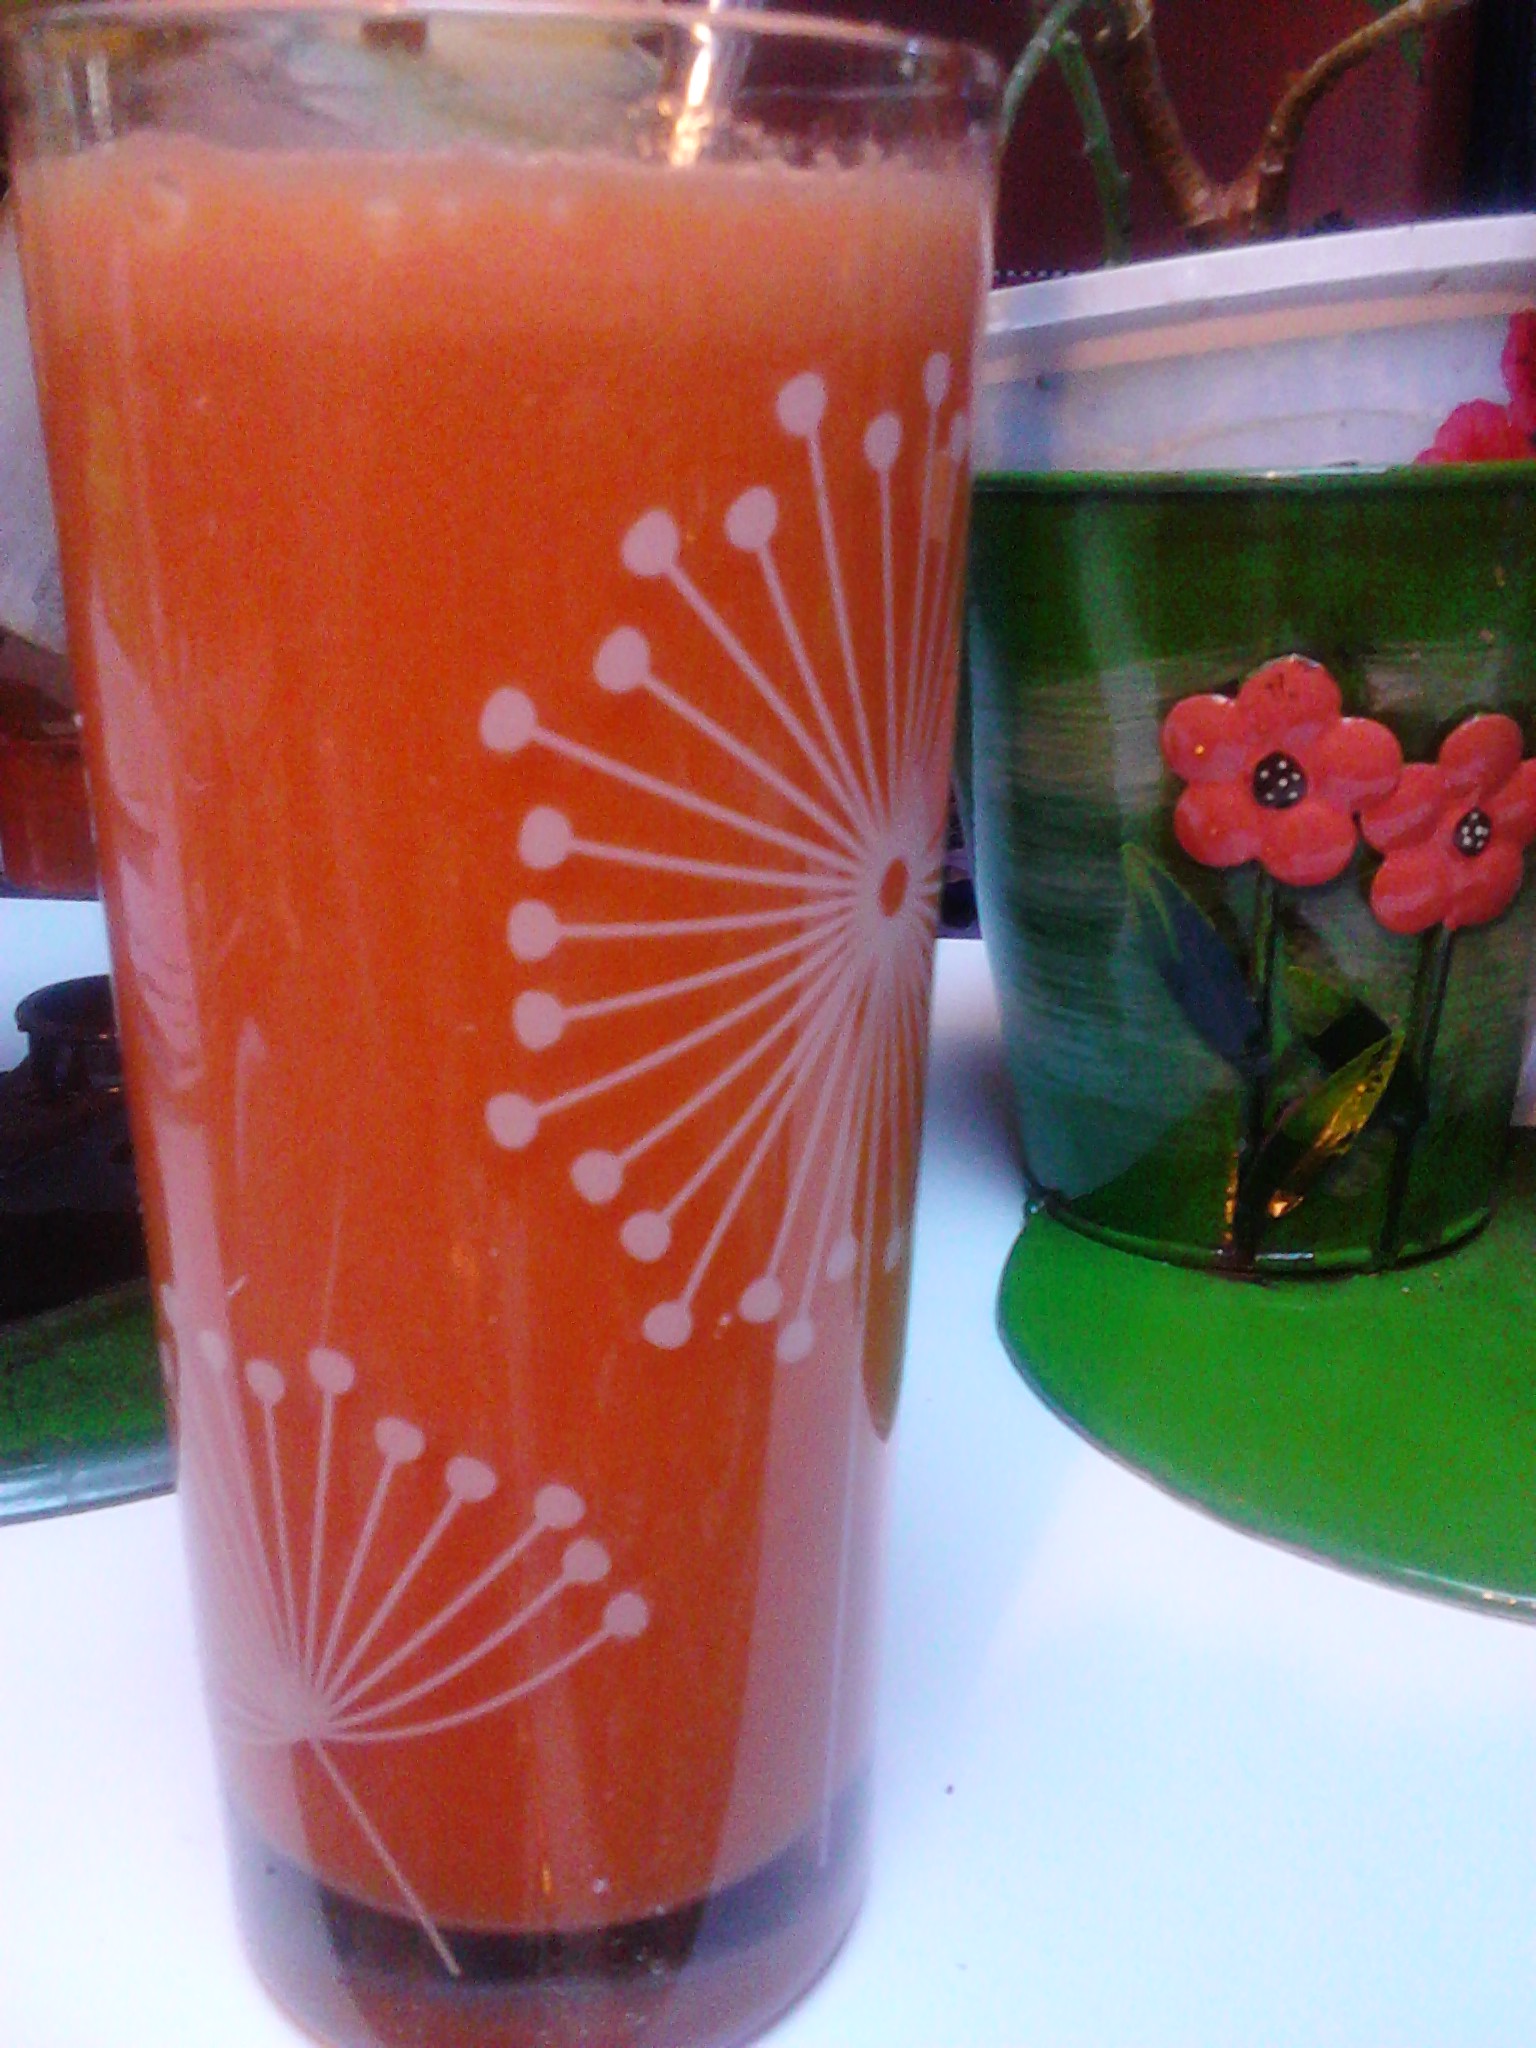
This morning’s juice: Cos lettuce, 1/2 lemon, small piece pineapple, one green apple, mint and 4 carrots.
Have all the fruit and vegetables ready to go!
Mix up the soft and hard ingredients and process the greens first.
The pulp is most of the fibre from the fruit. You could compost it or use it for some baking.
Once your juice is finished it is time to wash your machine parts. Don’t wait until you have finished your juice as this is a job that needs to be done as soon as possible. The filter is a delicate piece of equipment in any juicer and can become blocked. Clean this first with warm water and the little brush that comes with the juicer.
Lay all the clean pieces on a t-towel to dry.
I find it hard to just make enough juice for one person and usually have some to share. This morning’s juice was very sweet and just what l needed for an early start to the day. One glass of a sweet juice is enough for me and l would have it with a protein to balance my blood sugar levels and for me this will be my morning healthy pancake.
The main thing is to enjoy your juicing. If you put too much fruit in it and find it doesn’t agree with you, then add in some more greens or other vegetables. Everyone’s taste buds are different. Try adding ginger or herbs to the mix and see how wonderful the flavours can be. This is a way to get the whole family involved and living a healthier life.
If you have enjoyed this post please share with a friend. I also share daily recipes and wellness tips on Twitter, Instagram and Facebook. Thanks Carolyn
Live & eat mindfully. Gluten & dairy free recipes.


 A magnificent beetroot and coconut pancake topped with seasonal mandarin.