Tag Archives: Holistic

Sensational Seed and Nut bars

2014-05-22 10.12.48

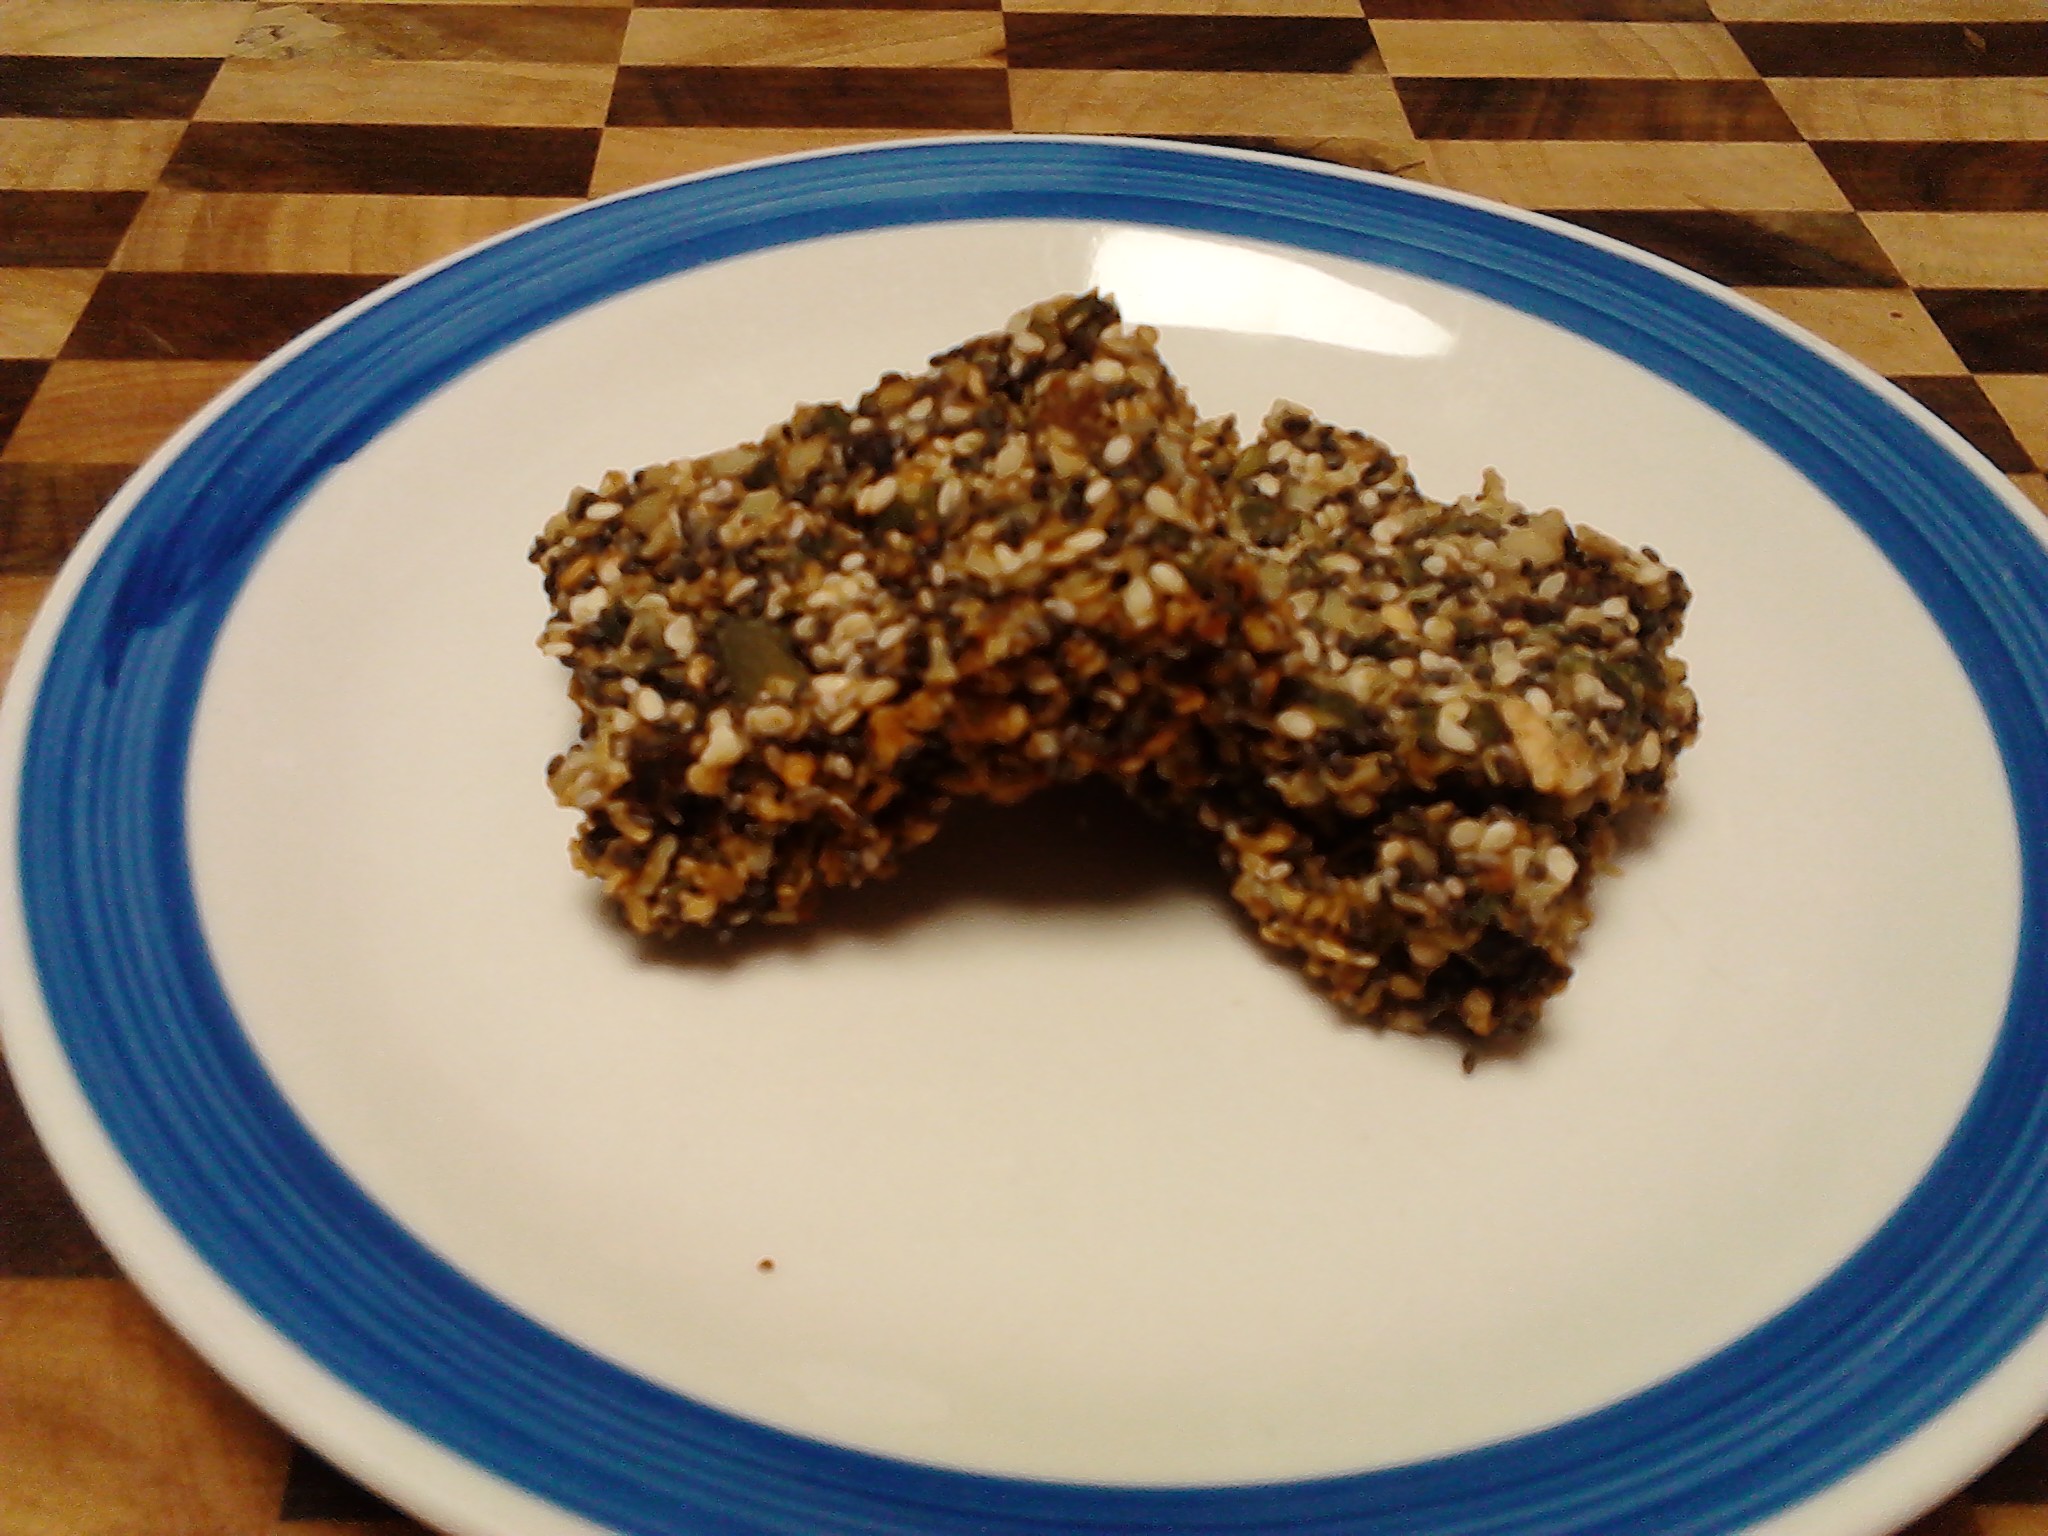
Healthy, easy to make seed and nuts bars, or just seed bars if you leave the nuts out as the ones above. This recipe is very flexible and l know there are heaps of other bar recipes on the web but this one suits me, my lifestyle, tastes and food choices. The ingredients are all wonderful and you can add more or less of each seed and it wont matter. To be adventurous you could add herbs, raw cacao, cinnamon or garlic and l may start experimenting a bit now l have this basic recipe worked out. The ones in the picture above do not have nuts or coconut, but l prefer the batch l made today which included them. I use organic and activated ingredients but it is up to you and your preferences. Regular nuts and seeds will work well, but l need to support my digestion and overall health as much as possible so use the best ingredients l can.

Ingredients:

1 cup activated organic sunflower seeds

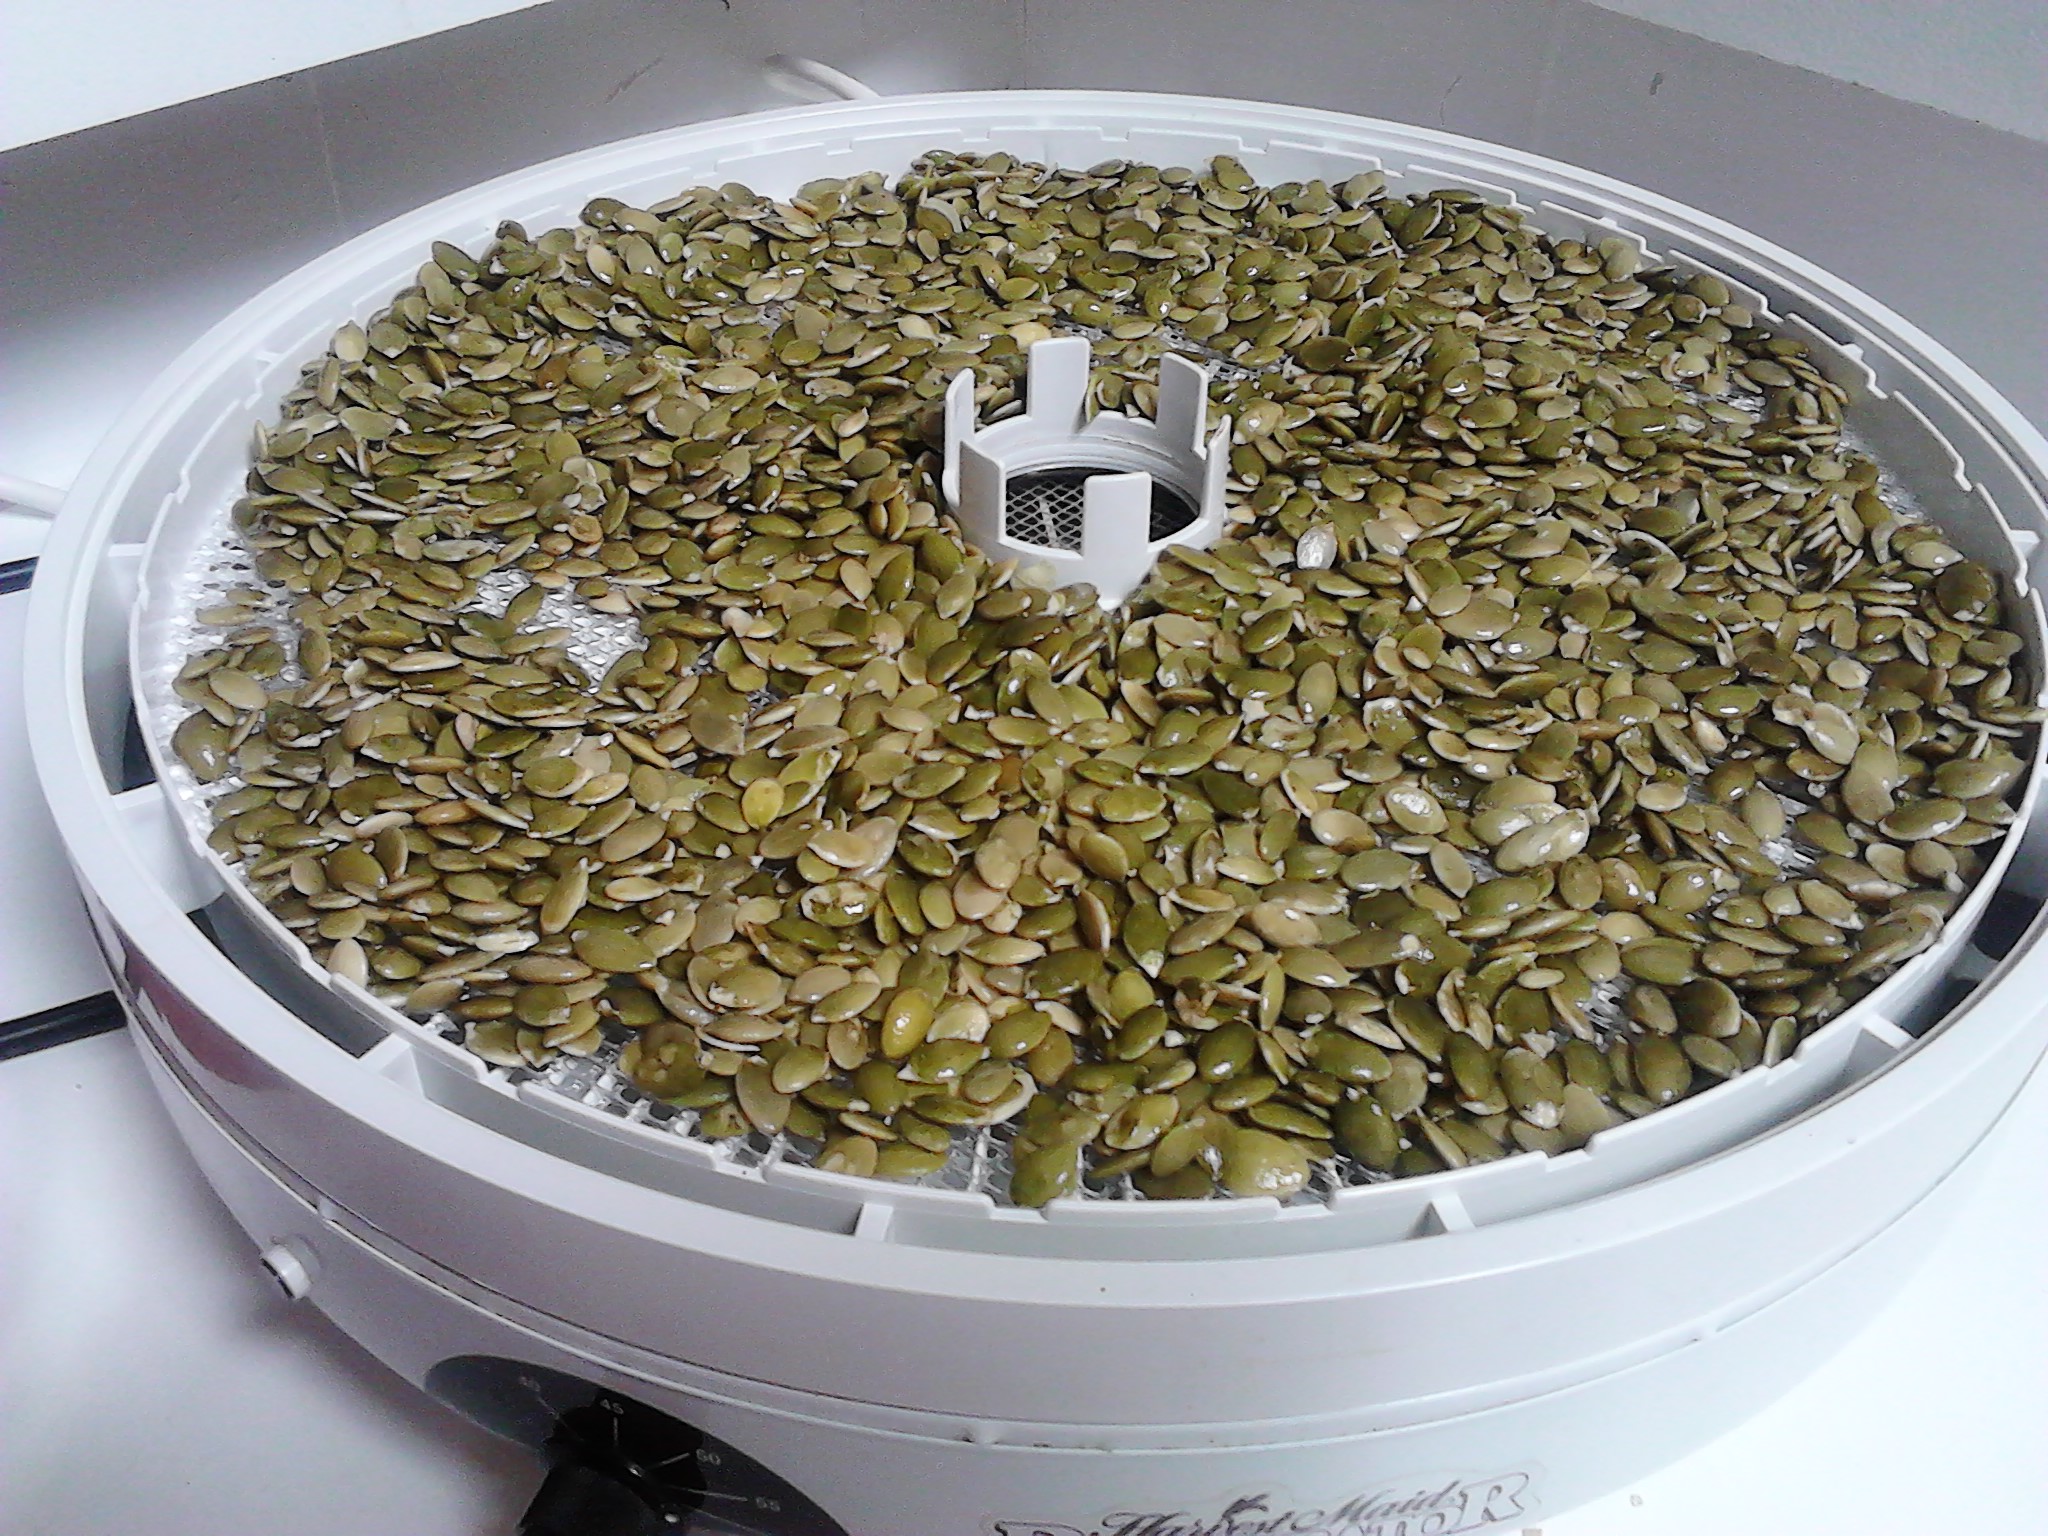
1 cup activated organic pumpkin seeds

1 cup organic sesame seeds

1 cup black chia seeds

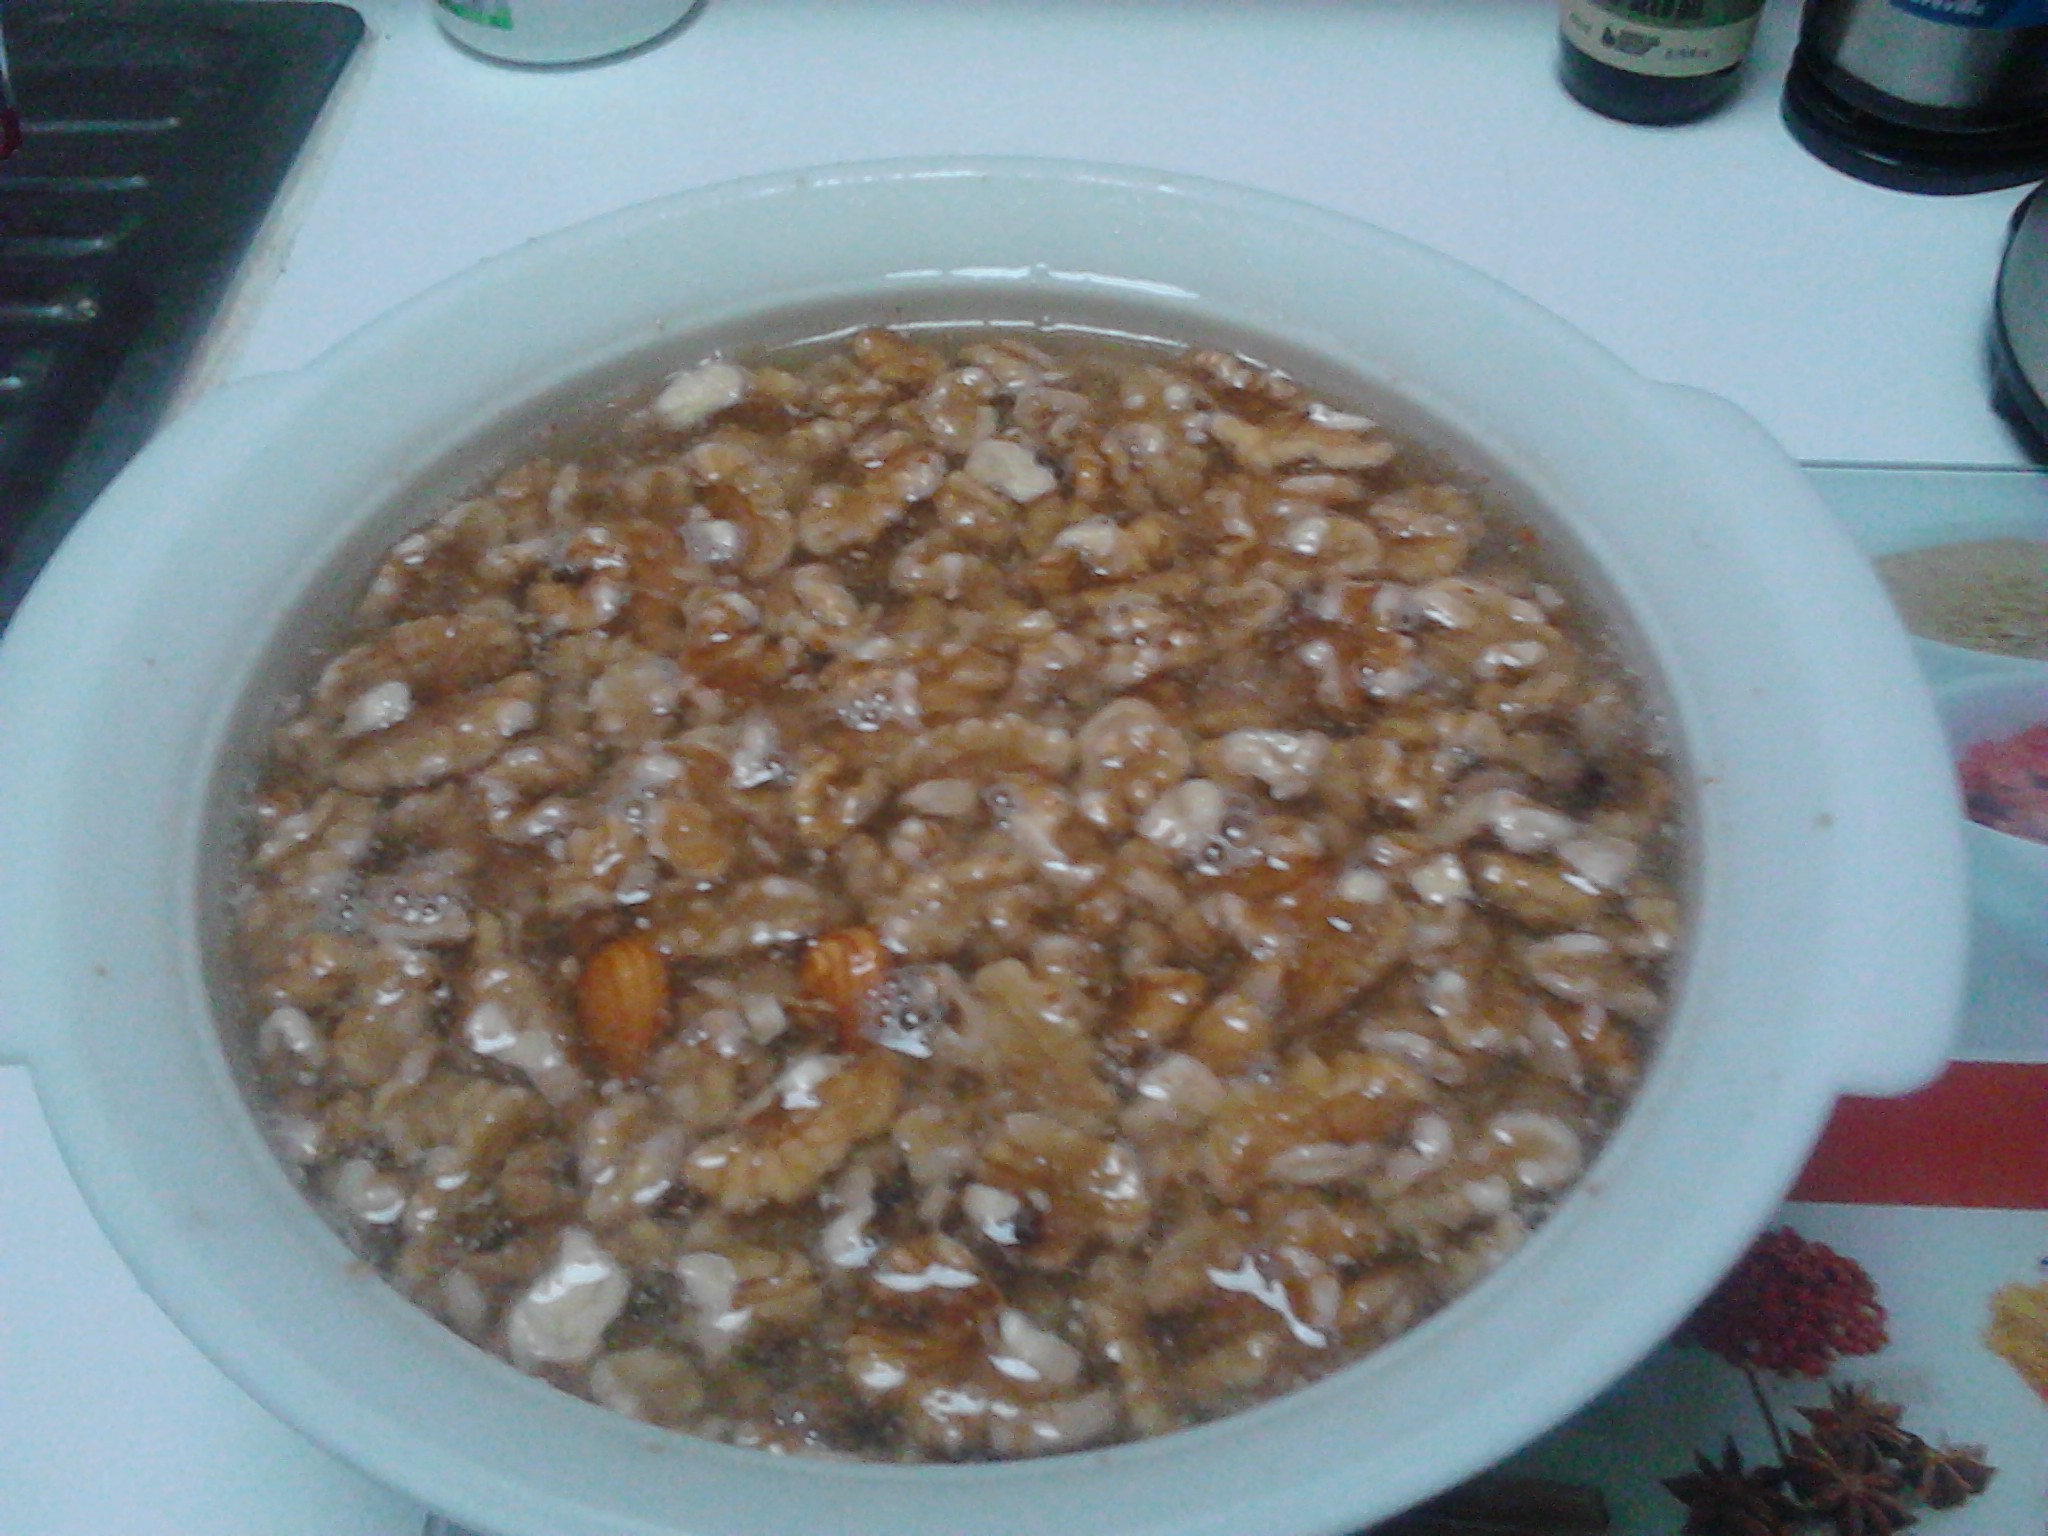
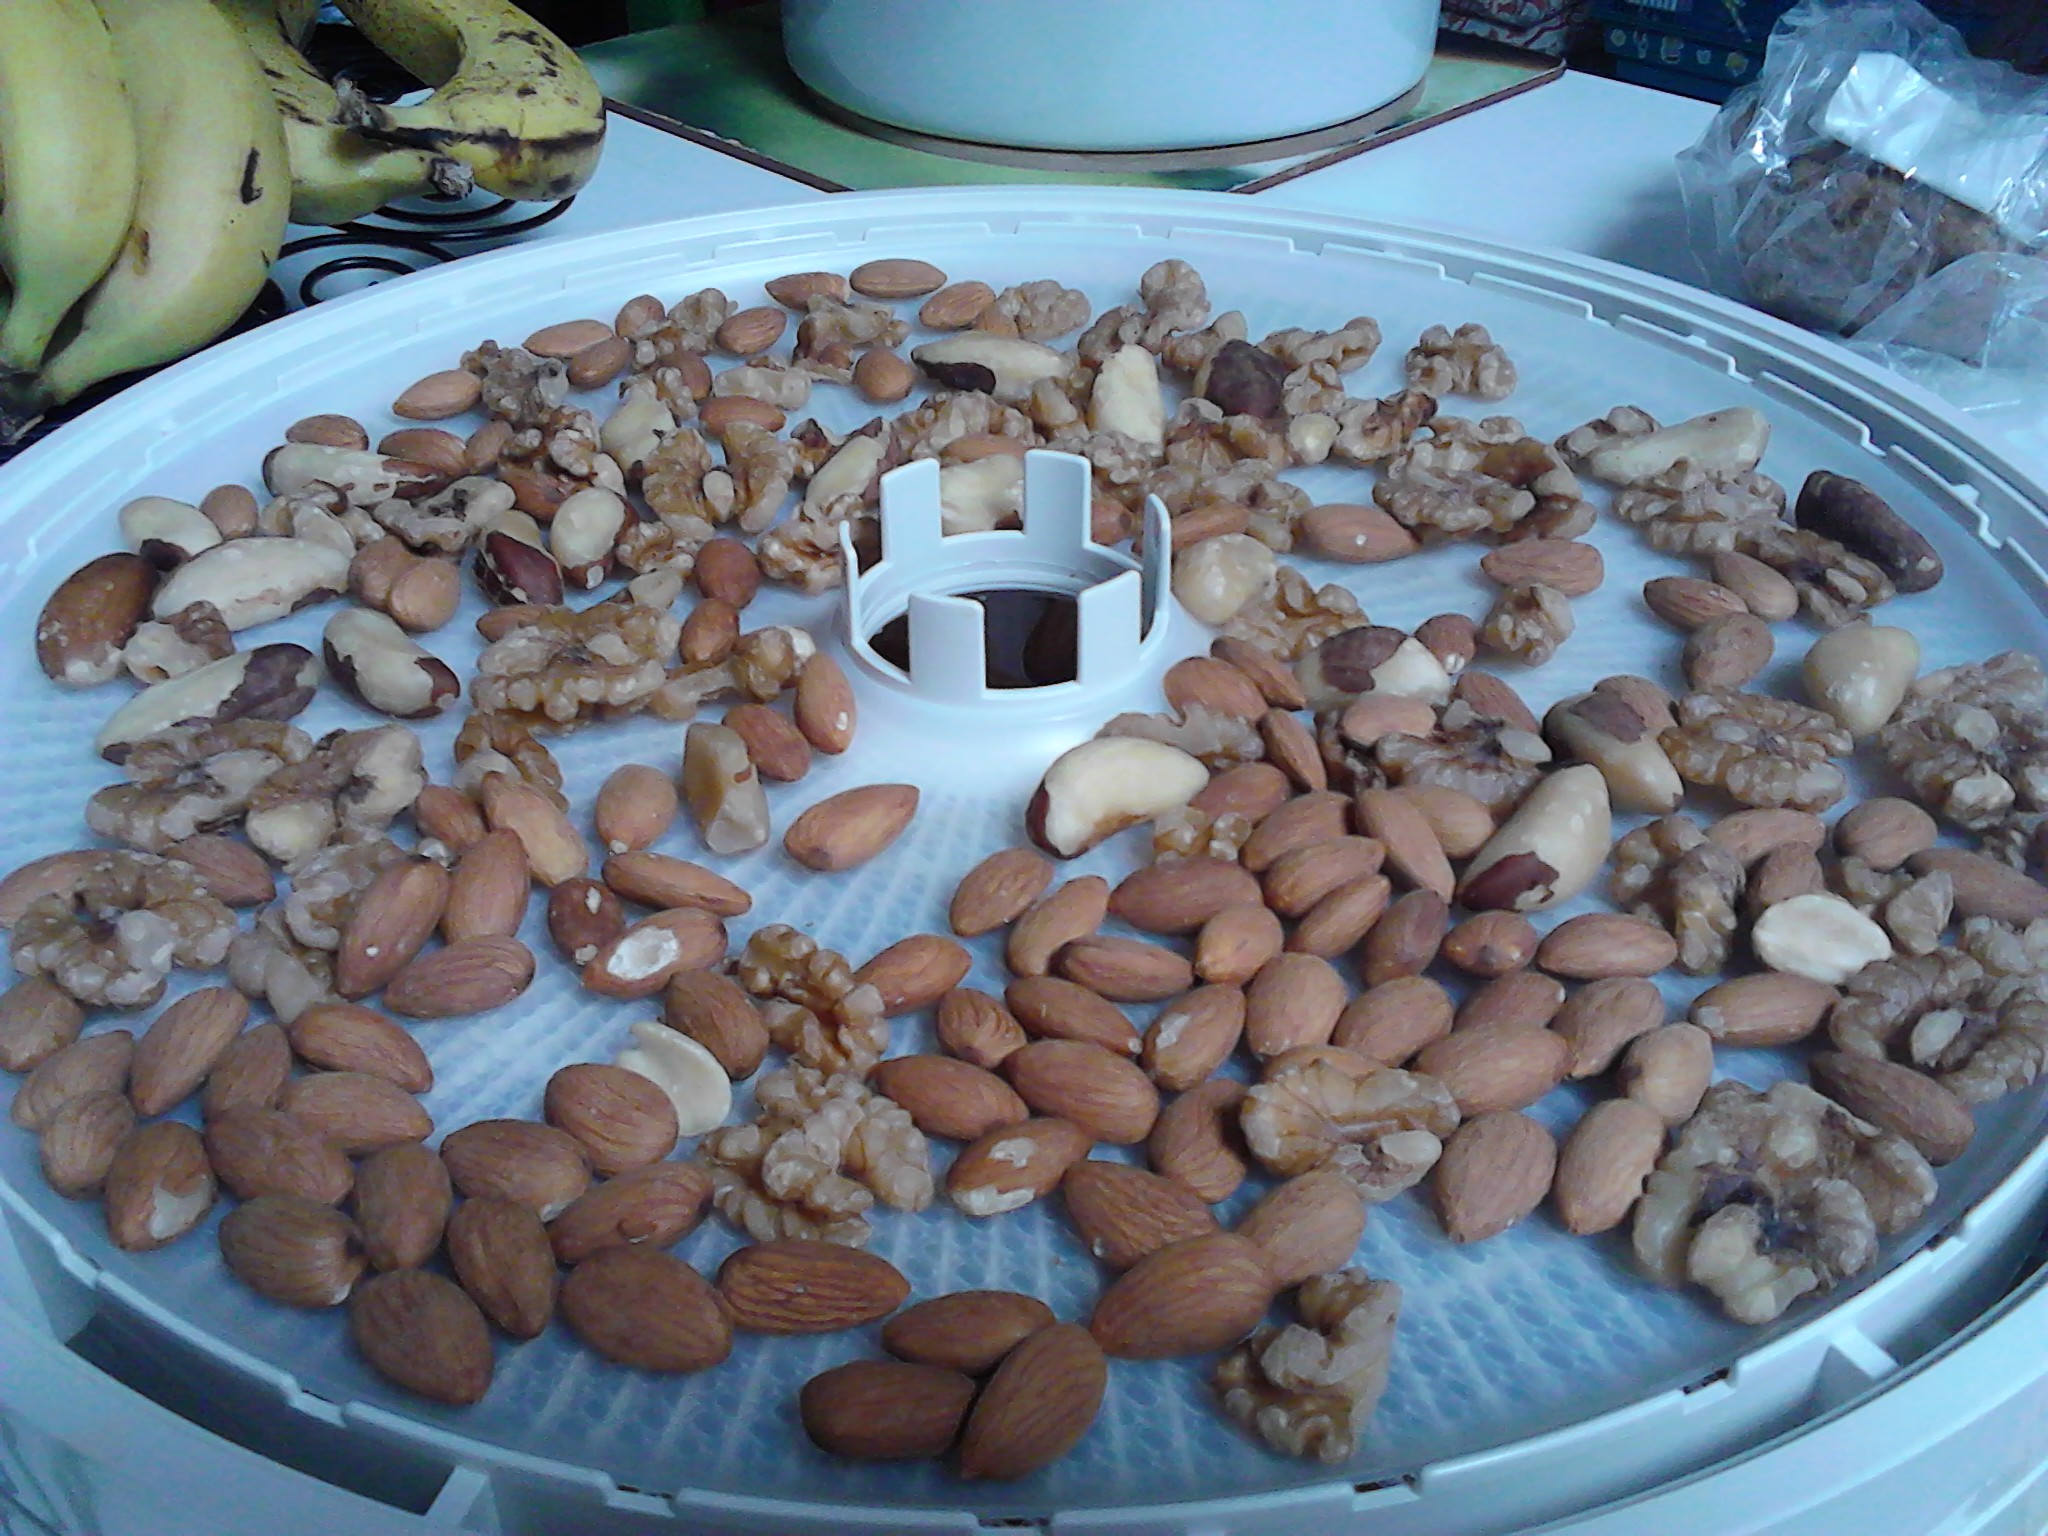
1 cup activated mixed nuts (I used walnut, almond and brazil)

A generous 1/2 cup organic shredded coconut

8 Medjool Dates seeded and chopped (roughly chop just to make it easier for the food processor)

A good 1/2 cup raw organic honey (use organic or regular honey if that is what you have or even rice malt syrup)

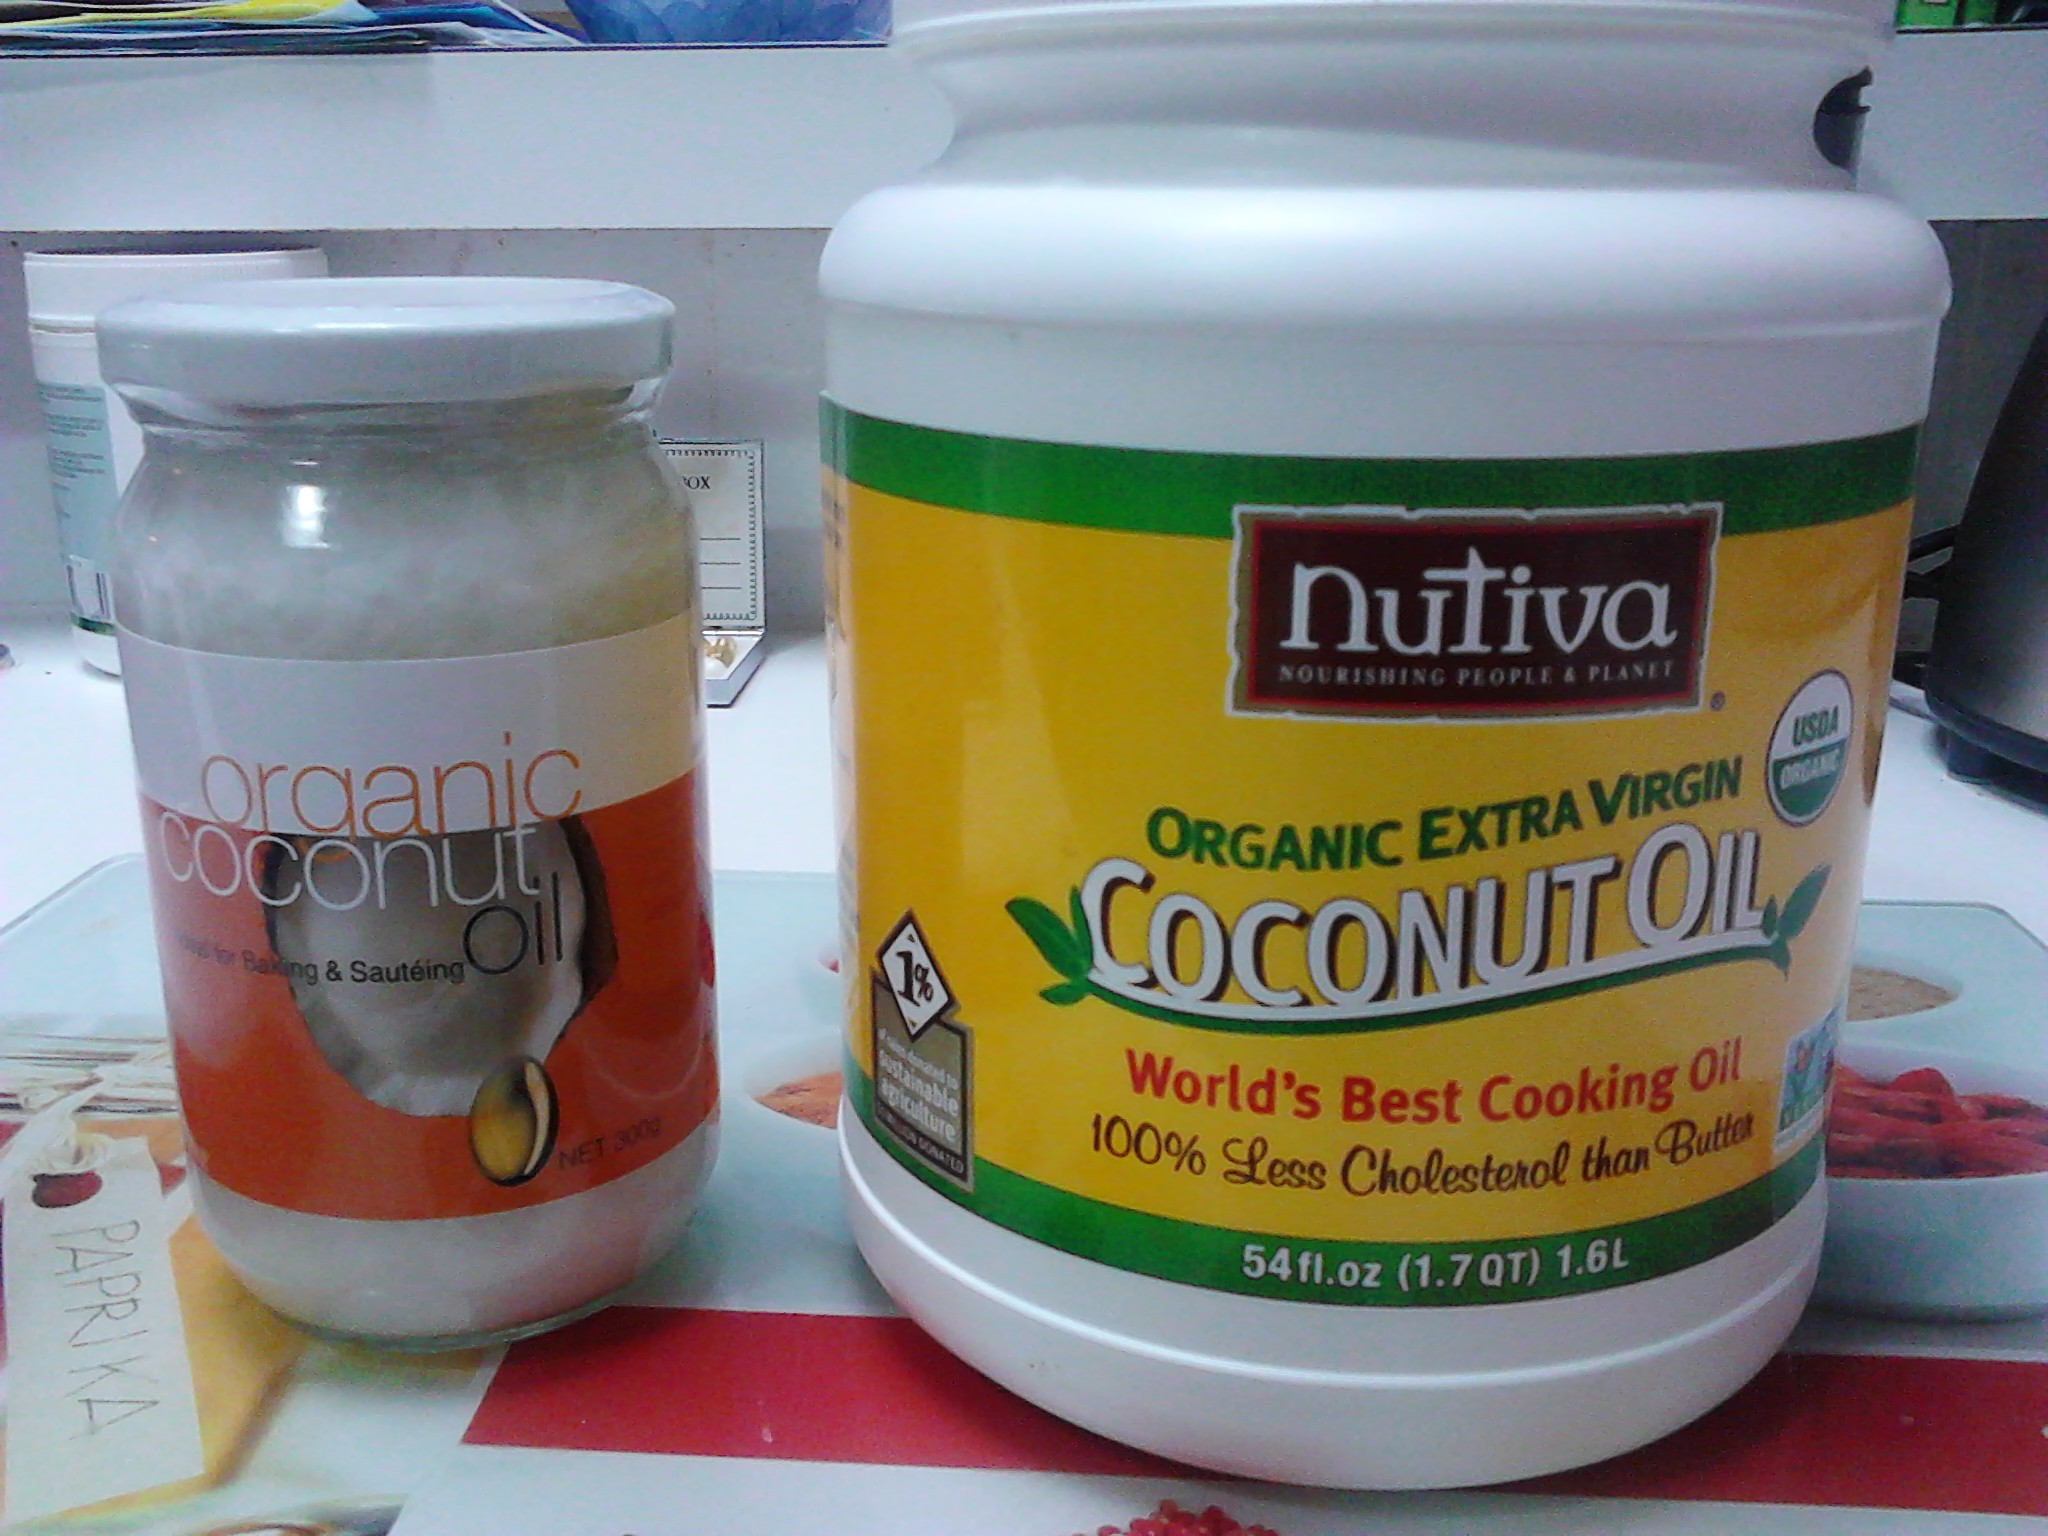
A good 1/2 cup organic coconut oil

2014-05-24 10.40.52

Place the nuts, seeds, shredded coconut and dates in the food processor and chop until roughly chopped. Tip this into a good sized glass bowl. I used the same measuring cup for the organic coconut oil and raw organic honey and with both in there it should look really full. Put the coconut oil in the cup first so it is easier to remove.

2014-05-24 10.45.57

Melt the coconut oil and honey in a saucepan on very low heat. You don’t want it too hot so remove from the heat just before it is all melted. Give it a stir and then pour it into the seed, nut, date and shredded coconut mix. Stir well and taste test. It should be delicious and sweet.

2014-05-24 10.48.04

Place a sheet of grease proof paper over a baking tray and run your finger around the edge to make a crease. Pour the mix onto the tray and flatten with a soft spatula or the back of a spoon. Make sure it is quite even across the whole tray and give special attention to the corners.

2014-05-24 10.49.41

I have tried a few different oven temperatures and times but basically you don’t want the oven too hot as you will burn the seeds and lose lots of nutrients, and you want to just cook it until the edges are going golden. I cooked mine today in a Fan Forced Convection Oven at 170 Degrees Celsius for 30 minutes. You will be able to check this after your first batch.

2014-05-24 11.21.01

Remove the tray from the oven and let cool until cold. I left mine for about 1.5 hours.

2014-05-24 13.29.13

Use the edges of the baking paper to carefully remove the bars as a whole from the tray and lay it on a flat bench. Cut the bars while still on the baking paper into whatever size suits you using a very sharp knife and wiping clean after cutting a row. I think it is better to have the bars quite small as then you have more of a choice over serving size.

2014-05-24 13.31.59

Carefully lift each bar into the container for freezing unless you are going to eat them all fresh. If they are a bit crumbly you can place the whole lot into the freezer with a cutting board underneath so they harden a bit before placing in the tub.

2014-05-24 13.45.14

The best part of the whole cooking experience is eating the crumbs. Scrape them off the baking paper and into a bowl. Enjoy! You could dip something into these crumbs such as a banana or use them as a topping.

2014-05-24 13.44.14

If you enjoyed this post please share it with a friend. I am now on Instagram!, Twitter! and Facebook! which are all accessible through the webpage. Instagram: holisticwellnessforlife, Twitter: Holistic Wellness @carolynlgray, Facebook: Holistic Wellness For Life. Thanks Carolyn

Snack bars-all natural


2014-04-10 21.00.11

Another lunch box filler or sweet snack to fill in the holes that are left by following a restricted diet. These snack bars are crunchy and sweet eaten straight from the freezer which is how l prefer them, but if l pack them in my lunch box for work l use a cool block so they stay cool. The raw organic honey, medjool dates and organic coconut oil provide the elements of sweetness and stickiness that helps to hold the bars together. Everything in these bars is healthy and natural and the best part is scraping the bits off the tray and eating them while still warm. See if you can resist!

2014-04-10 19.43.45

I like to make things in bulk and freeze them but if this doesn’t suit you then just halve the recipe. If you halve it just use one baking tray instead of two. It can be good to start with a smaller quantity as it often takes a few goes to get a recipe right or to make adaptations to it that suit you.

Ingredients:

1 cup Almond Meal (I keep mine in the fridge)

1 cup organic shredded coconut

1 cup organic sesame seeds (I also keep all of my seeds and nuts in the fridge)

1 cup of Pepitas

1 cup of Sunflower Seeds

1 cup of Chia Seeds

2 cups of chopped nuts (I used walnuts almonds and macadamias)

2 teaspoons organic cinnamon

12 medjool dates seeded and chopped

4 generous tablespoons raw organic honey (or organic honey)-warm so it is just a liquid

1 good cup of organic coconut oil-warm so it is a liquid

2014-04-10 16.39.122014-04-10 16.49.152014-04-10 16.51.07

Method:

Place the nuts and dates in the food processor and pulse. Add all of the other dry ingredients and mix well. Place in a bowl and mix through the liquid honey and coconut oil. This is the time for a taste test. Yum!

Grease the two trays well with coconut oil (one if halving the recipe) and place half of the mixture on each tray. Spread the mixture evenly over the tray and using an egg flipper push the mix down so it is flattened and compacted. Focus on the corners and edges also. Place the trays in a pre-heated 160 degree celcius oven and bake until the edges are quite golden. Around 30 minutes but it will depend on the oven.

2014-04-10 18.17.17 2014-04-10 18.18.02 2014-04-10 20.36.29

Let the trays cool for about five minutes and then run a sharp knife around the edge of the tray and carefully cut lines into the mix as shown in the picture. When the trays are completely cool, cover with cling wrap and place into the freezer for about one hour. Take the trays out of the oven and use a cake server to go around the edge of the tray and loosen the bars. Bend the tray slightly until you can see the bars lifting off the tray. Use the cake slicer to carefully lift each piece out of the tray. Place into a container and put in the freezer. This is the time to scrape the leftover pieces off the tray and enjoy. So yummy!

If you have enjoyed this post please share it with a friend. I am also on Facebook at Holistic Wellness For Life and Twitter at Holistic Wellness@carolynlgray. Thanks Carolyn

Sweet chocolate tart with fruit

2013-12-26 09.40.56

I am reposting this recipe as l have made it several times since l first wrote about it and now l love it even more. It is really quick to make and is so sweet and delicious with a thick, creamy texture. A small piece is very satisfying as it is quite rich in flavour.

This chocolate tart can be eaten straight from the freezer where it will be firm and cool, or at room temperature where it is quite soft but holds together and has a really creamy delicious taste. This recipe was given to me by a friend who sourced it from http://www.wholefoodsimply.com. I made the tart a week before it was required and covered it with cling wrap while still in the baking tray and placed it in the freezer. On the day of the event l removed it from the freezer and tray, and decorated it with some festive coloured fruits and berries. I placed it in the fridge until we had to leave for the party and ideally it will remain in the fridge or be taken from the freezer just before serving.

I used a round baking tray with a decorative edge that had a removable base. I greased the inside of the tray with organic coconut oil and then made the base.

In the food processor l placed:

1 cup of activated almonds (the original recipe said hazelnuts and l have also use walnuts), 1 cup of desiccated or shredded coconut and 8 large medjool dates (remember to take out the seeds).

Blend well in the food processor and then press firmly into the pan. Place this into the freezer to set while you make the filling.

In the food processor blend together:

1 ripe avocado, 3 heaped teaspoons of cocoa or cacao, 3 tablespoons of organic coconut oil and 1 cup of medjool dates (seeds removed). Once combined add 1 cup of frozen raspberries and gently pulse through the mix so they are roughly chopped up or blend thoroughly if you want them mixed through.

Remove the base from the freezer and fill with the delicious chocolate mix. Smooth the top with a spoon, cover with cling wrap return to the freezer. When you are ready to serve the tart, remove it from the freezer and decorate with extra berries and fruit. The fruit is really just one idea of what could accompany this tart. You can use your imagination and serve it with what suits your diet and preferences. I used green grapes when decorating this tart but my favourite grapes are the red or very black ones. Ensure you wash them well though as they are usually sprayed with a nasty chemical that some people can react to.

An alternative to this is to cut the tart up into single serves and place them into a container in the freezer. My daughter is just loving being able to go to the freezer and grab a piece a couple of times a week when she feels like something sweet. I also have had this after work when l have been really tired and needed a pick me up.

If you enjoyed this post please share with a friend. I am also on Facebook and Twitter. Thanks Carolyn

Sweet and crunchy salad

2014-01-06 18.29.47 2014-01-06 19.25.15 2014-01-06 16.18.02 2014-01-06 16.17.36

There was quite a lot of work in this salad but it was delicious and got rave reviews from normally fussy family members. The roasted pumpkin and beetroot provide a natural sweetness to the dish, while the crunchiness of the cucumber and snow peas is a good contrast in texture.

Ingredients:

One quarter of a small pumpkin chopped into small pieces

Two whole beetroots chopped into small pieces (they will shrink in the oven)

One and a half cups of chickpeas (soaked and boiled)

One small lebanese cucumber or similar diced (I washed mine well and left the skin on)

One cup of washed and sliced snow peas

One carrot washed and diced/sliced

One quarter of  a cup of pepitas (Pumpkin seeds)

One quarter of a cup of sunflower seeds

Sea Salt

Ground black pepper

The Juice of half a lemon (use a whole lemon if it is small)

Two pieces of spring onion (just the green tops chopped or use the white bits as well if you can tolerate them)

Extra virgin olive oil

Organic Apple Cider Vinegar

Fresh mint (plus any other fresh herbs you have)

Method:

The first step is to prepare the chick peas which need to be soaked overnight in water and a small amount of sea salt. Rinse, then boil for around thirty minutes or until soft. Place in the fridge to cool.

The next task is to cook the pumpkin and beetroot. Place the chopped up vegetables on trays lined with baking paper and drizzle with Extra Virgin Olive Oil and sprinkle with sea salt and ground black pepper. Place in a hot oven (around 200 degrees Celsius) until nice and golden. Transfer to a bowl and place in the fridge to cool.

Choose a nice bowl from your cupboard to place your salad in. I like to place this on the table with salad servers and let people serve them self. Place the chickpeas, vegetables, seeds and herbs in the bowl and mix. Add a sprinkle of sea salt and ground black pepper, the lemon juice, and a drizzle of Extra Virgin Olive Oil and a few splashes of Organic Apple Cider Vinegar. Mix it all up with a spoon. Have a taste and add more of the dressings to suit you.  Place covered in the fridge until required. I served the salad topped with Kapai Puku and accompanied with free range roasted chicken and it was really lovely (see picture above). Enjoy!

Summer dessert- Sweet chocolate tart with fruit

2013-12-26 09.40.56

This is a delicious chocolate tart that can be eaten straight from the freezer where it will be firm and cool, or at room temperature where it is quite soft but holds together and has a really creamy delicious taste. This recipe was given to me by a friend who sourced it from http://www.wholefoodsimply.com. I made the tart a week before it was required and covered it with cling wrap while still in the baking tray and placed it in the freezer. On the day of the event l removed it from the freezer and tray, and decorated it with some festive coloured fruits and berries. I placed it in the fridge until we had to leave for the party and ideally it will remain in the fridge or be taken from the freezer just before serving.

I used a round baking tray with a decorative edge that had a removable base. I greased the inside of the tray with organic coconut oil and then made the base.

In the food processor l placed:

1 cup of activated almonds (the original recipe said hazelnuts), 1 cup of desiccated or shredded coconut and 8 large medjool dates (remember to take out the seeds).

Blend well in the food processor and then press firmly into the pan. Place this into the freezer to set while you make the filling.

In the food processor blend together:

1 ripe avocado, 3 heaped teaspoons of cocoa or cacao, 3 tablespoons of organic coconut oil and 1 cup of medjool dates (seeds removed). Once combined add 1 cup of frozen raspberries and gently pulse through the mix so they are roughly chopped up or blend thoroughly if you want them mixed through.

Remove the base from the freezer and fill with the delicious chocolate mix. Smooth the top with a spoon, cover with cling wrap return to the freezer. When you are ready to serve the tart, remove it from the freezer and decorate with extra berries and fruit.

Roast beetroot and chickpea hummus dip

This beetroot dip is really delicious and the colour is so enticing! It can be a lovely addition to a meal or used as a dip. Either way it is a healthy option for snacking and very easy to make. Most Paleo and Primal followers do not eat chickpeas but if they are a food you consume now and again then this recipe is ideal.

2013-11-14 18.52.04
A beautiful colour.

I have made this dip with both steamed and roasted beetroot and have found that roasting the beetroot enhances the flavour of the hummus. The recipe is adapted from one in my favourite cookbook ‘eat well, be well’ from the Gawler Foundation.

2013-11-25 19.08.11
A major part of this meal. 
2014-01-23 19.00.31
The hummus adds colour and texture to this meal.

Chick peas are a legume and need to be prepared before consuming so as to reduce unwanted digestive discomfort. I would advice to use organic ones in a packet where possible and to soak them for 24 hours in filtered water with one tablespoon of sea salt before rinsing and boiling for around 40 minutes. Once cooled they are ready to be used in the recipe.

Place all of the ingredients in the blender:

2 cups of soaked and cooked chickpeas

1 large beetroot that has been diced and roasted in the oven.

2 small cloves of garlic (more or less depending on your preference)

Cracked black pepper and sea salt to taste

Half a cup of fresh lime juice

At least two tablespoons of extra virgin olive oil (maybe more)

Mix it all up and have a taste. Adjust as per your preferences and if it is a bit dry you can add more oil or lemon juice. The dip can be enjoyed straight away or if left overnight in the fridge the flavours will develop.

Activating your nuts and seeds

2013-09-16 14.52.322013-09-17 07.40.292013-10-12 16.37.032013-10-13 07.48.432013-11-06 08.55.26

Activating my nuts and seeds has taken a while to get the hang of. The many wellness books l have all say that it is essential to activate the nuts and seeds you are eating if they form a regular part of your diet.

What is activating your nuts? It involves soaking the nuts in water and a small amount of salt, then drying them at low temperatures so that they are easier to digest. This process also helps to remove substances in nuts and seeds called phytic acid and protease inhibitors which can interfere with the absorption of important minerals such as Calcium, Magnesium, Iron and Zinc.

I started off activating the nuts using my oven. Hard nuts such as almonds, walnuts and brazil nuts need to be soaked over night. Place them in a tub and cover with room temperature water and add a small pinch of sea salt. In the morning, rinse off the nuts under running water. Place them directly on to oven trays and place in the oven at the very lowest temperature (under 60 degrees celsius) so as not to destroy all of the enzymes in the nuts.  Make sure they are not piled high on top of each other. After a few hours turn them over. Keep them in the oven for around ten hours, and try one every now and again to see if they are ready. Store them in the fridge in a container and place any excess in the freezer. Softer nuts such as cashews and macadamia nuts only need about 6 hours soaking and less time in the oven, so you could do this all in one day. Because of this, l buy nuts in packets with just one type of nut, rather than mixed because then l have to pick all of the soft ones out. Aldi have a good selection of nuts such as macadamias, almonds and walnuts. You want to buy raw, unroasted nuts. Activated nuts can take some getting used to as they are a bit softer than unactivated nuts, but that is good for your teeth also.

I was given a dehydrator and it has really changed my dehydrating a lot. I was never comfortable with having the oven on for hours and the dehydrator just sits on the bench and doesn’t heat up the kitchen. I can also put the temperature on very low. I recently had great success with my first batch of pumpkin seeds and sunflower seeds. I soaked them overnight separately and because they are thin they only took a few hours to dry. You will know when they are ready as they won’t taste as if there is any moisture in them. I have never been a big snacker of these seeds but after they were dried they were so delicious. The ones that were not eaten have been placed in air tight containers in the fridge. If you are in Australia l can recommend http://www.bulkwholefoods.com.au for organic seeds and nuts. If you spend over $100 delivery is free, the service is really good and if ever there is a problem with the order it is resolved quickly. I met the owner at a recent Wellness Expo and she was really nice and she had a range of their products on display which was very impressive. Good luck with the activating!

Apple, cinnamon and almond pancakes-gluten, sugar and dairy free.

2013-10-24 07.15.27

These pancakes are a taste sensation for someone who has been on a very restricted diet. In my past life l used to love food that had a cinnamon and sugar flavour and would often purchase an apple and cinnamon muffin if eating out. In an attempt to move away from having only berry based pancakes l have created these delicious apple, cinnamon and almond pancakes, drizzled in organic maple syrup and extra flaked almonds. I blended the mix well so everything was combined, but this recipe would also be nice with some chunkier bits of apple and almond in it which can be achieved with a shorter blending time. I was able to make these pancakes a good size as the mix held together well. This mix makes quite a few and will keep for a day or so in the fridge.

Ingredients:

1/2 cup quinoa flakes

1/2 cup coconut flour

1/2 cup buckwheat flour

2 eggs

1/4 cup flaked almonds

1 heaped teaspoon cinnamon powder

1 small green apple chopped up with the skin on

2 cups of filtered water.

Method:

Place all ingredients in the blender with the wet ingredients going in first. Blend until you are happy with the mix.

Place half a teaspoon of organic coconut oil in the non-stick fry pan and place a few spoonfuls of mix into the pan and flatten slightly with the spoon as the mix is quite thick. Cook until quite brown before turning to help the pancake hold together, When cooked top with your favourite ingredients. I used organic maple syrup and extra flaked almonds. The smell in the kitchen as they are cooking is wonderful!

Organic Coconut oil

2013-09-16 08.10.532013-09-20 12.20.11

Coconut oil is a must have item in your pantry and can be included in small amounts in your diet each day. The only oils l use in my diet are cold flax oil, extra virgin olive oil and organic coconut oil. These are examples of brands of coconut oil that are available. I have seen many similar ones like the one on the left in the glass jar in the supermarket, health food shops and pharmacies. I bought this one locally for around $6 but most are approximately $10 for a similar size jar. I use a small amount when cooking with the non stick fry pan or when roasting foods in the oven. It adds a lovely flavour to the food. If you are a serious user of coconut oil then the 1.4 Litre tub is an amazing product which l buy online from iherb. It is around $35 for the huge tub which will last a few months. This coconut oil is so creamy and smells delicious. I use this one in my baking such as in chocolate chip cookies and cakes. The one with the blue label is my most recent purchase and comes in a glass jar that l will be able to use in my pantry when it is empty. As soon as the lid is opened the most delicious smell emerges. I purchased it online from Bulk Wholefoods for around $25. Some people eat a spoon of coconut oil straight out of the jar but l am not at that stage just yet!

Mixed Berry smoothie

2013-09-16 15.03.12

This is really delicious any time of the day. I love smoothies and have only recently started eating the frozen berries and they add a wonderful crunchy coolness!

Ingredients:

Spinach or kale chopped roughly

Half a green apple with the skin on or a whole small one

One small just ripe banana peeled and broken into smallish pieces

Black chia seeds (one tablespoon)

Frozen mixed berries (1 cup)

Filtered water (1 cup)

Method:

Place it all in the blender and blend until smooth.

I eat mine with a spoon because l like them to be nice and thick, but you can add more water if you want it thinner.

Pour into two glasses and enjoy.

Mixed berry pancakes-gluten, dairy and sugar free

2013-10-13 18.41.562013-10-06 08.40.202013-10-06 08.40.33 

If l am not having some kind of egg dish for breakfast then l have these delicious pancakes.

In a blender place the following:

A generous 1/2 cup of frozen mixed berries (blackberries, blueberries and raspberries)

1 cup of filtered water (or cold tap water) or a little more depending on the flour used.

Two eggs

1 cup of flour such as (1/2 cup buckwheat flour and 1/2 cup coconut flour)

1/4 cup quinoa flakes

Blend well. If the mix is too thick just add some more water. The quinoa flakes will slowly make the mixture thicker as they absorb the water so it is best to let it sit for a while then add more water.

Cook on a non stick fry pan with a little extra virgin olive oil or organic coconut oil. It is better to have a few small pancakes rather than one big one as the larger ones don’t hold together. A pancake the size of an egg ring is ideal and the mixture is best used within about two days.

Serve drizzled with maple syrup! (not maple flavoured syrup) and more fresh berries if you love them.

Chicken broth with garlic and parsley

2013-10-13 16.15.52 2013-10-13 15.52.04 2013-10-13 15.37.05

If you are feeling under the weather or need a pick me up then this is the answer. My eighty plus year old uncle recently shared the secret to his longevity as being the regular consumption of this delicious broth, so l decided to have a go at making it and it is amazing!

First off l bought a really good quality organic chicken which l cooked and used for a couple of meals. With the leftover carcass make a delicious chicken stock. If you haven’t done it before then this is what to do:

Place the chicken carcass in a large stainless steel pot and cover with cold water. Add the following to the pot:

1 onion chopped up

2 or 3 celery sticks chopped into a few pieces

2 medium sized carrots chopped up

several bay leaves

a small dash of white vinegar

A couple of pinches of black peppercorns

Put the lid on and bring to the boil. Let the pot simmer most of the day. Strain so just the liquid is left. I used a stainless steel sieve and carefully poured the hot liquid into a big heat proof container (or use another saucepan).

To make the soup smash a section of garlic and place in a bowl. Use a ladle to fill the bowl with soup and watch as the garlic infuses into the soup. The smell is amazing. Place some roughly chopped flat leaf parsley into the bowl. Serve.

Note: This recipe makes several litres of stock. This can be placed into small containers and frozen for later use. Alternatively divide the stock into two and place the first half in the fridge/freezer and with the second half put it back on the stove and add extra vegetables such as pumpkin, celery, carrot and cauliflower to make a yummy chicken and vegetable soup.