Category Archives: Wellness

Snack bars-all natural


2014-04-10 21.00.11

Another lunch box filler or sweet snack to fill in the holes that are left by following a restricted diet. These snack bars are crunchy and sweet eaten straight from the freezer which is how l prefer them, but if l pack them in my lunch box for work l use a cool block so they stay cool. The raw organic honey, medjool dates and organic coconut oil provide the elements of sweetness and stickiness that helps to hold the bars together. Everything in these bars is healthy and natural and the best part is scraping the bits off the tray and eating them while still warm. See if you can resist!

2014-04-10 19.43.45

I like to make things in bulk and freeze them but if this doesn’t suit you then just halve the recipe. If you halve it just use one baking tray instead of two. It can be good to start with a smaller quantity as it often takes a few goes to get a recipe right or to make adaptations to it that suit you.

Ingredients:

1 cup Almond Meal (I keep mine in the fridge)

1 cup organic shredded coconut

1 cup organic sesame seeds (I also keep all of my seeds and nuts in the fridge)

1 cup of Pepitas

1 cup of Sunflower Seeds

1 cup of Chia Seeds

2 cups of chopped nuts (I used walnuts almonds and macadamias)

2 teaspoons organic cinnamon

12 medjool dates seeded and chopped

4 generous tablespoons raw organic honey (or organic honey)-warm so it is just a liquid

1 good cup of organic coconut oil-warm so it is a liquid

2014-04-10 16.39.122014-04-10 16.49.152014-04-10 16.51.07

Method:

Place the nuts and dates in the food processor and pulse. Add all of the other dry ingredients and mix well. Place in a bowl and mix through the liquid honey and coconut oil. This is the time for a taste test. Yum!

Grease the two trays well with coconut oil (one if halving the recipe) and place half of the mixture on each tray. Spread the mixture evenly over the tray and using an egg flipper push the mix down so it is flattened and compacted. Focus on the corners and edges also. Place the trays in a pre-heated 160 degree celcius oven and bake until the edges are quite golden. Around 30 minutes but it will depend on the oven.

2014-04-10 18.17.17 2014-04-10 18.18.02 2014-04-10 20.36.29

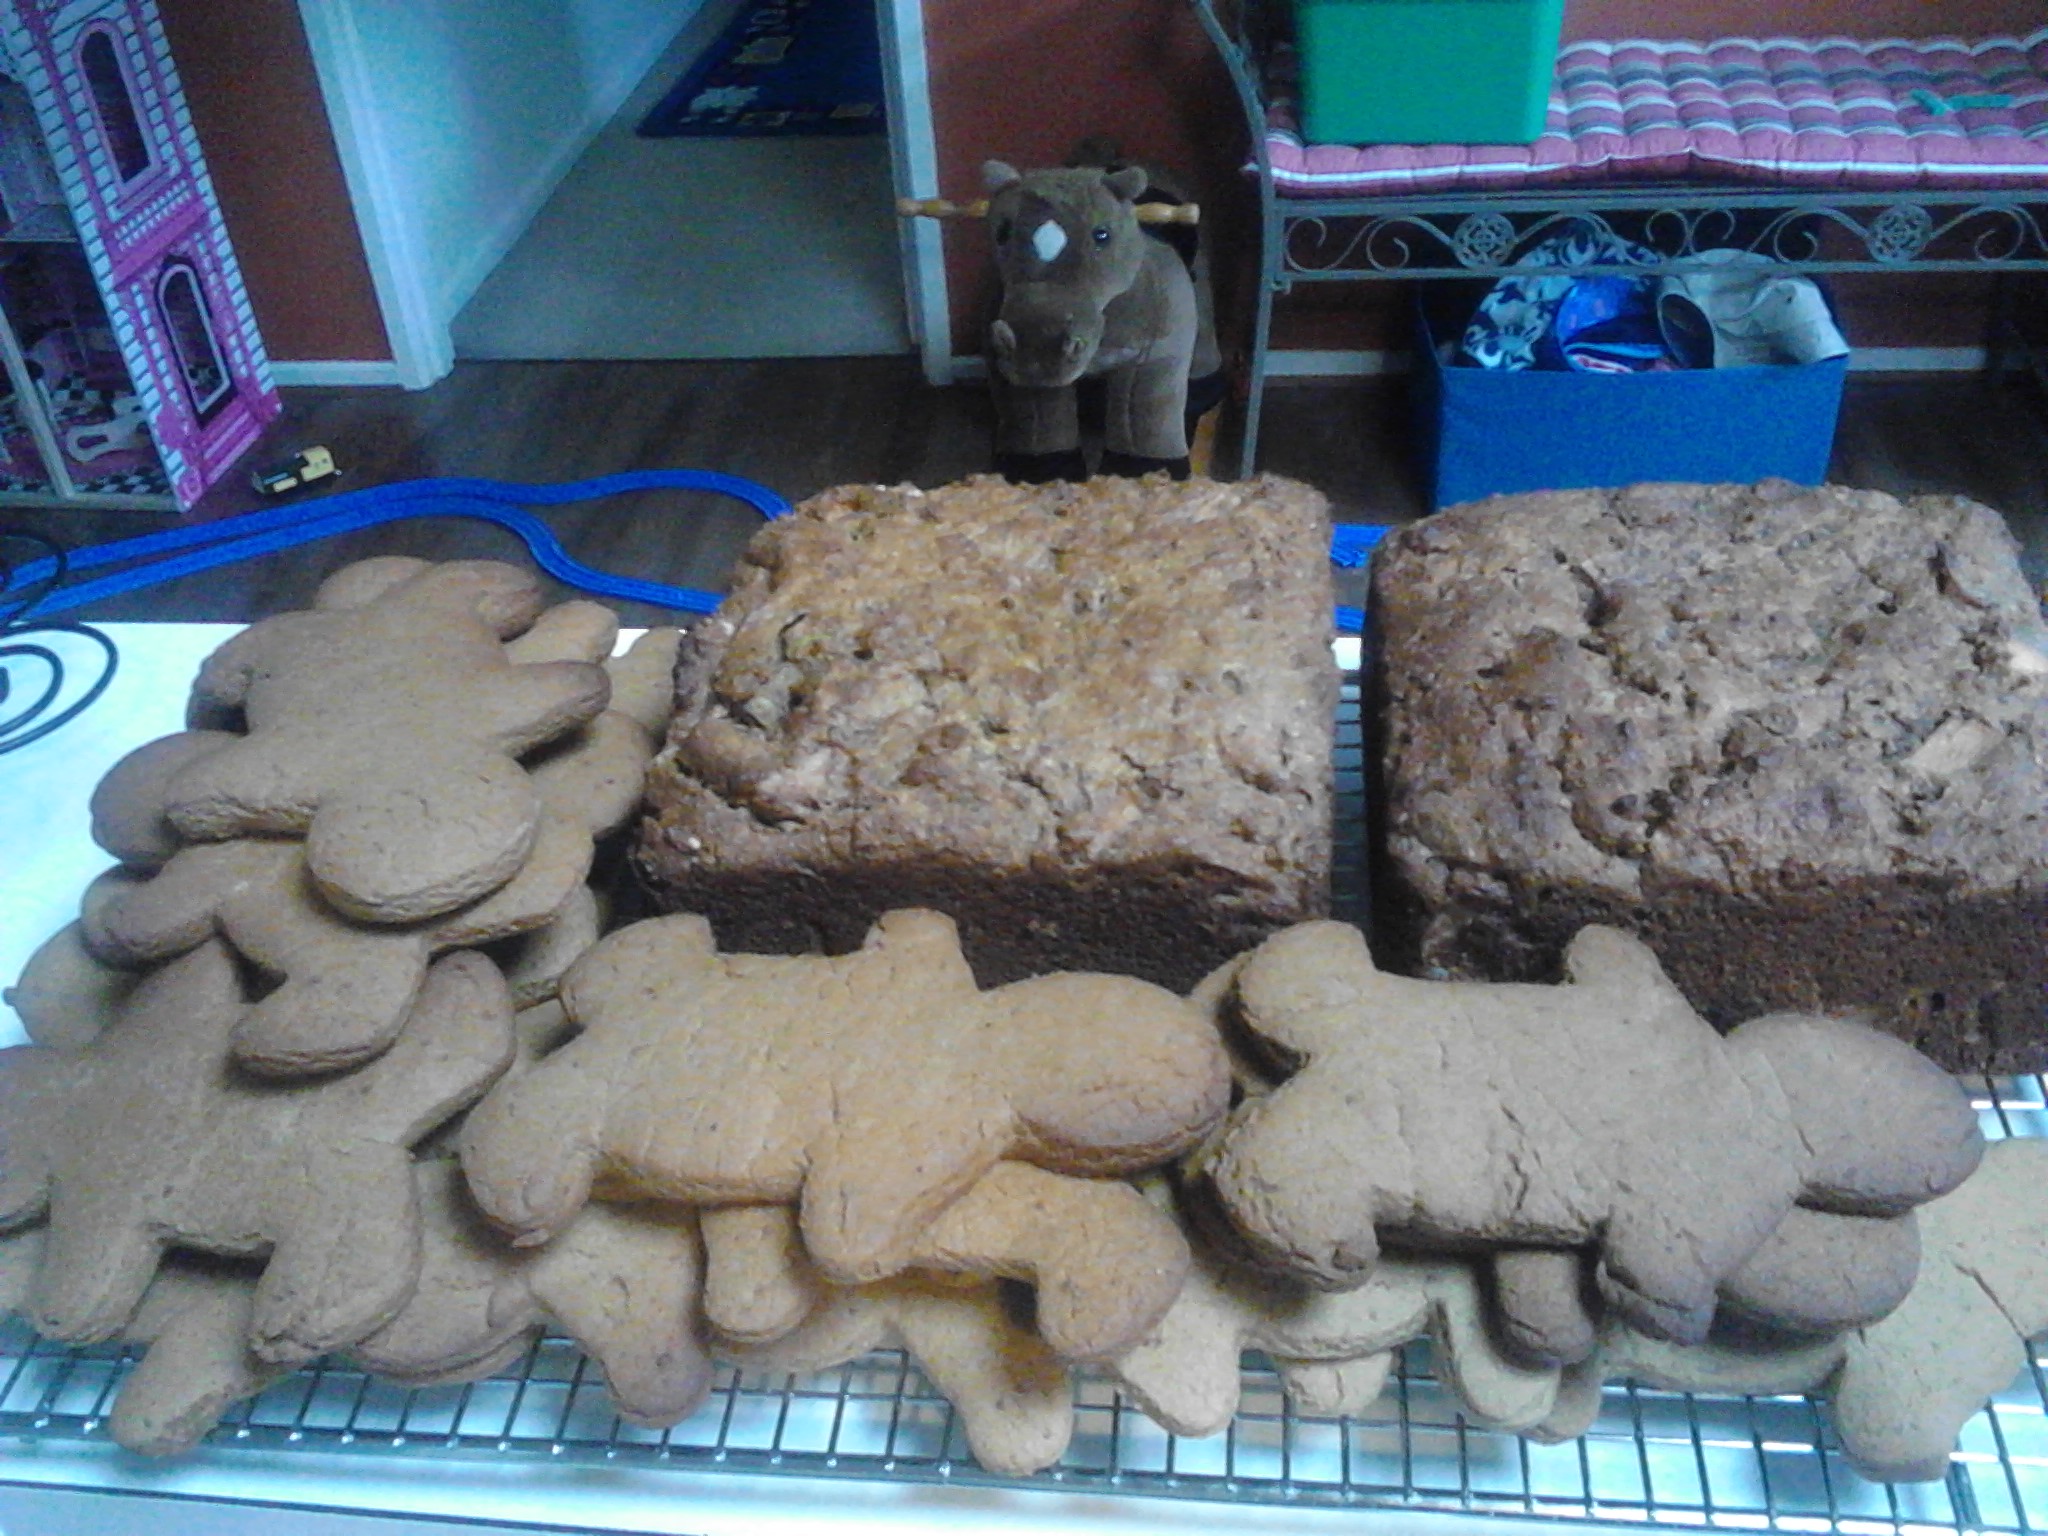
Let the trays cool for about five minutes and then run a sharp knife around the edge of the tray and carefully cut lines into the mix as shown in the picture. When the trays are completely cool, cover with cling wrap and place into the freezer for about one hour. Take the trays out of the oven and use a cake server to go around the edge of the tray and loosen the bars. Bend the tray slightly until you can see the bars lifting off the tray. Use the cake slicer to carefully lift each piece out of the tray. Place into a container and put in the freezer. This is the time to scrape the leftover pieces off the tray and enjoy. So yummy!

If you have enjoyed this post please share it with a friend. I am also on Facebook at Holistic Wellness For Life and Twitter at Holistic Wellness@carolynlgray. Thanks Carolyn

Spicy Chicken and Sweet Potato Casserole

2014-04-10 18.25.43


A very warming and tasty casserole which will stimulate your taste buds.

I surprised myself by making such a spicy dish. I was originally going to make apricot chicken but the apricots have vanished from the shops so l had to make some adjustments to my thinking. I also didn’t have time to use the hot pot so just used a saucepan on the stove top. The result was really warm with the mix of spices just right. Of course, spiciness is very personal so feel free to add more or less of the spices depending on your tastes. I served this casserole with some lovely brown rice that l put in a ramekin to get the nice shape. The kids think it is funny when l serve the rice this way rather than just spooning it on to the plate.

Ingredients:

A pack of free range or organic chicken thighs (approximately 6) chopped into small pieces

1 medium sweet potato peeled and diced

1 tablespoon of Millet flour (or any other flour you like)

1 tablespoon organic tomato paste

Herbs- I used chives, parsley and mint because that is what l had in the garden. Just a small amount of each.

Spices- 1/2 teaspoon curry powder and 1/2 teaspoon cinnamon, a generous 1/4 teaspoon each of ginger, cumin, turmeric and a pinch of paprika

Juice of half a lemon

1 tablespoon black chia seeds

Sea salt and ground black pepper to season

1.5 cups approximately of stock or filtered water. Use your judgement here. Add a cup and see if you think it needs more. The chia seeds will soak up some of the water but you don’t want it to be too runny.

Extra Virgin Olive Oil

2014-04-10 14.57.46


In to a saucepan place some Olive Oil, the diced chicken, sweet potato and flour. Place on the heat and lightly brown. Give it a good mix as it is cooking so the flour coats all of the surfaces. Now add the tomato paste and let it cook for a minute. Add all of the spices, lemon juice and smell the aroma. Mix well. Add the stock, herbs, chia seeds, salt and pepper. Bring to the boil then let simmer for several hours. Mine simmered for around 6 hours and this was a good amount of time for the flavours to really develop. Serve with steamed vegetables or rice. You can freeze the left overs or take it to work for lunch the next day.

If you have enjoyed this post please share it with a friend. I am also on Facebook at Holistic Wellness For Life and Twitter at Holistic Wellness@carolynlgray. Thanks Carolyn

Vegetable Soup


2014-04-09 08.43.02


There is so much comfort in sitting down to a lovely bowl of vegetable soup, especially on a cold day.

It might seem kind of basic to be writing about how to make vegetable soup but if you haven’t had a go at it these tips might help. I like to make up big batches of soup and keep them in the freezer in small containers so l can use them as needed. The soup freezes well and if l don’t have time to let the soup defrost overnight l place the frozen tub in a small amount of hot water so it loosens from the container, then put it in a saucepan with a small amount of water. This method works very well as l do not use a microwave oven so need to find other ways of managing.

First step:

The whole base of the soup is a good stock. I have a recipe on my website for making a stock from a chicken base but you can use beef or lamb shanks. My mother used to put the lamb shank into the soup and let it all cook for several days and if you can find some grass fed lamb shanks this would be very nice. I don’t eat red meat now due to my lack of a gall bladder but my Dad was a sheep farmer and we had some lovely lamb meals when we were growing up. Although l don’t eat the red meat l could still put the beef or lamb bones into my stock mix but at this stage l am in the habit of using free range chicken as we often have a roast chicken for dinner and it is economical to then use the bones, skin and leftover meat in the stock.

2014-04-08 06.07.35 2014-04-08 06.09.45 2014-04-08 06.10.57

The pictures above show the cooked stock, draining out the bones and meat and finally the delicious stock which is the base of the soup. At this stage you can place small amounts of the stock in containers and freeze to use in casseroles or bolognese as examples depending on the quantity of soup you wish to make.

2014-04-08 06.25.15 2014-04-08 06.28.54

Decide which vegetables you would like in your soup. I chose sweet potato, celery, pumpkin, carrot and cauliflower this time. You can add anything that you like such as cabbage and some onion if you can tolerate it. My mother used to add split peas and soup mix but l have found these can create digestive issues so avoid them now. Make sure your vegetables are washed well then cut into small pieces. Vegetables such as the carrots and celery will be there in the diced form in the final soup, but the softer vegetables such as sweet potato and carrot will dissolve and thicken the soup. Place all of your chopped vegetables in the pot with the broth and let simmer all day. Get a potato masher and mash some of the softer vegetables such as the pumpkin so they break up and thicken the soup. Serve in a bowl or mug and season with sea salt and ground black pepper. You can add a clove of crushed garlic or some sliced spring onion tops at serving as a garnish and extra flavour. Let the soup left over cool and place into the fridge or freezer for later use. Another handy idea is to take the soup hot to work in a thermos so you can enjoy a lovely lunch or have it in a mug for morning tea.

If you enjoyed this post please share with a friend. I am also on Facebook at Holistic Wellness For Life and Twitter at Holistic Wellness@carolynlgray. Thanks Carolyn


Sweet chocolate tart with fruit

2013-12-26 09.40.56

I am reposting this recipe as l have made it several times since l first wrote about it and now l love it even more. It is really quick to make and is so sweet and delicious with a thick, creamy texture. A small piece is very satisfying as it is quite rich in flavour.

This chocolate tart can be eaten straight from the freezer where it will be firm and cool, or at room temperature where it is quite soft but holds together and has a really creamy delicious taste. This recipe was given to me by a friend who sourced it from http://www.wholefoodsimply.com. I made the tart a week before it was required and covered it with cling wrap while still in the baking tray and placed it in the freezer. On the day of the event l removed it from the freezer and tray, and decorated it with some festive coloured fruits and berries. I placed it in the fridge until we had to leave for the party and ideally it will remain in the fridge or be taken from the freezer just before serving.

I used a round baking tray with a decorative edge that had a removable base. I greased the inside of the tray with organic coconut oil and then made the base.

In the food processor l placed:

1 cup of activated almonds (the original recipe said hazelnuts and l have also use walnuts), 1 cup of desiccated or shredded coconut and 8 large medjool dates (remember to take out the seeds).

Blend well in the food processor and then press firmly into the pan. Place this into the freezer to set while you make the filling.

In the food processor blend together:

1 ripe avocado, 3 heaped teaspoons of cocoa or cacao, 3 tablespoons of organic coconut oil and 1 cup of medjool dates (seeds removed). Once combined add 1 cup of frozen raspberries and gently pulse through the mix so they are roughly chopped up or blend thoroughly if you want them mixed through.

Remove the base from the freezer and fill with the delicious chocolate mix. Smooth the top with a spoon, cover with cling wrap return to the freezer. When you are ready to serve the tart, remove it from the freezer and decorate with extra berries and fruit. The fruit is really just one idea of what could accompany this tart. You can use your imagination and serve it with what suits your diet and preferences. I used green grapes when decorating this tart but my favourite grapes are the red or very black ones. Ensure you wash them well though as they are usually sprayed with a nasty chemical that some people can react to.

An alternative to this is to cut the tart up into single serves and place them into a container in the freezer. My daughter is just loving being able to go to the freezer and grab a piece a couple of times a week when she feels like something sweet. I also have had this after work when l have been really tired and needed a pick me up.

If you enjoyed this post please share with a friend. I am also on Facebook and Twitter. Thanks Carolyn

My favourite chocolate


chocolate

Finding products that are healthy, minimally processed and taste good can be a challenge! One of these foods l think is chocolate as the market is flooded with so many choices and sweetened with a variety of products that the consumer can find confusing to understand the origins of. My dietician recommended the Loving Earth range of chocolate to me and over the past year l have tried many of the different flavours and find that a couple of small squares every day or so supports my well being and keeps the chocolate cravings well managed.

chocolate bulk chocolate duo mint chocolate

At the moment l am enjoying a block of the Organic Raw Dark Chocolate.

raw chocolate

How is this chocolate different to the varieties found in the supermarket?

The Organic Raw Dark Chocolate pictured above is a raw chocolate and it has only two ingredients which are 72% minimum organic raw cacao and organic evaporated coconut nectar. They are the only ingredients in the chocolate and the taste is rich and amazing. This chocolate is also Australian owned and made in the Factory located in Melbourne. I have found a few health food stores in my area who sell the range such as the Cheltenham Organic Store, Melbourne or Raw on Rye but you need to watch out as some other businesses l have been to charge quite high prices and l think around $6-$7  is a good price to pay for the 100g block. I also buy this range online from places like Bulk wholefoods on the Mornington Peninsula which is one of my favourite suppliers. If you buy the chocolate online try to do it in weather that isn’t too hot as sometimes my blocks have arrived slightly soft, or some businesses offer a cool pack as an extra charge to help keep the chocolate cool.

This is not the type of chocolate that you can sit down on the couch with and eat the whole block as it is so rich that you will probably feel sick. One or two pieces is a real taste sensation. The mylk chocolate variety is really nice and my other favourite is the dark chocolate with orange and gubinge. I am sure there are other brands for sale in the raw organic field that are wonderful but this is a recommendation for this brand based on a lot of taste testing by myself. I also use these blocks in my cooking such as the chocolate chip cookies in the recipe section of this website and it is fantastic to cook with.

If you enjoyed this post please share with a friend. I am also on Facebook and Twitter and the links are on the website. Thankyou Carolyn

The omelette: A meal you can always count on

2014-03-14 19.18.20

Quick to cook, healthy and simple.

The omelette has become the meal l use when l need to make something quick for lunch, or we have arrived home late from sports training and l haven’t organised dinner. It is so easy to individualise an omelette as they can be filled with ingredients which each family member likes, or you can have it plain just as my young son does. I buy some nice free range eggs and keep them in the fridge. We go through a lot of eggs in our home so l don’t need to check the use by dates, but l always rotate the boxes of eggs in the fridge so l am using my oldest ones first. I like to fill my omelettes with lots of fresh ingredients such as spinach, snow peas, grated carrot, tomato and a meat of some kind which is usually free range chicken, tuna or salmon. I often add some pumpkin or chia seeds for added crunch and when cooked will sprinkle some Kapai Puku seed mix over the top.

When l make my omelettes l place some extra virgin olive oil into a hot pan and pour the beaten eggs into it. I like to use a small pan so that the omelette is as big as the pan as this gives a nice shape. If l use a big pan l give the pan a bit of a lift as the egg spreads to try and get a nice shape. As the egg is cooking l add the ingredients to half of the egg with foods such as spinach added last as l don’t want it to cook very much. When the egg looks cooked and firm l use a spatula to lift the plain side of the egg over the filling and press the top with the spatula. I let it cook for about another minute and then carefully lift with the spatula and place on a plate. I can quickly cook the five omelettes required to feed my family if l have all of the ingredients prepared before l start cooking. Omelettes can be eaten at any time of the day and can be added to with a nice salad or steamed vegetables. I don’t eat dairy but if you do, cheese can also be added to the omelette. It can be seasoned with some nice sea salt and ground black pepper. Enjoy!

If you have enjoyed this post please share with a friend. I am also on Facebook and Twitter. Thankyou Carolyn

Rosemary and Sea Salt seed bars

2014-03-12 20.14.24

These were really nice on their own but l can imagine having them with a nut butter or avocado with tuna or salmon on top. I cut them quite small so they are more like a cracker biscuit and have placed them in the freezer to pack in my lunch when working.

Ingredients:

1 cup of organic sesame seeds

1 cup of organic pumpkin seeds

1 cup of organic sunflower seeds

1 generous tablespoon organic coconut oil

1 generous tablespoon raw organic honey

1 heaped tablespoon fresh rosemary

1/2 teaspoon sea salt

1 cup filtered water

Place all of the ingredients into the food processor and blend until smooth.

Spoon the mix into a well greased biscuit tray (mine was 24cm x 34cm) and spread out smoothly with a spatula until even across the pan. I greased the pan with organic coconut oil and it is very important to grease the base well. The mixture should be about 1/2 cm thick across the tray. Bake in a 180 degree celsius oven until golden on top. Remove from the oven and while still in the tray cut the mix into slices. A tip is to run a knife around the edge of the tray to loosen the bars slightly. I cut mine into small squares as it had slightly stuck to the tray and they were easy to get out with a spatula. Carefully lift each piece out of the tray and place carefully with space between each piece onto two clean and greased trays. Return to the oven and bake for about another ten minutes or until they are looking golden. Remove from the tray with a spatula and place on the cooling rack. You can eat these bars fresh or place in the freezer to use later on.

2014-03-12 20.13.32

If you have enjoyed this post please share with a friend. I am also on Facebook and Twitter.

Sweet potato and carrot pancake (gluten free)

2014-02-26 07.29.03

A delicious and nutritious start to the day!

I really like to start my day with a warm and sweet pancake topped with my favourite foods which in this case is sliced banana, activated (soaked and dehydrated) walnuts and organic maple syrup. Over the past year l have experimented with many different flours and ingredients and find it exciting to be creating so many delicious recipes.

I make up a big batch of mixture that lasts me a few days. It keeps well in the fridge and holds together superbly when cooked. When you add the water to the recipe it will seem like a lot but the chia seeds and quinoa flakes will very quickly soak up the fluid so the mixture is just moist but not wet.

Ingredients:

1/2 cup quinoa flakes

1 cup Buckwheat flour

1 cup Coconut flour

1/3 cup black chia seeds

1/2 cup flaked almonds

4 free range eggs

2 medium sized carrots- washed and grated

1/2 a medium sized sweet potato peeled and grated

3 cups of filtered water

2014-02-26 07.11.51

Method:

Place all of the ingredients in a bowl and mix well with a spoon or spatula. Let sit for a short time (around 10 minutes) so that the liquid can be absorbed.

Pre-heat your pan and add some extra virgin olive oil, along with several spoonfuls of the mixture. Use your spoon to neaten up the edges and flatten the top. Be careful not to have the temperature too high as the pancake needs to cook for a good amount of time so the ingredients are well cooked. When golden on the first side, carefully turn the pancake over with a spatula.

2014-02-26 07.23.15 2014-02-26 07.23.482014-02-26 07.27.33

Place the pancake on a plate and decorate with your favourite ingredients.

If you have enjoyed this post, please share with a friend. I am also on Facebook and Twitter. Thankyou Carolyn

A juice for a hot day!

2014-02-10 19.13.562014-02-10 19.15.39

This juice is a really stunning colour which makes it very inviting to drink. I rushed off in the car yesterday to pick my children up from school and forgot to take my drink bottle with me. I literally have this drink bottle which is filled with filtered water with me at all times and sip it constantly. By the time l got home l was really thirsty as it was a very warm Melbourne afternoon and l was gone for around one hour. Because of my digestive issues l just couldn’t drink enough water to catch up and l was so busy making lunches and dinner that l started to crave a really refreshing juice, rather than a meal. I made the rest of the family a lovely roasted free range chicken served with salad and myself the very delicious juice pictured above. Over about an hour l managed to drink it all and l felt thoroughly satisfied and my strong thirst was gone. I usually share my juices with the family but on this occasion l decided that l should spoil myself and as l had cut up half a watermelon for my husband and children to eat for dessert, they seemed not to notice what l was having. I also tried out my new stainless steel straws which l can highly recommend. I always drink through a straw which is related to sensitivity in my teeth and the plastic ones were such a problem to dispose of and a real waste. I bought a pack of four stainless steel ones which came with a little brush to clean them. Not being able to bite them as you can with a plastic straw takes some getting used to, but they are wider than a normal straw so you get a good amount of liquid through them.

Ingredients:

2 green apples with the skin on (well washed)

1 lebanese cucumber-well washed with the seeds removed

1 bunch of bok choy or a similar green

1/2 a lemon with the skin on-washed

A small handful of mint.

I processed this through my cold press juicer and had it straight away. It would be nice with some ice added and a small amount of ginger would add to the taste.

If you like this post please tell your friends and share.  I am also on twitter and facebook. Thanks  Carolyn

Walnut and herb bread

2014-02-04 18.34.142014-02-04 18.33.59

The aroma of this delicious bread will have you coming back for more. This is a lovely addition to your meal with its light texture and warming taste of fresh herbs. I actually saw the recipe on fastpaleo.com, although they called it a different name, and thought it looked so delicious that l made it the same day to accompany dinner. It was really easy and quick to make but took longer in the oven than was recommended in the original recipe. I was surprised at the very positive reaction from my husband and children when they tasted this bread and will definately be making it again.

Grease (with organic coconut oil) and line a glass loaf dish (or similar).

Ingredients:

2 cups of activated walnuts (or raw walnuts) -blend these in the food processor until finely chopped.

2 tablespoons coconut flour

2 tablespoons almond meal

2 tablespoons fresh Rosemary and Thyme finely chopped

1/4 teaspoon sea salt

1 1/2 teaspoon baking soda ( I used Bob’s Aluminium free)

5 free range eggs

1/4 cup coconut oil (if solid melt then let cool, but in warmer climates use at room temperature)

1 tablespoon organic apple cider vinegar (Bragg brand is very good)

Mix together the dry ingredients. In a seperate bowl whisk the wet ingredients. Pour the wet ingredients into the dry ingredients and mix well. Pour into the baking dish and smooth the top until the mix is level. Place into a pre-heated oven 160 degrees celsius for around 40 minutes or until golden and firmish to touch. Remove from the oven and cut around the edges with a knife to separate the bread from the baking dish. Turn onto a cooling rack. I was able to slice this bread straight away while warm and a quick taste test confirmed how delicious it is. The smell in your kitchen while this dish is cooking will be divine.

If you have enjoyed this post please share it with your friends. Thank you. Carolyn

Banana and coconut cake (Paleo)

2014-01-24 17.15.37

A sweet treat.

I have seen a few versions of this cake and thought it sounded so delicious that l decided to make my own. It is a very soft and moist cake with a lovely coconut and banana flavour, as well a being gluten, processed sugar and dairy free.

You will need a greased and lined loaf tin. I greased mine with organic coconut oil and my loaf tin was made of glass. Pre-heat your oven to 180 degrees celsius.

Ingredients:

6 Medjool dates chopped in the food processor (seeds removed)

4 medium sized ripe bananas (mashed)

1/2 a cup of filtered water

1/2 a cup of melted organic coconut oil

4 free range eggs (beaten)

2 tablespoons raw organic honey (or just organic honey)

1 cup shredded coconut

1 cup coconut flour

1 cup hazelnut or almond meal

1/2 teaspoon mixed spice

2 teaspoons gluten free baking powder

1 teaspoon cinnamon powder

Method:

Mix together the first six ingredients (all the moist ones). Add the dry ingredients and gently mix through. Pour into the baking dish and smooth the top with a spatula. Place into the oven and cook until golden. This cake is very moist so it needs to be cooked well. I let mine sit in the tin for a while when l took it out of the oven and let it cool on a rack before cutting.

If you enjoyed this post please share it with a friend so that the number of people following me can grow. 

Making good use of your oven

2014-01-22 13.13.412014-01-22 18.49.05 2014-01-22 18.58.27  2014-01-22 14.26.19

I do a lot of cooking and l try to be as resourceful as l can. Since l have stopped using the Microwave oven for anything other than heating a wheat bag, it is tempting to turn on the oven to heat up small things. I have had to be inventive and often use my griller, have the meals cold or heat the food in a steamer. Using the oven can be expensive and l like to have a cooking day where l keep it full for quite a few hours and cook lots of different types of dishes. Yesterday was one of those days where l roasted a chicken in the top half of the oven and had trays of chopped up beetroot and pumpkin on the lower trays. I used half of the roasted beetroot for a salad and the other half for beetroot hummus. The roasted pumpkin was also for the salad.

2014-01-22 19.41.13

As the oven was hot l also decided to whip up a double batch of my chocolate chip cookies. After some taste testing the remainder went into the freezer, ready to be placed into lunch boxes when needed. Cooking like this means l may only use the oven a couple of times a week.

2014-01-05 15.49.45

Last week after cooking a roast chicken l made some ginger bread men for my children, and a couple of apple and cinnamon cakes which l slice into single serves and freeze for the lunch box (all gluten free of course)

2014-01-03 20.20.07

In the past I used my oven to dehydrate the activated nuts but l found it was a real problem to have the oven out of action for any other cooking and l didn’t like to have the oven running all day. Now that l have a dehydrator the problem is solved as l can run the dehydrator on very low temperatures and use my oven as l please.

If you have enjoyed this post please share with someone else so that l can increase the number of people following me. Thankyou.