All posts by holisticwellnessforlife

Holistic Nutrition and Wellness Coach with a focus on food as medicine and life balance. My website is a reflection of the health journey l have been on and the importance that l place on achieving wellness in life. I am a Primal Blueprint Certified Expert and have a special interest in Paleo Nutrition and Primal Living. A clean eating diet and lifestyle where your health is at the centre of everyday decisions. I am sharing this passion and journey with like minded people who are empowering themselves with knowledge and challenging the traditional medical system and health model and who desire to contribute whole heartedly to their own wellbeing.

Refreshing juice with ginger and mint

2014-01-05 16.14.17

A juice can be full of surprises depending on what ingredients you use. I tend to have the same vegetable based juice each day, but today l decided that my fridge was full of so many fresh and wonderful ingredients that l changed the mix. There isn’t anything too unusual about this drink but it is surprisingly refreshing, with the ginger and mint adding a lovely after taste. I love that with a juice you can  add different fruits, vegetables and herbs and the drink tastes different each time. One small glass is enough as this juice has a high sugar content and the juice l made today was enough for three people. I used my Oscar Neo cold press juicer which is divine and produces the most amazing juice.

Prepare your ingredients by washing, chopping or peeling as required. For the juice in the picture l used:

Half a green apple washed

One lemon peeled

One navel orange peeled

Two large carrots washed

Two large stalks of celery washed

One quarter of a fresh pineapple with the skin removed

A handful of fresh  mint

A small piece of ginger depending on your taste. I used about a half a centimeter piece and the ginger taste was very strong.

Process your ingredients in the juicer, stir well and divide into separate glasses. Drink and enjoy! I accompanied this juice with a small handful of raw activated nuts (good protein source) to stop my blood sugar levels from peaking, which can make me feel quite unwell.

A healthy stir fry with lots of greens

2014-01-03 19.53.57 2014-01-03 19.43.08

Chicken and assorted greens stir fry.

A stir fry can be a wonderful tasty, quick and healthy meal. The ingredients are cooked for a short time and therefore will retain their nutrients and flavour. I have used ingredients that are simple and natural as l find this supports healthy digestion and l try to have a light meal at night to encourage a good sleep.

This dish was created for my family in record time as there was  a lot going on. The key to its success was that l had the ingredients on hand and l cut up all of my ingredients before cooking started. I often use a variety of coloured vegetables in my stir fry dishes but decided that using a selection of fresh green vegetables would be a nice change from my usual additions.

Ingredients:

2 free range chicken breasts

2 fresh garlic cloves

A small piece of fresh ginger

Tamari sauce

Fish sauce

Selection of fresh greens ( I used: the green part of two shallots, a bunch of broccolini, snow peas, beans and a variety of different kales and spinach picked fresh from my garden)

Method:

Wash all of the vegetables in filtered water to remove any chemicals or dirt and I also rinse the chicken breasts in filtered water. Chop and dice all of your ingredients and place them on a tray or in bowls next to your stove ready for cooking. This preparation is important as the cooking time for the stir fry is very quick. Place your wok or pan on the stove top and pour a small amount of extra virgin olive oil into the pan. When hot add the diced/sliced chicken breasts along with the crushed garlic and chopped ginger. The smell will be amazing! Keep cooking the chicken until nicely browned as the greens will only require a short time in the pan. Add all of the greens along with a few dashes of Tamari and Fish sauce depending on your personal preferences. Use your wooden spoon to mix the vegetables through the chicken and cook until the vegetables are just beginning to soften. Serve immediately by placing in individual bowls or place in one large bowl so people can serve themselves. This dish makes enough for approximately four adults.

Summer dessert- Sweet chocolate tart with fruit

2013-12-26 09.40.56

This is a delicious chocolate tart that can be eaten straight from the freezer where it will be firm and cool, or at room temperature where it is quite soft but holds together and has a really creamy delicious taste. This recipe was given to me by a friend who sourced it from http://www.wholefoodsimply.com. I made the tart a week before it was required and covered it with cling wrap while still in the baking tray and placed it in the freezer. On the day of the event l removed it from the freezer and tray, and decorated it with some festive coloured fruits and berries. I placed it in the fridge until we had to leave for the party and ideally it will remain in the fridge or be taken from the freezer just before serving.

I used a round baking tray with a decorative edge that had a removable base. I greased the inside of the tray with organic coconut oil and then made the base.

In the food processor l placed:

1 cup of activated almonds (the original recipe said hazelnuts), 1 cup of desiccated or shredded coconut and 8 large medjool dates (remember to take out the seeds).

Blend well in the food processor and then press firmly into the pan. Place this into the freezer to set while you make the filling.

In the food processor blend together:

1 ripe avocado, 3 heaped teaspoons of cocoa or cacao, 3 tablespoons of organic coconut oil and 1 cup of medjool dates (seeds removed). Once combined add 1 cup of frozen raspberries and gently pulse through the mix so they are roughly chopped up or blend thoroughly if you want them mixed through.

Remove the base from the freezer and fill with the delicious chocolate mix. Smooth the top with a spoon, cover with cling wrap return to the freezer. When you are ready to serve the tart, remove it from the freezer and decorate with extra berries and fruit.

A healthy Christmas lunch

2013-12-25 12.36.44 2013-12-25 12.36.21  2013-12-25 11.16.54

I was determined not to get sick from Christmas lunch this year so l kept it simple and healthy and it was really delicious. On the menu was a free range turkey which l roasted in the oven, roasted carrots, sweet potato, pumpkin and potatoes. This was accompanied by red quinoa tabouli, roast pumpkin hummus and a nice green salad. I made some stuffing for the turkey in a separate baking dish using a low gluten bread which the kids loved but l did not eat. For the dressing l made a healthy salad dressing (in the recipe section) and topped it all with Kapai Puku. I normally only drink filtered water but tried some sparkling mineral water which came in a glass bottle. This probably all sounds really boring to those of you who can eat what you like with minimal consequences, but last year l was sick for days after consuming some Lindt balls and too much fruit, so today’s lunch was a wonderful success as l feel great and the leftovers were delicious.

Apricot Chicken

2013-12-02 18.35.31 2013-12-02 18.14.20

Apricot chicken-An old classic that l was missing eating. It was a cold day and l walked past some apricots in the fruit section of the shop and the smell was enticing. They were so juicy, ripe and delicious that l bought some with the idea of eating them but then decided to experiment with the hot pot and see what happened. The result was a most sweet and delicious apricot chicken dish that l enjoyed over the next few days.

Firstly, l chopped up about 6 free range chicken thighs and coated them in a generous amount of coconut flour.  I browned them in a pan with some coconut oil and then placed them in the hot pot. To the hot pot l added just over 1.5 litres of chicken broth that l had in the freezer, four apricots finely sliced, the green tops of a couple of spring onions, about 1/4 of a small pumpkin chopped up, 1/2 a cup of organic shredded coconut, ground black pepper, sea salt, some herbs from the garden such as mint and parsley, half a red capsicum chopped up and a few small radishes sliced finely. I let the hot pot work its magic for quite a few hours and then added 1/4 cup black chia seeds, 1/2 cup white quinoa and some green beans. Another thirty minutes or so and it was ready to serve. My casserole had quite a lot of liquid in it so l served it in a bowl but if l had cooked it longer it would have thickened a bit. I started cooking it around lunchtime so ideally you will start a bit earlier in the day, but over the next few days it thickened a bit and was so delicious as the flavours developed. There was a real sweetness to this dish from the apricots, pumpkin and coconut.

I hope you enjoy this casserole as l did.

Raspberry smoothie

2013-12-05 16.20.10

A raspberry smoothie that is delicious, sweet, refreshing and cooling. The frozen berries give this smoothie a wonderful icy cold feel, the raspberries a delicious sweetness, while the chia seeds add some crunch. The colour of the smoothie is so amazing and l eat it with a spoon because it is nice and thick.

In the blender place 1 generous cup of frozen raspberries, 1 tablespoon black chia seeds, 1 small green apple with the skin on (cored and cut into pieces), 1 generous cup of chopped spinach/kale leaves and 250 ml plain coconut water/filtered water. Blend and serve.

Rustic seed bread

2013-11-28 19.02.522013-11-28 19.45.382013-10-08 11.59.172013-11-28 18.47.18

This is a really delicious addition to a meal and it is a challenge not to eat it all as soon as it comes out of the oven. One of the delights of this bread is that parts of the edges crumble as it is cut and these are the bits l love to eat. I have used whole sunflower and pumpkin seeds and if you want a more refined load you could blend these slightly before mixing. I love how crunchy the pepitas are and the small pile that was left on the chopping board after cutting could be saved to pour on top of a salad for some extra crunch. I sliced up the loaf into single serves and placed it in the freezer so l can grab a piece when l need it. Not having bread in my diet does leave a space for a bread like this, as sometimes it is nice to hold a delicious piece of something resembling bread in your hand and dip it into the soup.

Ingredients:

3/4 cup Coconut flour

3/4 cup Buckwheat flour

1 cup Almond meal

1/2 cup LSA

1  generous cup of seeds – a mix of whatever you like but l used organic sesame seeds, poppy seeds, activated sunflower and pumpkin seeds.

1/4 cup black chia seeds

3 teaspoons gluten free baking powder

4 eggs

A generous 1/4 cup organic coconut oil gently melted

Filtered water-approximately 1 cup (you could use almond or oat milk if you can have those)

Method:

Find a suitable baking dish. I have tried this with a small square cake tin or a rectangular loaf tin. Either one is fine. Grease and line the base.

Mix all of the dry ingredients together except the chia seeds.

Mix together in a separate bowl the eggs, warm coconut oil, 1 cup of water and chia seeds.

Add the wet ingredients to the dry ingredients. Mix and add extra water as required. The mix should look moist but not wet.

Put the dough into the baking dish and push down so that the top looks nice and even. Place in a pre-heated 180 degree oven for about one hour or until nice and golden. Turn out onto a cooling rack and when cool cut into slices with a serrated knife. It will hold together better if the slices are thicker (approximately 1.5cm). The crunchy end bits are the best. The middle bits can be grilled when required to give them some extra crunchiness. I do this straight from the freezer and then top the bread with my favourite toppings such as avocado and tomato (see picture above)

Thank you to my sister and brother in-law who inspired this recipe.

Roast beetroot and chickpea hummus dip

This beetroot dip is really delicious and the colour is so enticing! It can be a lovely addition to a meal or used as a dip. Either way it is a healthy option for snacking and very easy to make. Most Paleo and Primal followers do not eat chickpeas but if they are a food you consume now and again then this recipe is ideal.

2013-11-14 18.52.04
A beautiful colour.

I have made this dip with both steamed and roasted beetroot and have found that roasting the beetroot enhances the flavour of the hummus. The recipe is adapted from one in my favourite cookbook ‘eat well, be well’ from the Gawler Foundation.

2013-11-25 19.08.11
A major part of this meal. 
2014-01-23 19.00.31
The hummus adds colour and texture to this meal.

Chick peas are a legume and need to be prepared before consuming so as to reduce unwanted digestive discomfort. I would advice to use organic ones in a packet where possible and to soak them for 24 hours in filtered water with one tablespoon of sea salt before rinsing and boiling for around 40 minutes. Once cooled they are ready to be used in the recipe.

Place all of the ingredients in the blender:

2 cups of soaked and cooked chickpeas

1 large beetroot that has been diced and roasted in the oven.

2 small cloves of garlic (more or less depending on your preference)

Cracked black pepper and sea salt to taste

Half a cup of fresh lime juice

At least two tablespoons of extra virgin olive oil (maybe more)

Mix it all up and have a taste. Adjust as per your preferences and if it is a bit dry you can add more oil or lemon juice. The dip can be enjoyed straight away or if left overnight in the fridge the flavours will develop.

Activating your nuts and seeds

2013-09-16 14.52.322013-09-17 07.40.292013-10-12 16.37.032013-10-13 07.48.432013-11-06 08.55.26

Activating my nuts and seeds has taken a while to get the hang of. The many wellness books l have all say that it is essential to activate the nuts and seeds you are eating if they form a regular part of your diet.

What is activating your nuts? It involves soaking the nuts in water and a small amount of salt, then drying them at low temperatures so that they are easier to digest. This process also helps to remove substances in nuts and seeds called phytic acid and protease inhibitors which can interfere with the absorption of important minerals such as Calcium, Magnesium, Iron and Zinc.

I started off activating the nuts using my oven. Hard nuts such as almonds, walnuts and brazil nuts need to be soaked over night. Place them in a tub and cover with room temperature water and add a small pinch of sea salt. In the morning, rinse off the nuts under running water. Place them directly on to oven trays and place in the oven at the very lowest temperature (under 60 degrees celsius) so as not to destroy all of the enzymes in the nuts.  Make sure they are not piled high on top of each other. After a few hours turn them over. Keep them in the oven for around ten hours, and try one every now and again to see if they are ready. Store them in the fridge in a container and place any excess in the freezer. Softer nuts such as cashews and macadamia nuts only need about 6 hours soaking and less time in the oven, so you could do this all in one day. Because of this, l buy nuts in packets with just one type of nut, rather than mixed because then l have to pick all of the soft ones out. Aldi have a good selection of nuts such as macadamias, almonds and walnuts. You want to buy raw, unroasted nuts. Activated nuts can take some getting used to as they are a bit softer than unactivated nuts, but that is good for your teeth also.

I was given a dehydrator and it has really changed my dehydrating a lot. I was never comfortable with having the oven on for hours and the dehydrator just sits on the bench and doesn’t heat up the kitchen. I can also put the temperature on very low. I recently had great success with my first batch of pumpkin seeds and sunflower seeds. I soaked them overnight separately and because they are thin they only took a few hours to dry. You will know when they are ready as they won’t taste as if there is any moisture in them. I have never been a big snacker of these seeds but after they were dried they were so delicious. The ones that were not eaten have been placed in air tight containers in the fridge. If you are in Australia l can recommend http://www.bulkwholefoods.com.au for organic seeds and nuts. If you spend over $100 delivery is free, the service is really good and if ever there is a problem with the order it is resolved quickly. I met the owner at a recent Wellness Expo and she was really nice and she had a range of their products on display which was very impressive. Good luck with the activating!

Apple, cinnamon and almond pancakes-gluten, sugar and dairy free.

2013-10-24 07.15.27

These pancakes are a taste sensation for someone who has been on a very restricted diet. In my past life l used to love food that had a cinnamon and sugar flavour and would often purchase an apple and cinnamon muffin if eating out. In an attempt to move away from having only berry based pancakes l have created these delicious apple, cinnamon and almond pancakes, drizzled in organic maple syrup and extra flaked almonds. I blended the mix well so everything was combined, but this recipe would also be nice with some chunkier bits of apple and almond in it which can be achieved with a shorter blending time. I was able to make these pancakes a good size as the mix held together well. This mix makes quite a few and will keep for a day or so in the fridge.

Ingredients:

1/2 cup quinoa flakes

1/2 cup coconut flour

1/2 cup buckwheat flour

2 eggs

1/4 cup flaked almonds

1 heaped teaspoon cinnamon powder

1 small green apple chopped up with the skin on

2 cups of filtered water.

Method:

Place all ingredients in the blender with the wet ingredients going in first. Blend until you are happy with the mix.

Place half a teaspoon of organic coconut oil in the non-stick fry pan and place a few spoonfuls of mix into the pan and flatten slightly with the spoon as the mix is quite thick. Cook until quite brown before turning to help the pancake hold together, When cooked top with your favourite ingredients. I used organic maple syrup and extra flaked almonds. The smell in the kitchen as they are cooking is wonderful!

Chocolate cupcakes-gluten, processed sugar and dairy free

2013-10-19 15.19.36

When you are eating a very restricted diet it is important to have a few healthy treats. I really love chocolate and have created these lovely cupcakes that taste close to the unhealthy version but are so much better because they are filled with good quality and nutritious ingredients. It is important to remember that when replacing ingredients such as cane sugar and dairy milk that the recipe is going to taste different to what you are used to, but that doesn’t mean it is any less delicious. I don’t use a lot of stevia in my cooking and prefer to use raw organic honey but l have found that if l replace the sugar with an equivalent amount of honey that the recipe can be a bit gluggy, so l have used a combination of stevia and honey in this recipe. Stevia also has a strange after taste that can get a bit of getting used to, but l am o.k with it if it means l can have a chocolate cupcake. Buying the best quality stevia that you can is important and like any good quality product it is expensive. I can buy a one kilo bag of cane sugar for under $1 but l paid $20 for a 700g box of stevia. This cupcake recipe originally used 1 cup of sugar but l replaced it with two tablespoons of stevia and one tablespoon of honey, so the quanitities used are a lot less and therefore the stevia will last you quite a long time. A 500g jar of organic raw honey also costs around $10 a jar which is a lot more than regular honey, but l think the cost is worth it as once the honey has been processed it loses a lot of its goodness and has a higher glycaemic index. If you do want to use regular honey then try to buy organic, and l have seen these in local supermarkets recently and purchased a 1kg jar for $10 which l will use in my children’s pancakes.

In a bowl mix together sifted dry ingredients plus all other ingredients until well combined:

1 cup of flour (I used 1/2 cup organic buckwheat flour and 1/2 cup organic coconut flour)

2 teaspoons Bob’s Aluminium free Baking Powder (or gluten free baking powder)

3/4 cup of filtered water (use tap water if filtered water not available)

2 eggs

2 tablespoons granulated stevia

1 tablespoon organic raw honey (or normal honey)

3 tablespoons raw organic cocao powder (or cocoa powder)

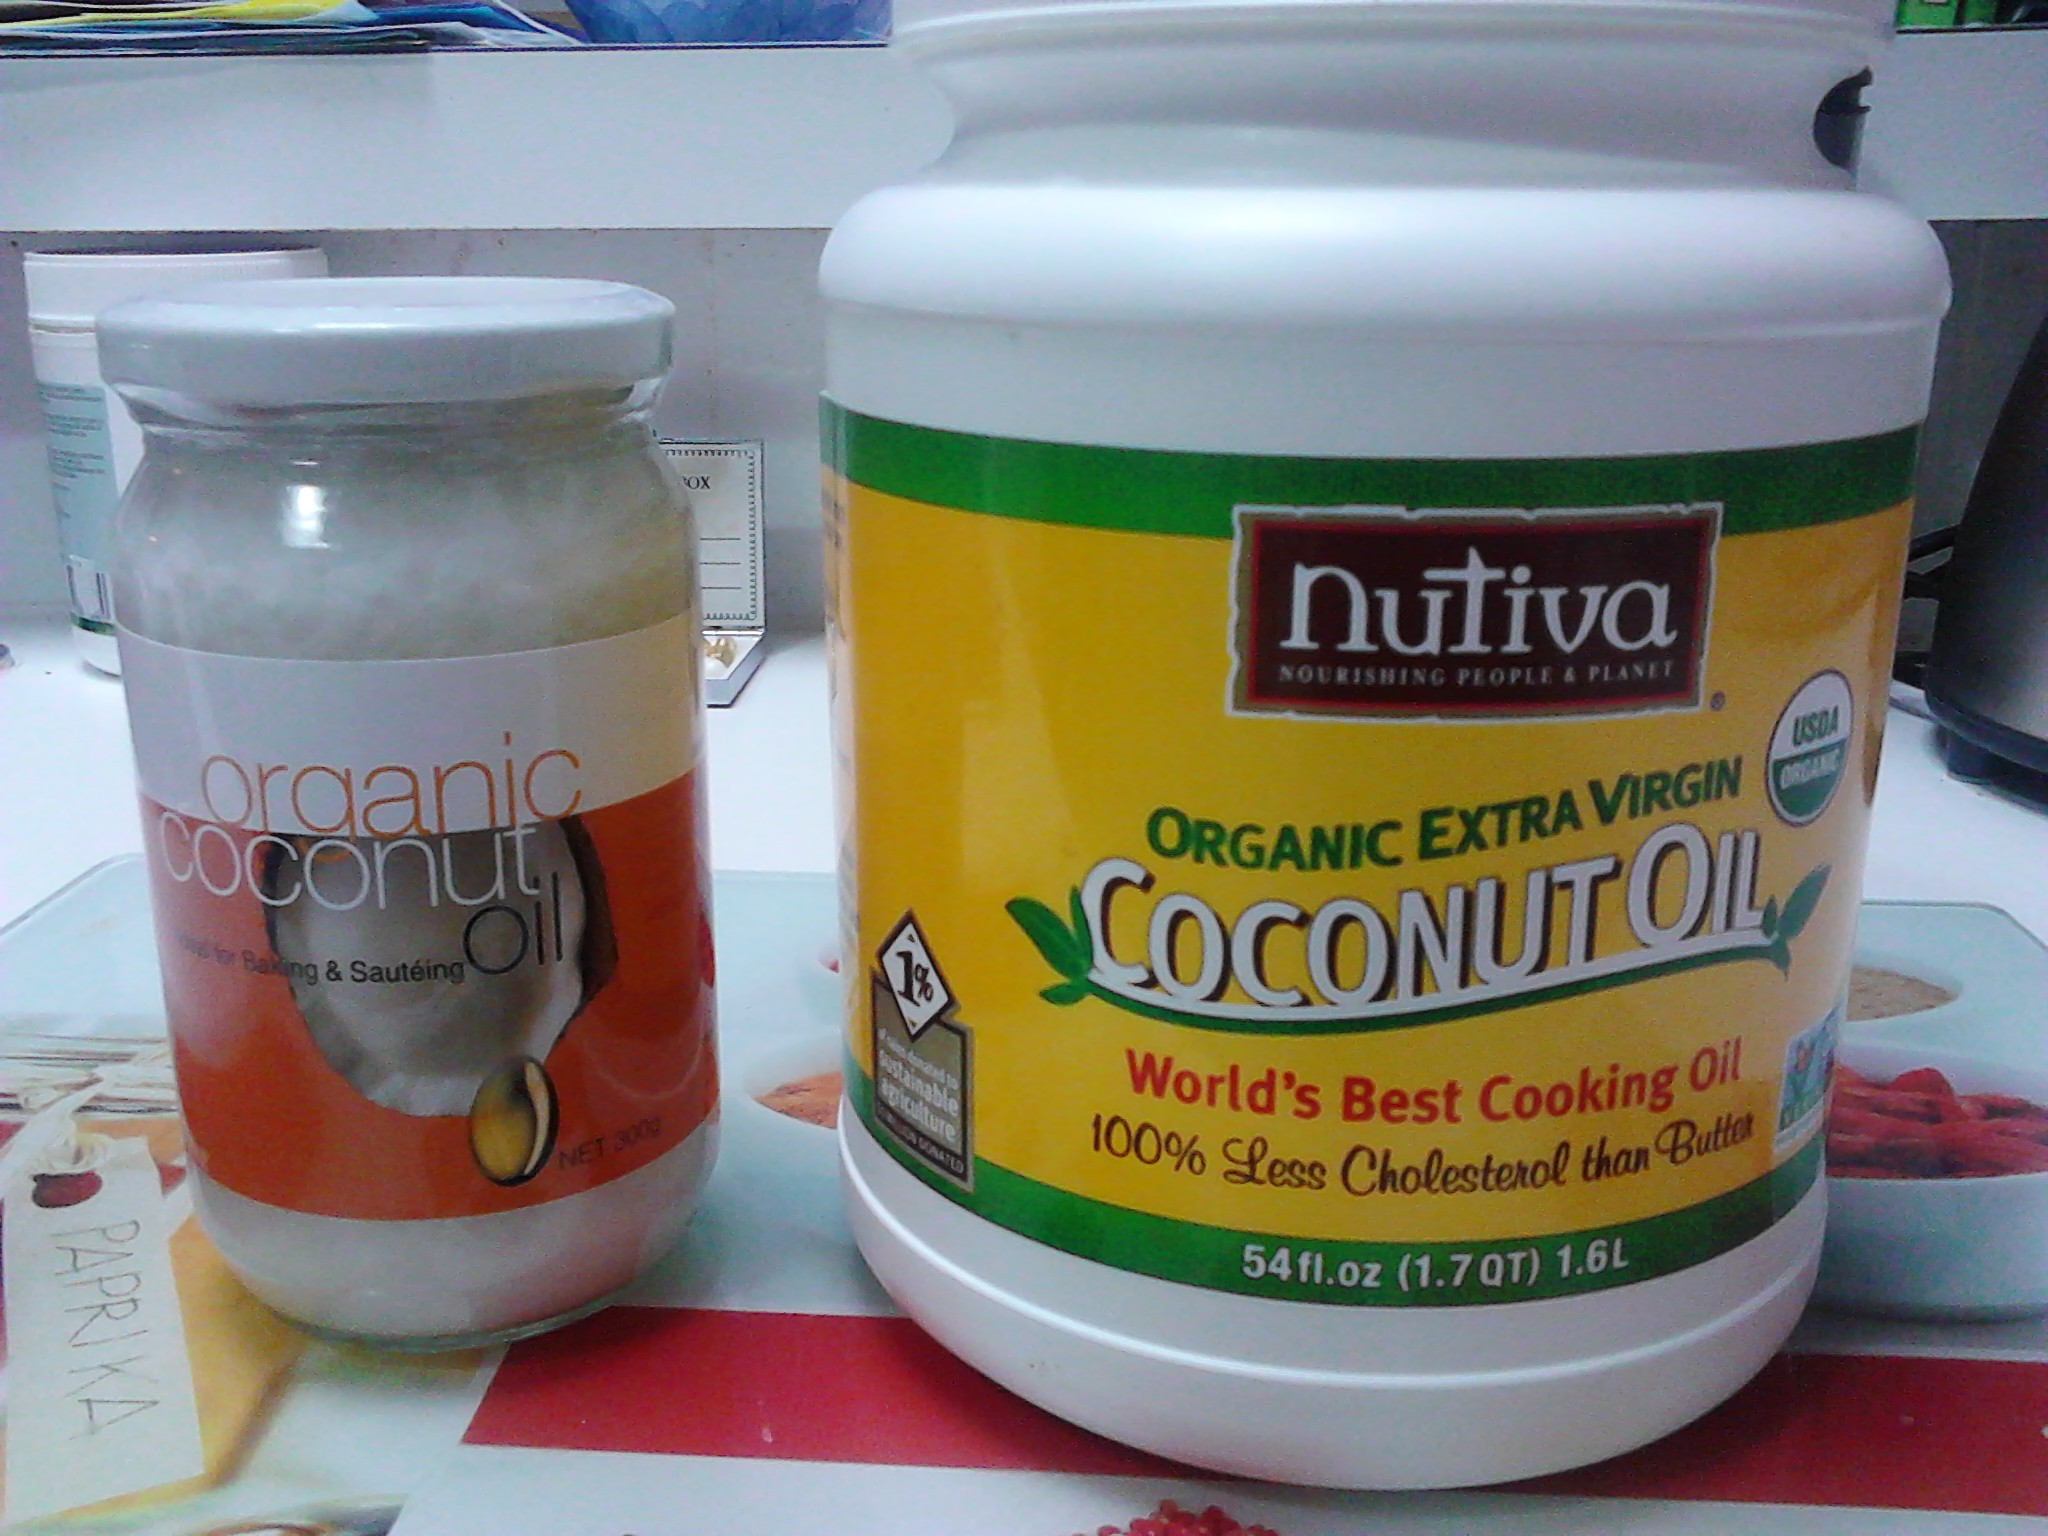
3 tablespoons organic coconut oil gently melted on the stove in a saucepan (I don’t use the microwave anymore)

1 teaspoon organic vanilla essence (or regular vanilla essence)

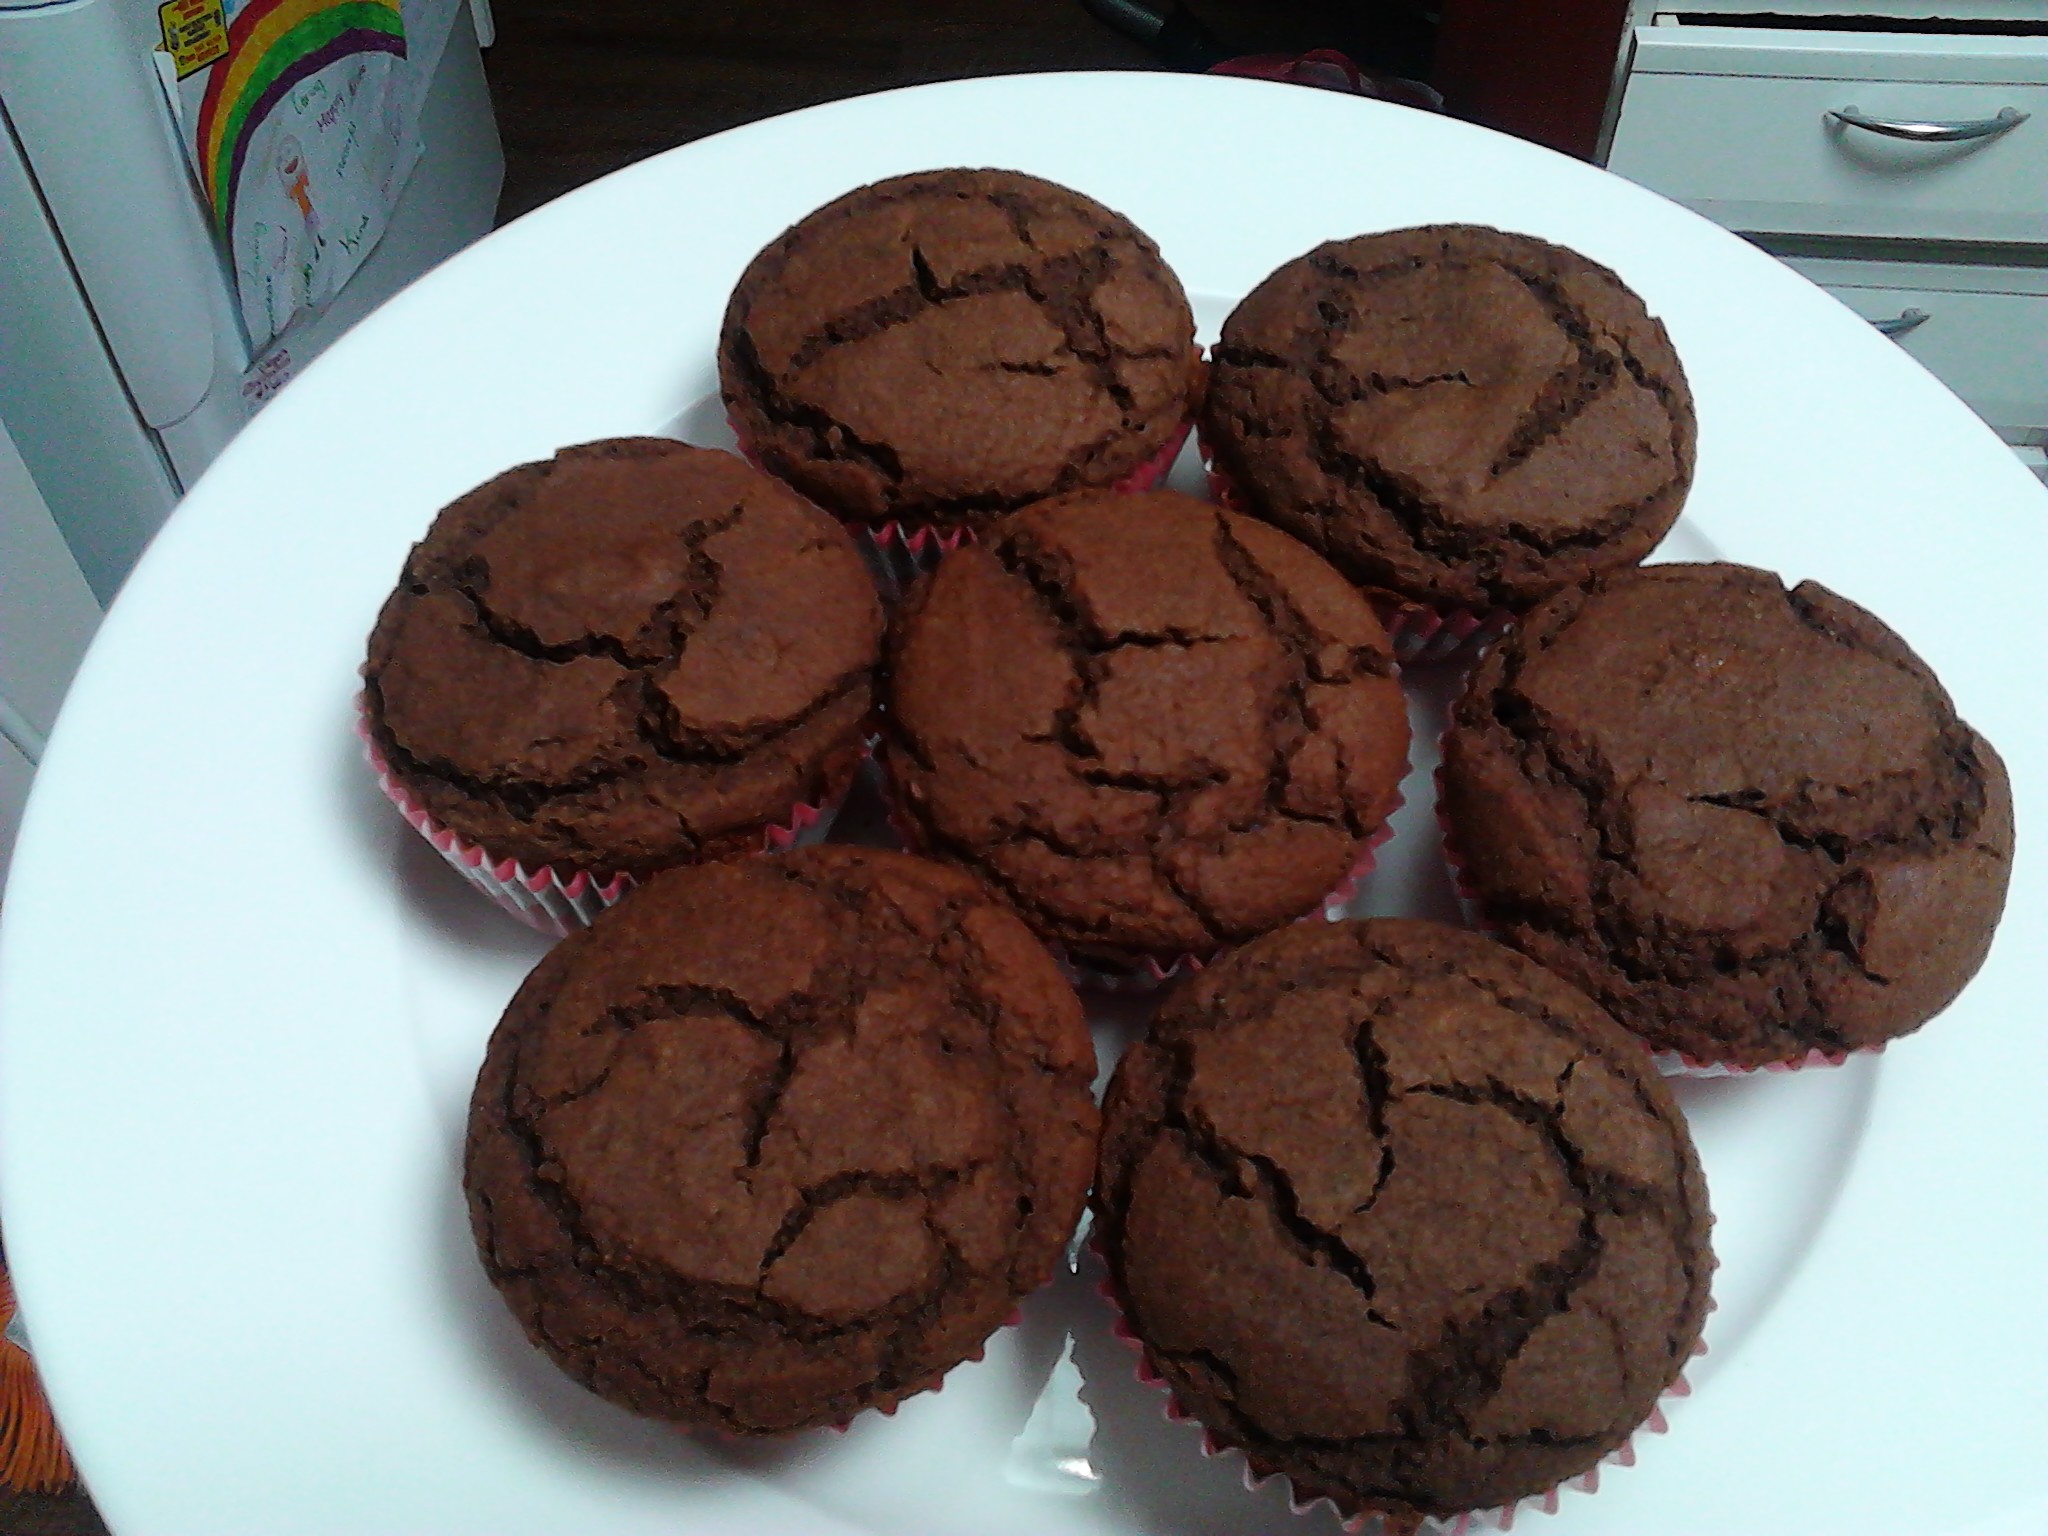
Have a cup cake tray prepared with the 12 pans lined with paper patty pans. Place mix evenly using a spoon into the tray. Bake in a pre-heated 180 degree celsius oven until firm.

This recipe makes twelve small cupcakes and they are delicious eaten warm. They can be individually frozen and packed with your lunch as a snack. The cupcakes are quite small as these are a treat. If you want them larger then you could use a muffin tray and muffin patty pans and make less, or you could eat two cupcakes at a time. I think it is better to just eat one and have something extra with it such as a small handful of raw nuts. Enjoy!

Organic Coconut oil

2013-09-16 08.10.532013-09-20 12.20.11

Coconut oil is a must have item in your pantry and can be included in small amounts in your diet each day. The only oils l use in my diet are cold flax oil, extra virgin olive oil and organic coconut oil. These are examples of brands of coconut oil that are available. I have seen many similar ones like the one on the left in the glass jar in the supermarket, health food shops and pharmacies. I bought this one locally for around $6 but most are approximately $10 for a similar size jar. I use a small amount when cooking with the non stick fry pan or when roasting foods in the oven. It adds a lovely flavour to the food. If you are a serious user of coconut oil then the 1.4 Litre tub is an amazing product which l buy online from iherb. It is around $35 for the huge tub which will last a few months. This coconut oil is so creamy and smells delicious. I use this one in my baking such as in chocolate chip cookies and cakes. The one with the blue label is my most recent purchase and comes in a glass jar that l will be able to use in my pantry when it is empty. As soon as the lid is opened the most delicious smell emerges. I purchased it online from Bulk Wholefoods for around $25. Some people eat a spoon of coconut oil straight out of the jar but l am not at that stage just yet!