Home made stock is so handy and can be used as a base in dishes such as soups, casseroles, sauces or as a broth. It is extremely nutritious and adds a lovely flavour to your cooking.
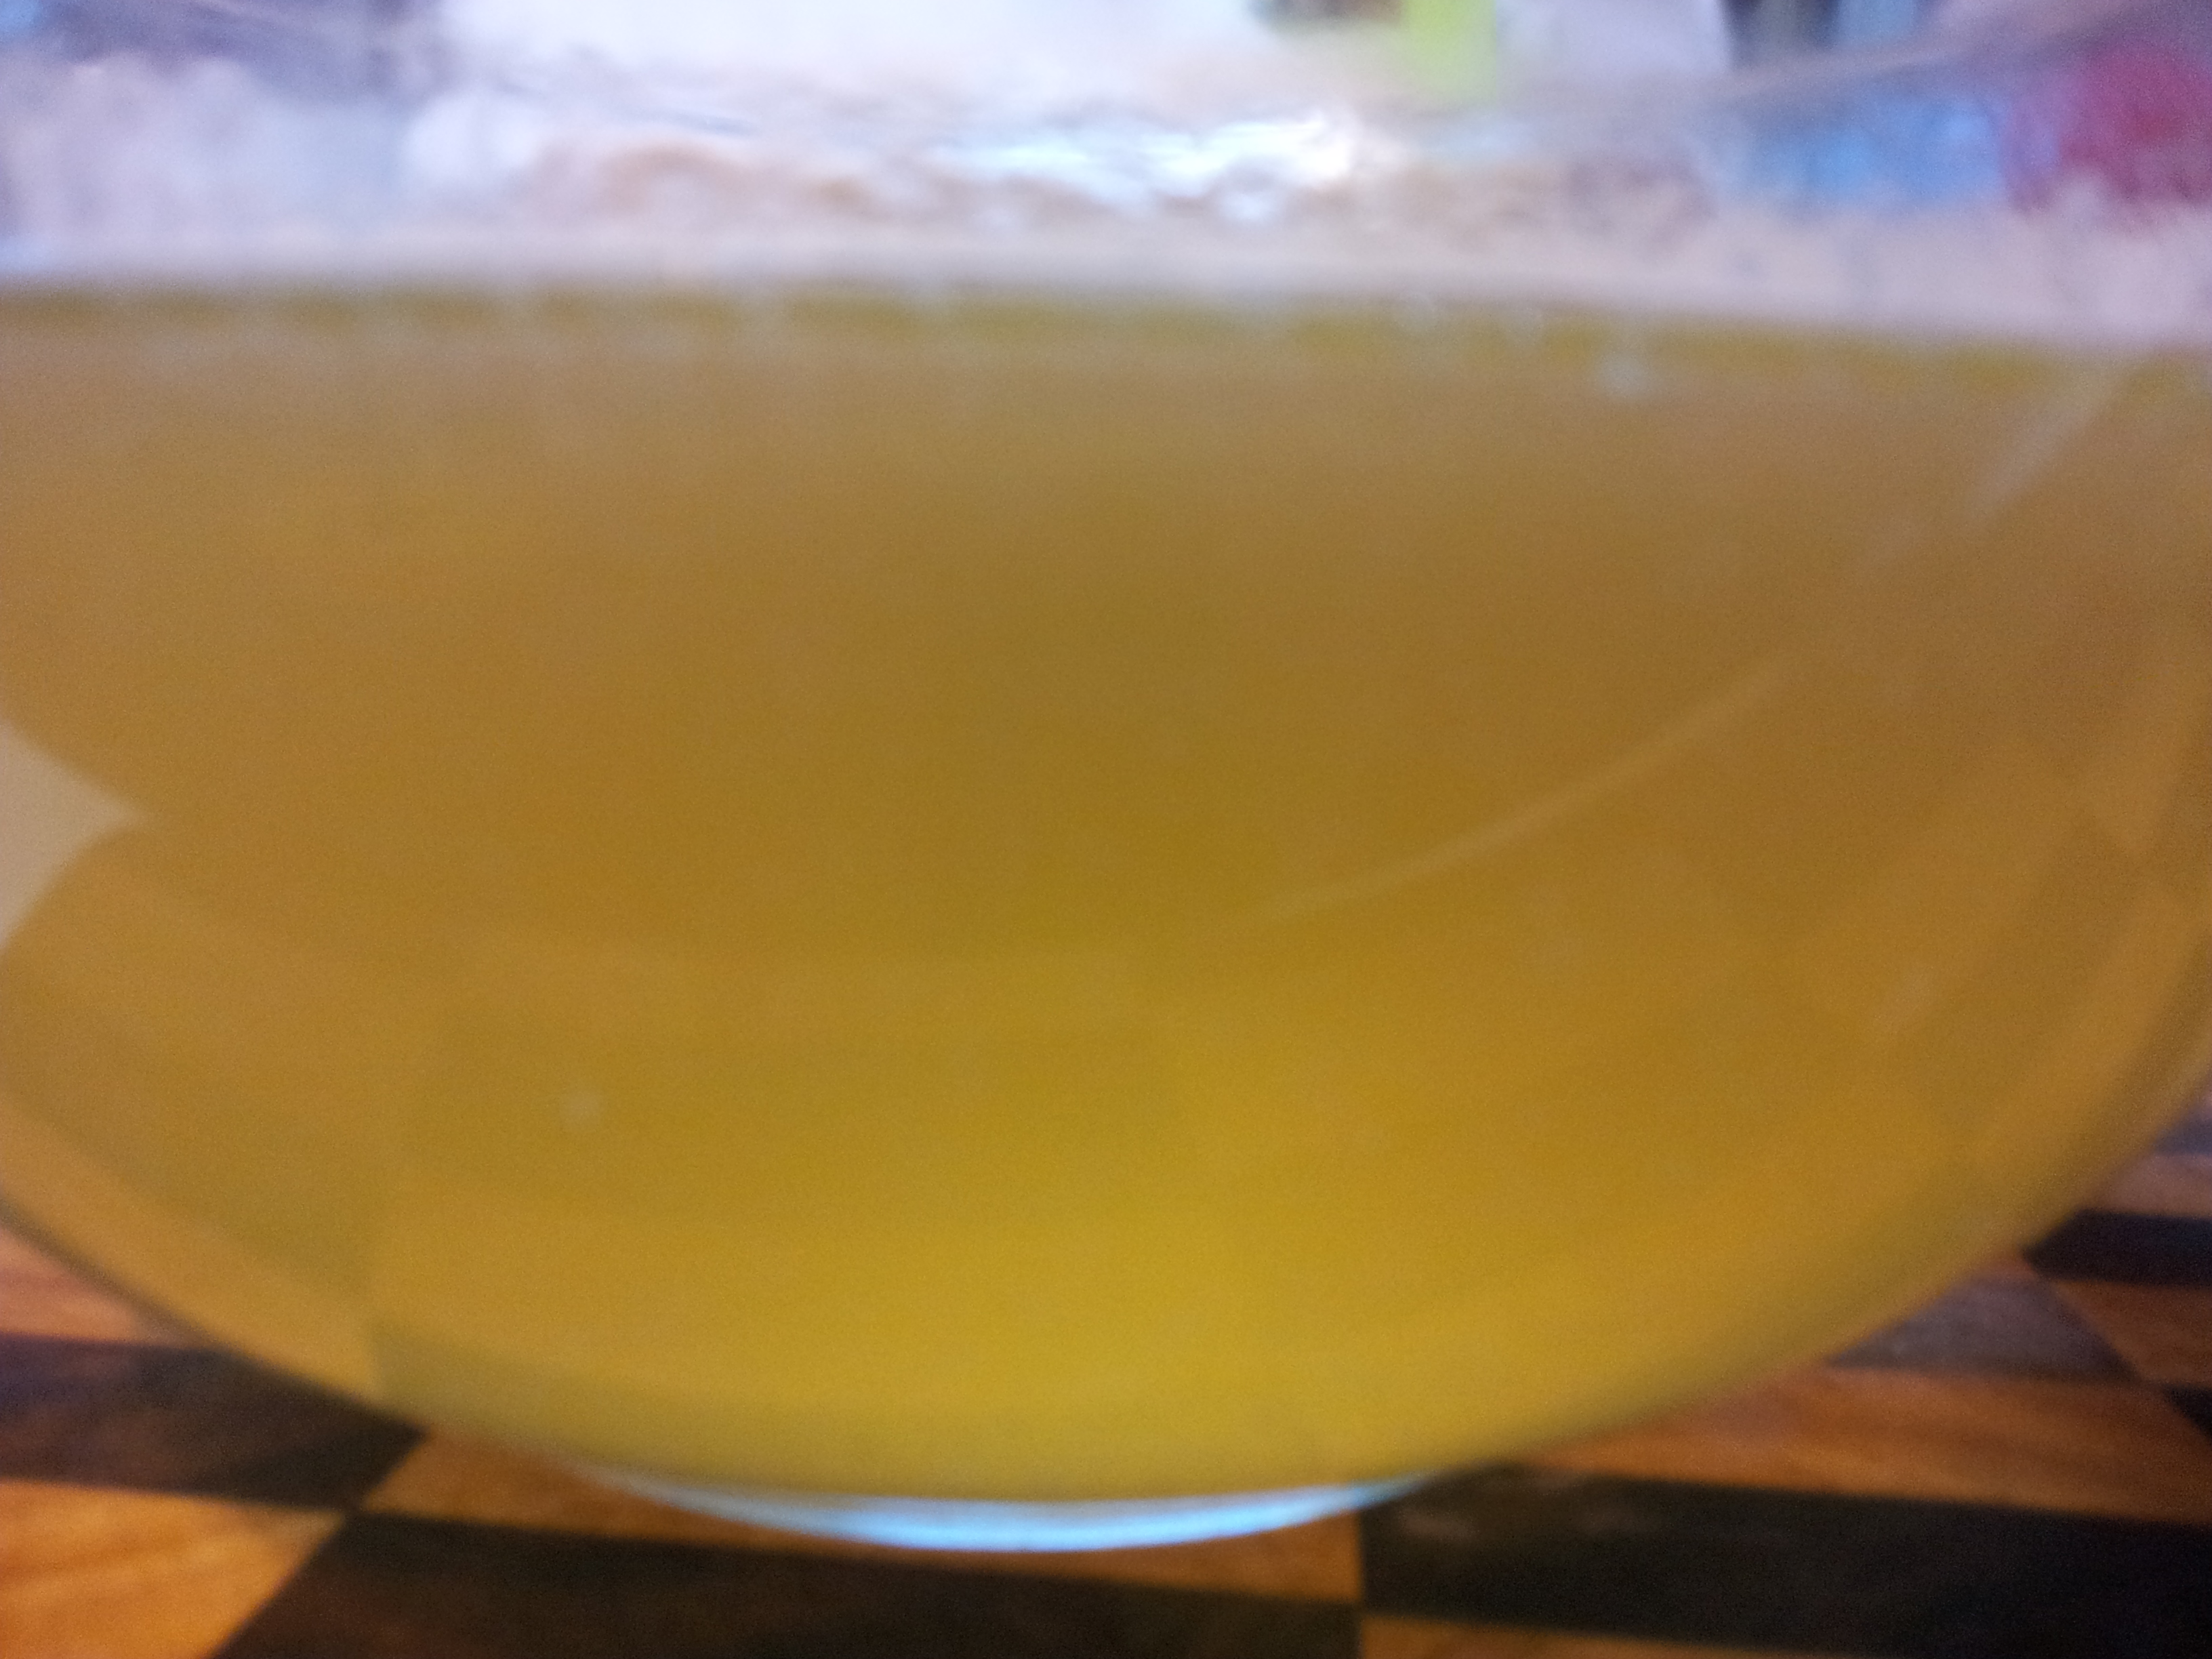
A clear and beautiful stock.
When l had a colonoscopy recently l strained it through a muslin cloth and had it before the procedure and it helped me get through the fasting period.
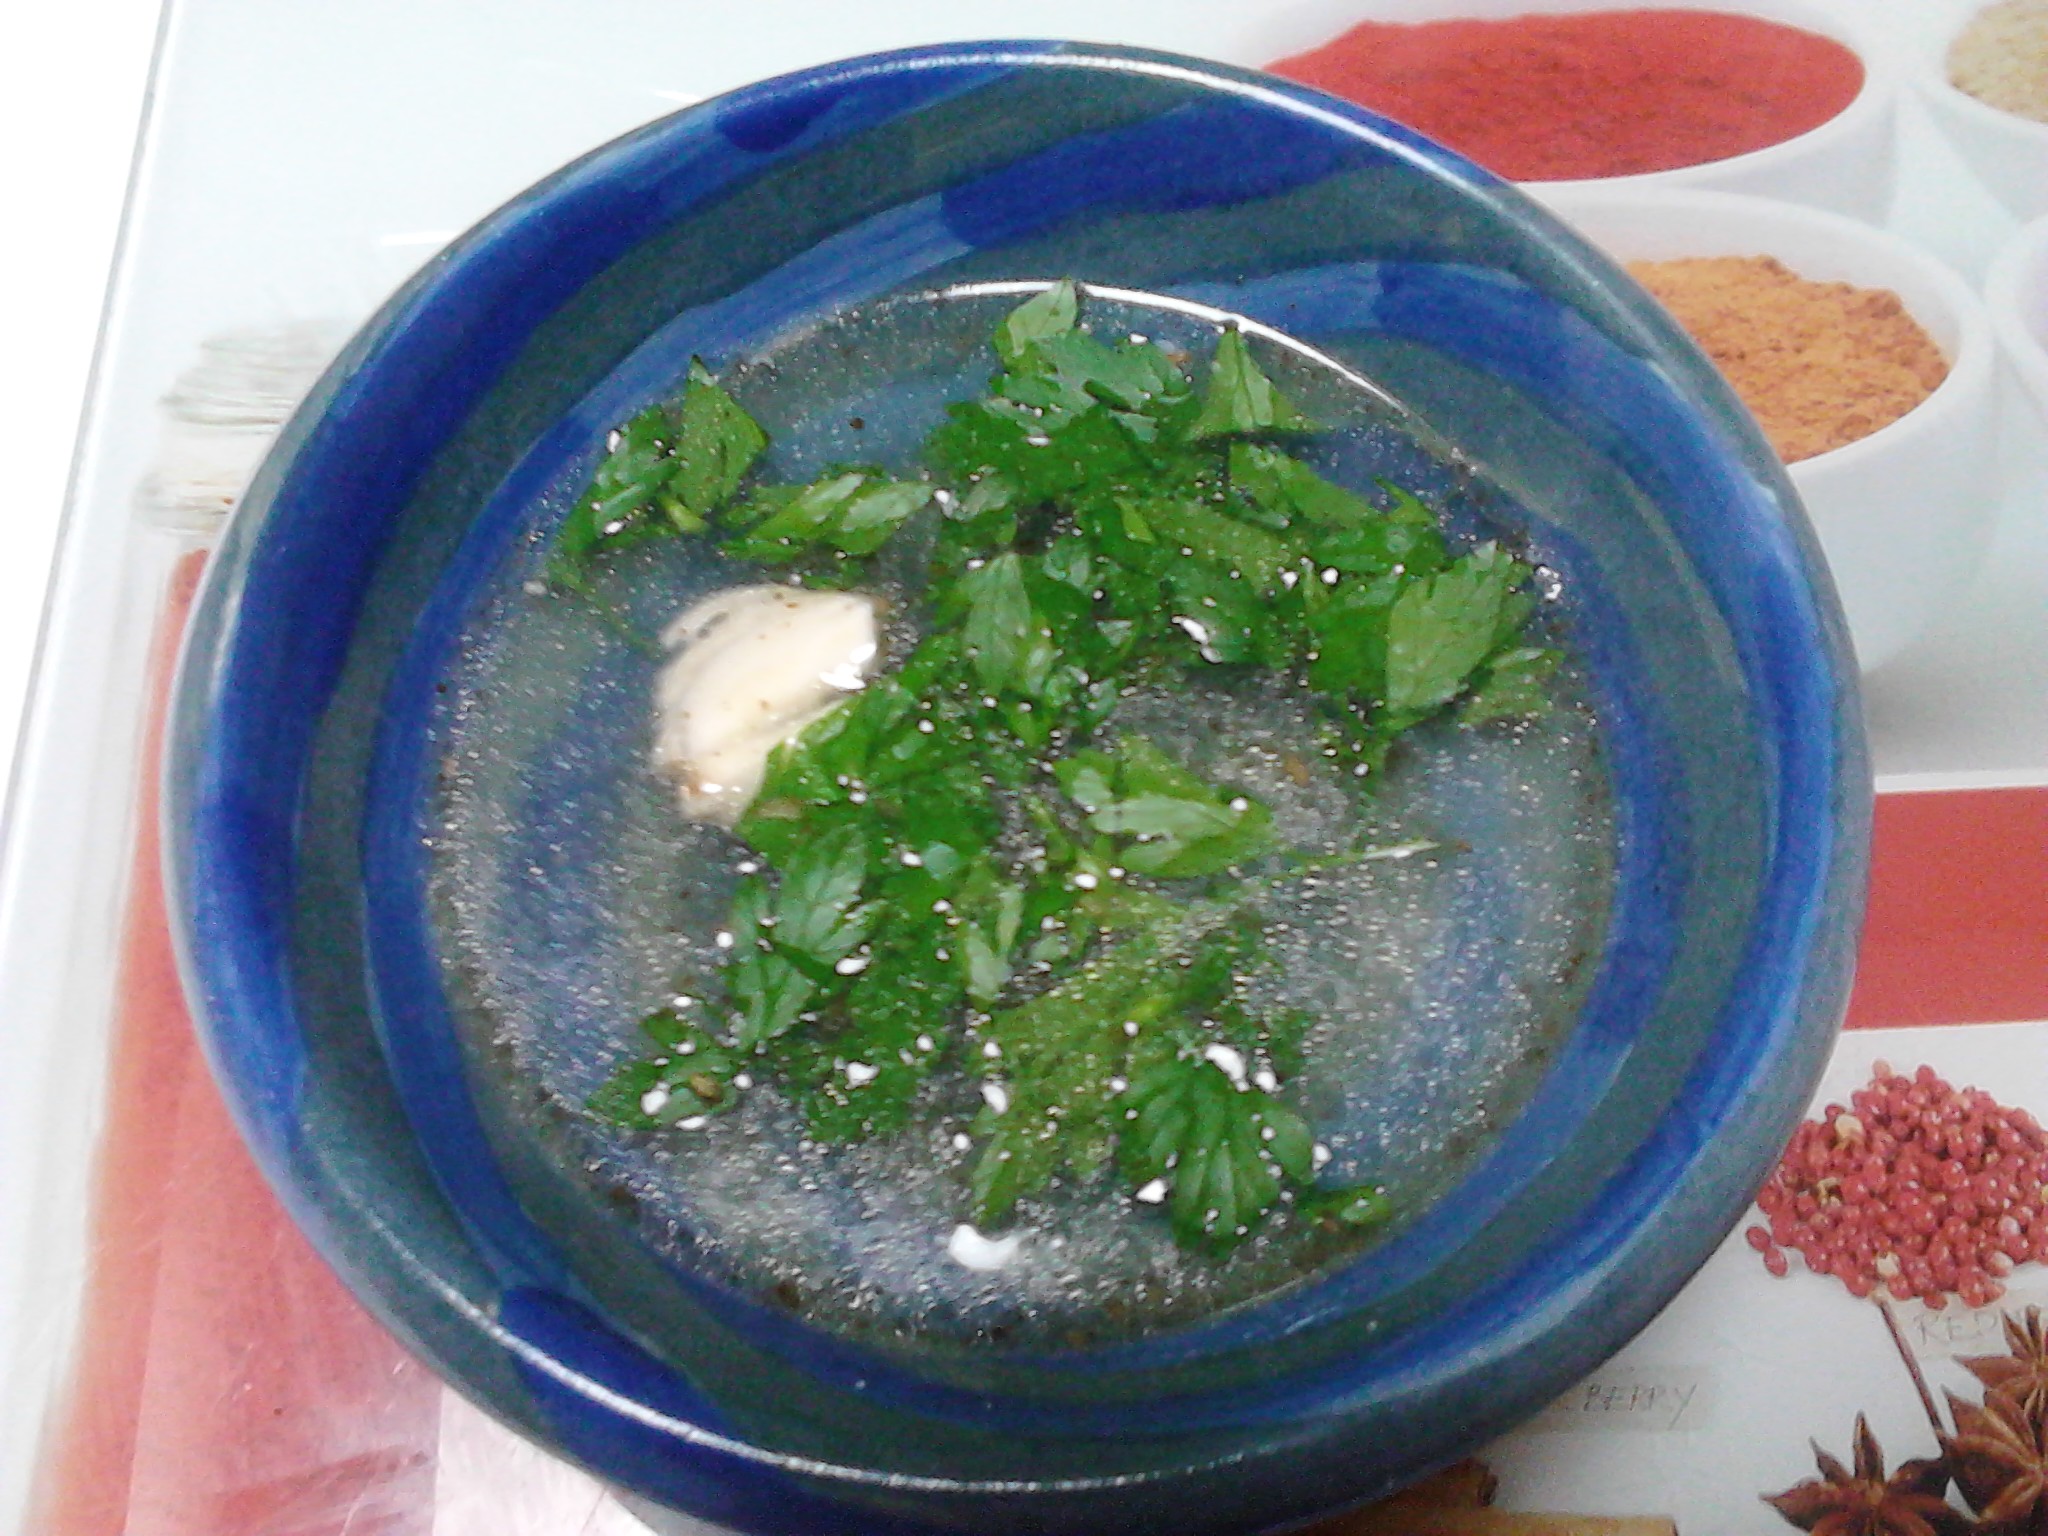
Here it is as a broth with garlic and parsley.
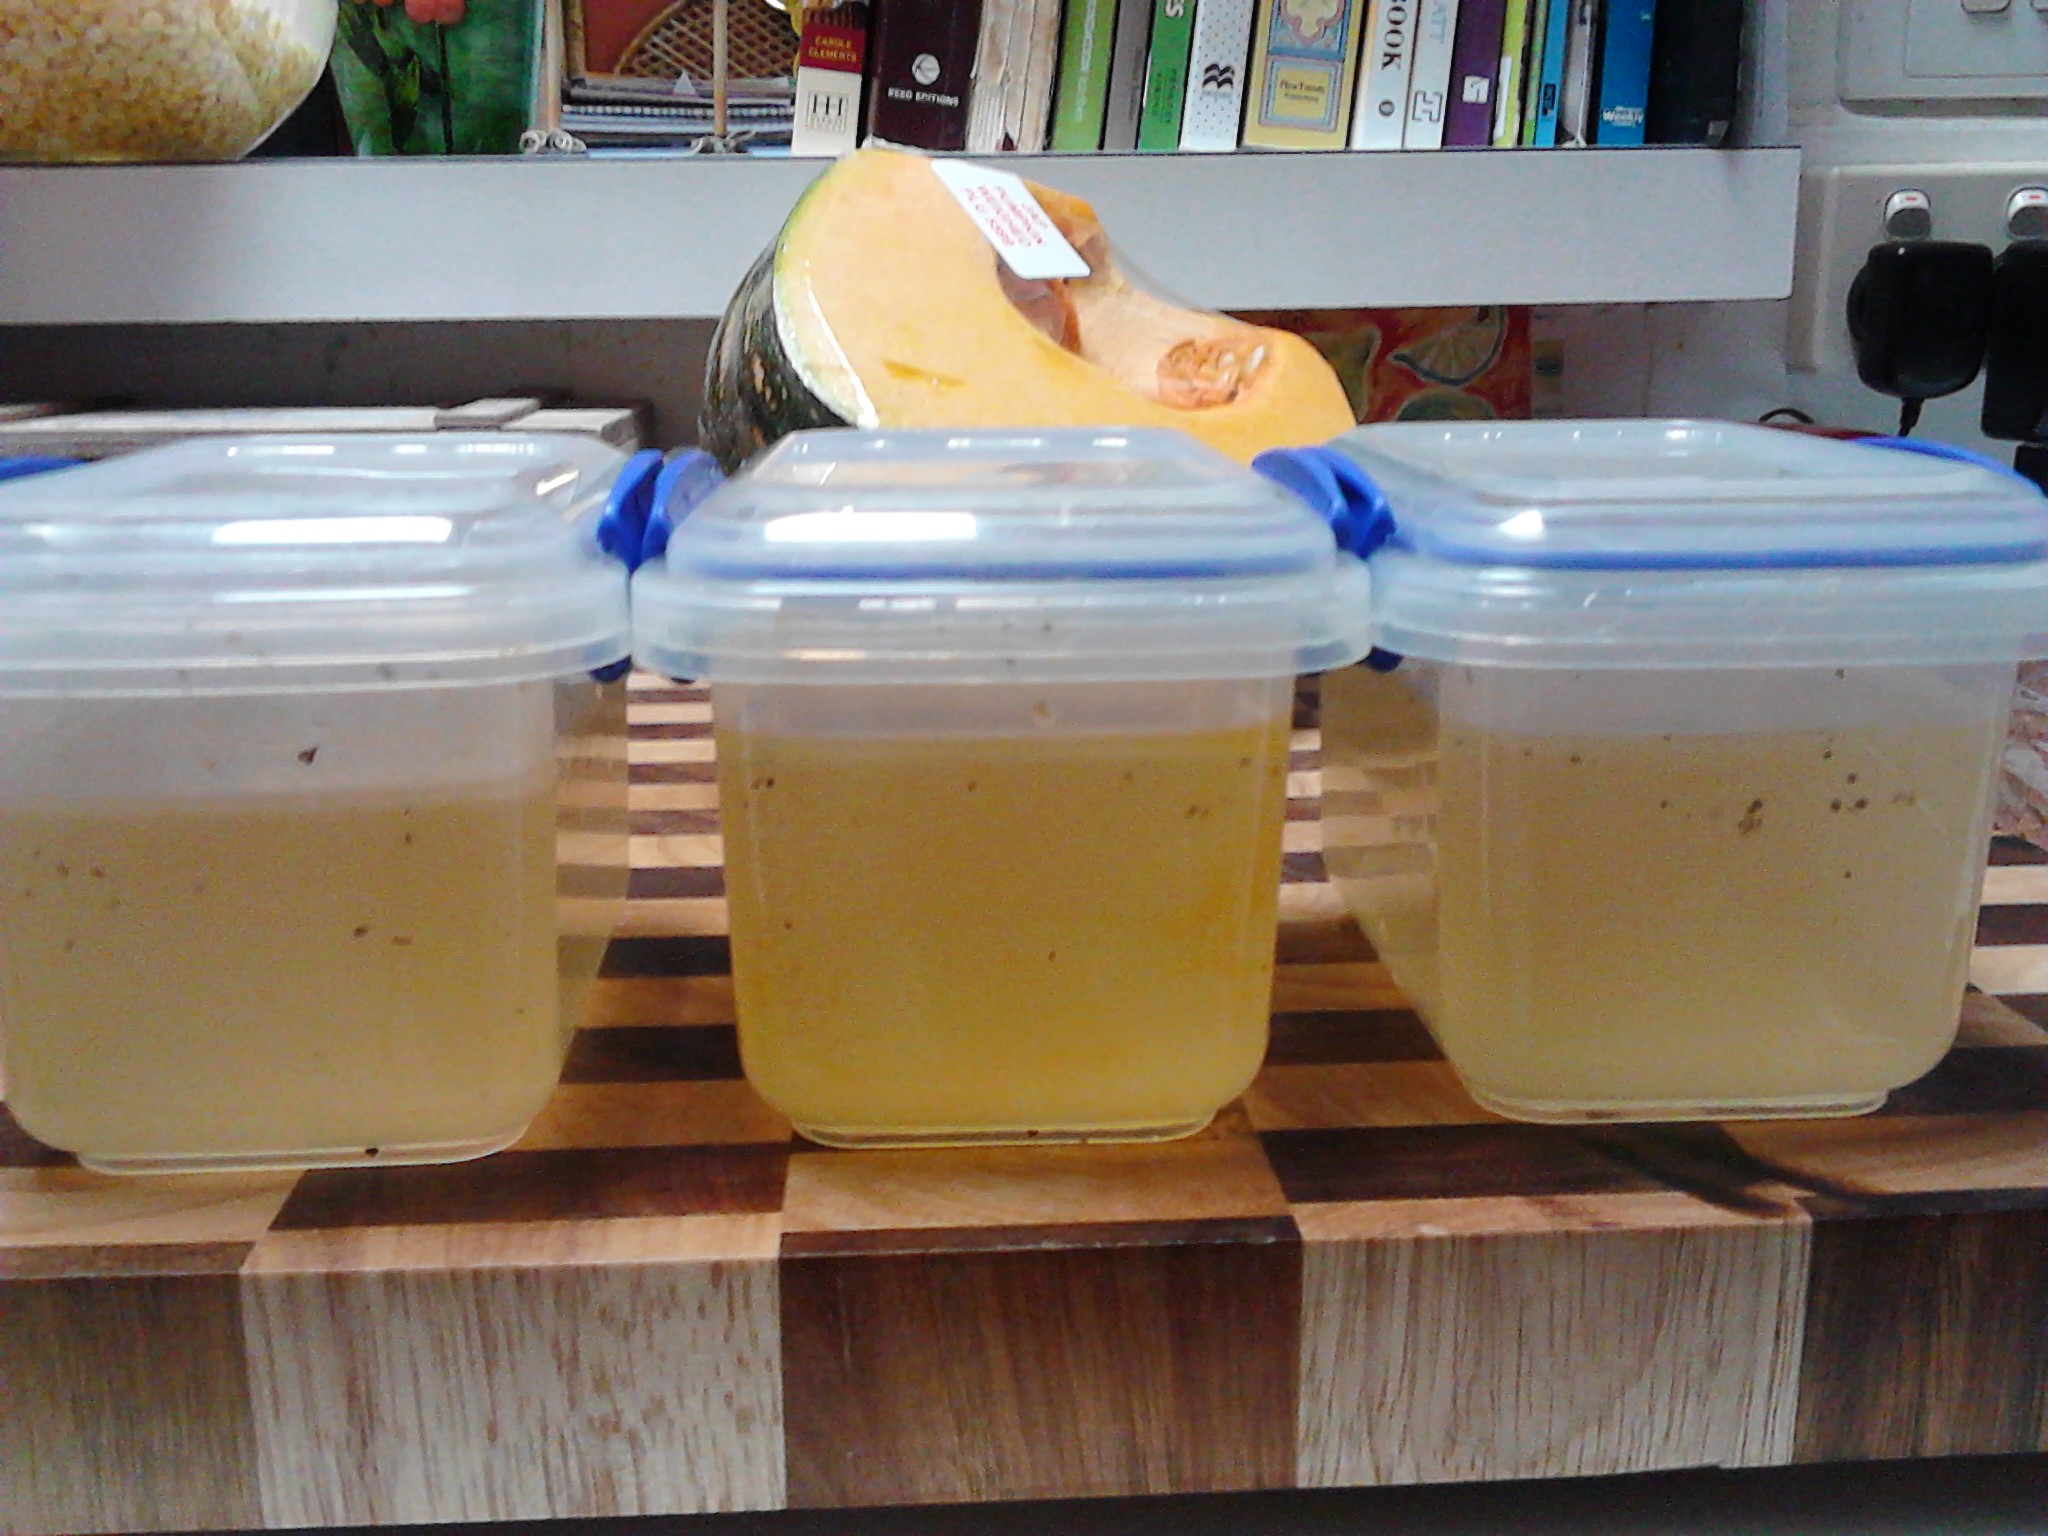
It freezes very well and if you put it in lots of small containers is easy to add to your favourite dishes. Alternatively freeze it in a couple of larger containers and use it as a base for a soup or casserole.
A lovely vegetable soup.Apricot chicken (The recipe is in the main meal section)
To make the stock start off with a good quality organic or free range chicken which you can cook using your favourite method. I usually roast mine and have a meal or two with it then use the leftover bones, meat and skin to make the stock.
A delicious roasted chicken
Place the chicken carcass, left over meat and skin in a large stainless steel pot and cover with cold filtered water.
Put all the leftovers in the pot and cover with filtered water. Don’t use tap water if you can avoid it.
Add the following to the pot:
1 onion or spring onion chopped up
2 or 3 celery sticks chopped into a few pieces
2 medium sized carrots chopped up
Several bay leaves
A small dash of organic apple cider vinegar
A few black peppercorns
Everything is in the pot now.
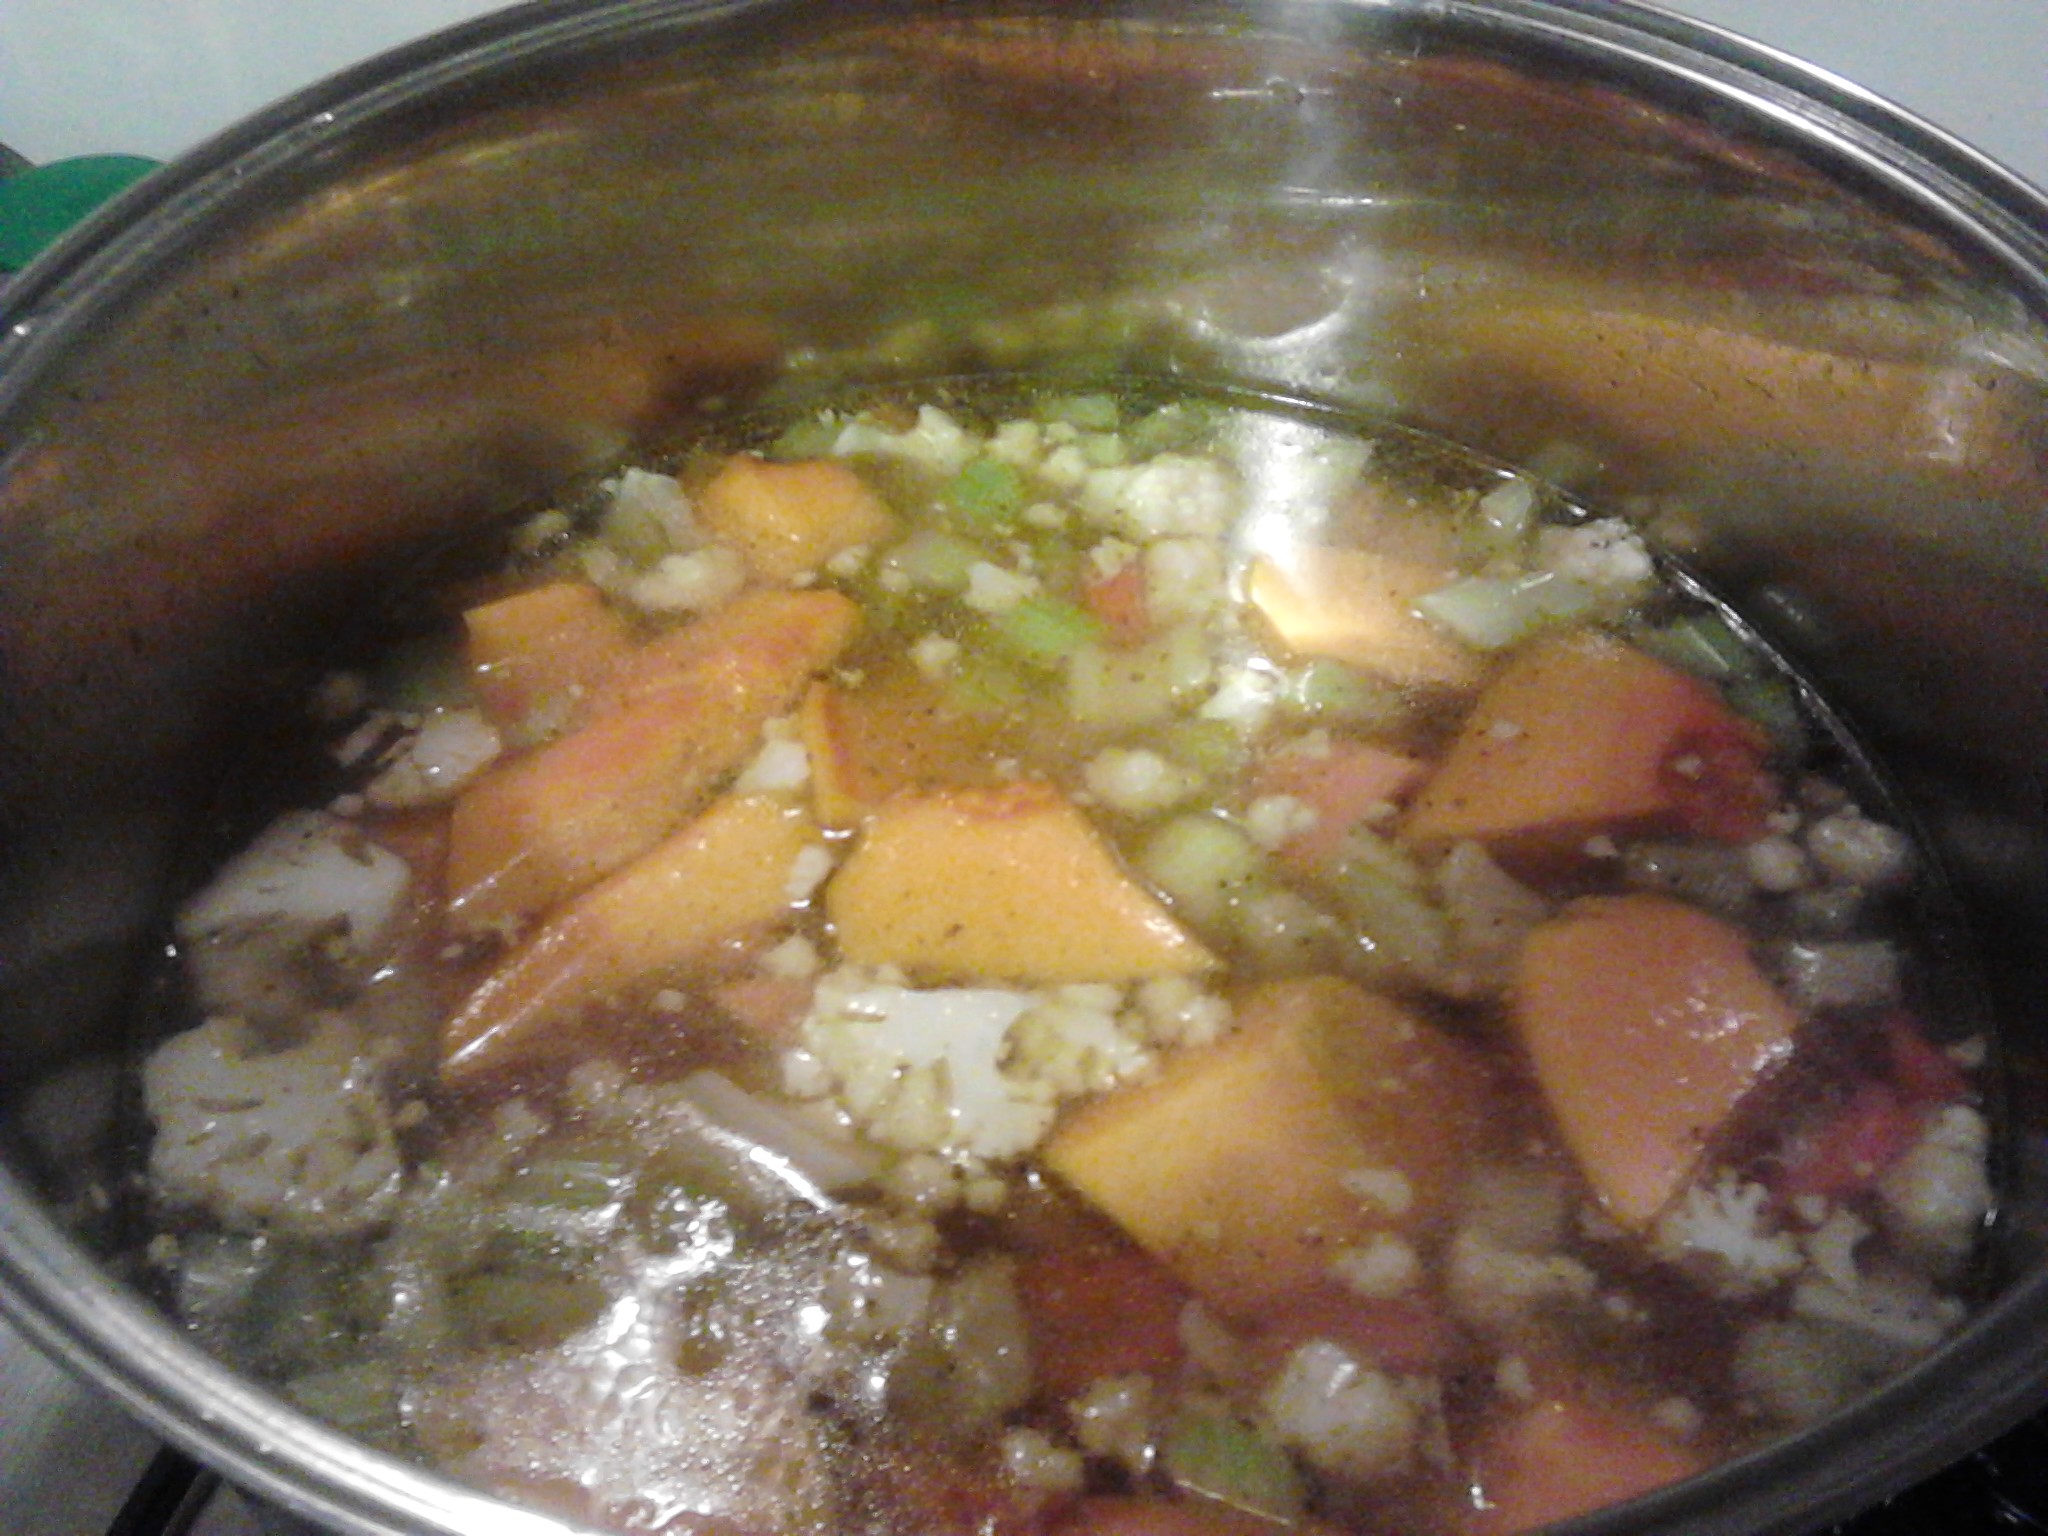
Put the lid on and bring to the boil. Let the pot simmer most of the day and overnight if you can. When it has cooled slightly strain into a large pot or bowl.
This part is a bit tricky.It is so golden and looks delicious.
Carefully pour into the storage containers. I usually freeze most of it and keep a small amount in the fridge for use during the week.
This size is handy to add to smaller mealsThis size container is good as a base for a soup or casserole.
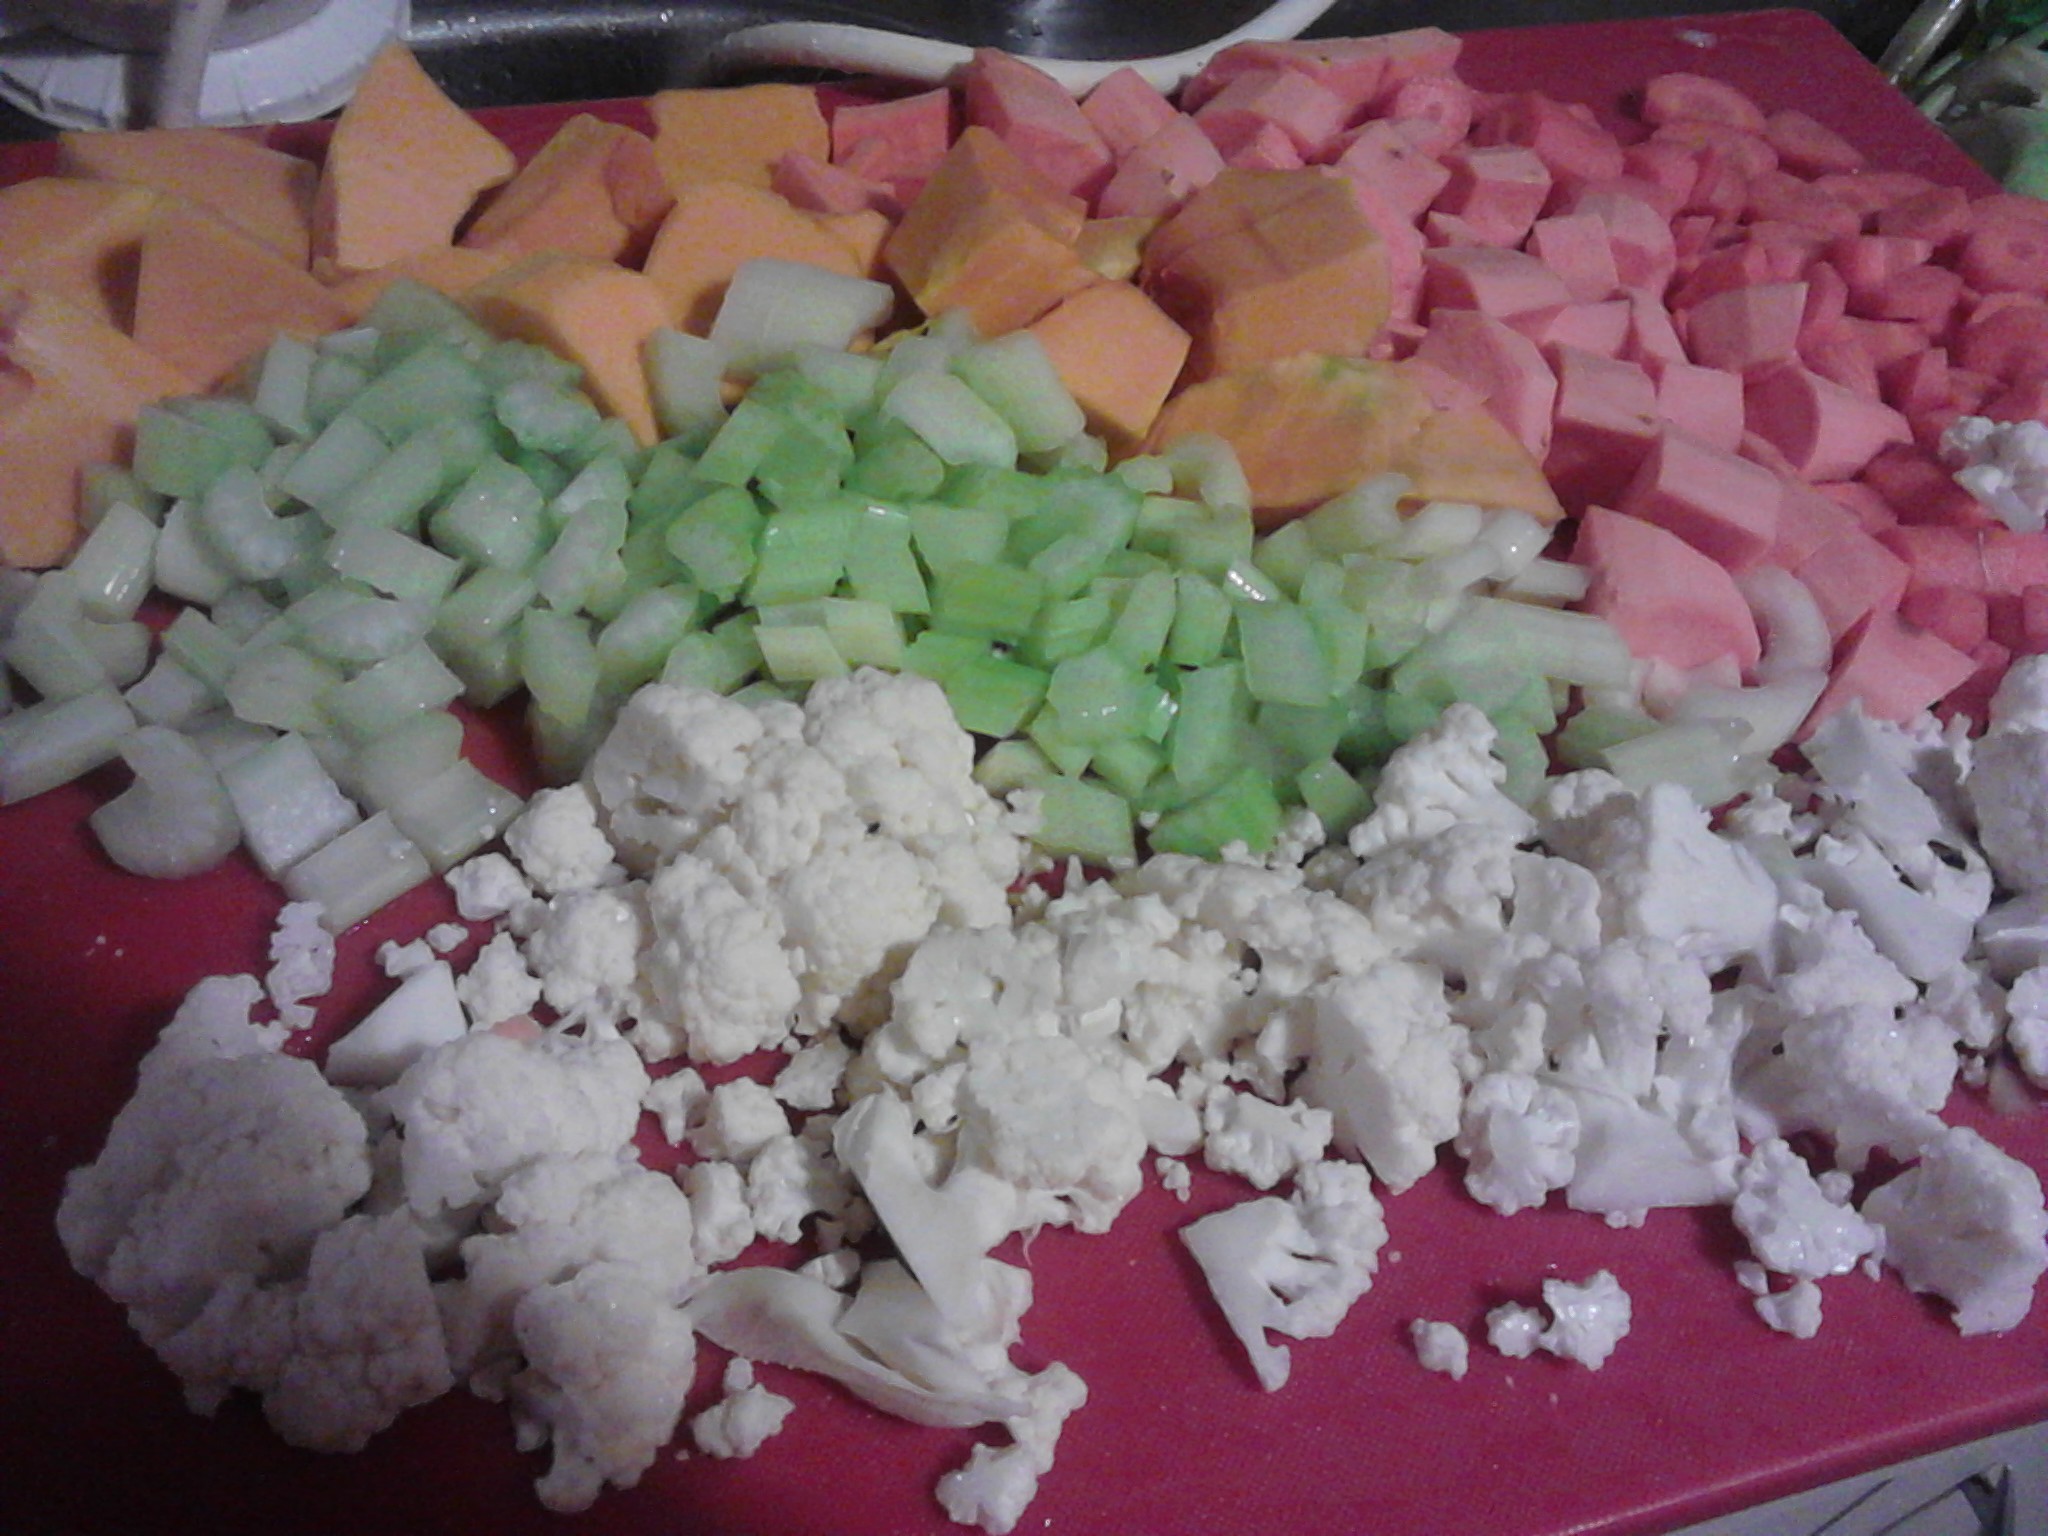
Some of the stock can be used straight away to make a delicious soup.
Vegetables prepared for the soupCooking nicely and the smell in the house will be lovely.A delicious home made soup.
Do yourself a favour and make your own stock. It is very quick to make and the taste is sensational.
If you have enjoyed this post please share with a friend. You can follow me daily on Instagram at holistic_paleo.
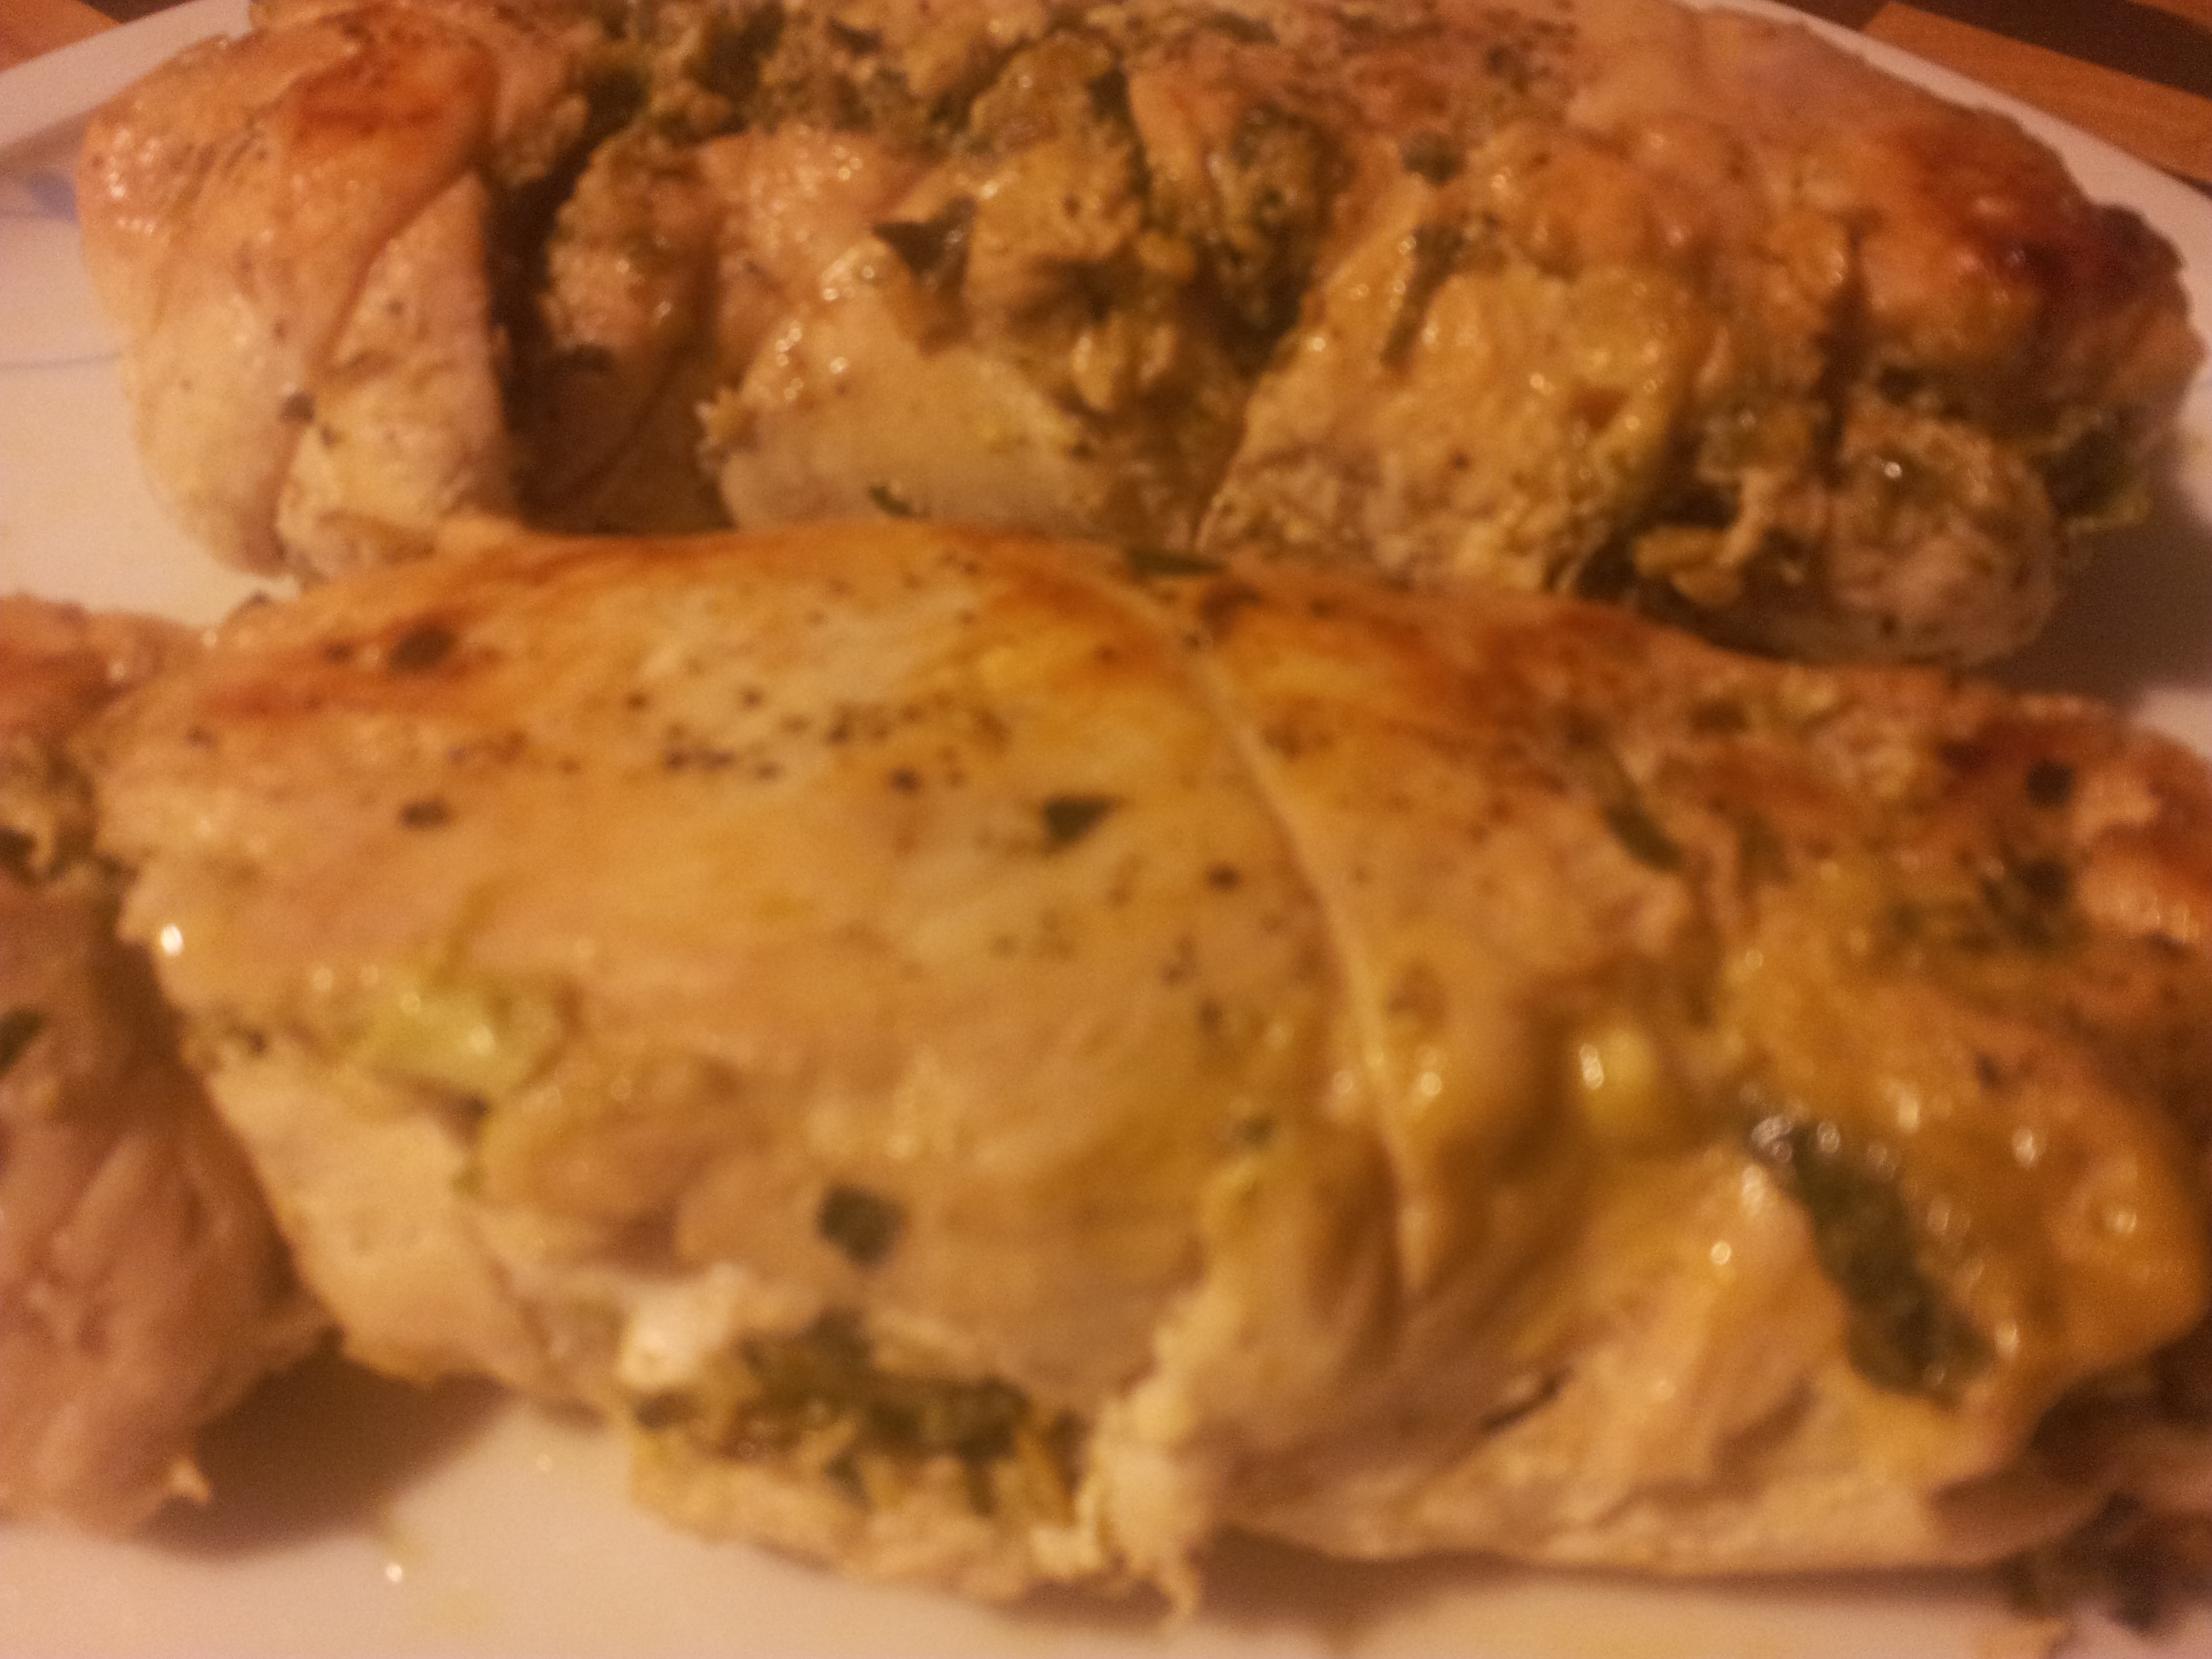
I feel quite clever making this dish as it is quite fiddly, but well worth the effort. The filling is a selection of lovely flavours and textures but you can easily change the ingredients to suit your own preferences. I used two chicken breasts which meant l had enough for a hot dinner when it is first cooked and then cold with a salad the next night. Each rolled chicken breast serves three people if you have a portion as in the pictures below which highlight how important it is to balance the meal out with healthy vegetables.
Have it cold with a salad!Rolled chicken served with roasted swede chips, steamed brussel sprouts and roasted pumpkin slices topped with raw organic honey and organic sesame seeds.Served with steamed pumpkin, brussel sprouts and cauliflower.
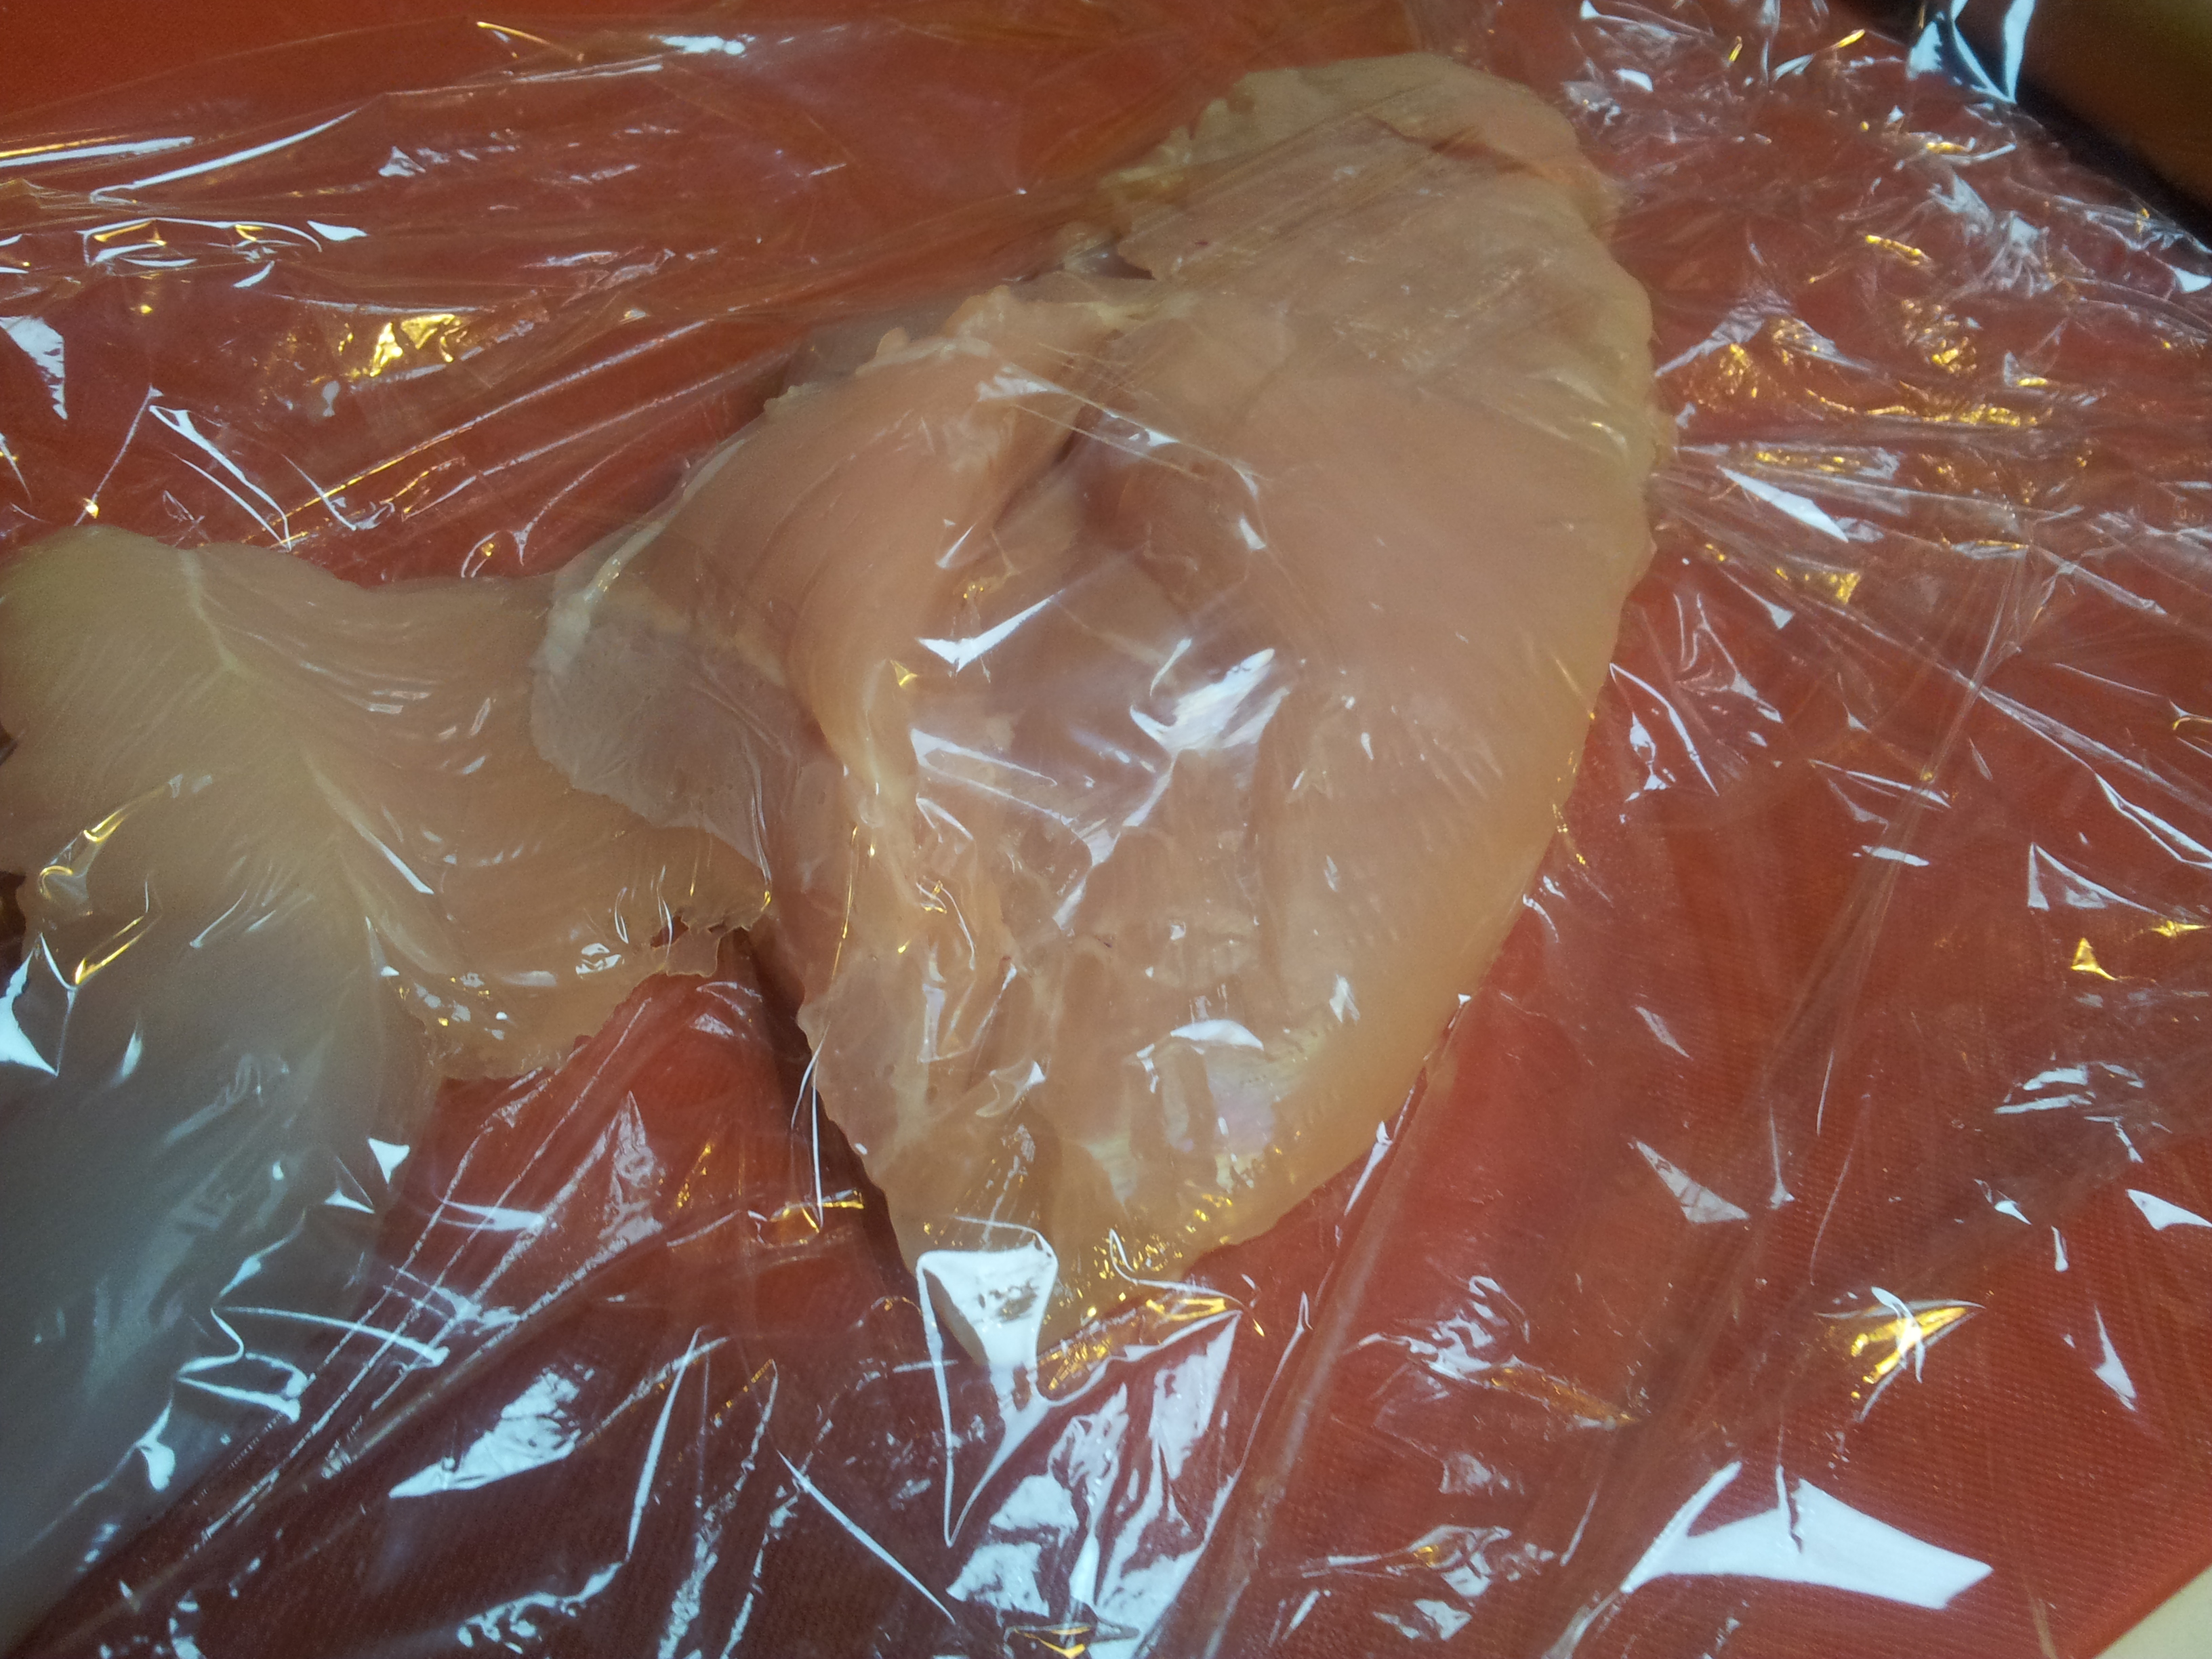
You can use as many chicken breast as you like but l buy the free-range breasts in a pack of two. Give them a good wash with filtered water and pat dry.
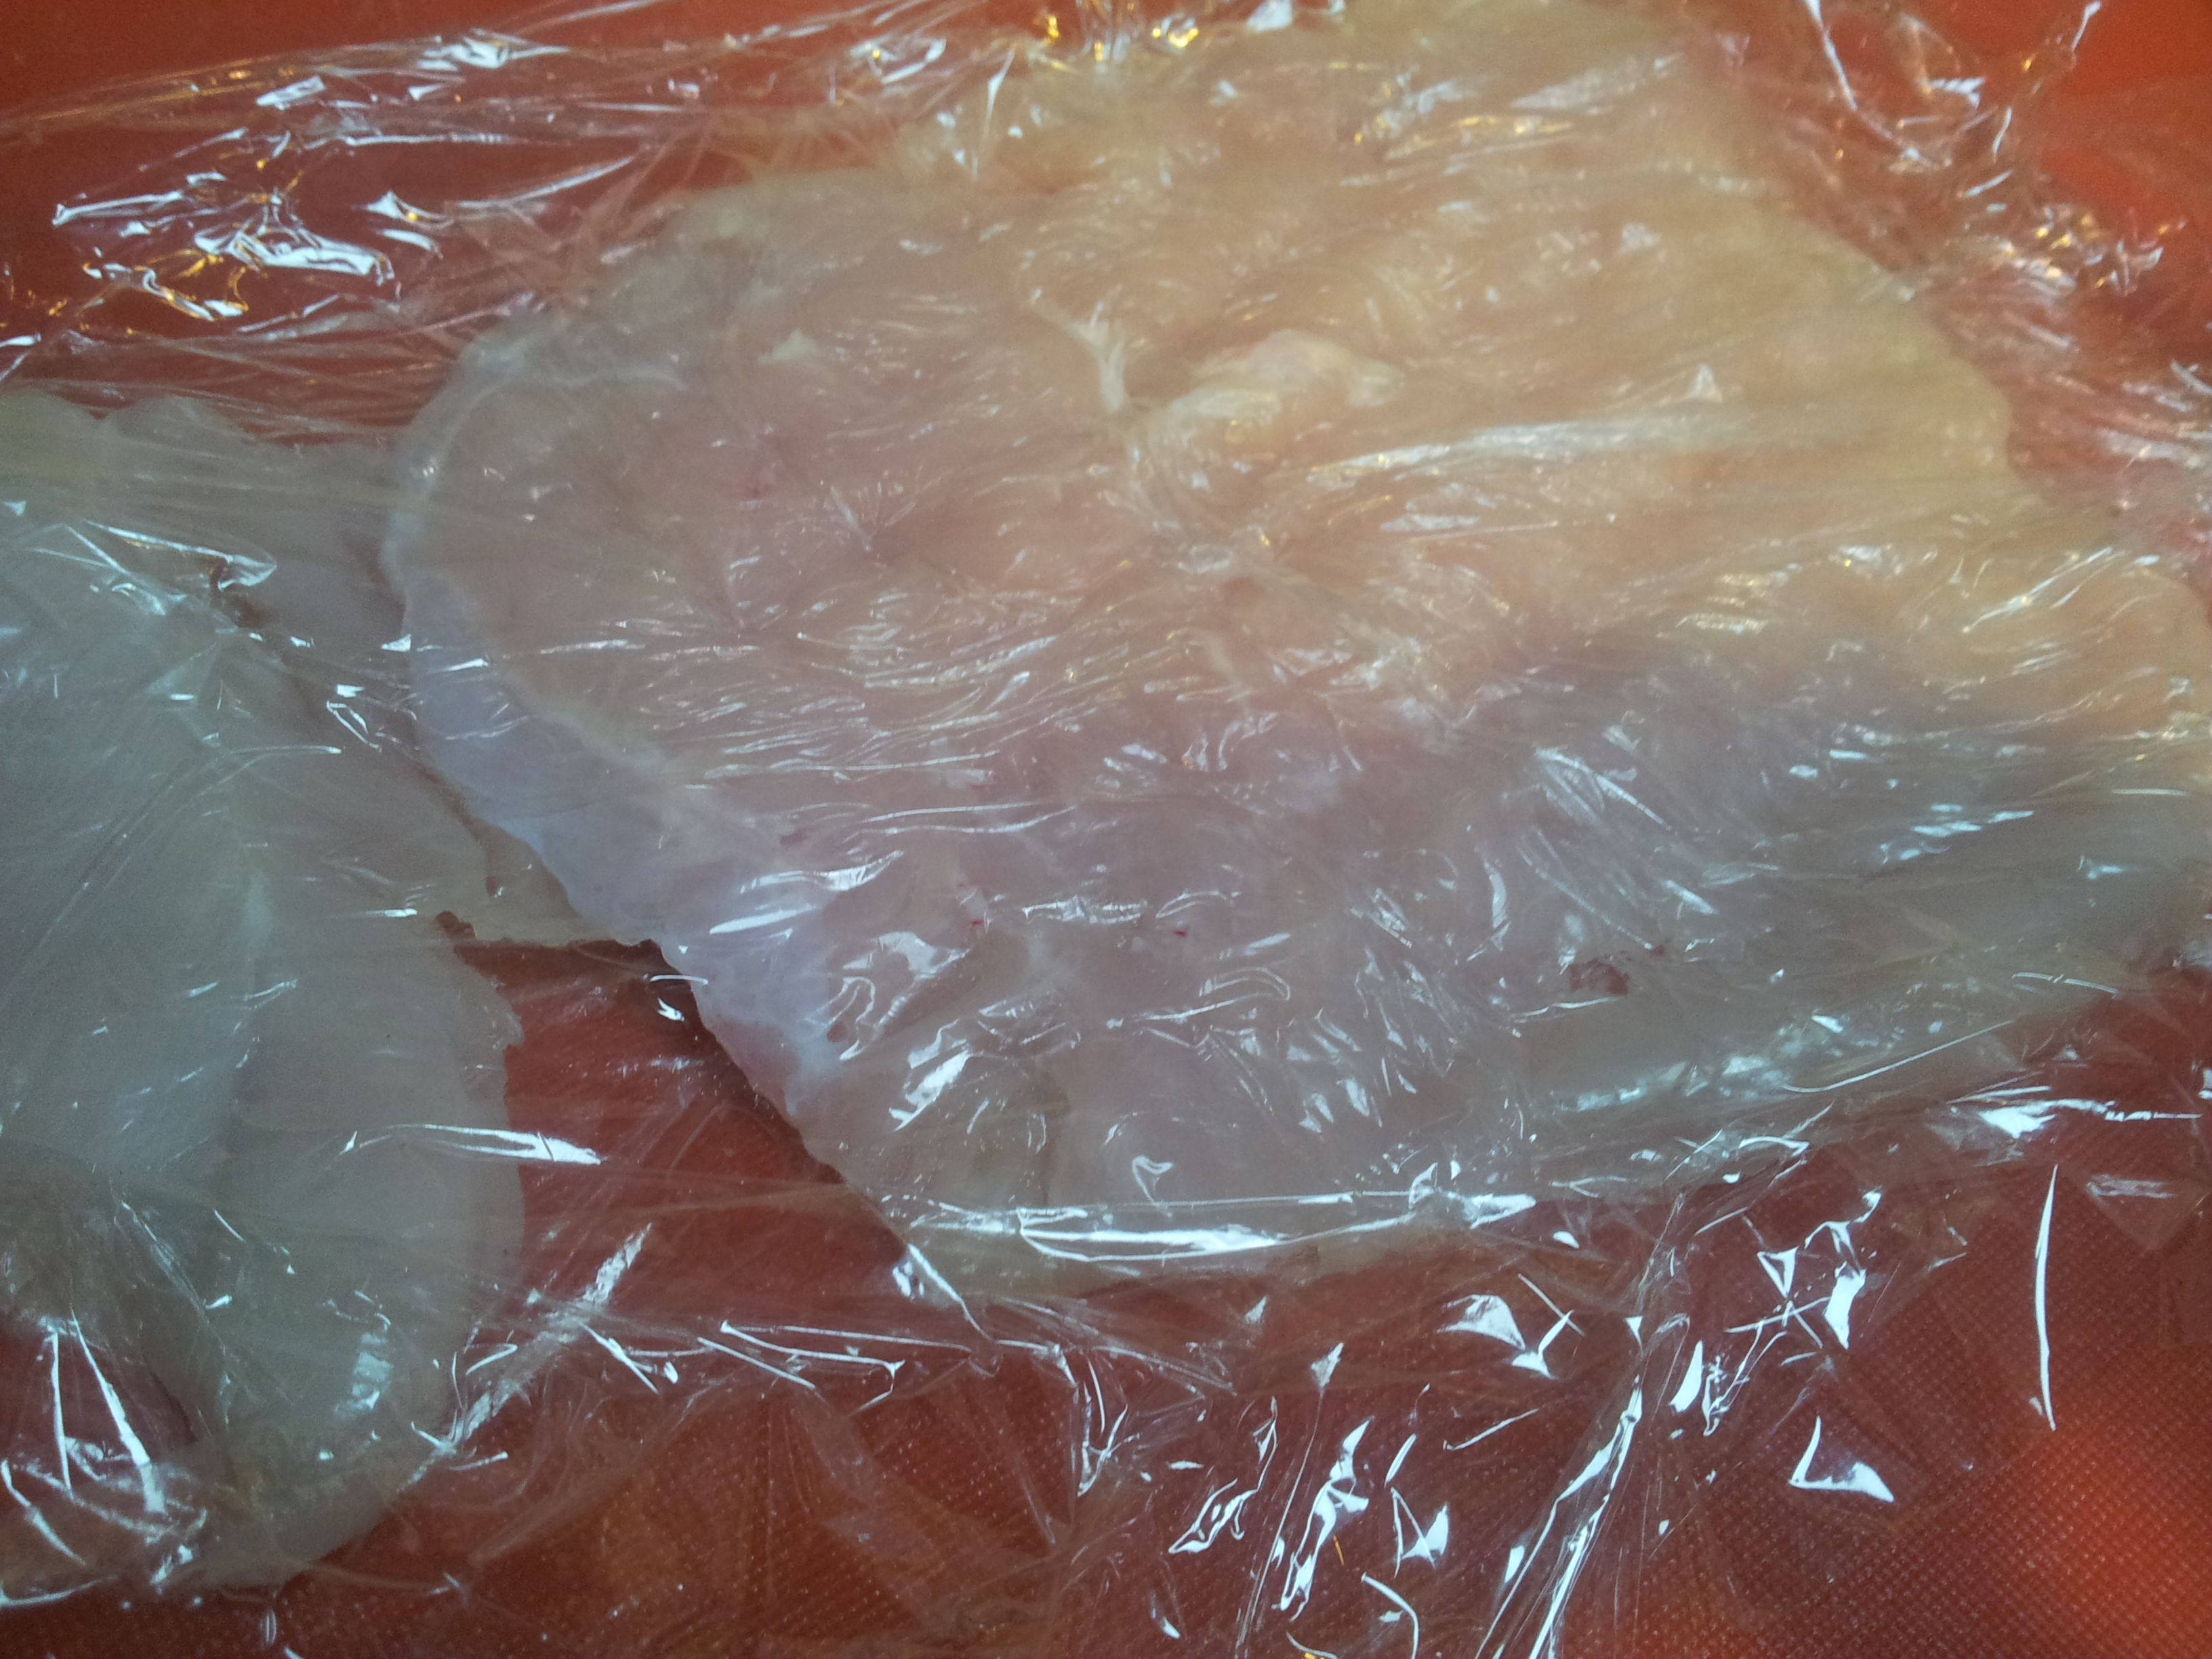
Place the chicken breast in between two pieces of cling wrap. Put a tea towel under the chopping board in preparation for the flattening of the chicken as this will make the noise less and stop the board moving on the bench.Flatten the chicken so that it is a nice shape by gently pounding it with a wooden rolling pin.
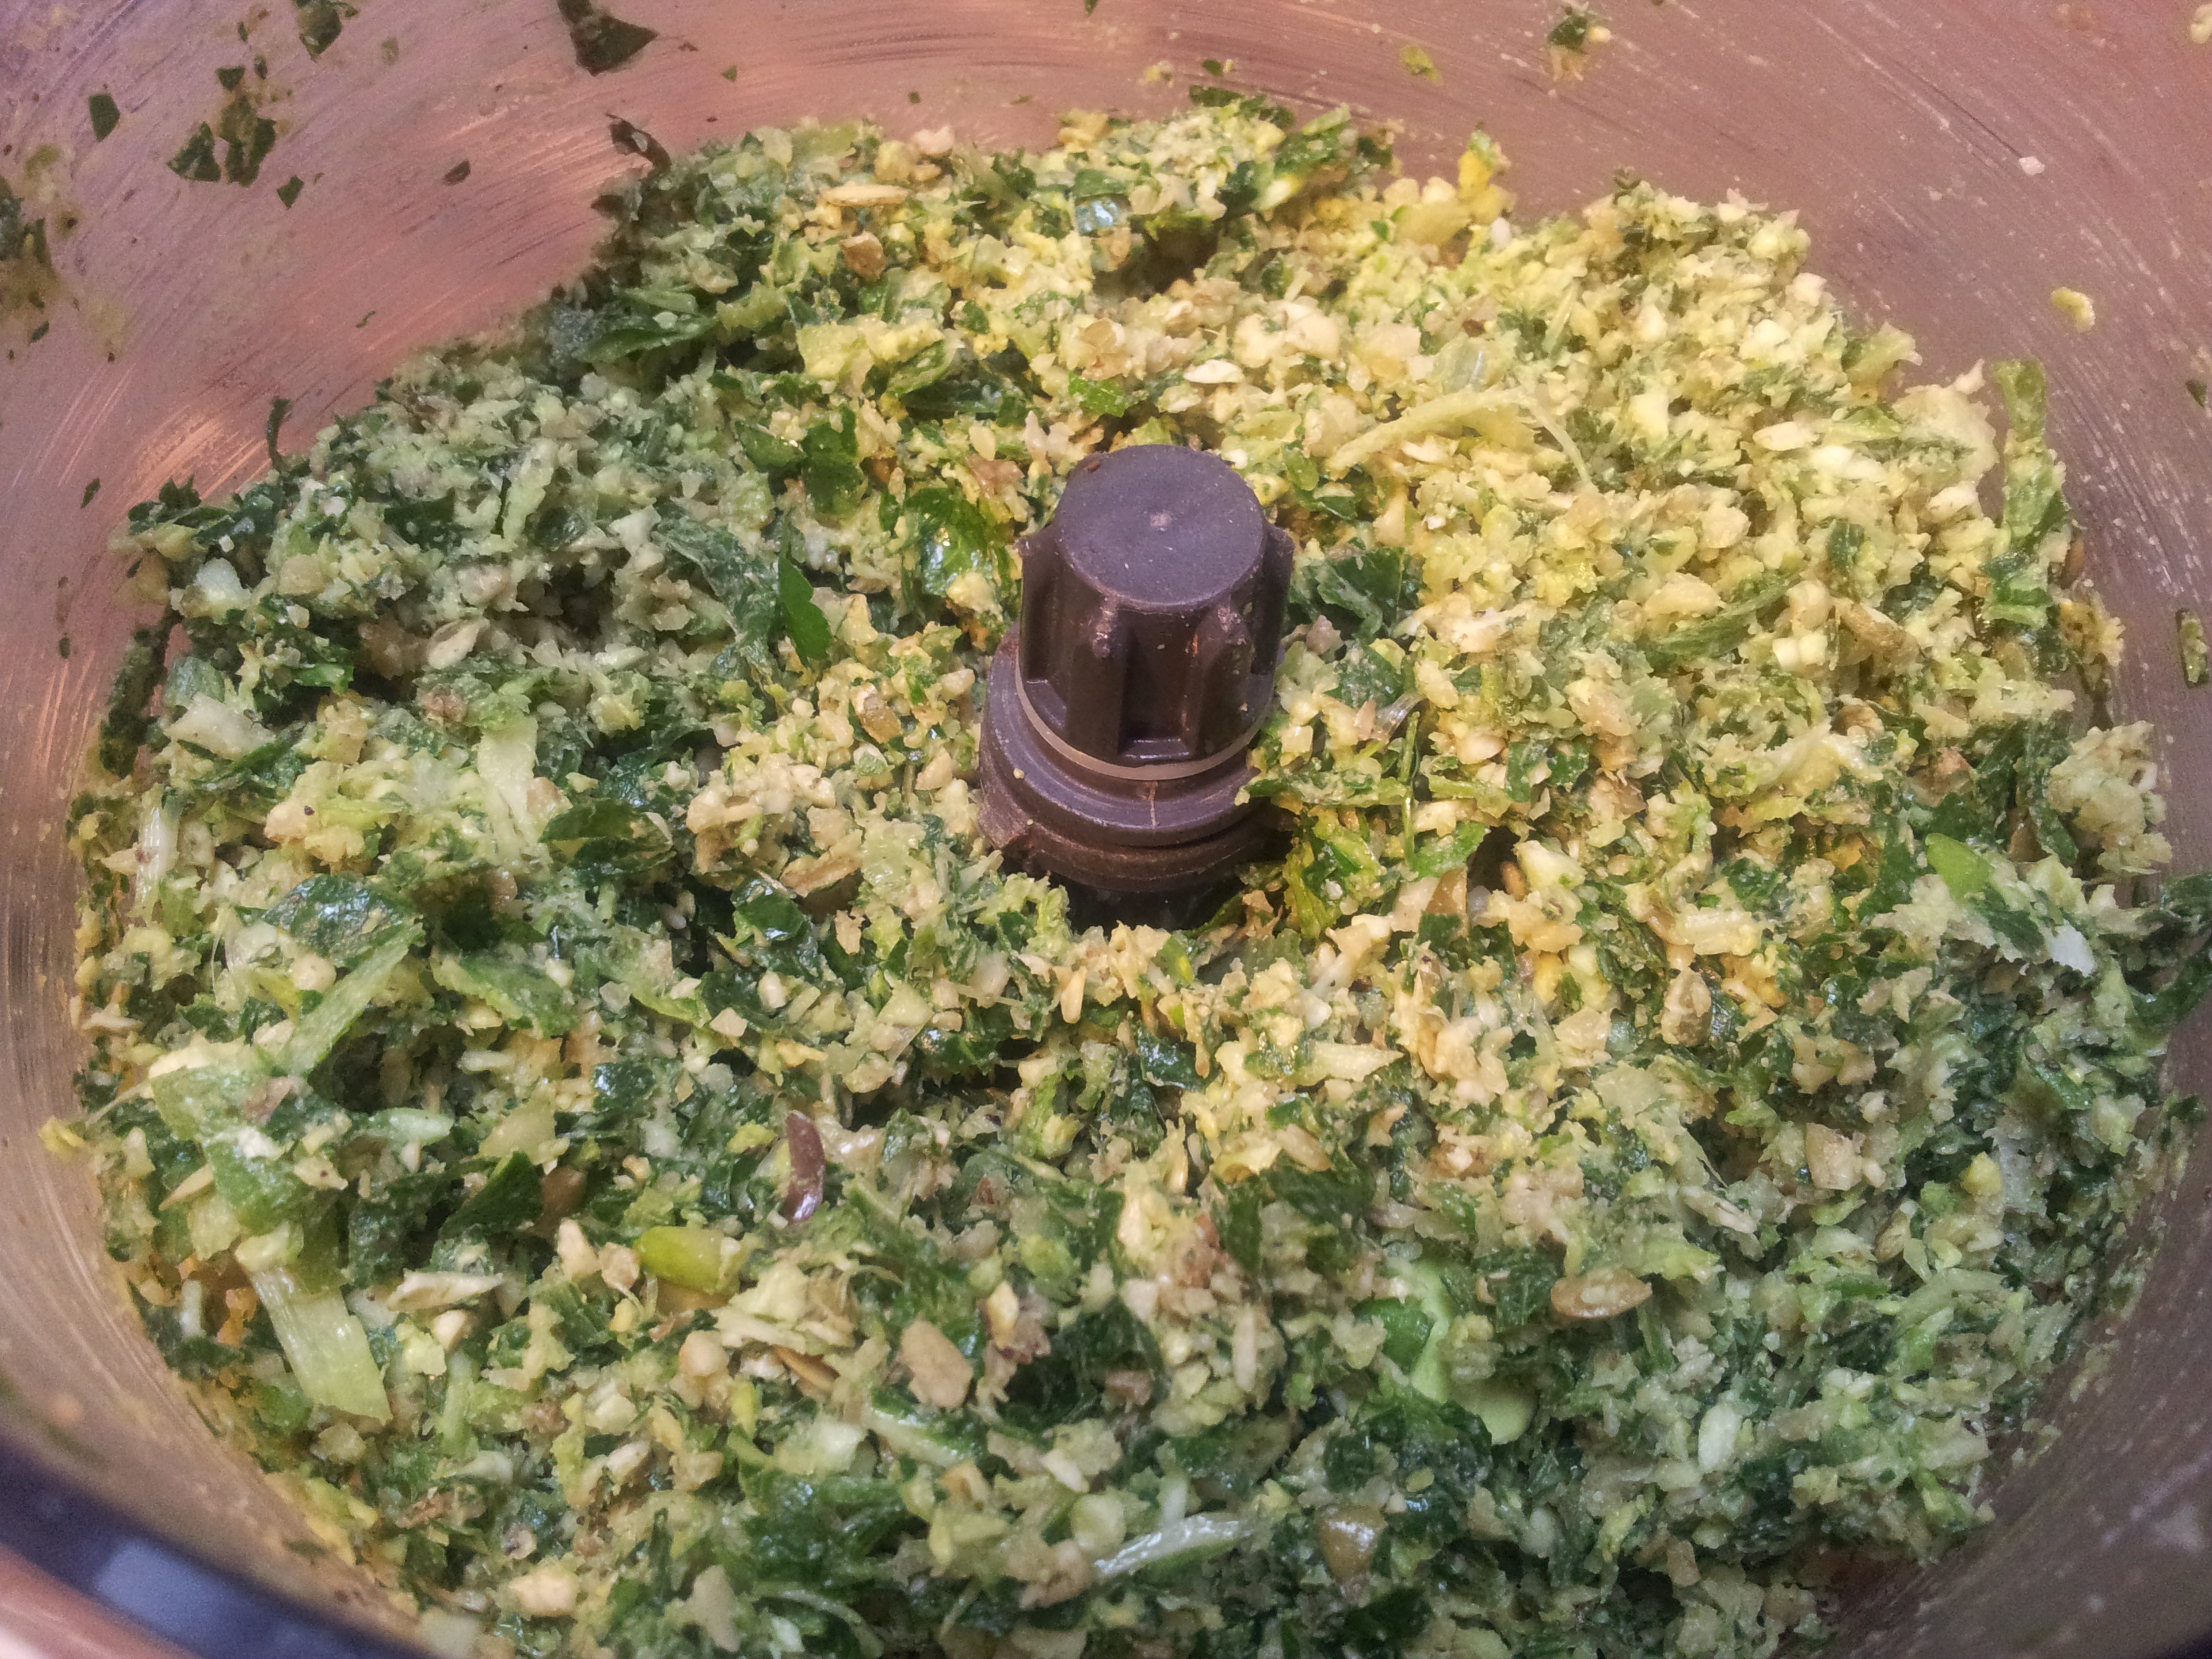
Make the filling by combining all of the ingredients in a food processor, or alternatively cut and chop them by hand and mix in a bowl. Change any of the ingredients if you don’t like the flavour combination or add in some more spices. The ingredients below don’t have to be exact as long as there are a good mix of flavours.
Ingredients for the filling:
4 brussel sprouts
2 spring onion green tops
1/2 cup raw activated walnuts
1/4 cup raw activated pepitas (pumpkin seeds)
Pink rock salt and ground black pepper
1 tablespoon organic coconut oil
1/2 cup fresh parsley and mint (or any other herbs you have)
A few leaves of silverbeet(use spinach, kale or bok choy as an alternative)
A food processor is convenient here but not essential.
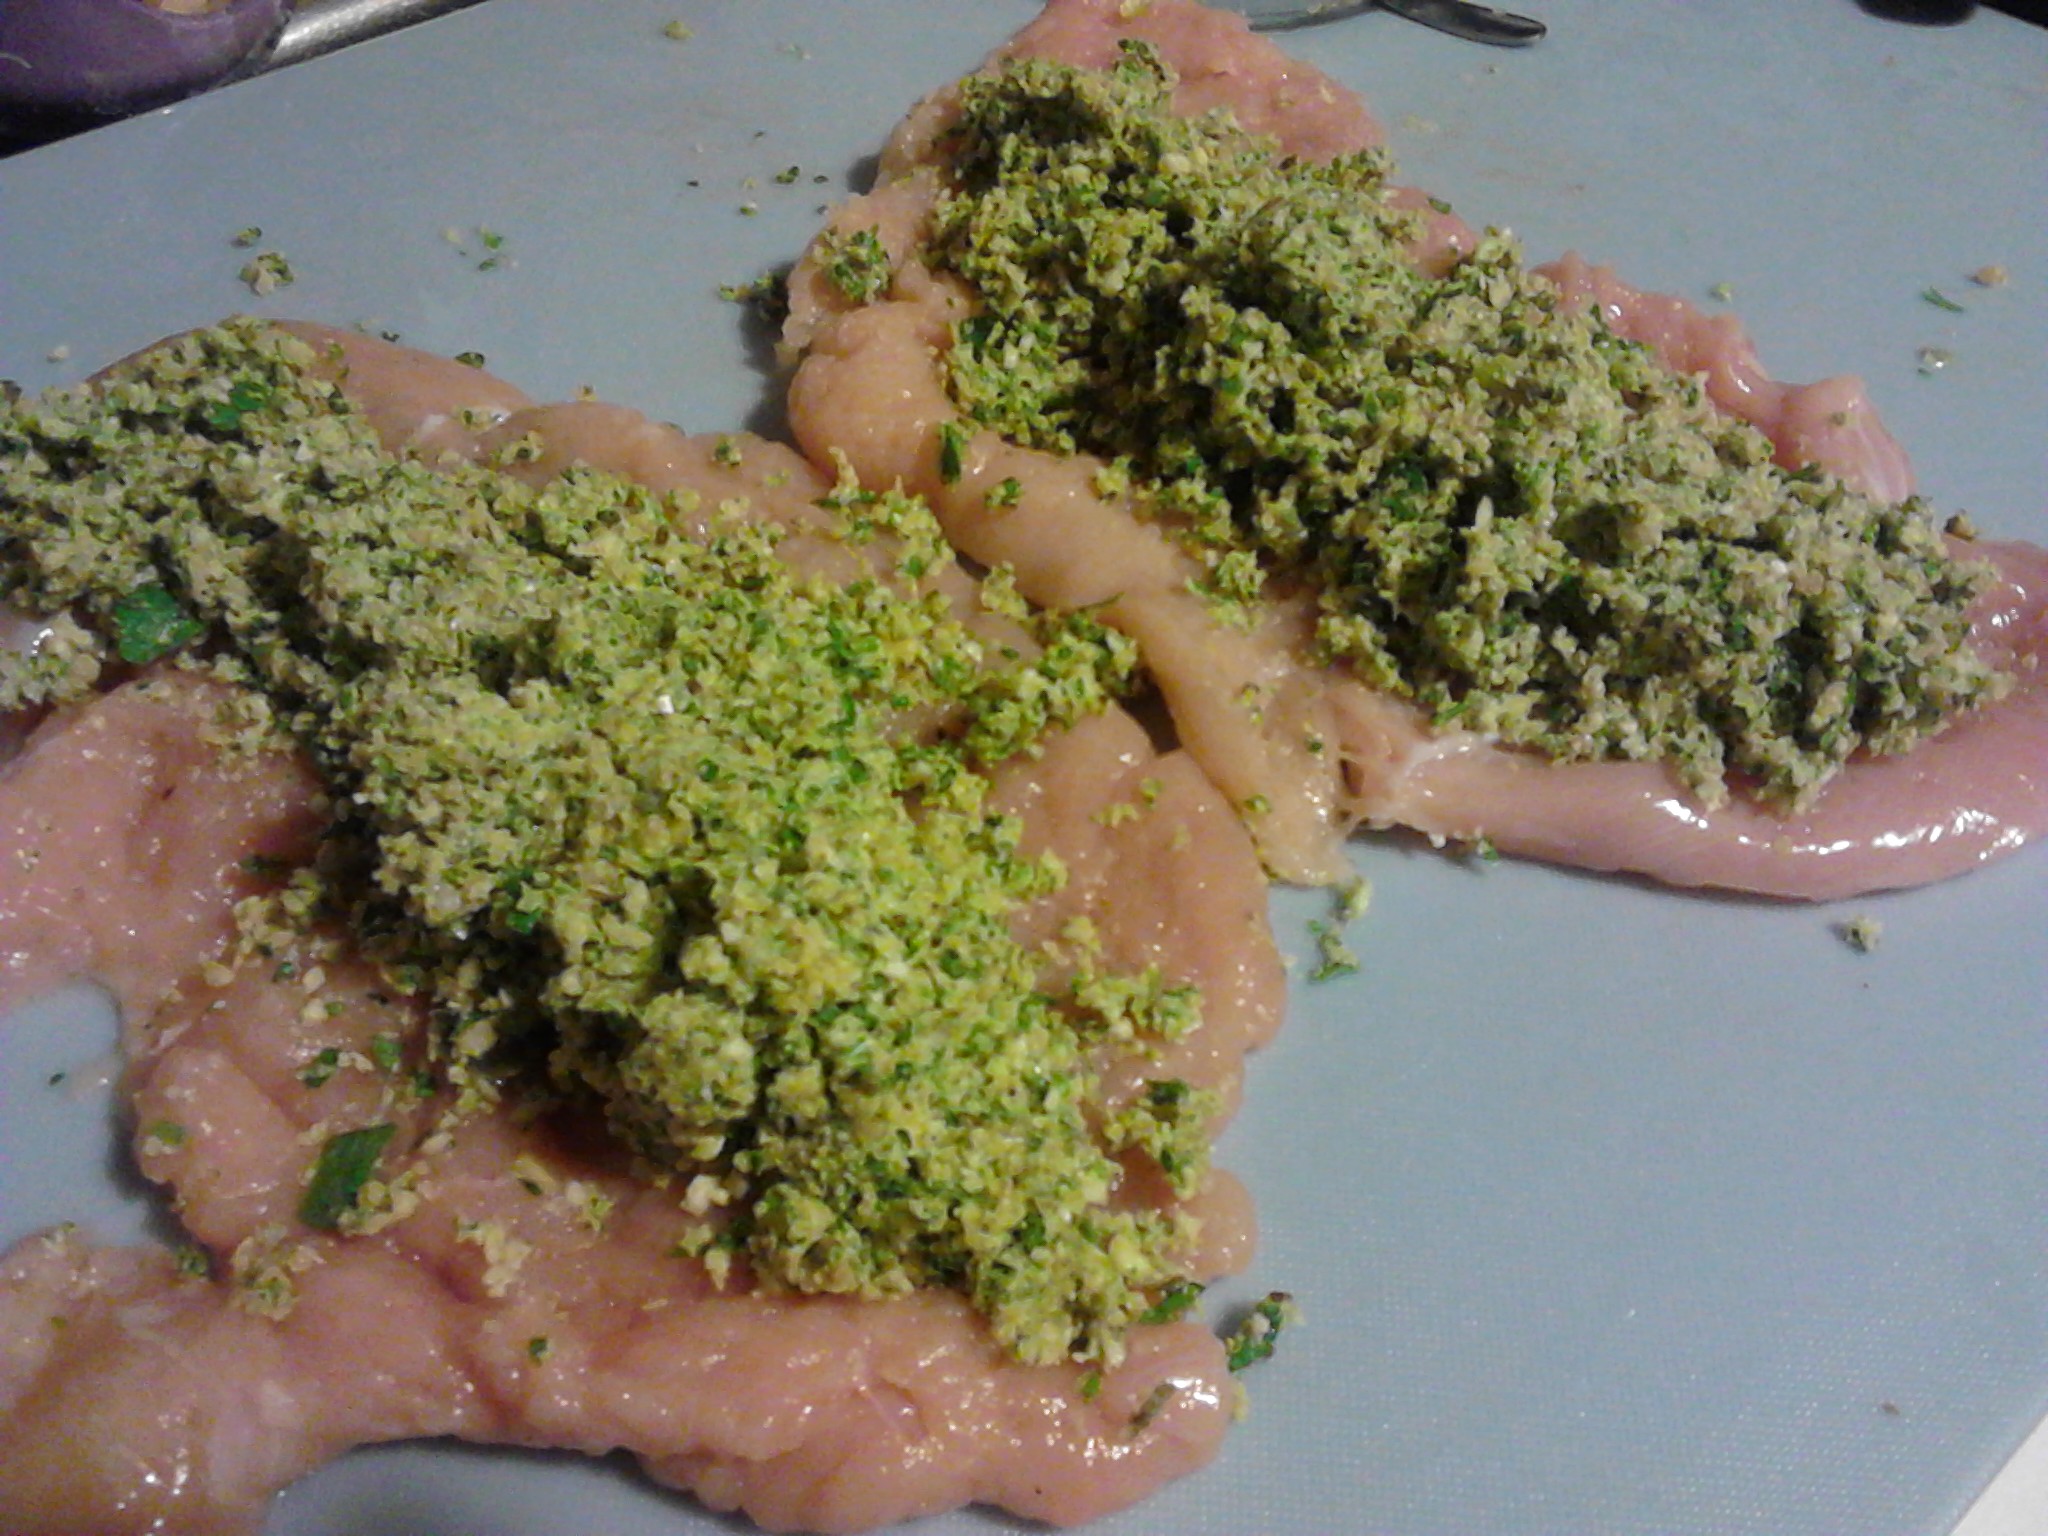
Spread the filling on top of the chicken breasts.
The free range chicken breasts flattened and topped with the filling.Roll the breast around the filling
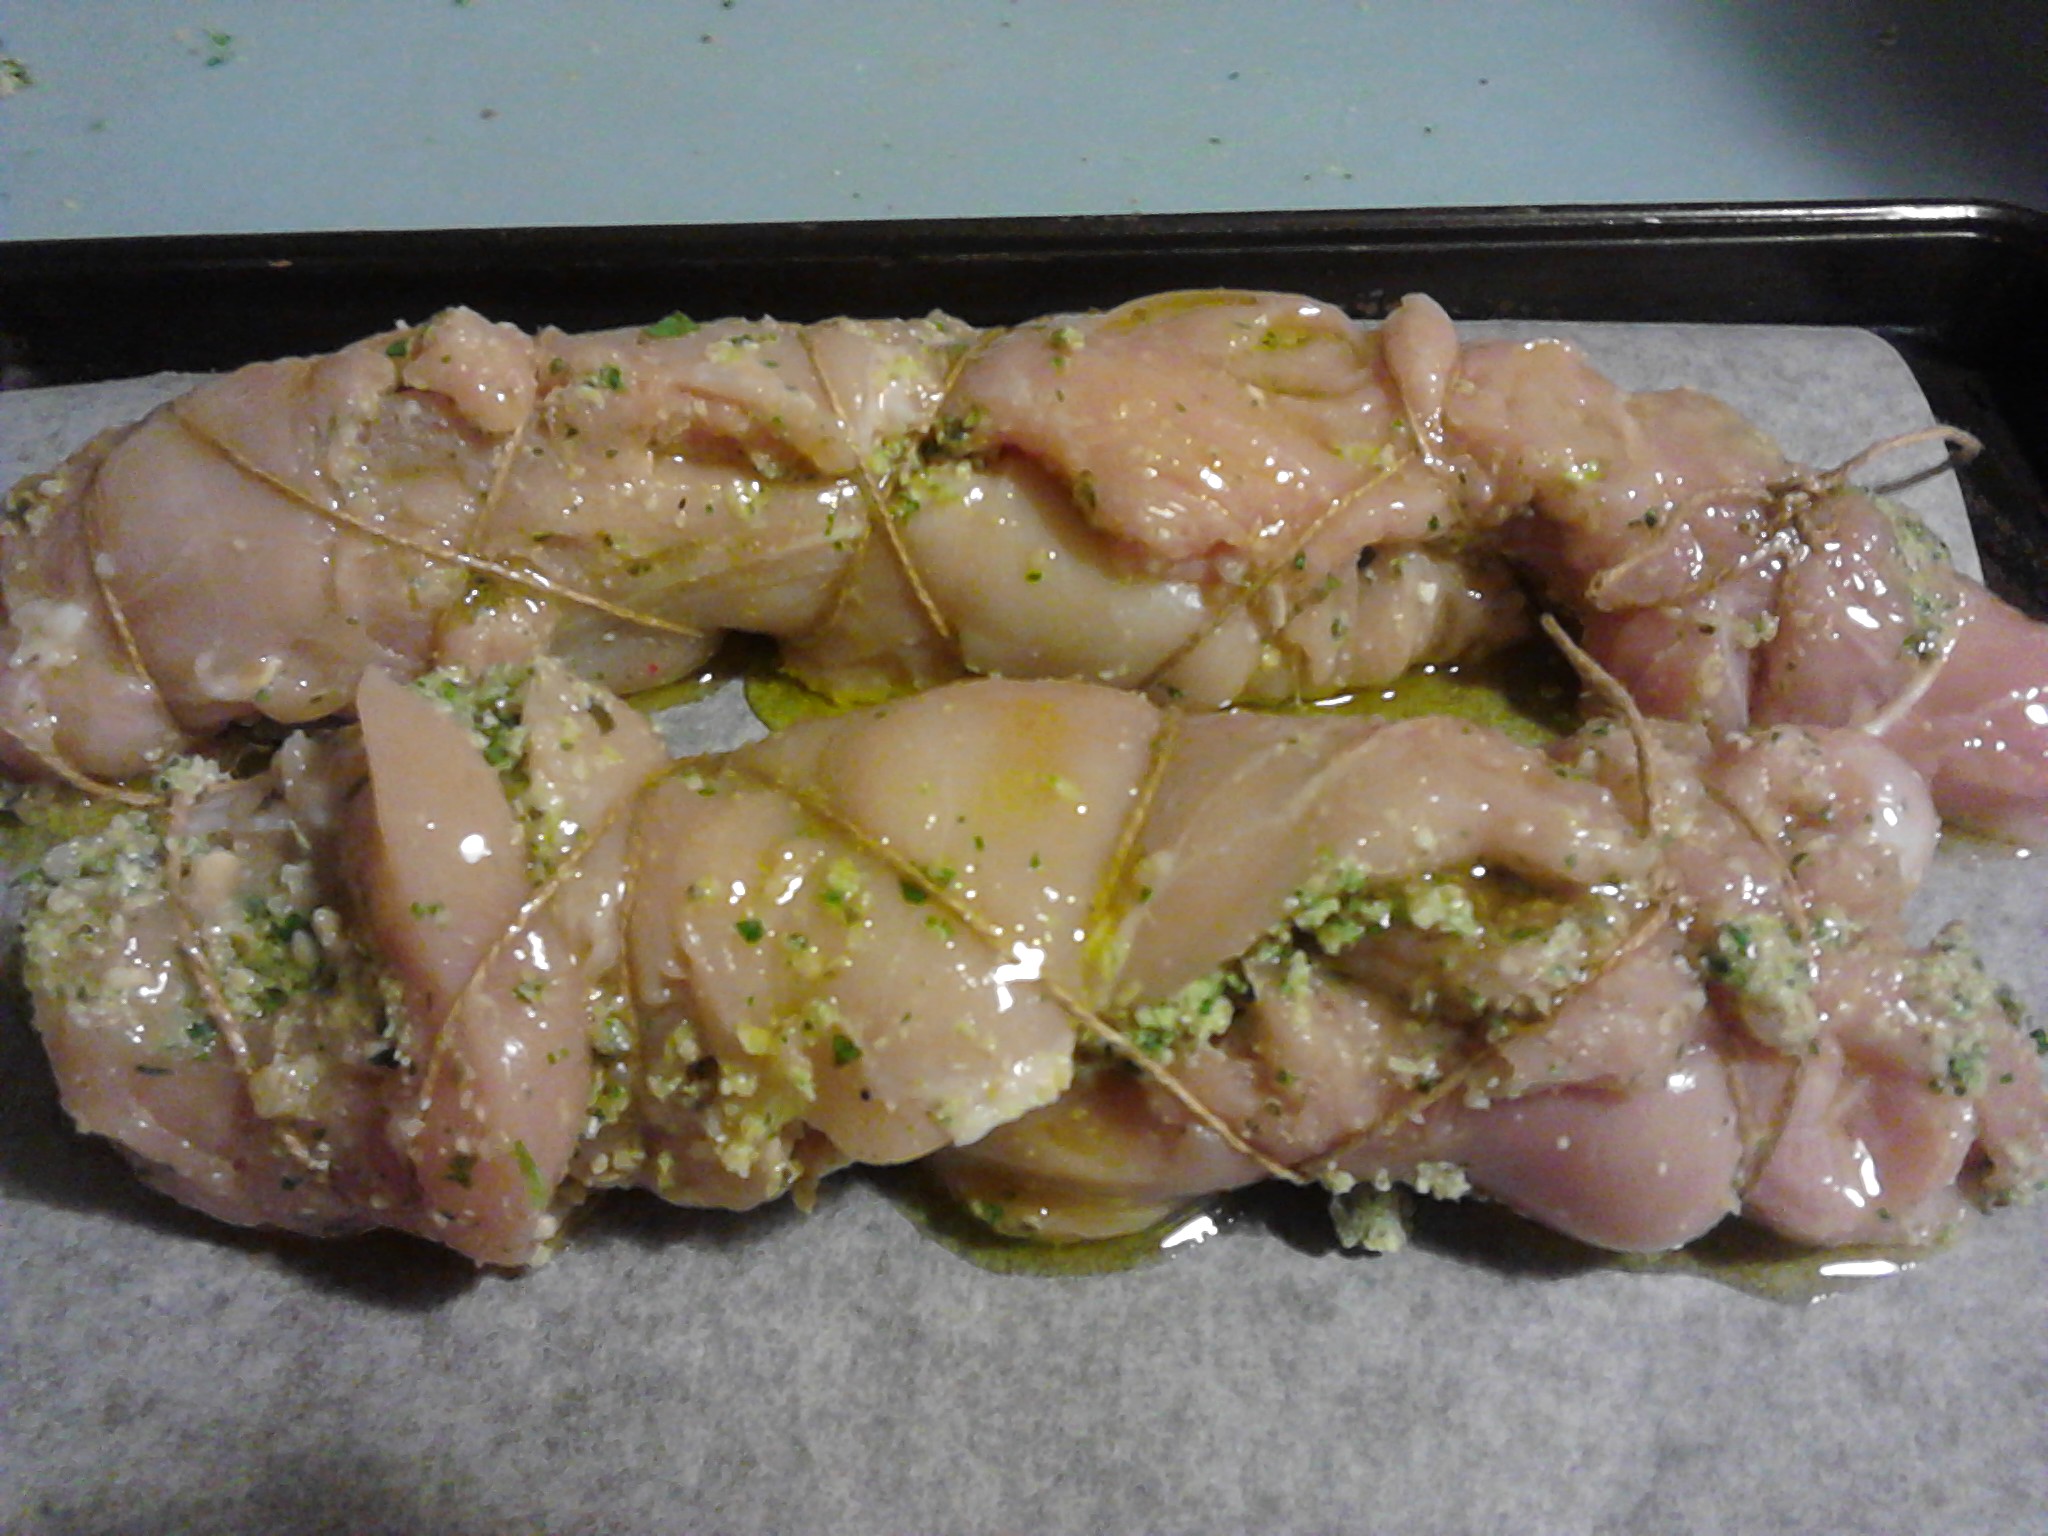
Use kitchen string to gently hold the breast in place. Tie the string at each end and push in any filling that has come out. Gently lift onto a lined baking tray and drizzle with your favourite oil, pink rock salt and black pepper.
The rolled and tied chicken breast drizzled with extra virgin olive oil, pink rock salt and black pepper.
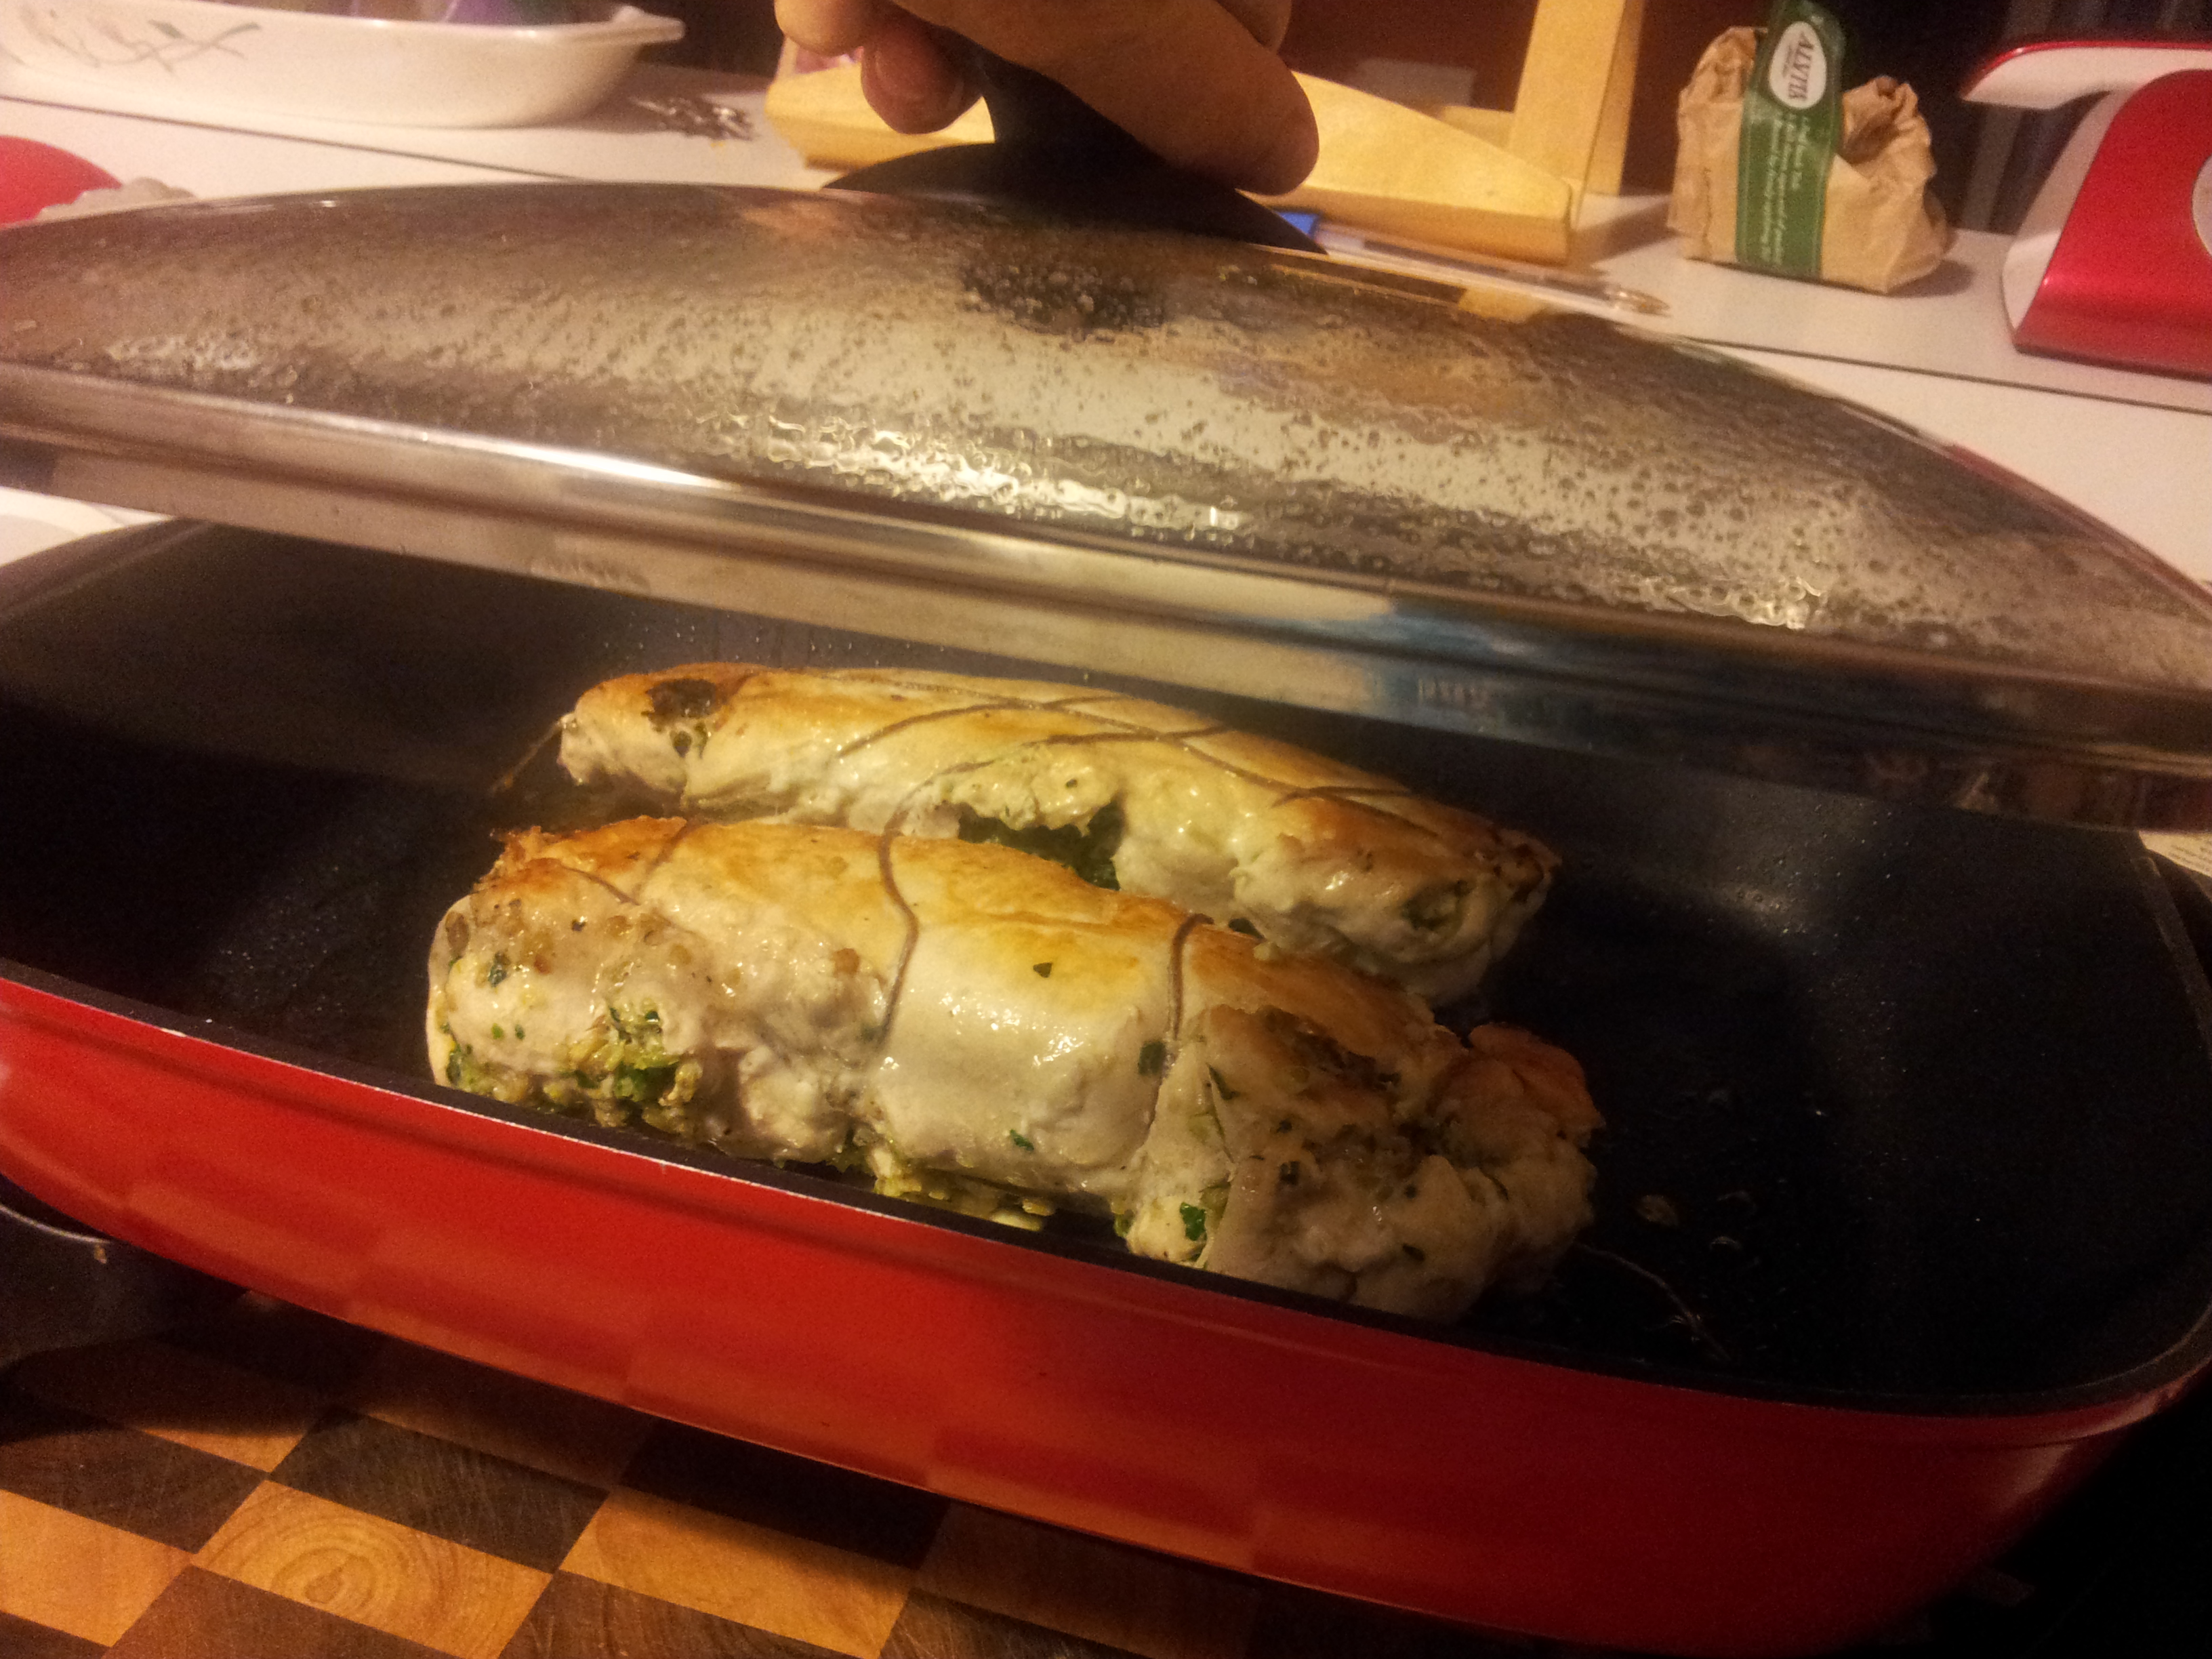
Cover with foil and place in the oven. Cook until the chicken is golden and then take the foil off and let it brown or place under the grill ensuring it doesn’t dry out.
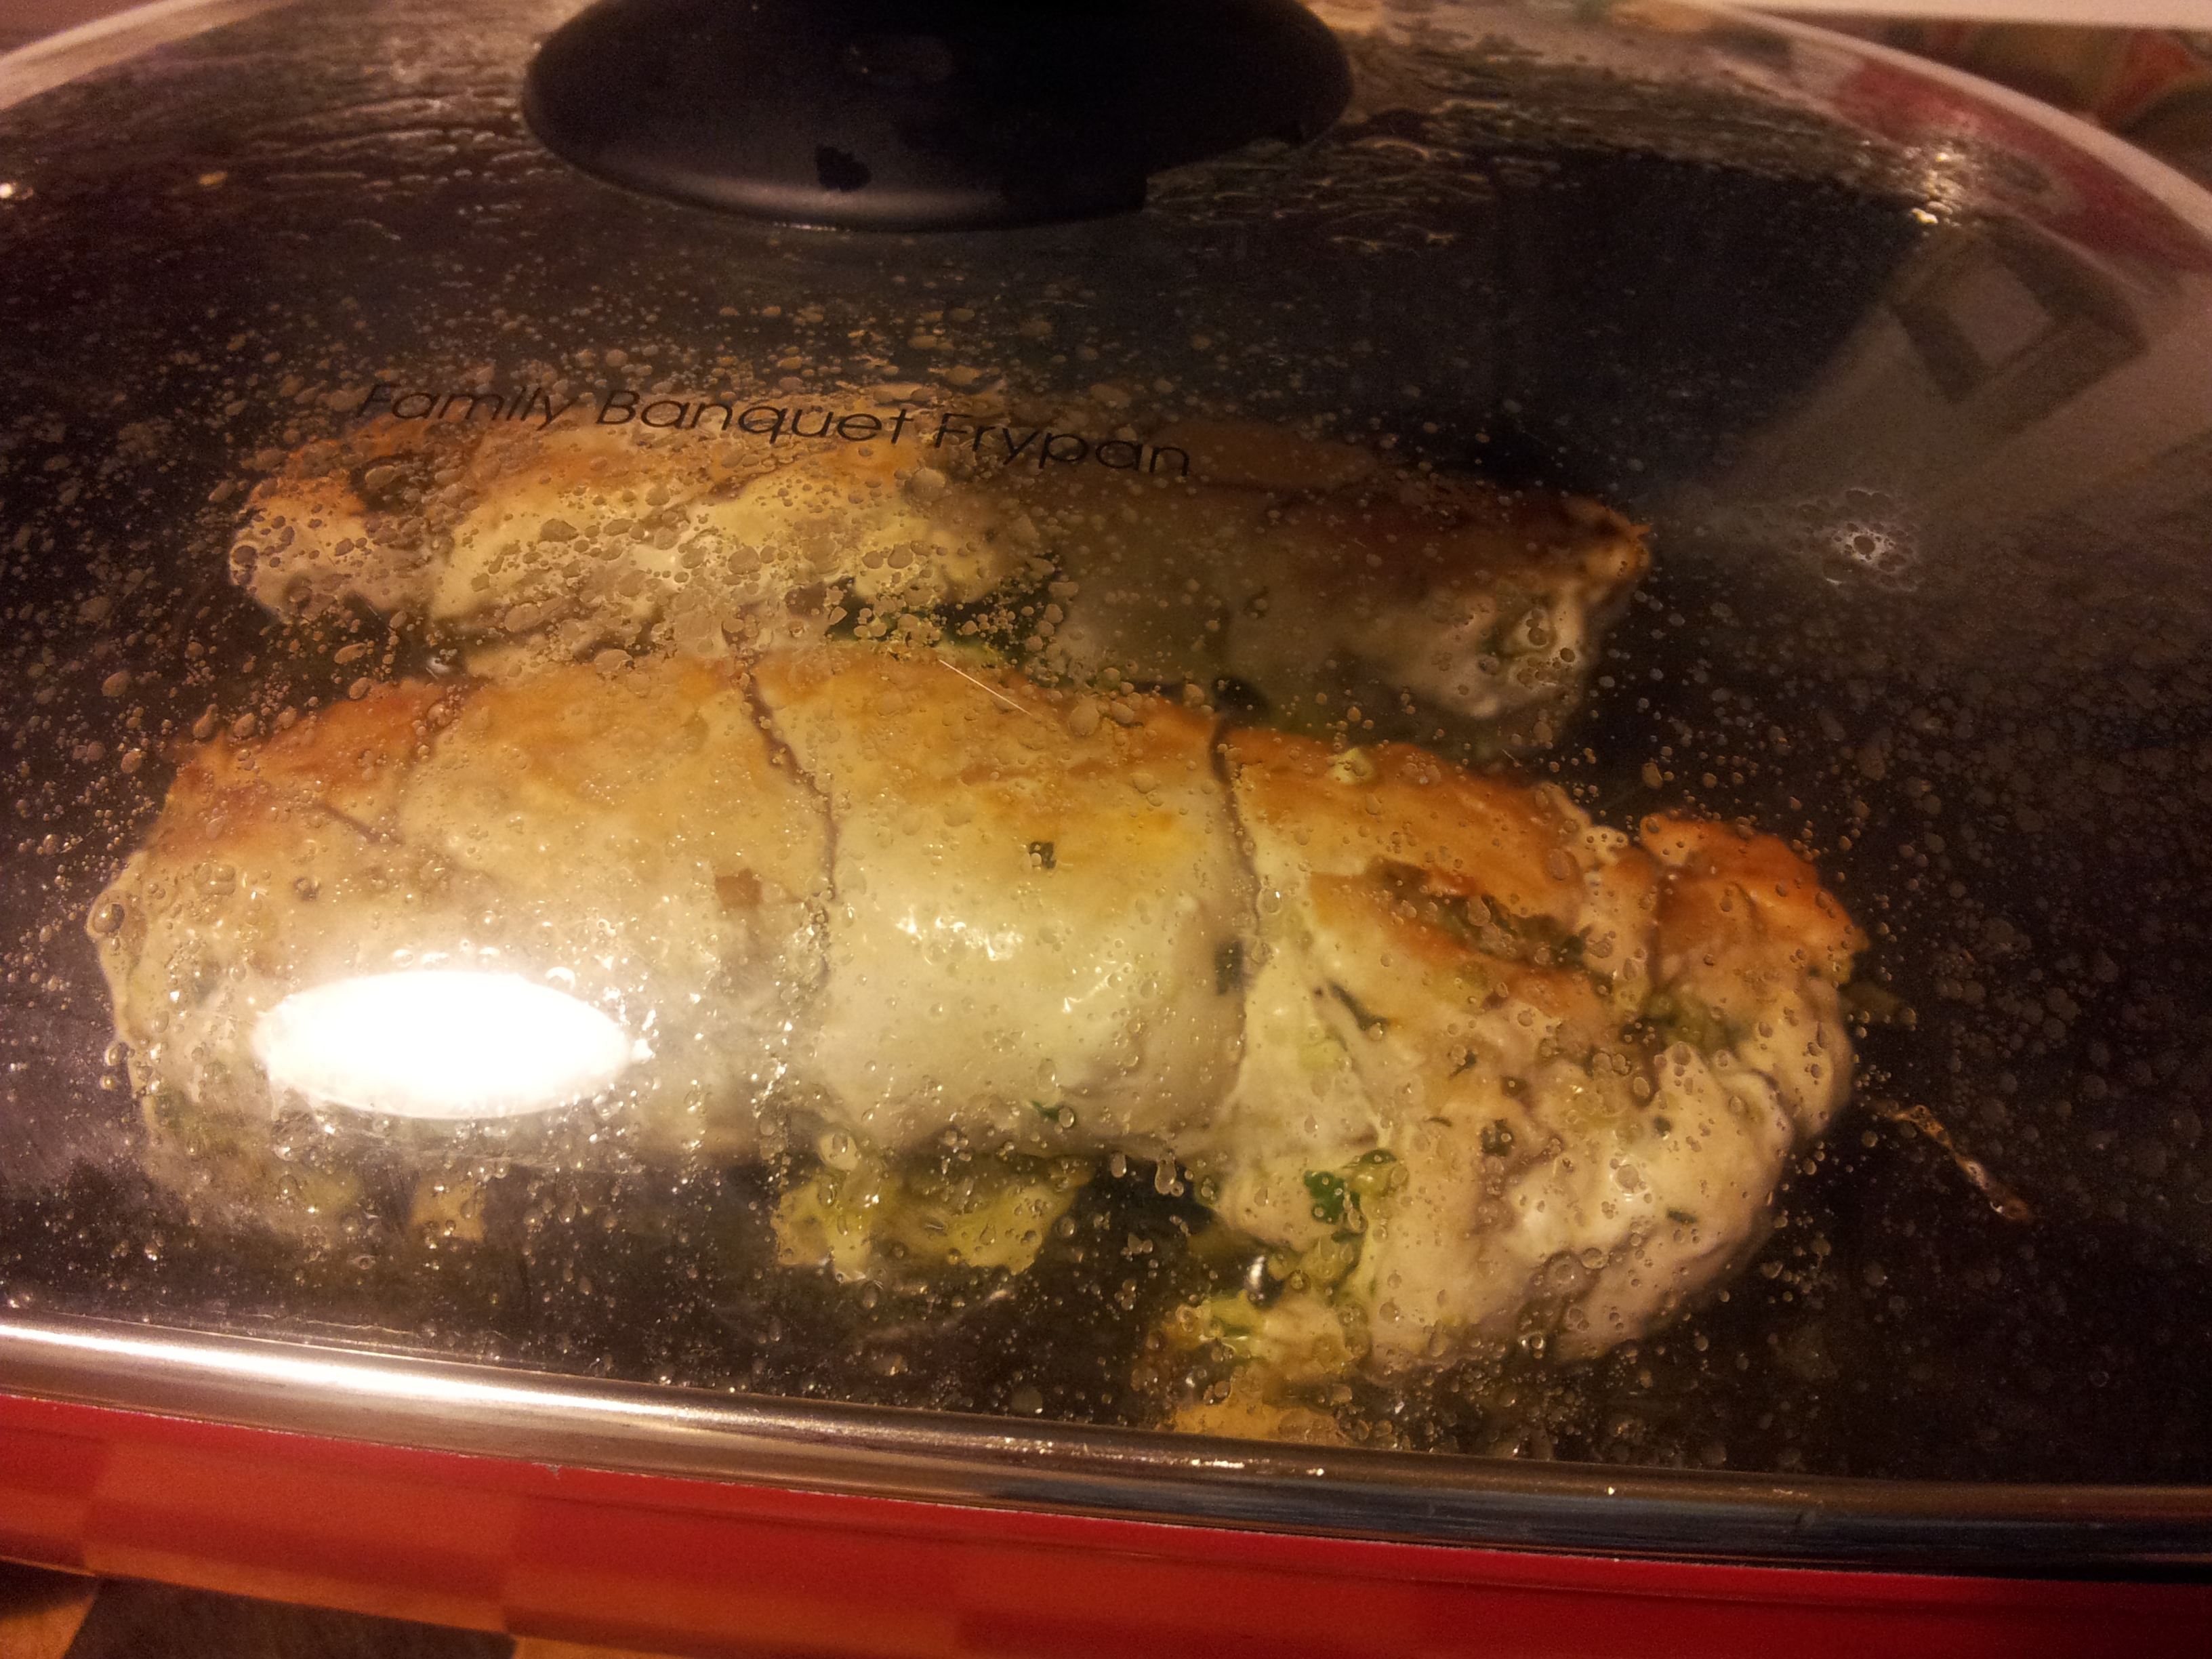
Another option is to pan fry the rolled chicken which will give a more golden appearance.
Cook on a very low heat with the lid on.Both the oven and fry pan methods work well.
Carefully cut the string along the length of the chicken and remove. Let the chicken rest for a few minutes before serving.
Golden and delicious!
There are so many fillings that would be delicious with this recipe. I am going to try a pumpkin or sweet potato filling next, but the combinations are really endless.
Have one for dinner and the second one cold the next day. A great way to add variety to the same dish and the flavours are quite different between the warm and cold versions.
If you have enjoyed this post please share it with a friend. I also post my recipes and wellness tips daily on Instagram at holistic_paleo.
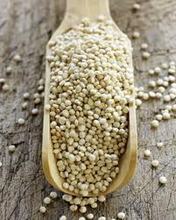
Quinoa (pronounced Keen-wah) is a nutritious gluten-free grain alternative and is in fact a seed from a vegetable linked to swiss chard, spinach and beets. It is considered a super food and is high in protein, with a good balance of all 8 essential amino acids, making it a good choice for vegetarians. It is also high in fibre and has a low-GI, beneficial for keeping blood sugar levels stable as well as having a slightly alkaline effect on the body.
This dish was very quick to make as l pre-cooked the quinoa and the flavours in it were lovely. There was a strong hint of lemon, a crunch from the walnuts and a flavour kick from the addition of fresh ginger and cumin.
The risotto is quite sticky so it held together nicely when l placed it in a glass ramekin to shape.
I was inspired to make this risotto as l have a vegetable garden filled with greens including masses of silverbeet. There is no need to follow my recipe to the letter as part of cooking is having fun and experimenting with new ingredients and flavours, and my cooking is quite plain due to food intolerances, so you may wish to spice it up a bit more.
Ingredients:
2 cups organic quinoa (l used white)
Filtered water
Olive oil
1 tablespoon organic tomato paste
1 small tomato diced
1/2 red capsicum diced
1/2 teaspoon cumin
3 large leaves of silverbeet
Fresh parsley and basil chopped
1 cm fresh gInger finely sliced
2 spring onion green tops sliced
5 snow peas sliced
1/2 carrot finely diced
1 cup roughly chopped raw activated walnuts (or another nut)
Lemon juice and zest of 1/2 a lemon
1 tablespoon Organic apple cider vinegar
Pink rock salt and ground black pepper (season to taste)
White quinoa
Cooking quinoa requires some pre-planning as it needs to be soaked and rinsed prior to cooking. I soaked 2 cups of quinoa in filtered water all day and then rinsed just before cooking to remove the bitter tasting saponins. You can soak it for a shorter time such as 30 minutes if that is all the time you have. I placed the rinsed quinoa in a saucepan and covered with filtered water so that there was about an inch of water on top of the grain. I brought it to the boil, then let it simmer with the lid on until the water was absorbed and the seeds had popped open. You can turn the heat off at this point while the rest of the dish cooks.
In a fry pan place a splash of olive oil, the organic tomato paste, tomato, red capsicum and cumin. Let that cook for a minute then add the quinoa and mix well. Now add the rest of the ingredients and season well to taste with pink rock salt and ground black pepper.
Give it a good mix for a couple of minutes and serve. I spooned mine into a ramekin, then turned it upside down and let it slip out onto the plate. It looked lovely when it was on the table garnished with lemon rind and parsley.
If you don’t have the ingredients listed just use what you have in the fridge and you can also make the risotto the traditional way by adding the liquid in small intervals to the uncooked quinoa.
Below l have included a link to my favourite supplier of all organic goods such as quinoa and other pantry essentials. They offer a great service and very good prices with free delivery if your purchase is over a certain amount which is listed on their website depending on your location.
A fabulous online store for my Australian followers.
If you have enjoyed this post please share with a friend. You can also follow me on Instagram at holistic_paleo where you will get daily photos of the meals l prepare and a few other interesting things aimed at inspiring a healthier life.
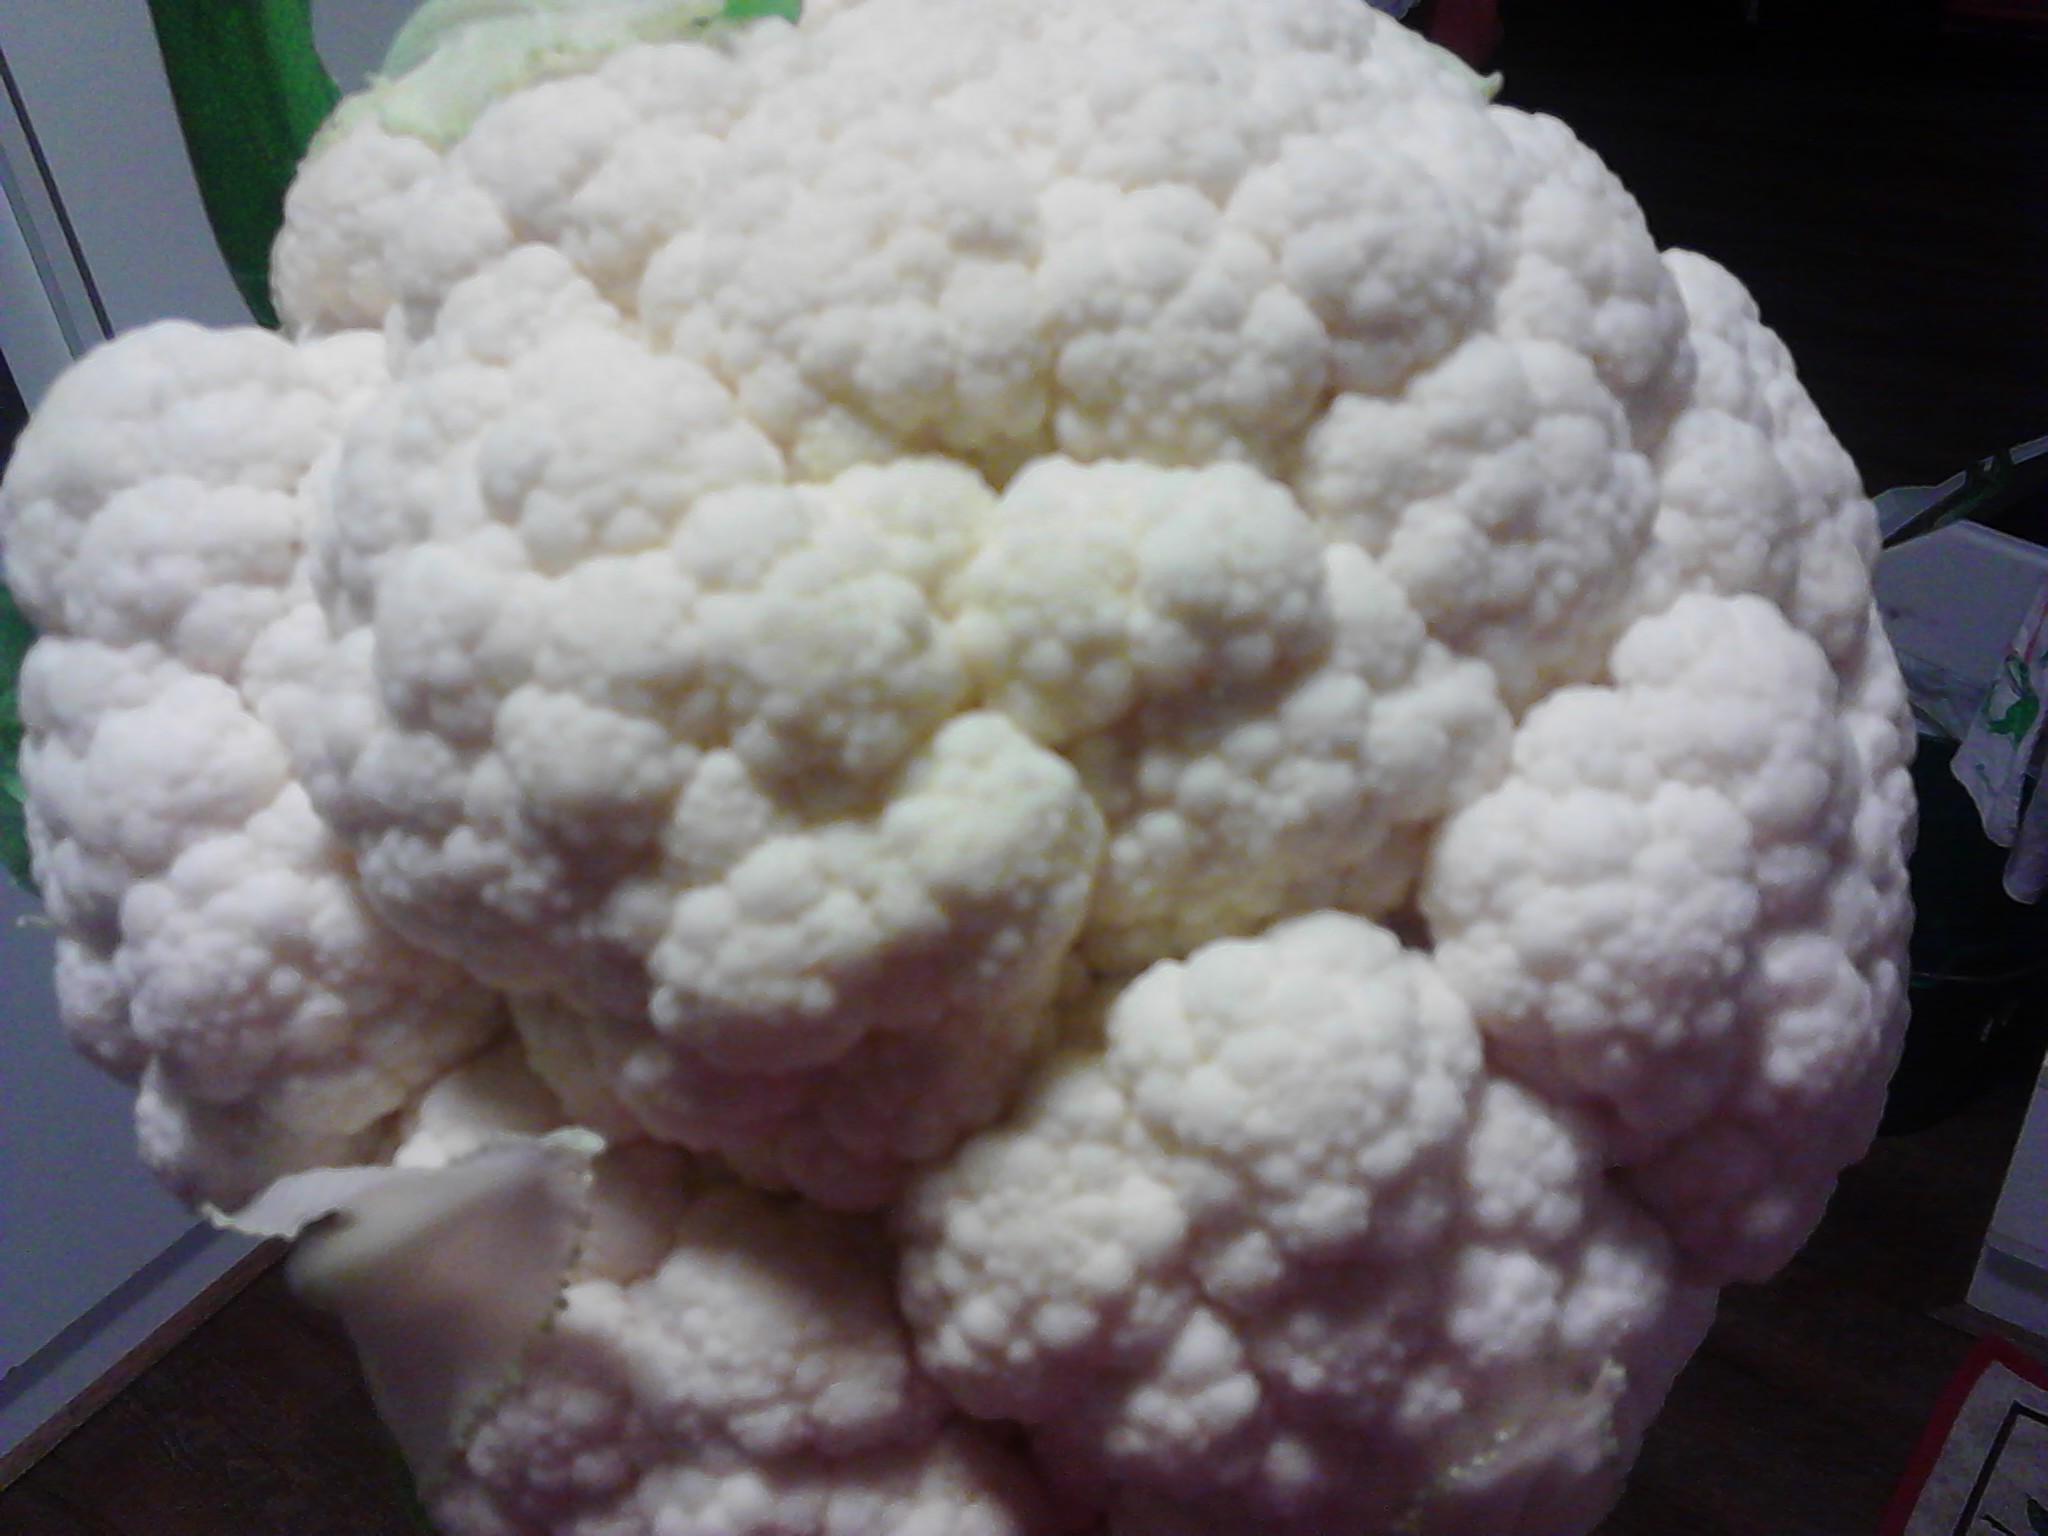
A budget friendly, nutritious and easy to prepare meal. I used a whole cauliflower for this recipe and was amazed at the plentiful quantity it made. Cauliflower rice is a great alternative to real rice, and you will be amazed at how similar it looks and tastes.
Enough to feed the whole family.
Ensure that you use fresh ingredients. You can use your favourite vegetables but l used mostly greens in this one such as bok choy, celery, broccoli, spring onion tops and snow peas, plus some carrot and bean sprouts.
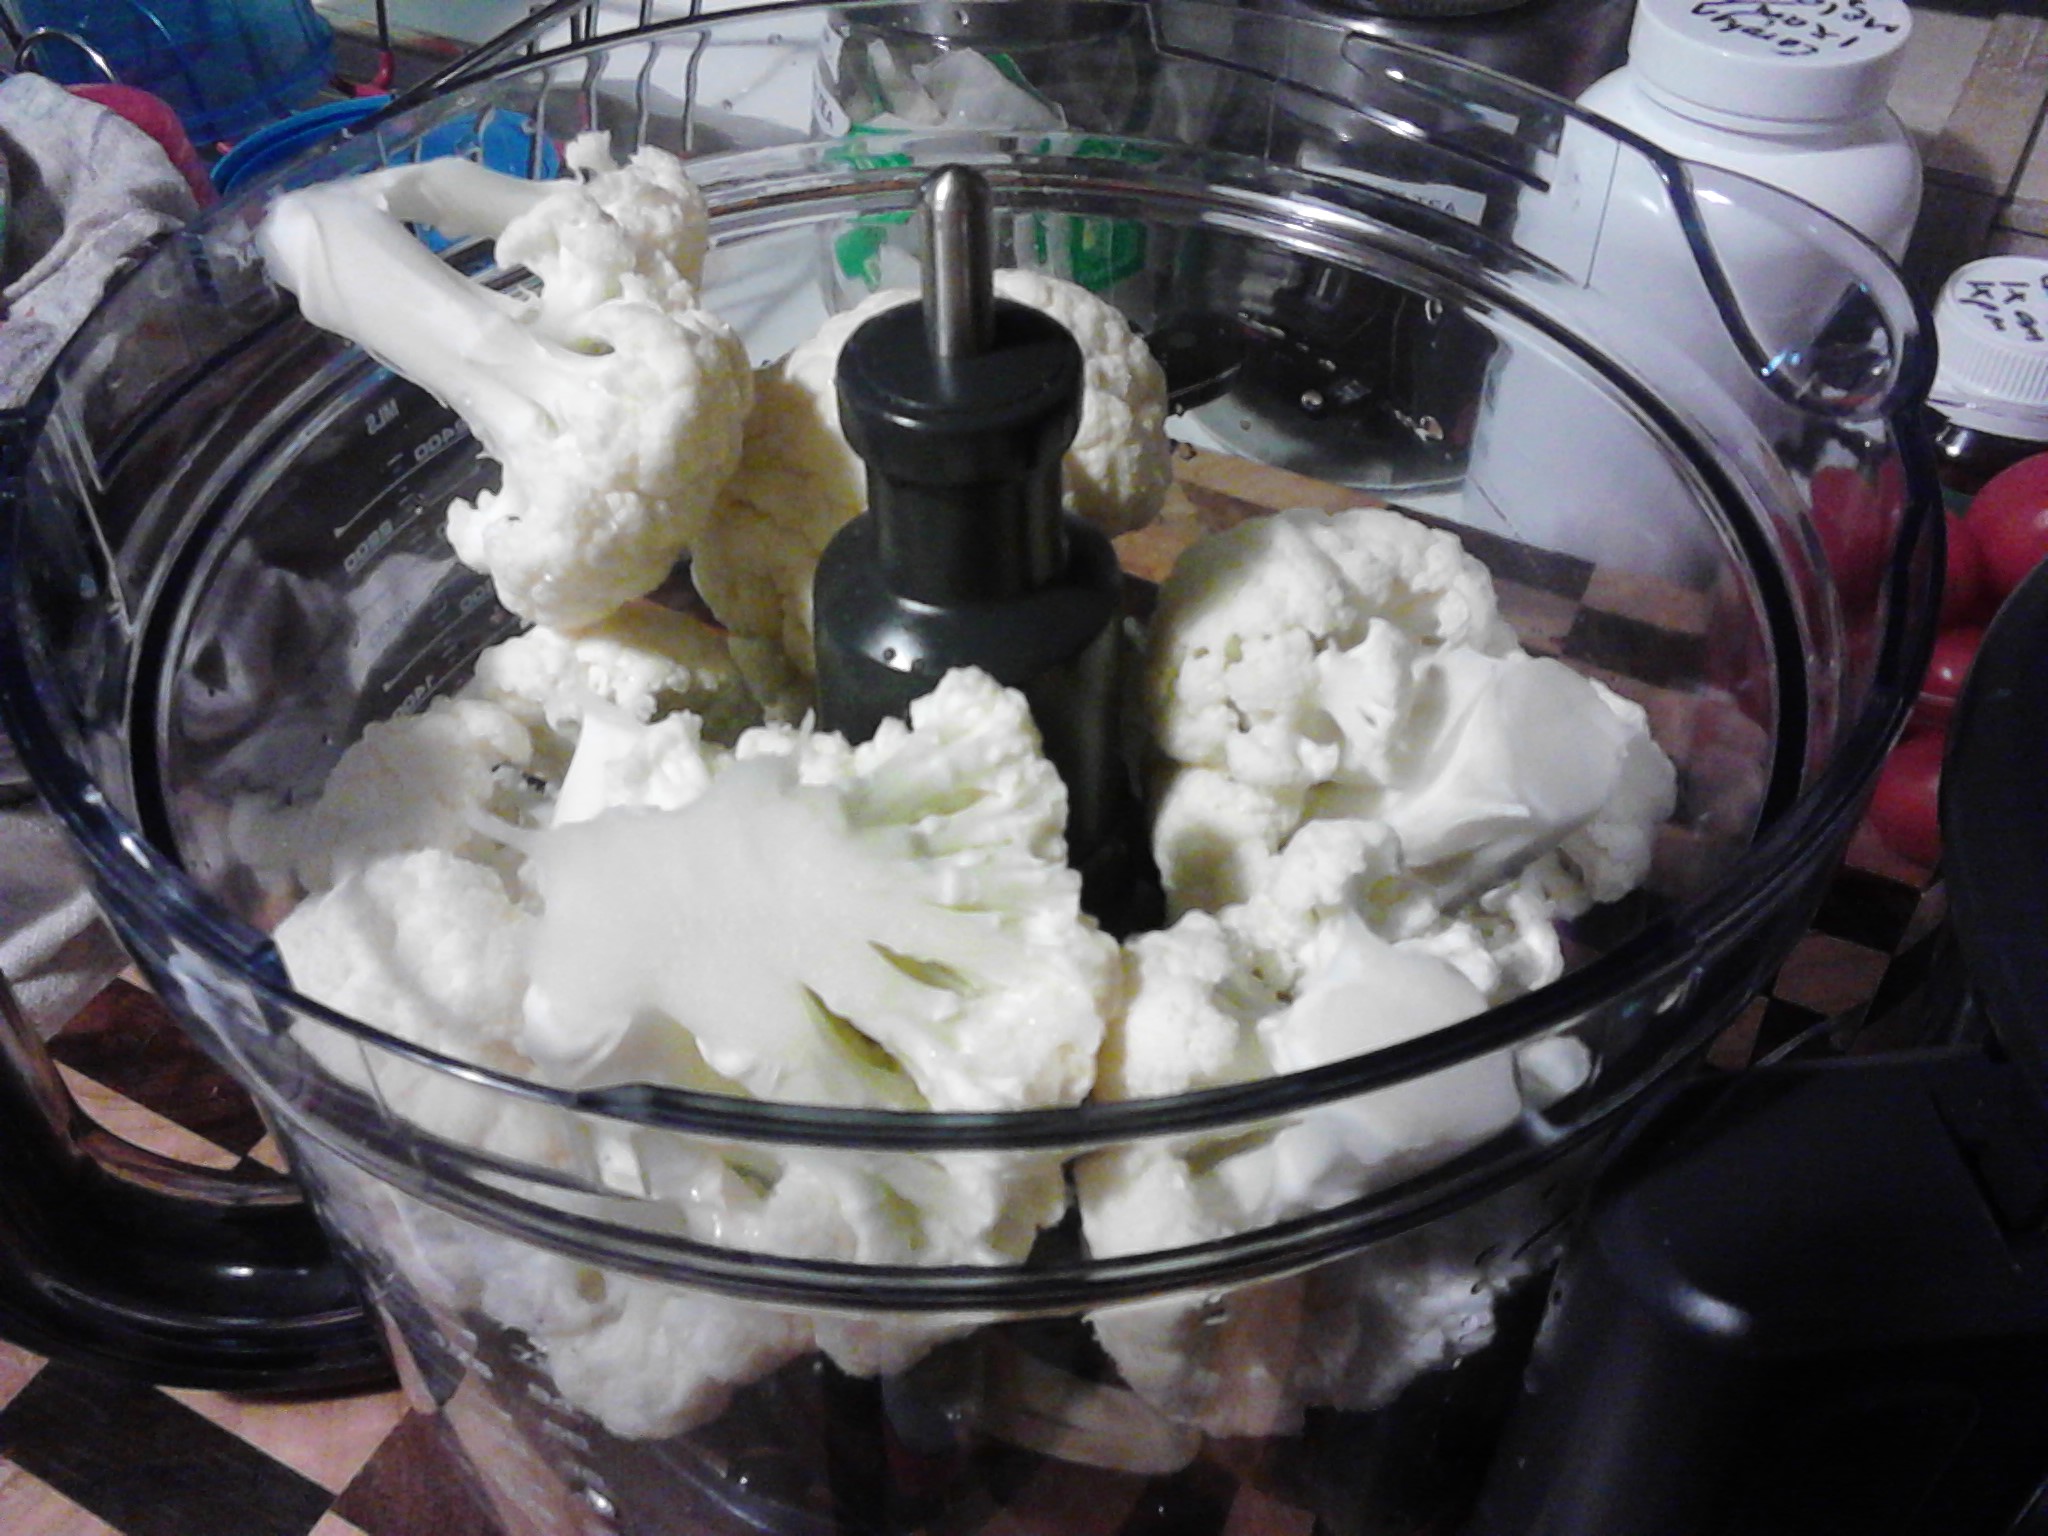
A beautiful fresh cauliflower.
This is a dish that can be pre-prepared early in the day so that at dinner time it will take a very short time to cook. It is a matter of processing the cauliflower, washing and chopping all of the vegetables and dicing the chicken. This can all then be kept in separate bowls or containers in the fridge until required.
Preparation is the key! One whole cauliflower, 2 free range chicken breasts and your favourite vegetables.
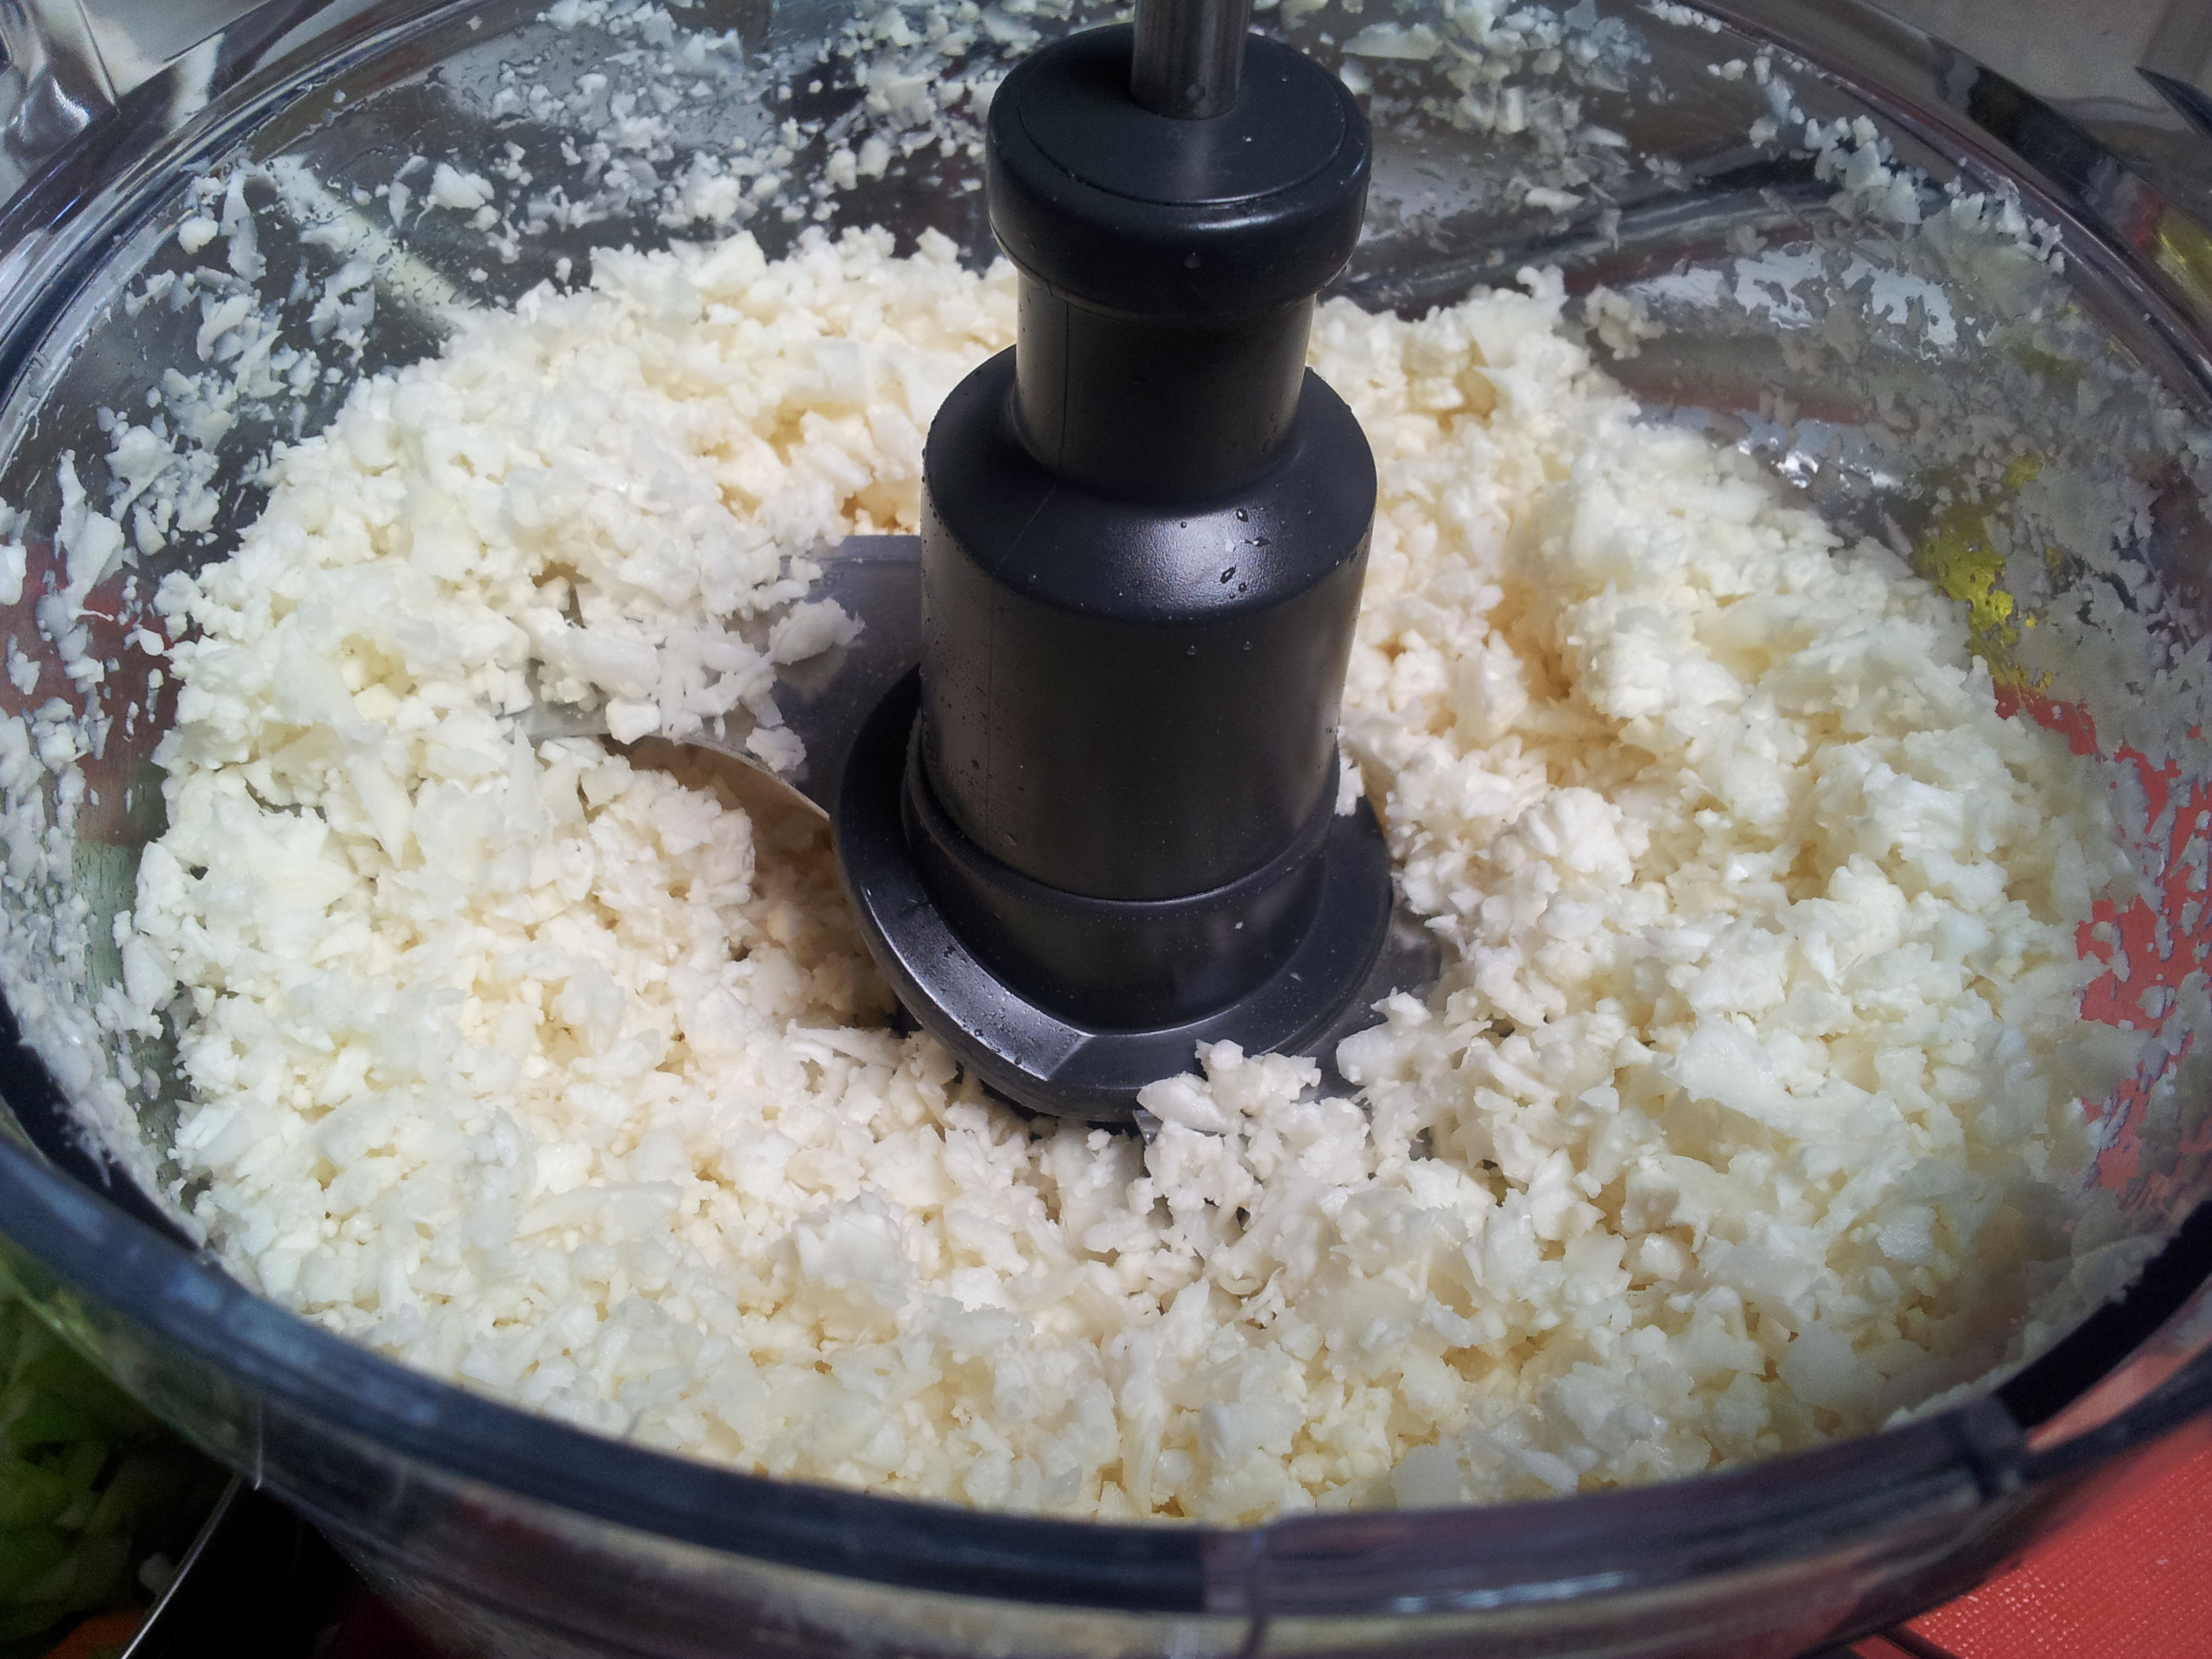
My favourite way to make cauliflower rice is to cut the fresh cauliflower into smallish pieces and then blend it in the food processor. This takes about 10 seconds to turn into cauliflower rice. You don’t want it in the food processor too long or it will be a pulp and wont cook nicely.
Wash the raw cauliflower and cut it into pieces that will fit into the food processor.Process the cauliflower until it resembles rice and is an even consistency.
Steps:
I used a largish fry pan which l pre-heated on a low temperature and added some olive oil. You know the pan is too hot if the oil is smoking. High heats will damage the oil so go gently with the heat.
Add the diced chicken to the pan and lightly brown. Next add the cauliflower rice and let it cook for a few minutes, followed by the vegetables and any spices you are using. I just used pink rock salt and ground black pepper, but l have in the past added fresh garlic, ginger and lots of spices such as tumeric, cumin, paprika and cinnamon. You can also add some sauces such as a fish sauce or Tamari, but l have been having food intolerance reactions to a lot of spices at present so kept this dish plain. The cauliflower rice often changes colour depending on the spices or vegetables you use and can look so stunning. Don’t over cook the vegetables or rice to retain the nutrients. I put mine on a nice large platter to serve and it looked wonderful.
You can take this to work the next day for lunch to have cold and use different meats, or just have it as a side dish. A very fresh and clean cauliflower is essential to the success of this dish and it is so light and healthy that it is a great meal to have at night when you don’t want to overload your digestive system.
If you have enjoyed this post please share with a friend. I am on Instagram at holistic_paleo and Twitter at Holistic Paleo@carolynlgray
Mental and practical roadblocks people use to not have a green smoothie in their life.
It it scary to drink a green smoothie
I don’t want to drink vegetables, especially green ones
There are things in there l won’t like
I’ve never had a chia seed
I don’t have a blender
The ingredients are expensive
It will taste awful
I’d rather have a normal fruit smoothie
Do any of these sound familiar? They can all be overcome if you can think out side of your comfort zone. If you don’t have a blender they can be purchased very cheaply or you can borrow one, and if you grow your own green leafy vegetables that is another one crossed off the list.
Take the plunge and try a simple recipe for your first smoothie that is guaranteed to be delicious. You can even leave the chia seeds out.
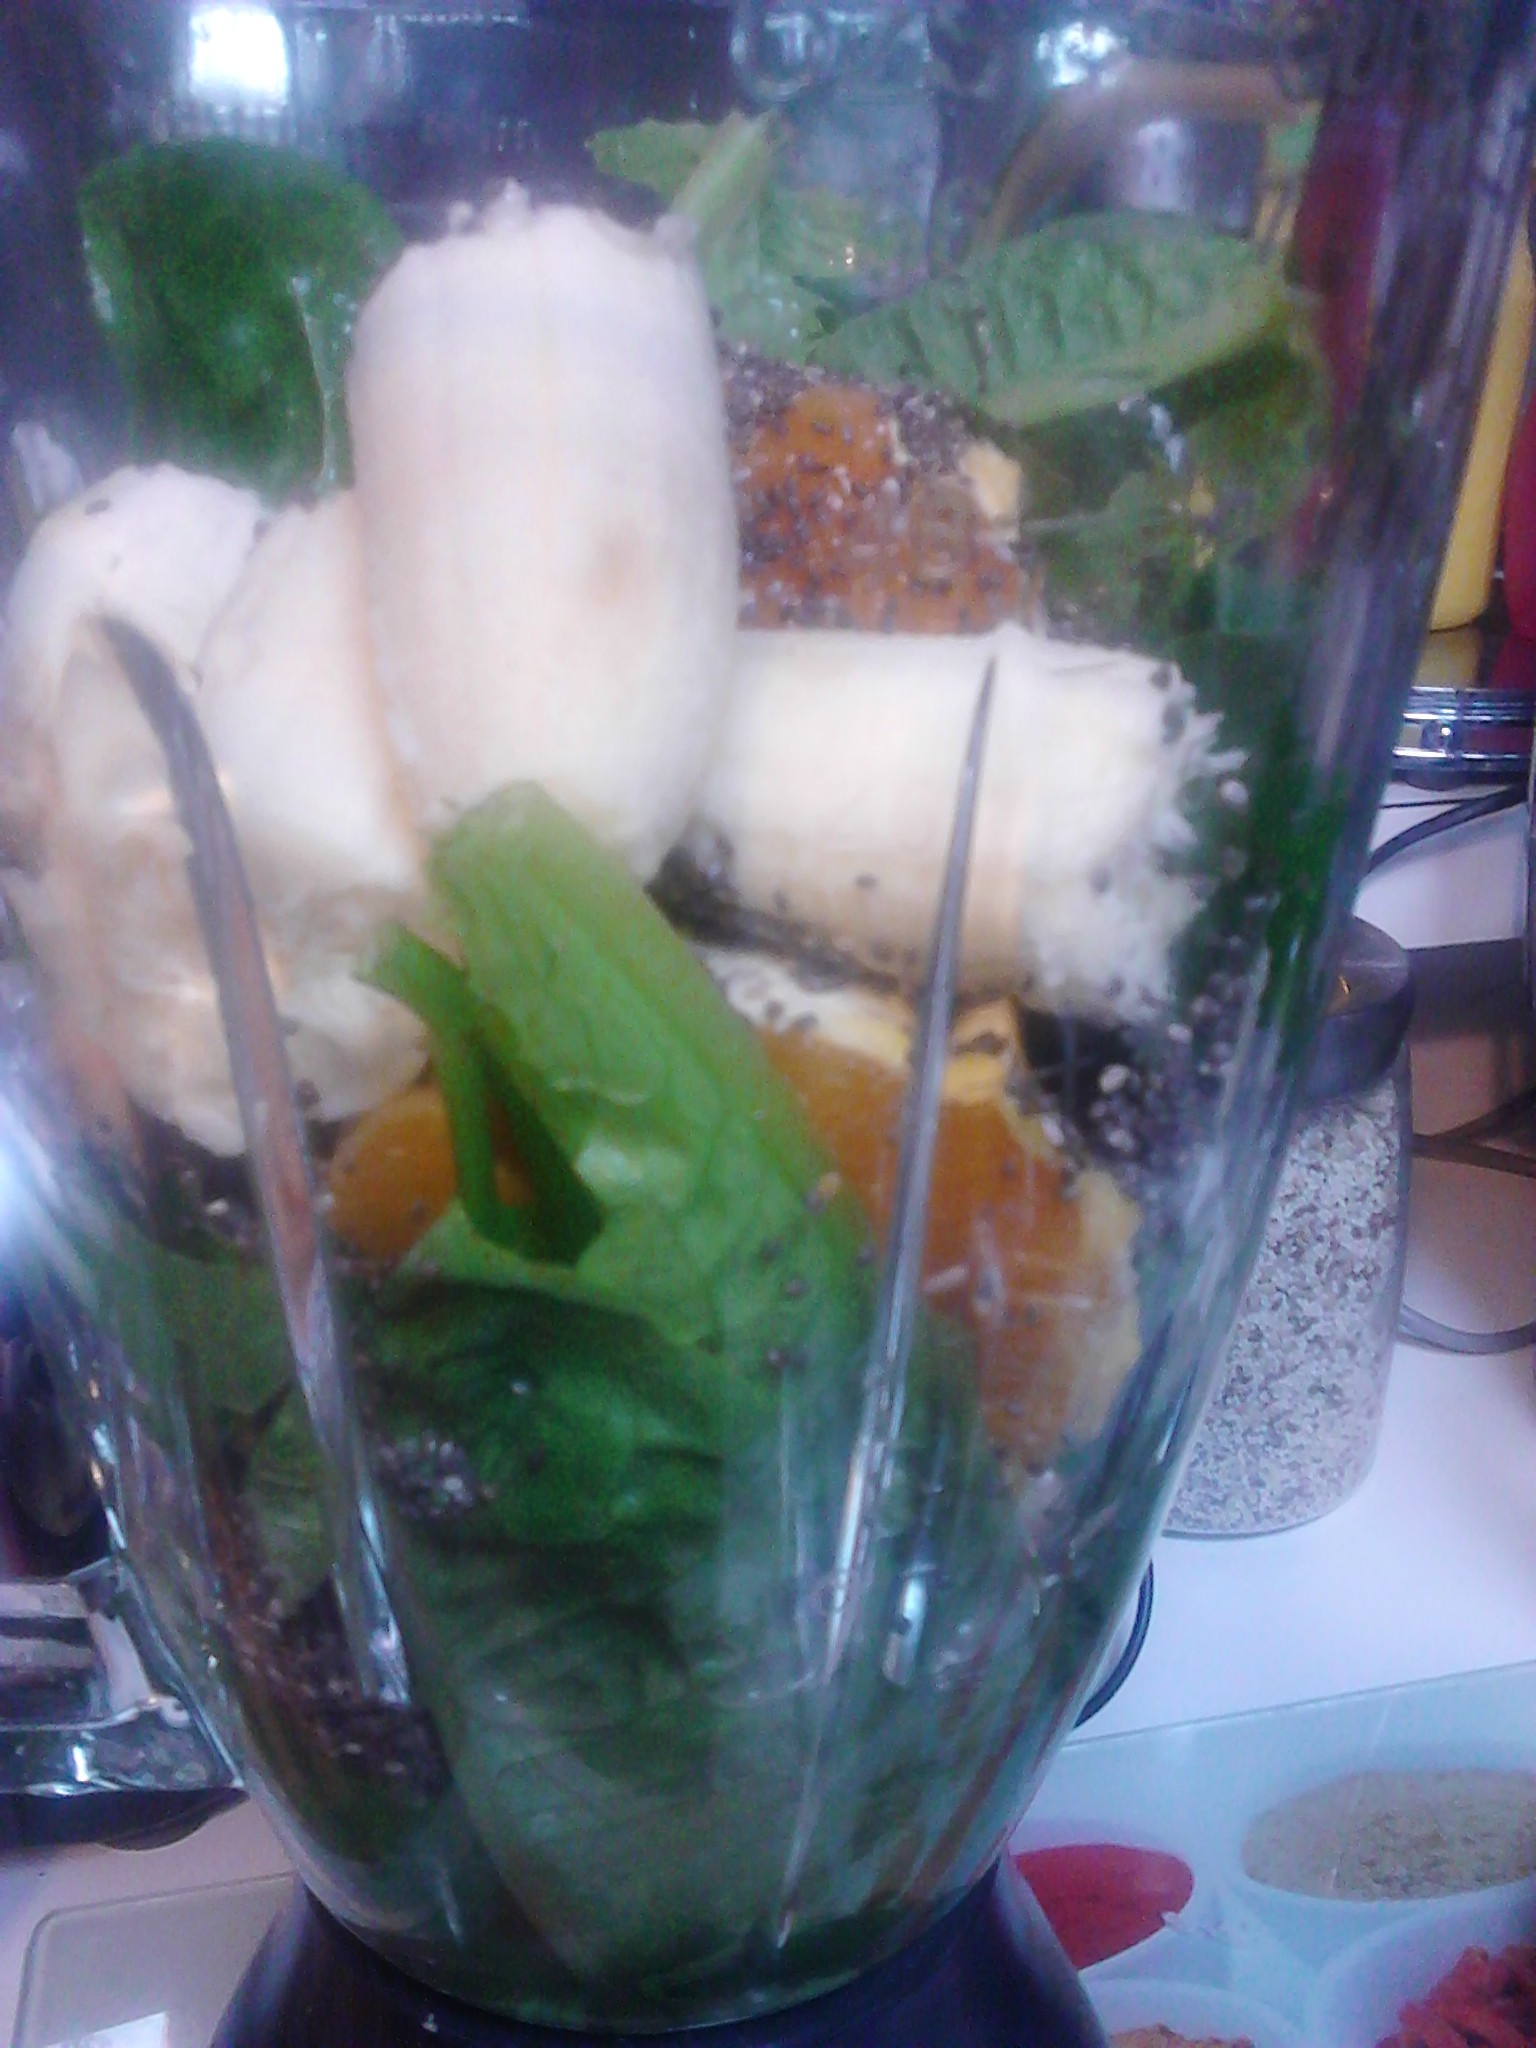
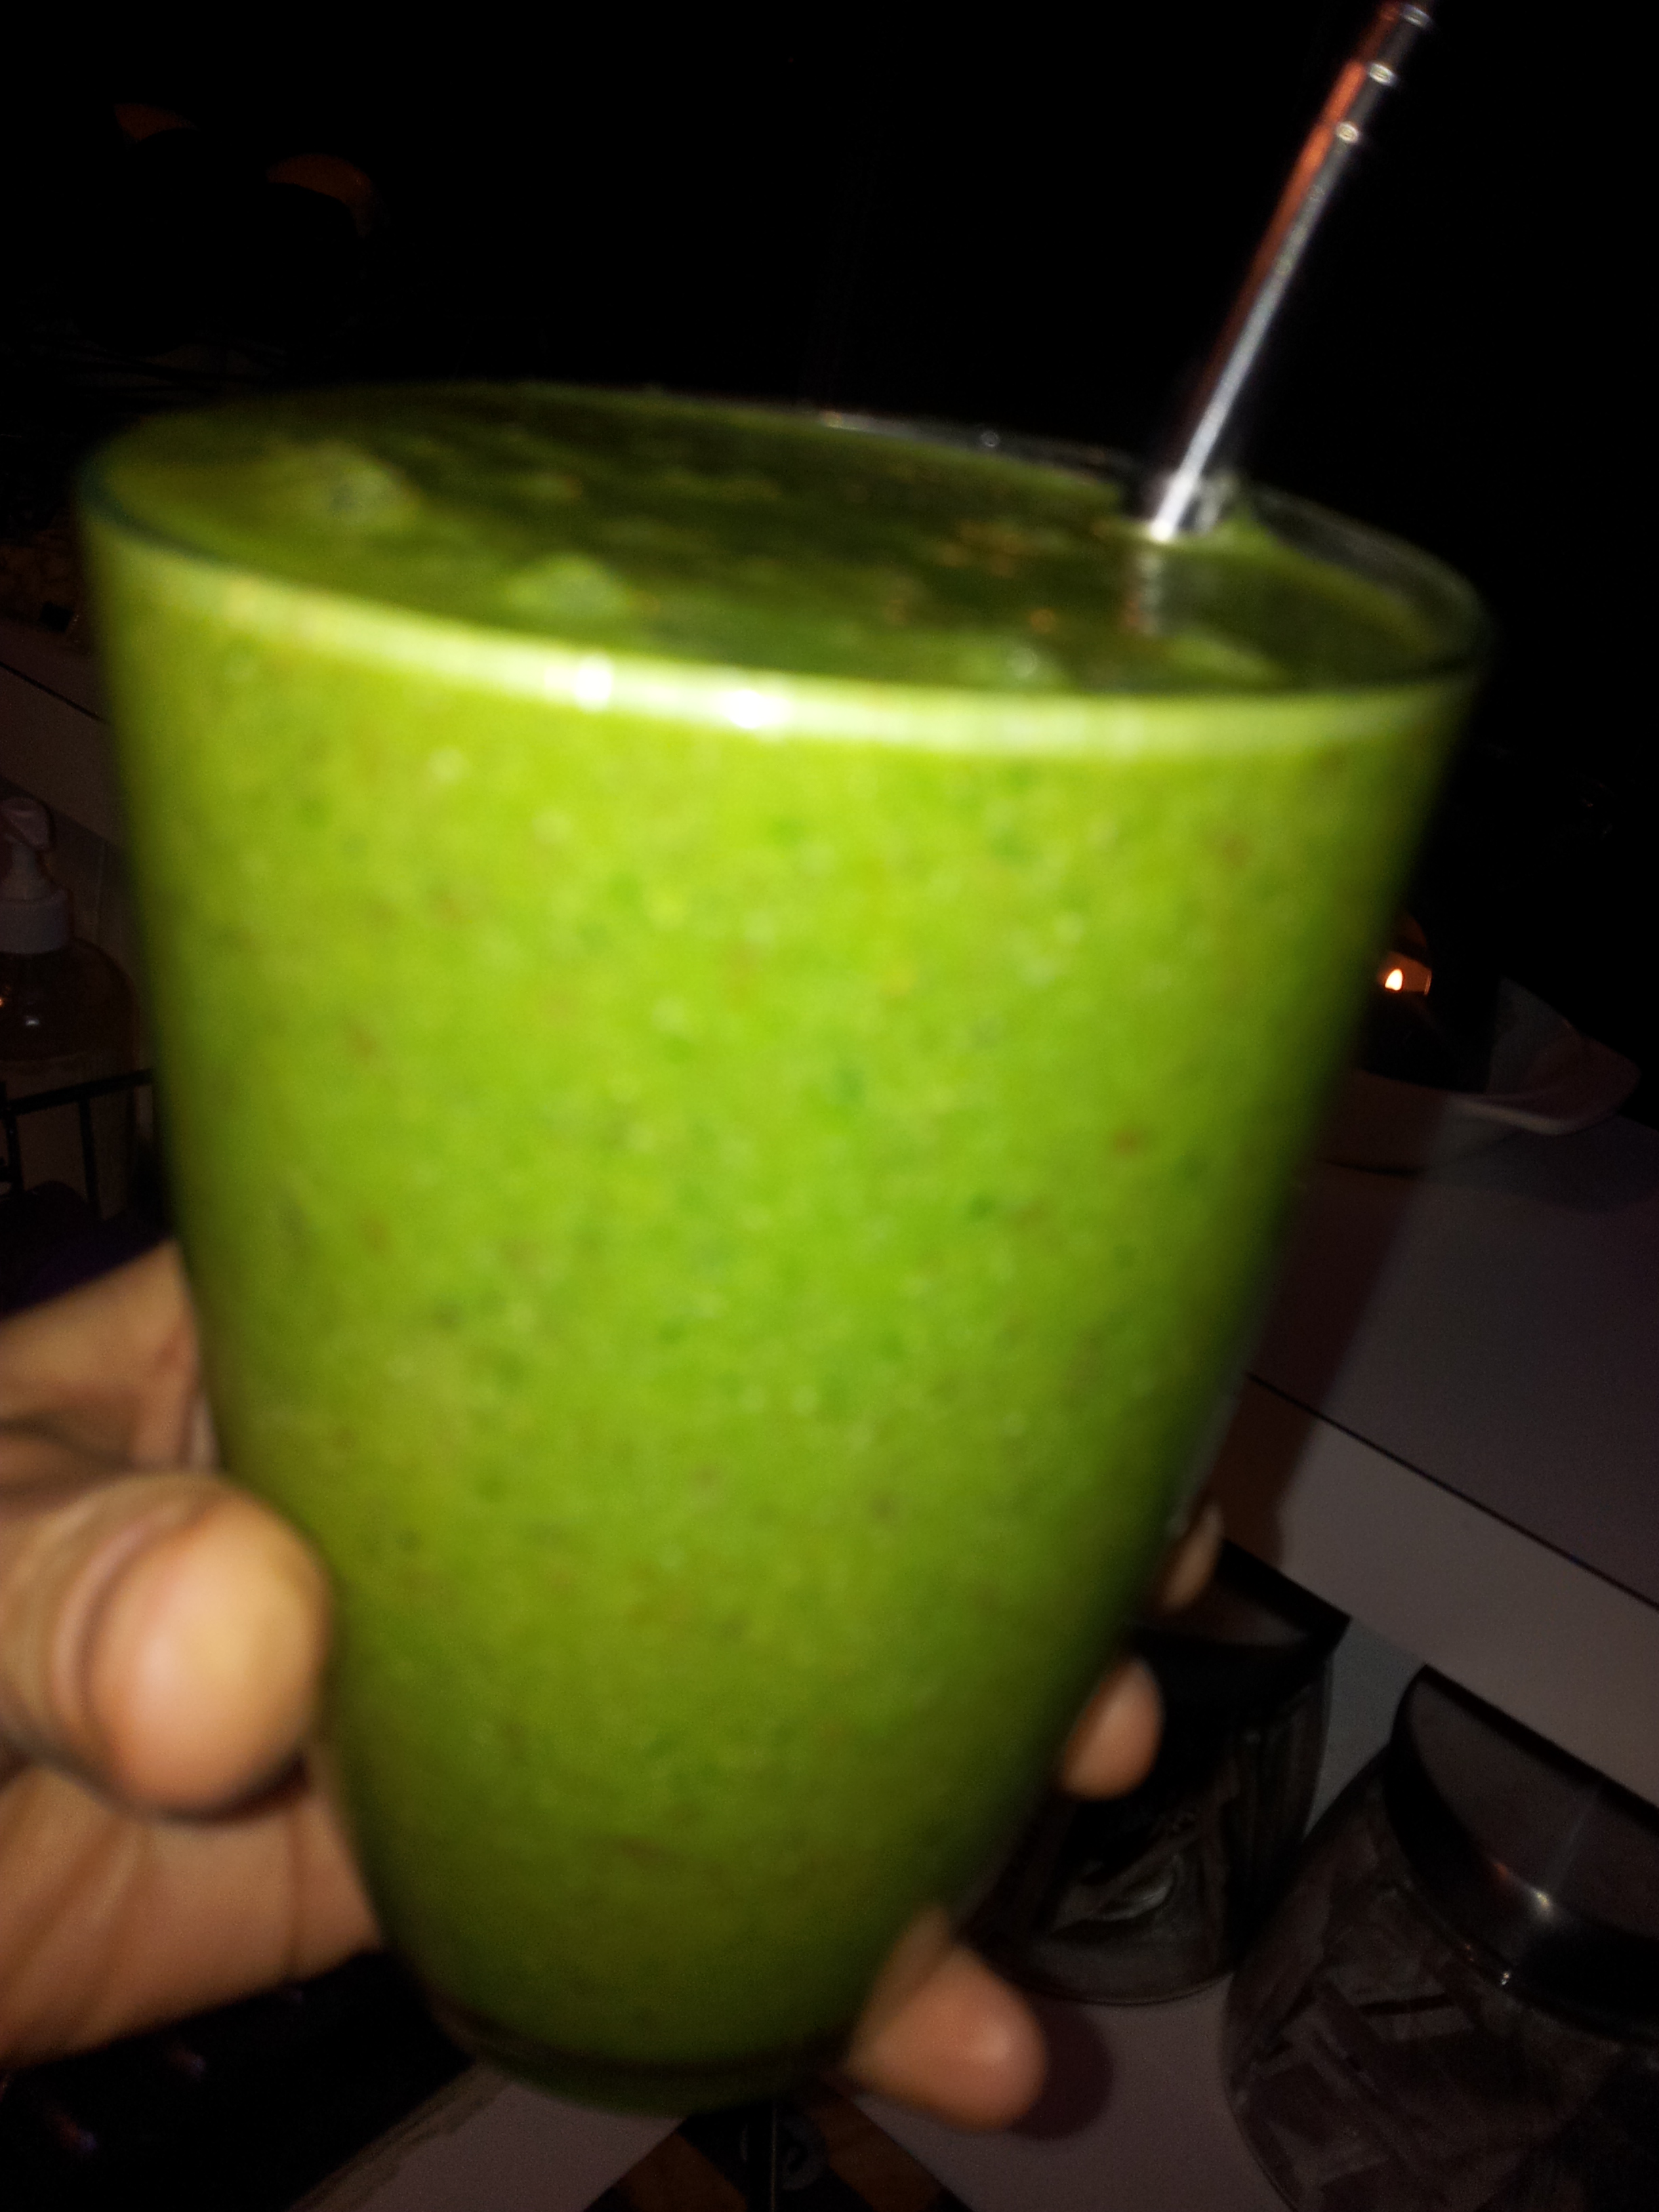
Cos lettuce (fill up half the blender with this, but make sure it is well washed), one small banana, one navel orange, 1 tablespoon chia seeds (optional), some fresh mint and enough plain coconut water to give a good consistency to drink or you can eat it with a spoon.
Just pile all of the ingredients into the blender and process. Pour it into a glass and enjoy!
An amazing colour with a wonderful sweet flavour.
A green smoothie is different to a green juice. A juice has most of the fibre removed and is much lighter to drink and digest. When l was very unwell last year l loved having a green juice as the nutrients were quickly and easily broken down and absorbed for use in the body, whereas a smoothie was too heavy for me and l just couldn’t digest them.
A green juice made with the Cold Pressed juicer.
Part of the joy of drinking a green smoothie is that it is green!
A green smoothie can quickly turn a not so nice colour if you add certain ingredients to it such as raspberries, blueberries or blackberries. It could go a brown colour and will taste great, but won’t look so appetising.
Choosing your ingredients:
1. Start by picking your choice of greens. You can have just the one such as cos lettuce, kale, spinach or silverbeet or a mixture. Cos lettuce is so sweet and lovely and l love the smaller green spinach leaves.
2. What liquid are you going to have in your juice? I would advise either plain coconut water or filtered water.
3. Choose the fruit you are going to add. This could be banana, apple, peach, apricot, pear, mango, pineapple, orange and mandarin as examples. Citrus is wonderful as it will help your body absorb the iron from the greens.
4. Add a few interesting things to your smoothie. Limes and lemon’s with the skin on will give the smoothie a kick, while fresh ginger and herbs such as parsley and mint will help to enhance the flavour.
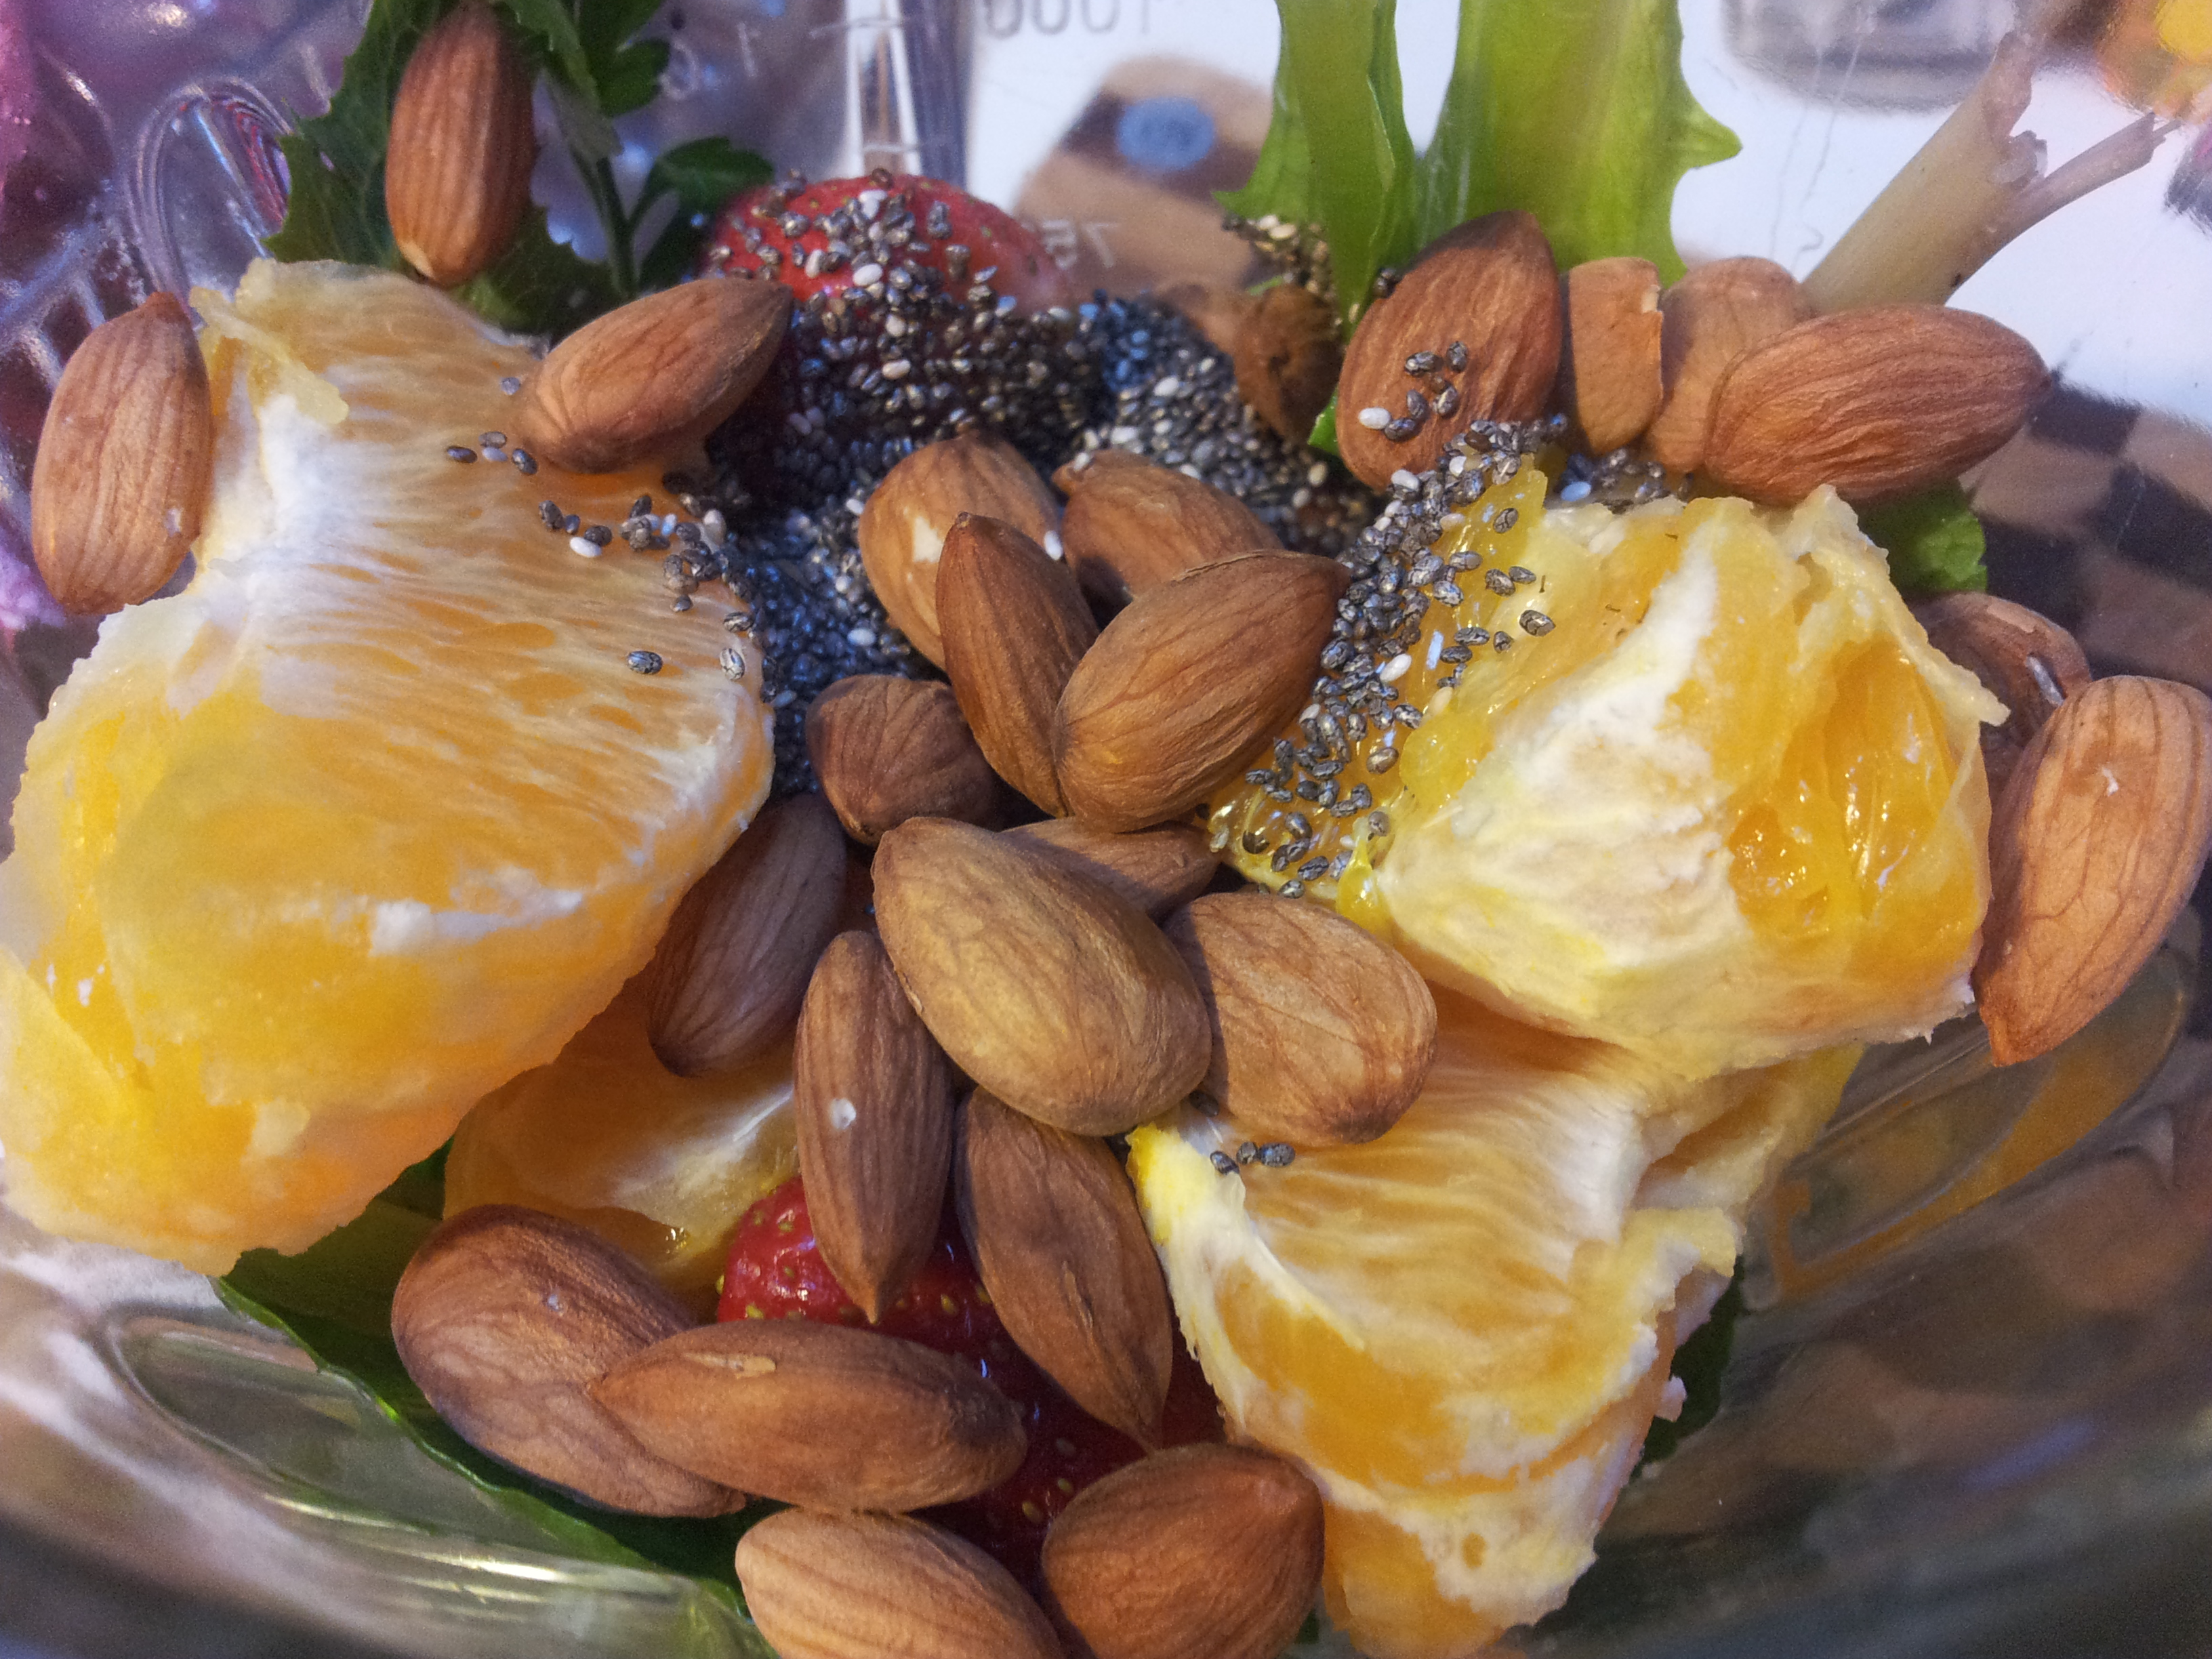
5. Add additional nutrients such as chia seeds, green powders or nuts.
This smoothie has lots of greens, a few strawberries, chia seeds, activated almonds, orange and filtered water.This was such a filling smoothie and there are speckles of red through it from the strawberries.
A way to combine a green smoothie with a more colourful ingredients and still have it looking good is to have some fun putting it together as in the one below. Both the green and pink sections tasted wonderful, but when mixed together were a not so nice brown colour.
A green smoothie with a dash of colour!
The green section is cos lettuce, banana, green apple and coconut water. The pink layer is strawberries, blueberries, acai berry powder, chia seeds, banana and coconut water. I make the green part first and pour it into two glasses and wash the blender, then make the pink part. The decorative pointy bits l do with a stainless steel straw and it looks nice to drink!
A smoothie can easily be a meal if you add in good sources of protein such as chia seeds and nuts. I drink them slowly as it is a lot of liquid going into the stomach all at once and adding the nuts and chia seeds make it a bit heavier and thicker as well as slowing down the digestion of the sugars in the drink. Sometimes l have a handful of nuts with the smoothie if it has a lot of fruit in it and this balances out the snack.
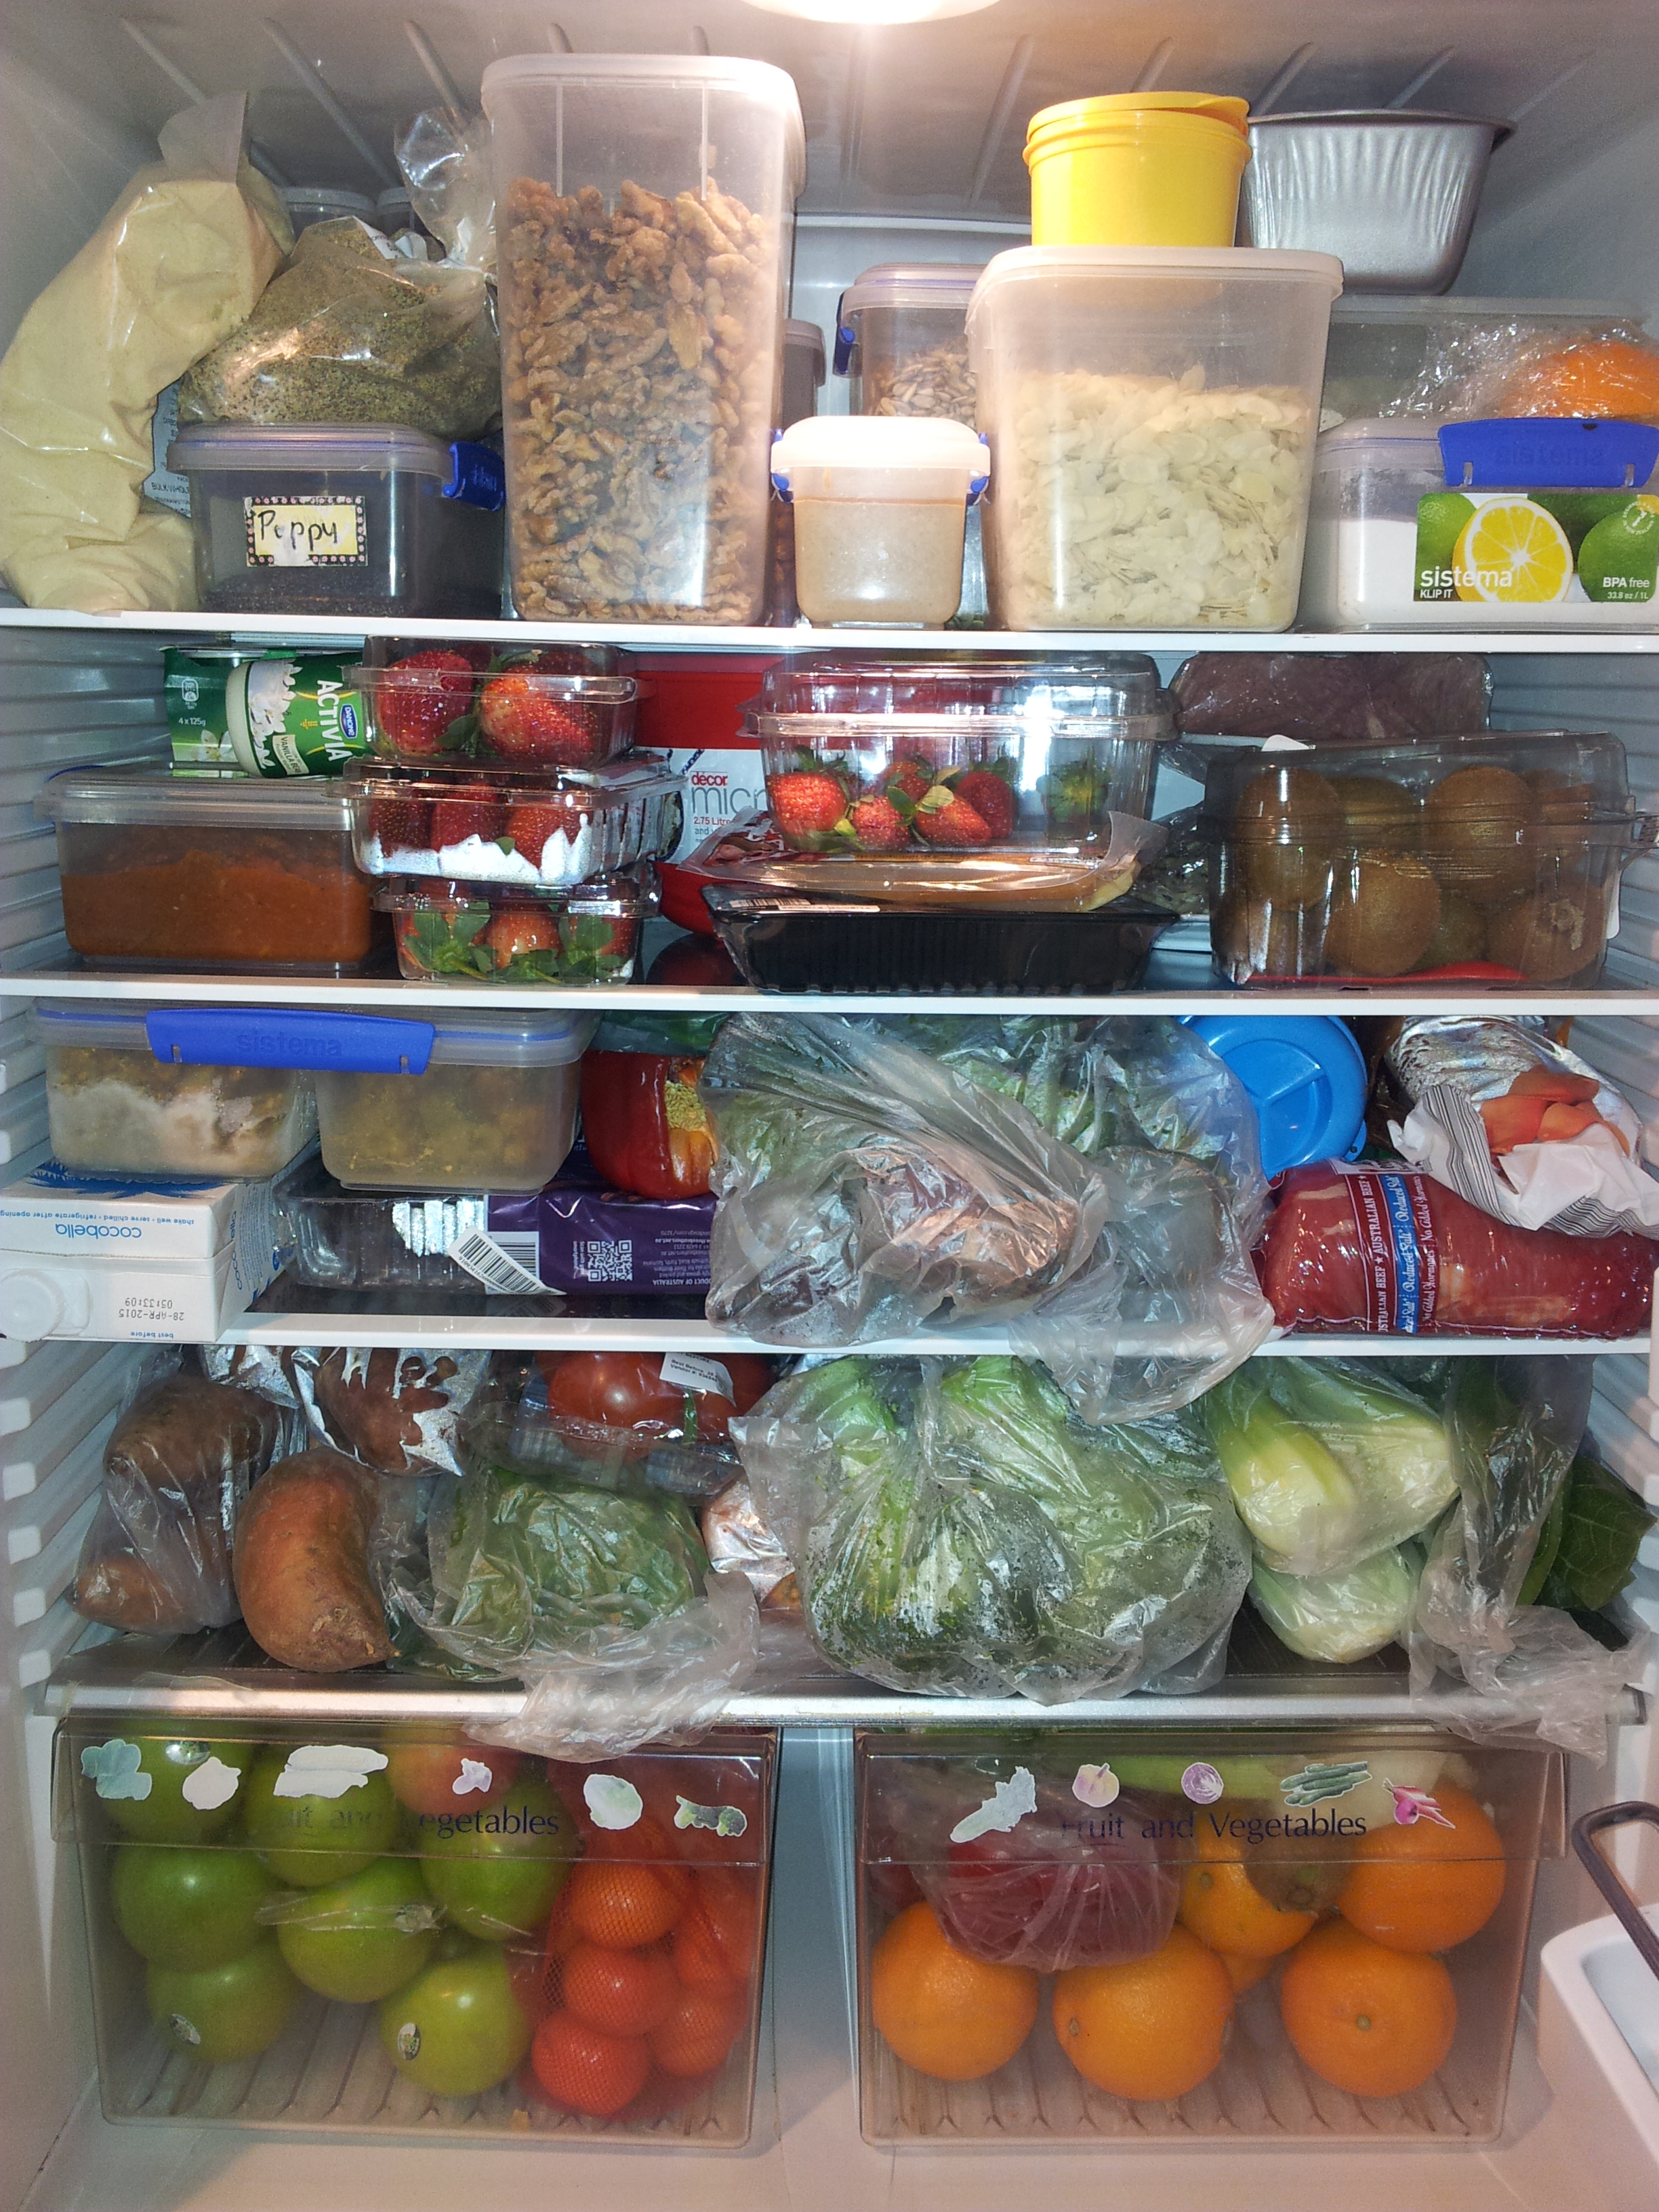
The best way to get started on your smoothie adventure is to fill up your fridge with lots of healthy fresh food. Here is a quick snapshot of my fridge as it looks most of the time.
I really need a bigger fridge!
If you have enjoyed this post please share it with a friend. You can keep up to date with my daily meals and wellness tips on Facebook: holistic wellness for life, Instagram at holistic_paleo as well as Twitter, Flickr, Tumblr and Pinterest.
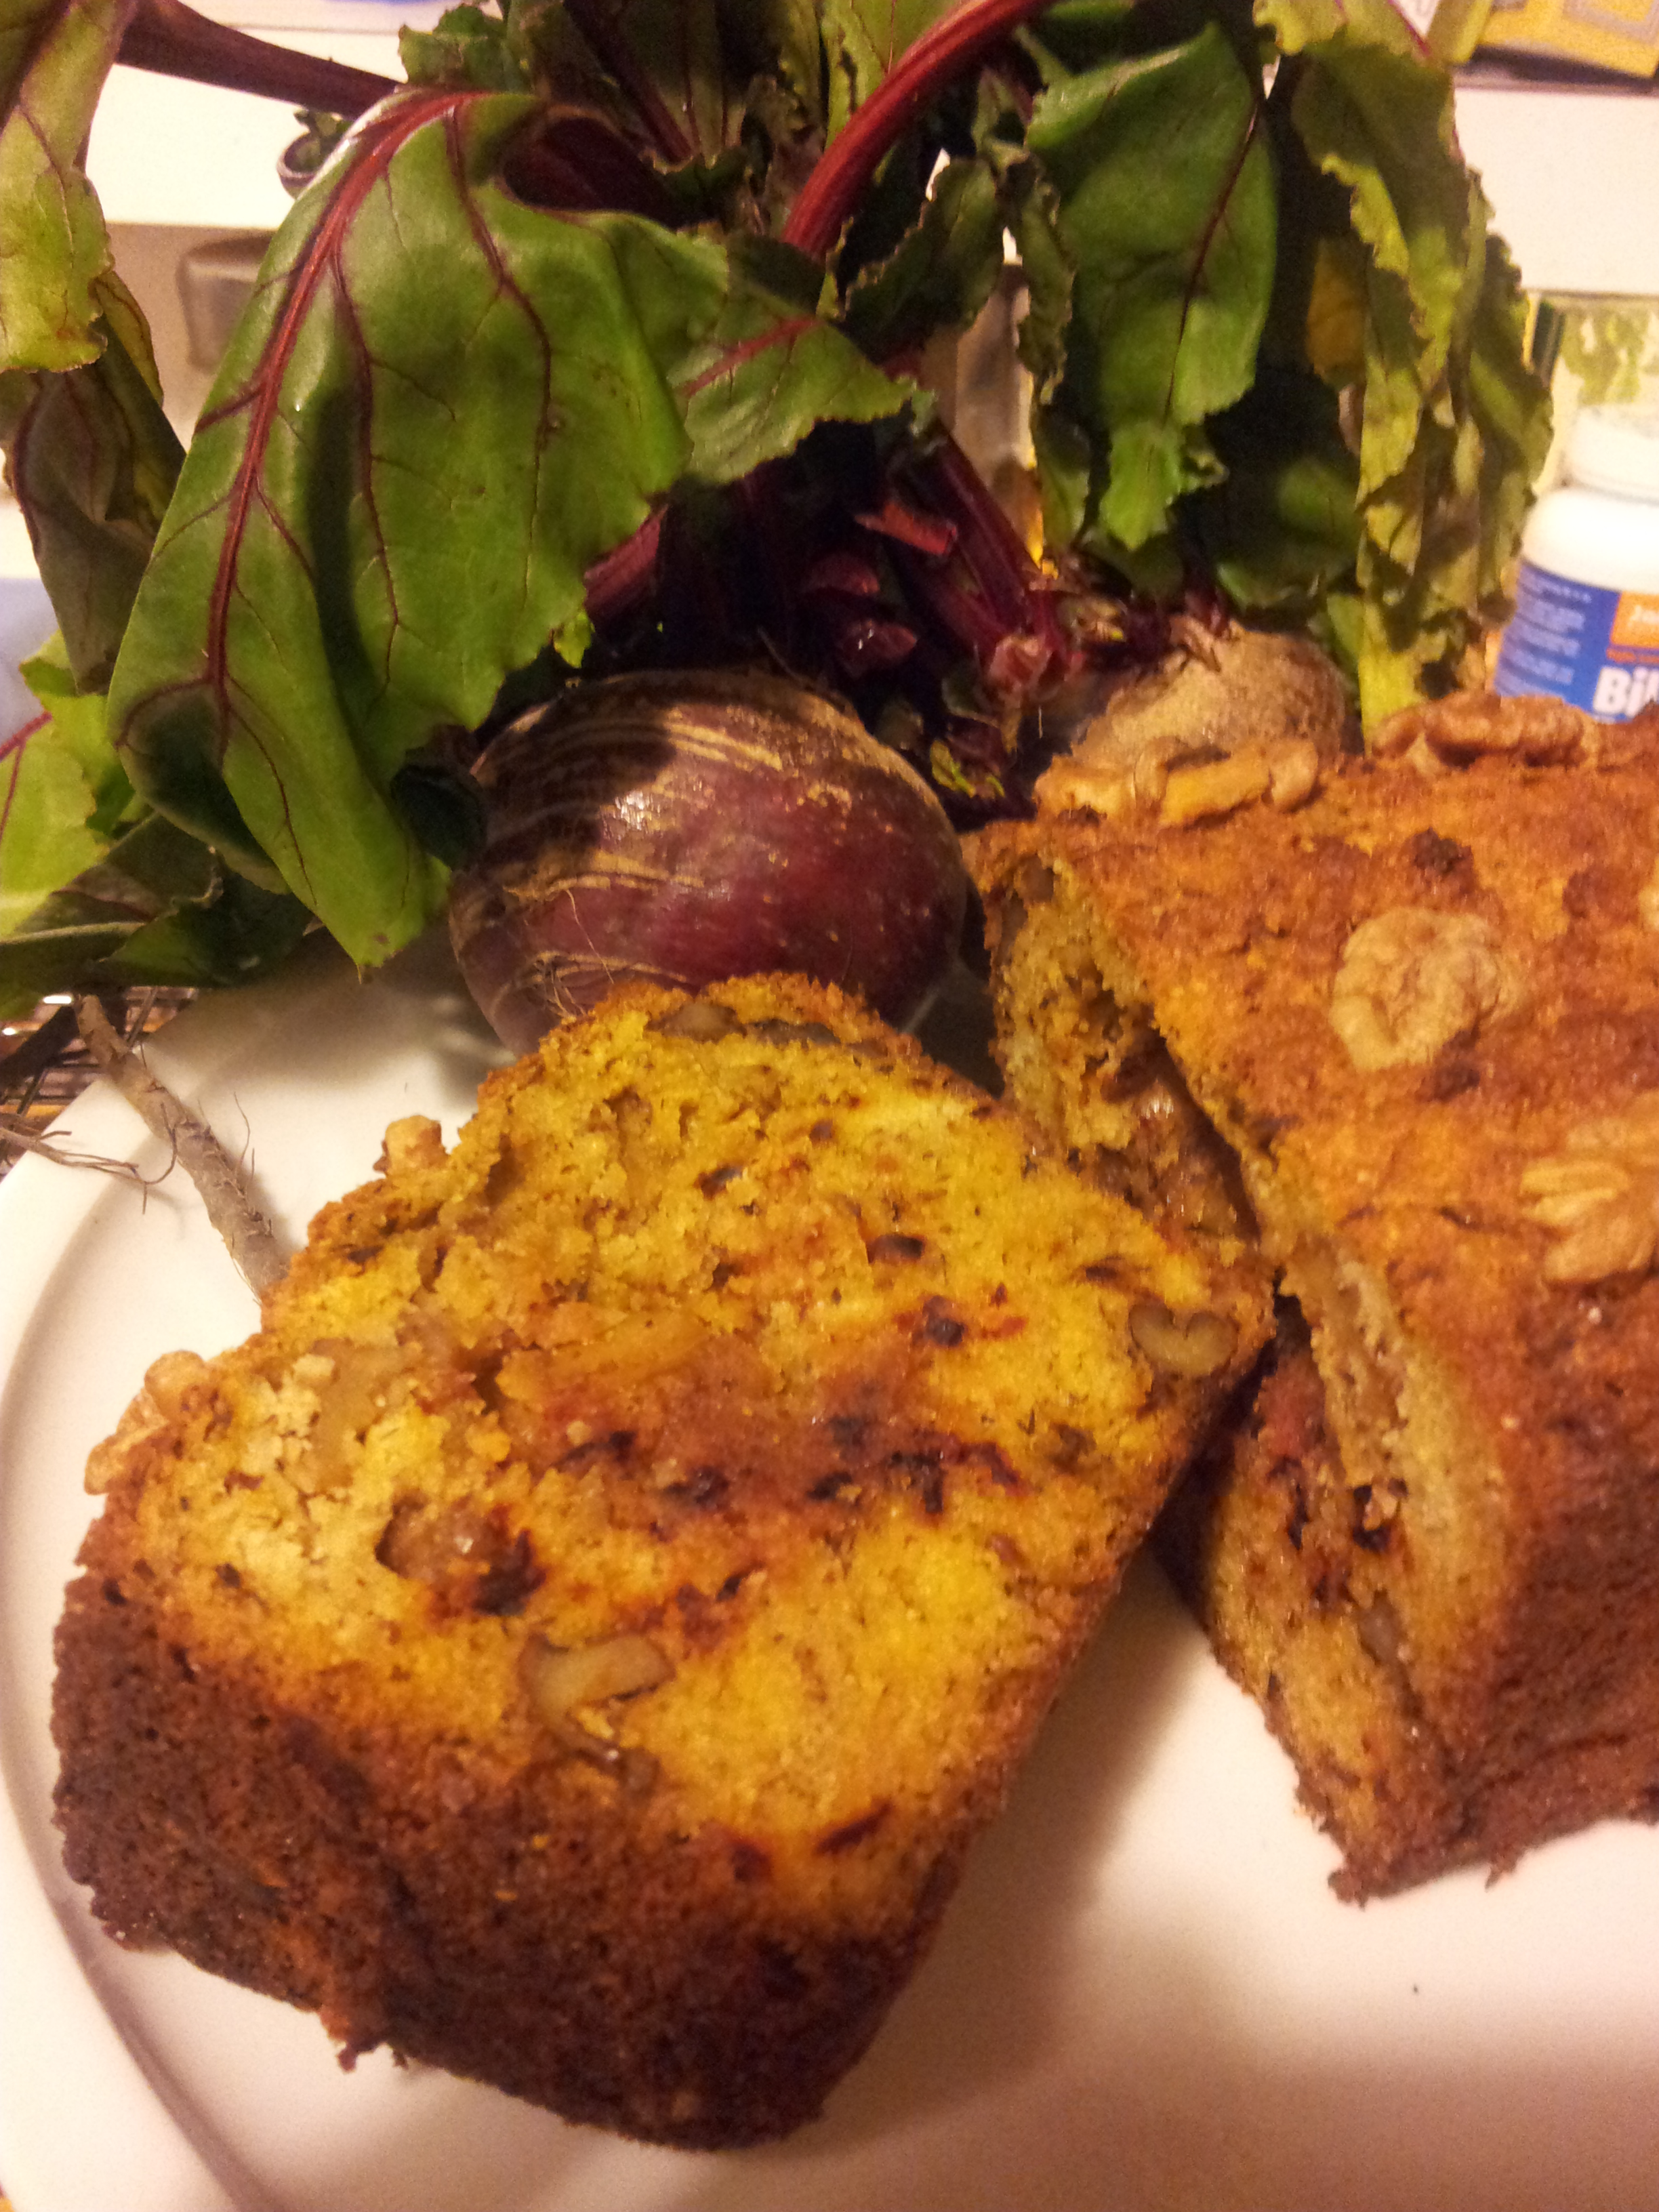
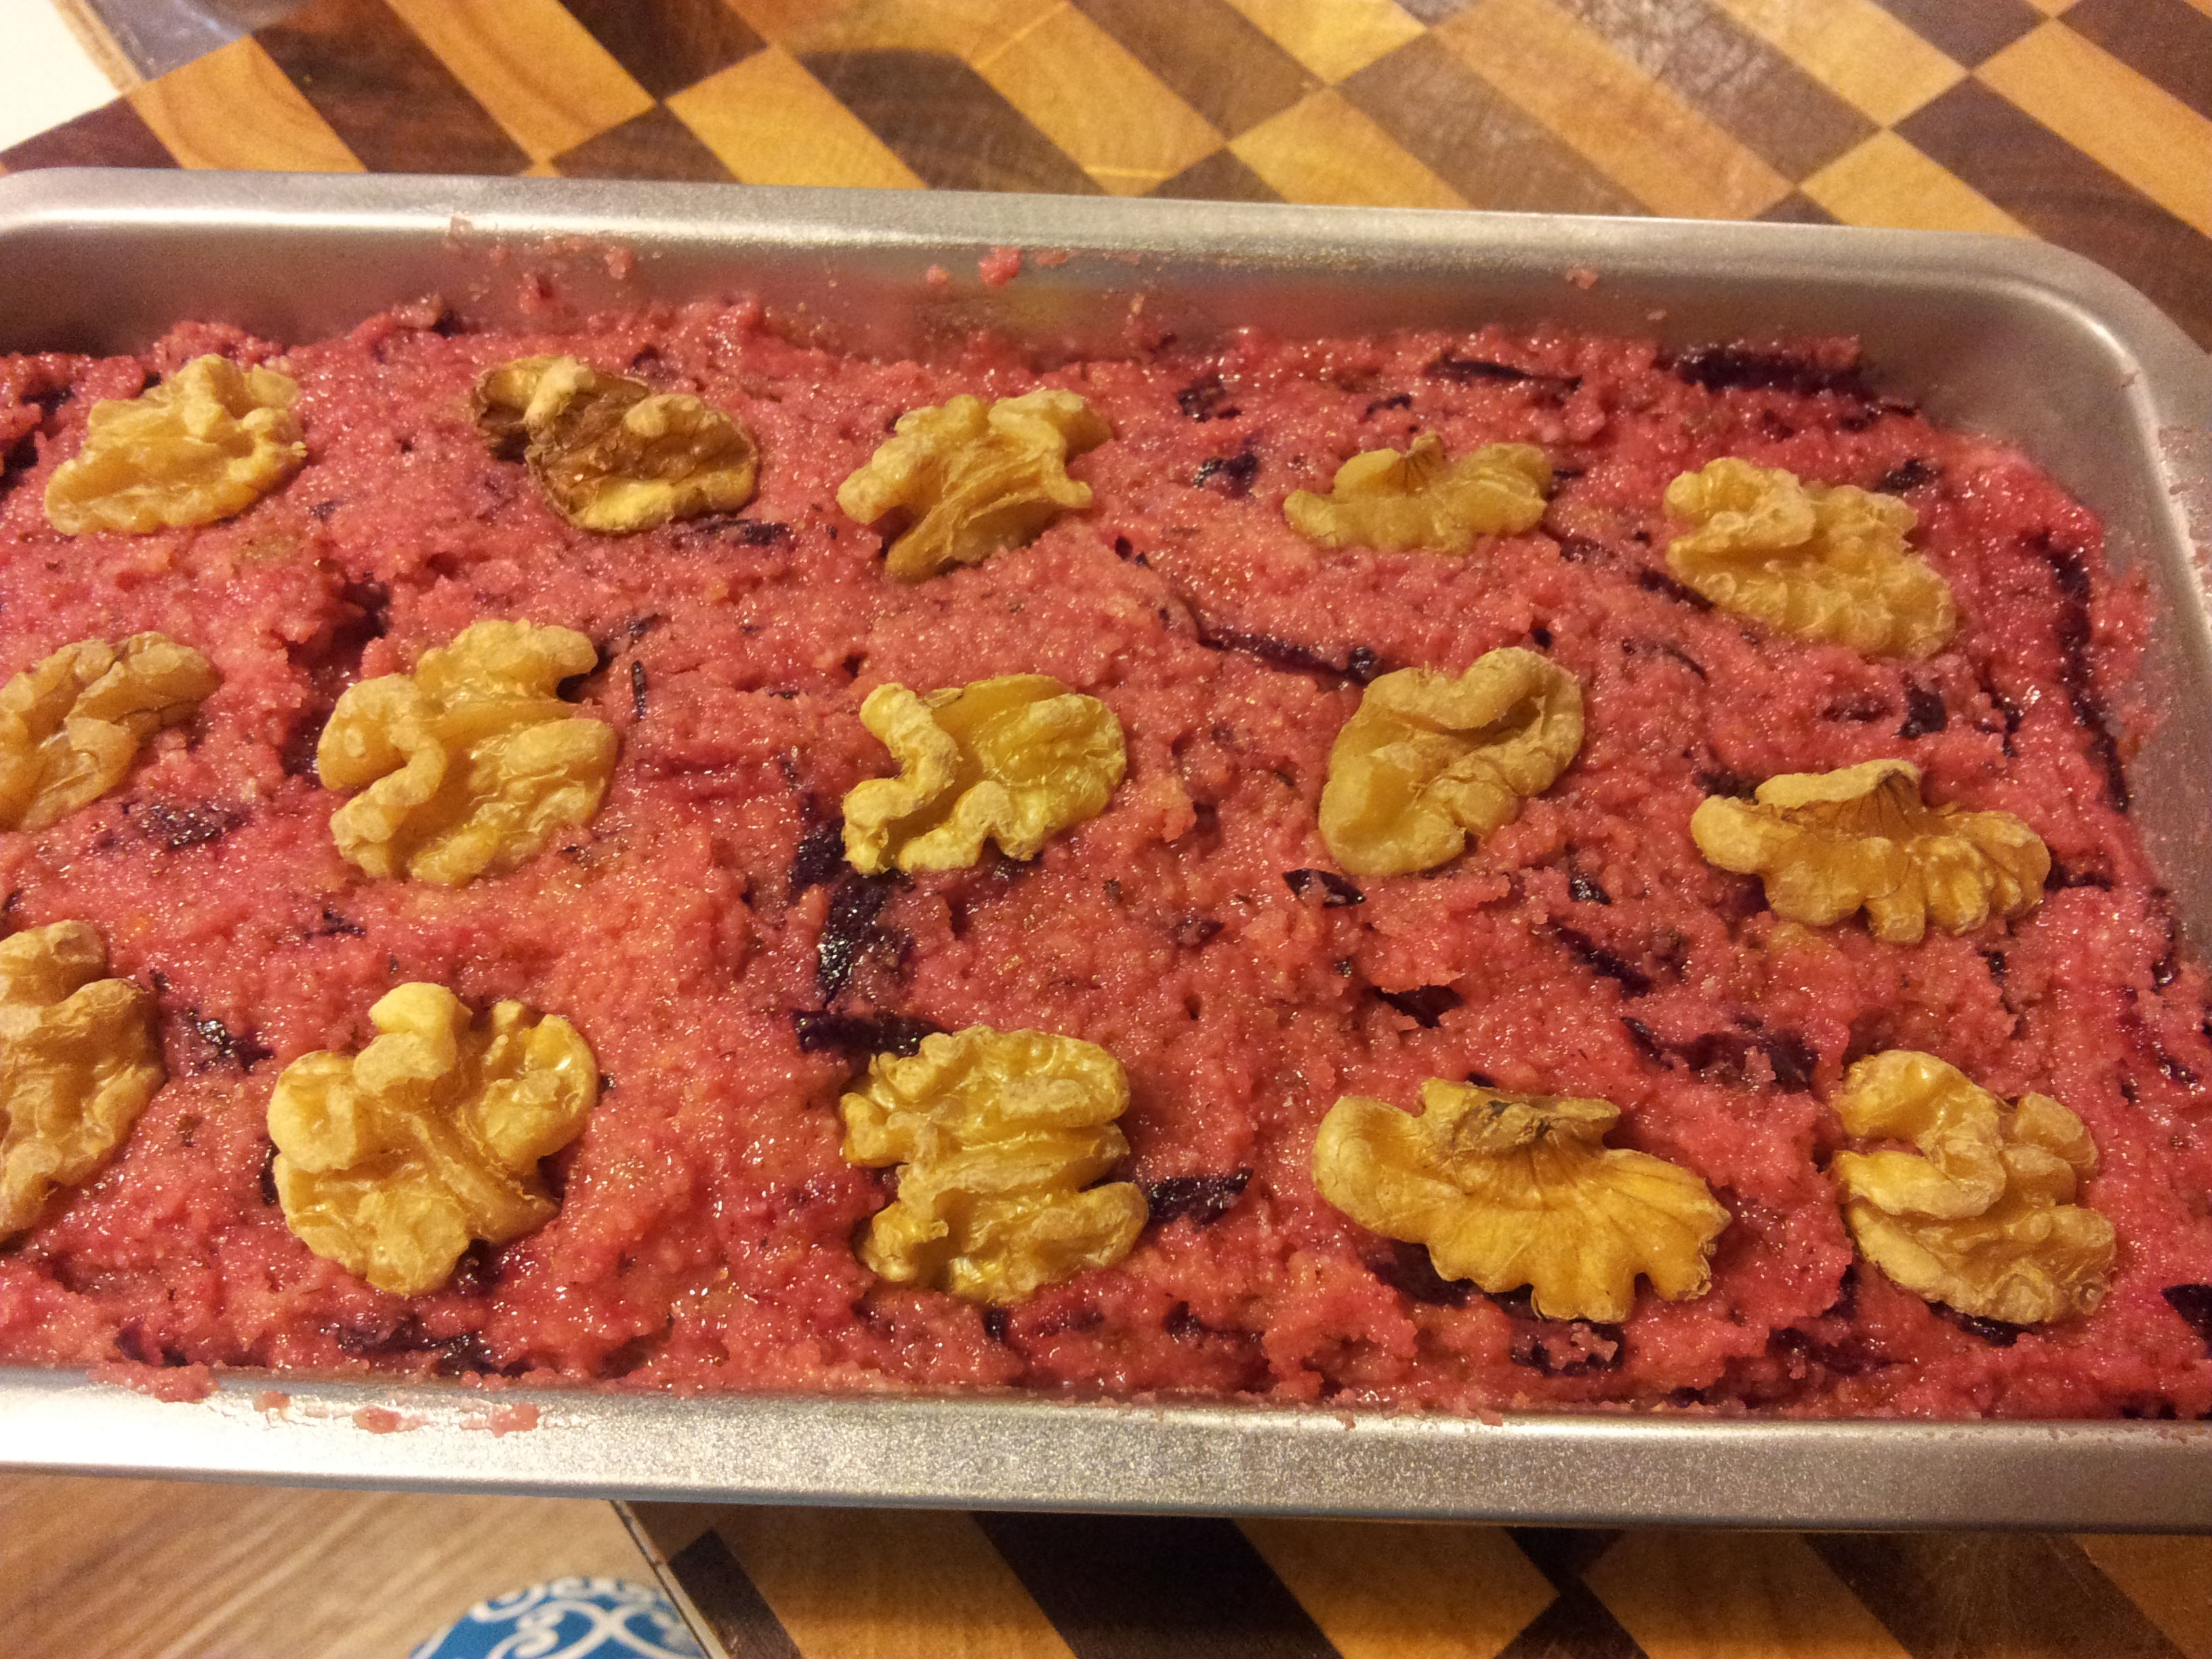
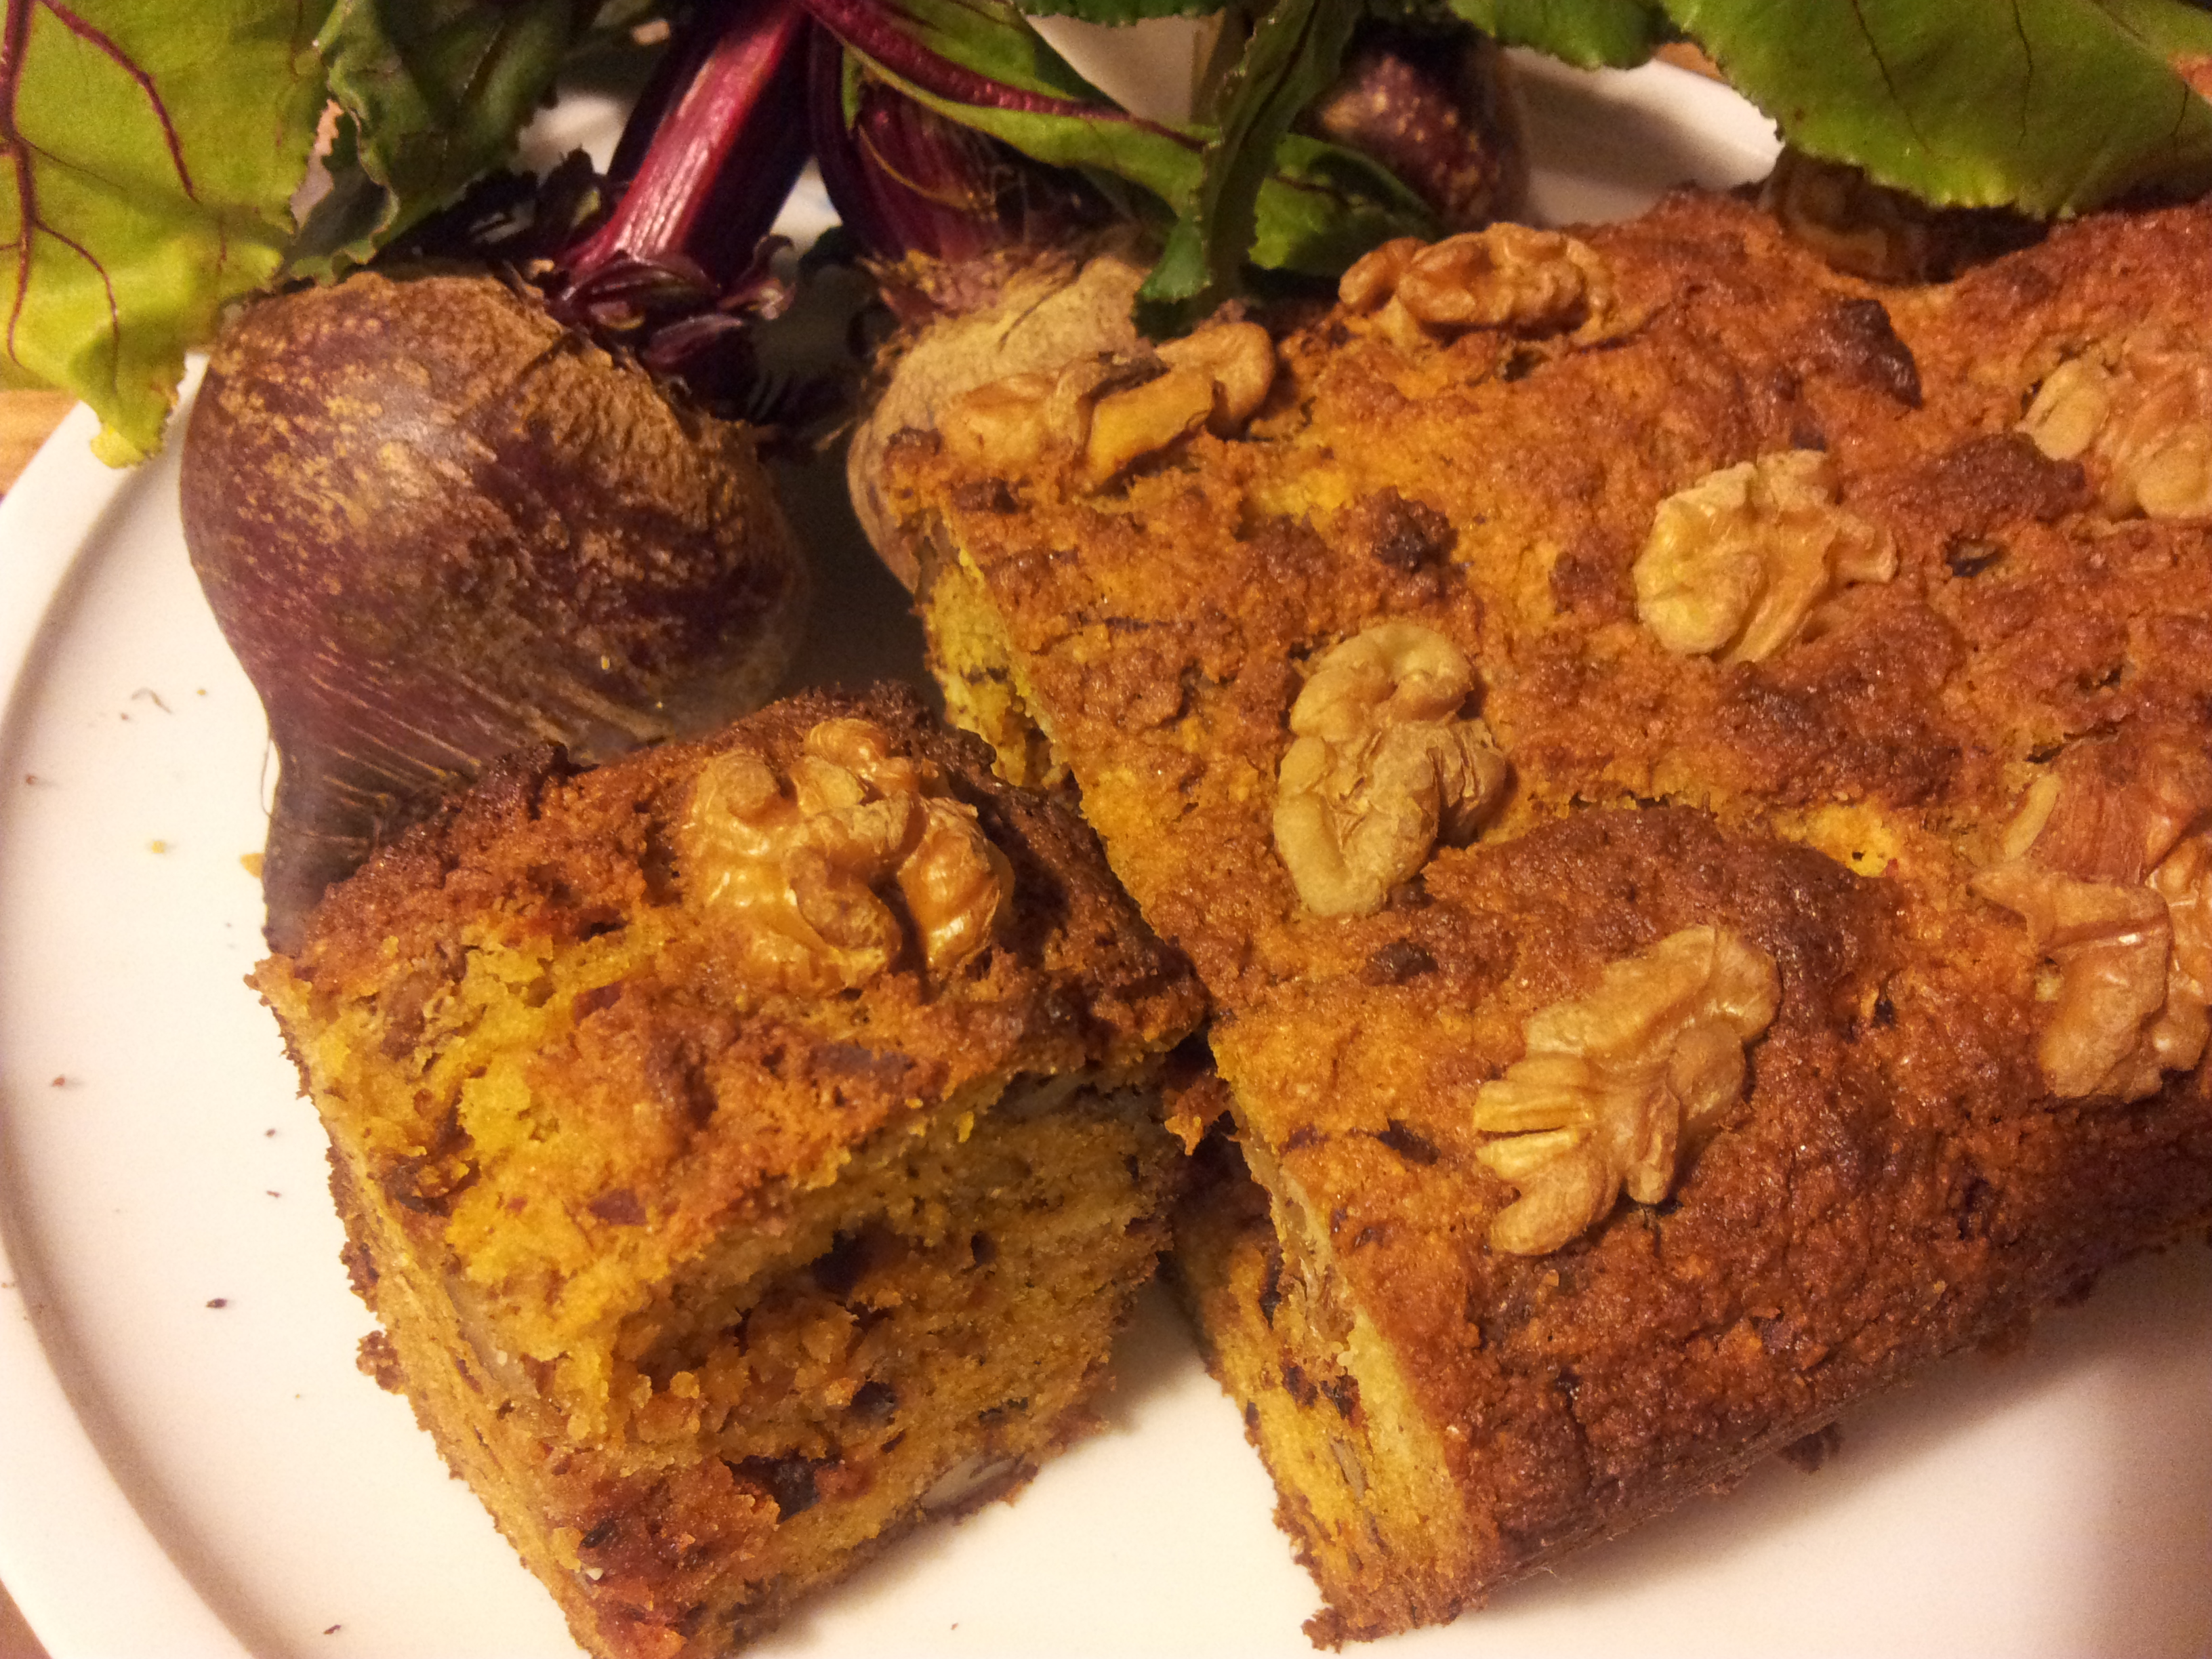
A lovely cake which is Paleo friendly, gluten, dairy and processed sugar-free. Before this cake is cooked it is the loveliest pink colour which unfortunately disappears after it has been baked in the oven.
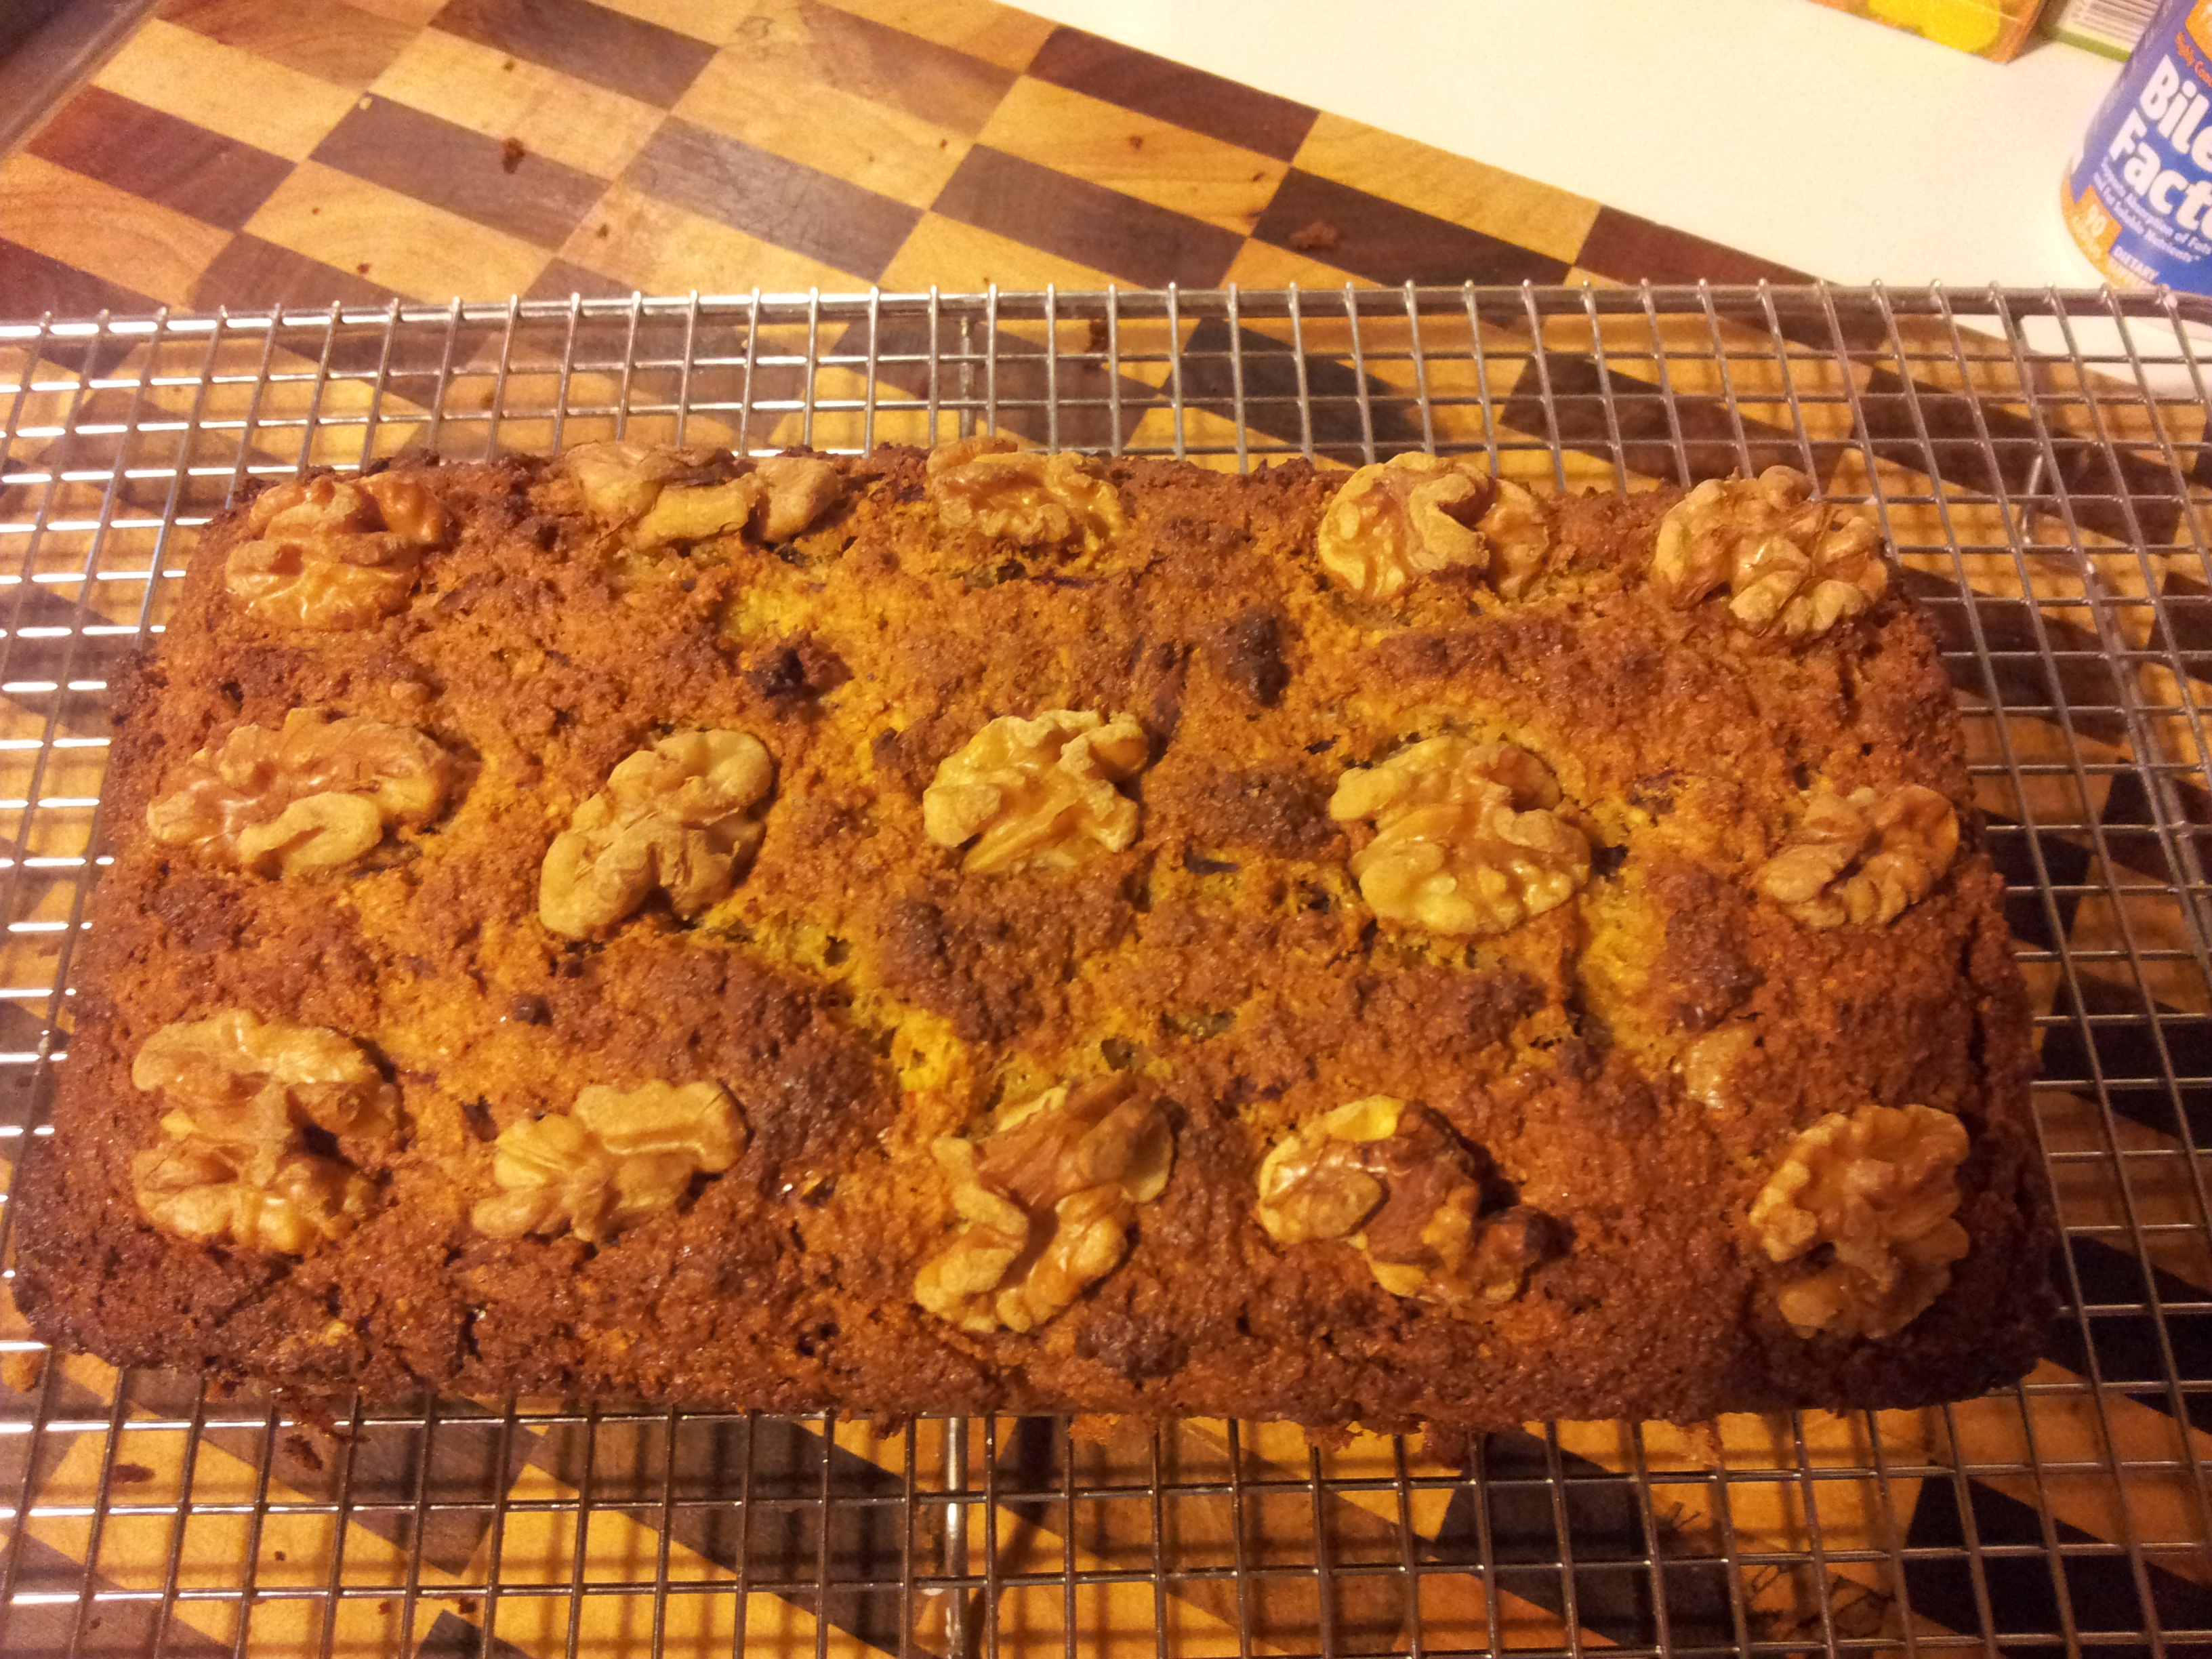
The end piece is always so crunchy and delicious!
Ingredients:
2 cups almond meal
1/4 cup organic coconut flour (no need to sift, just squash the lumps))
6 free range eggs (700g)
A generous 1/4 cup organic coconut oil (gently melted)
A generous 1/4 cup raw organic honey (gently melted)
1 teaspoon organic cinnamon
1 teaspoon bicarbonate soda (Bob’s Red Mill Aluminium free ).
One small fresh beetroot peeled and grated
1/2 cup raw activated walnuts chopped roughly (or just raw walnuts)
Extra whole walnuts for the top of the cake.
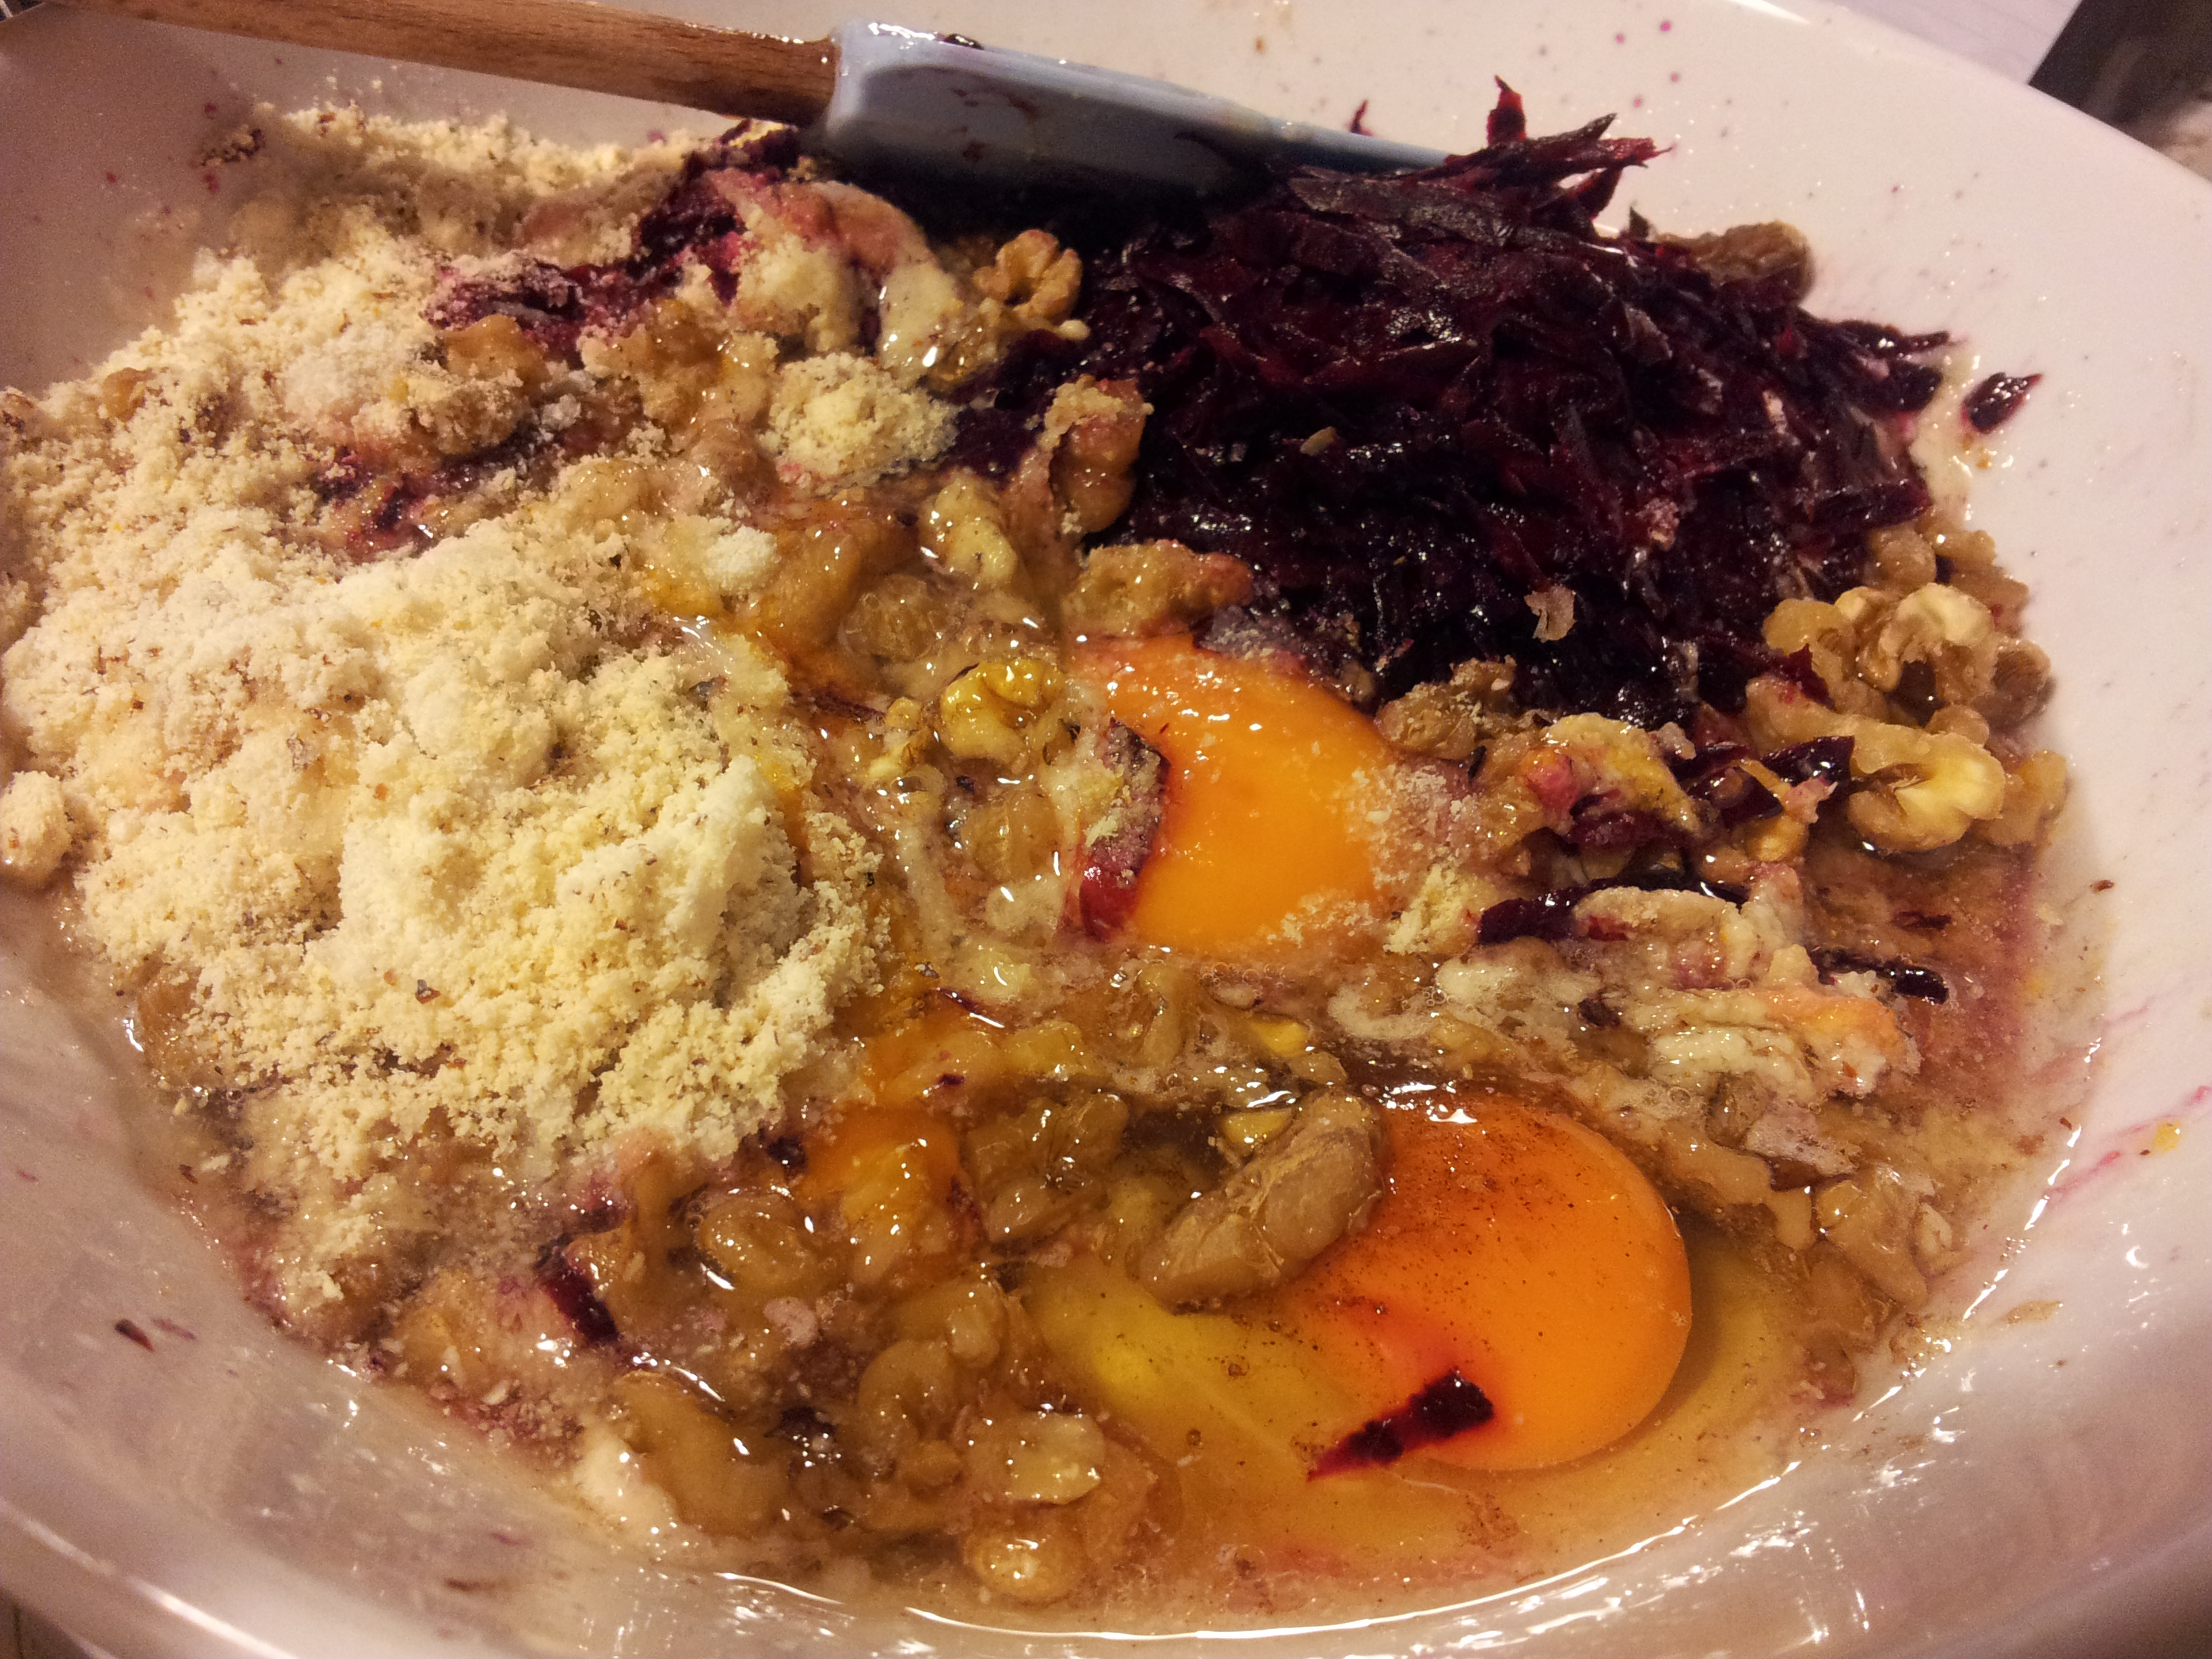
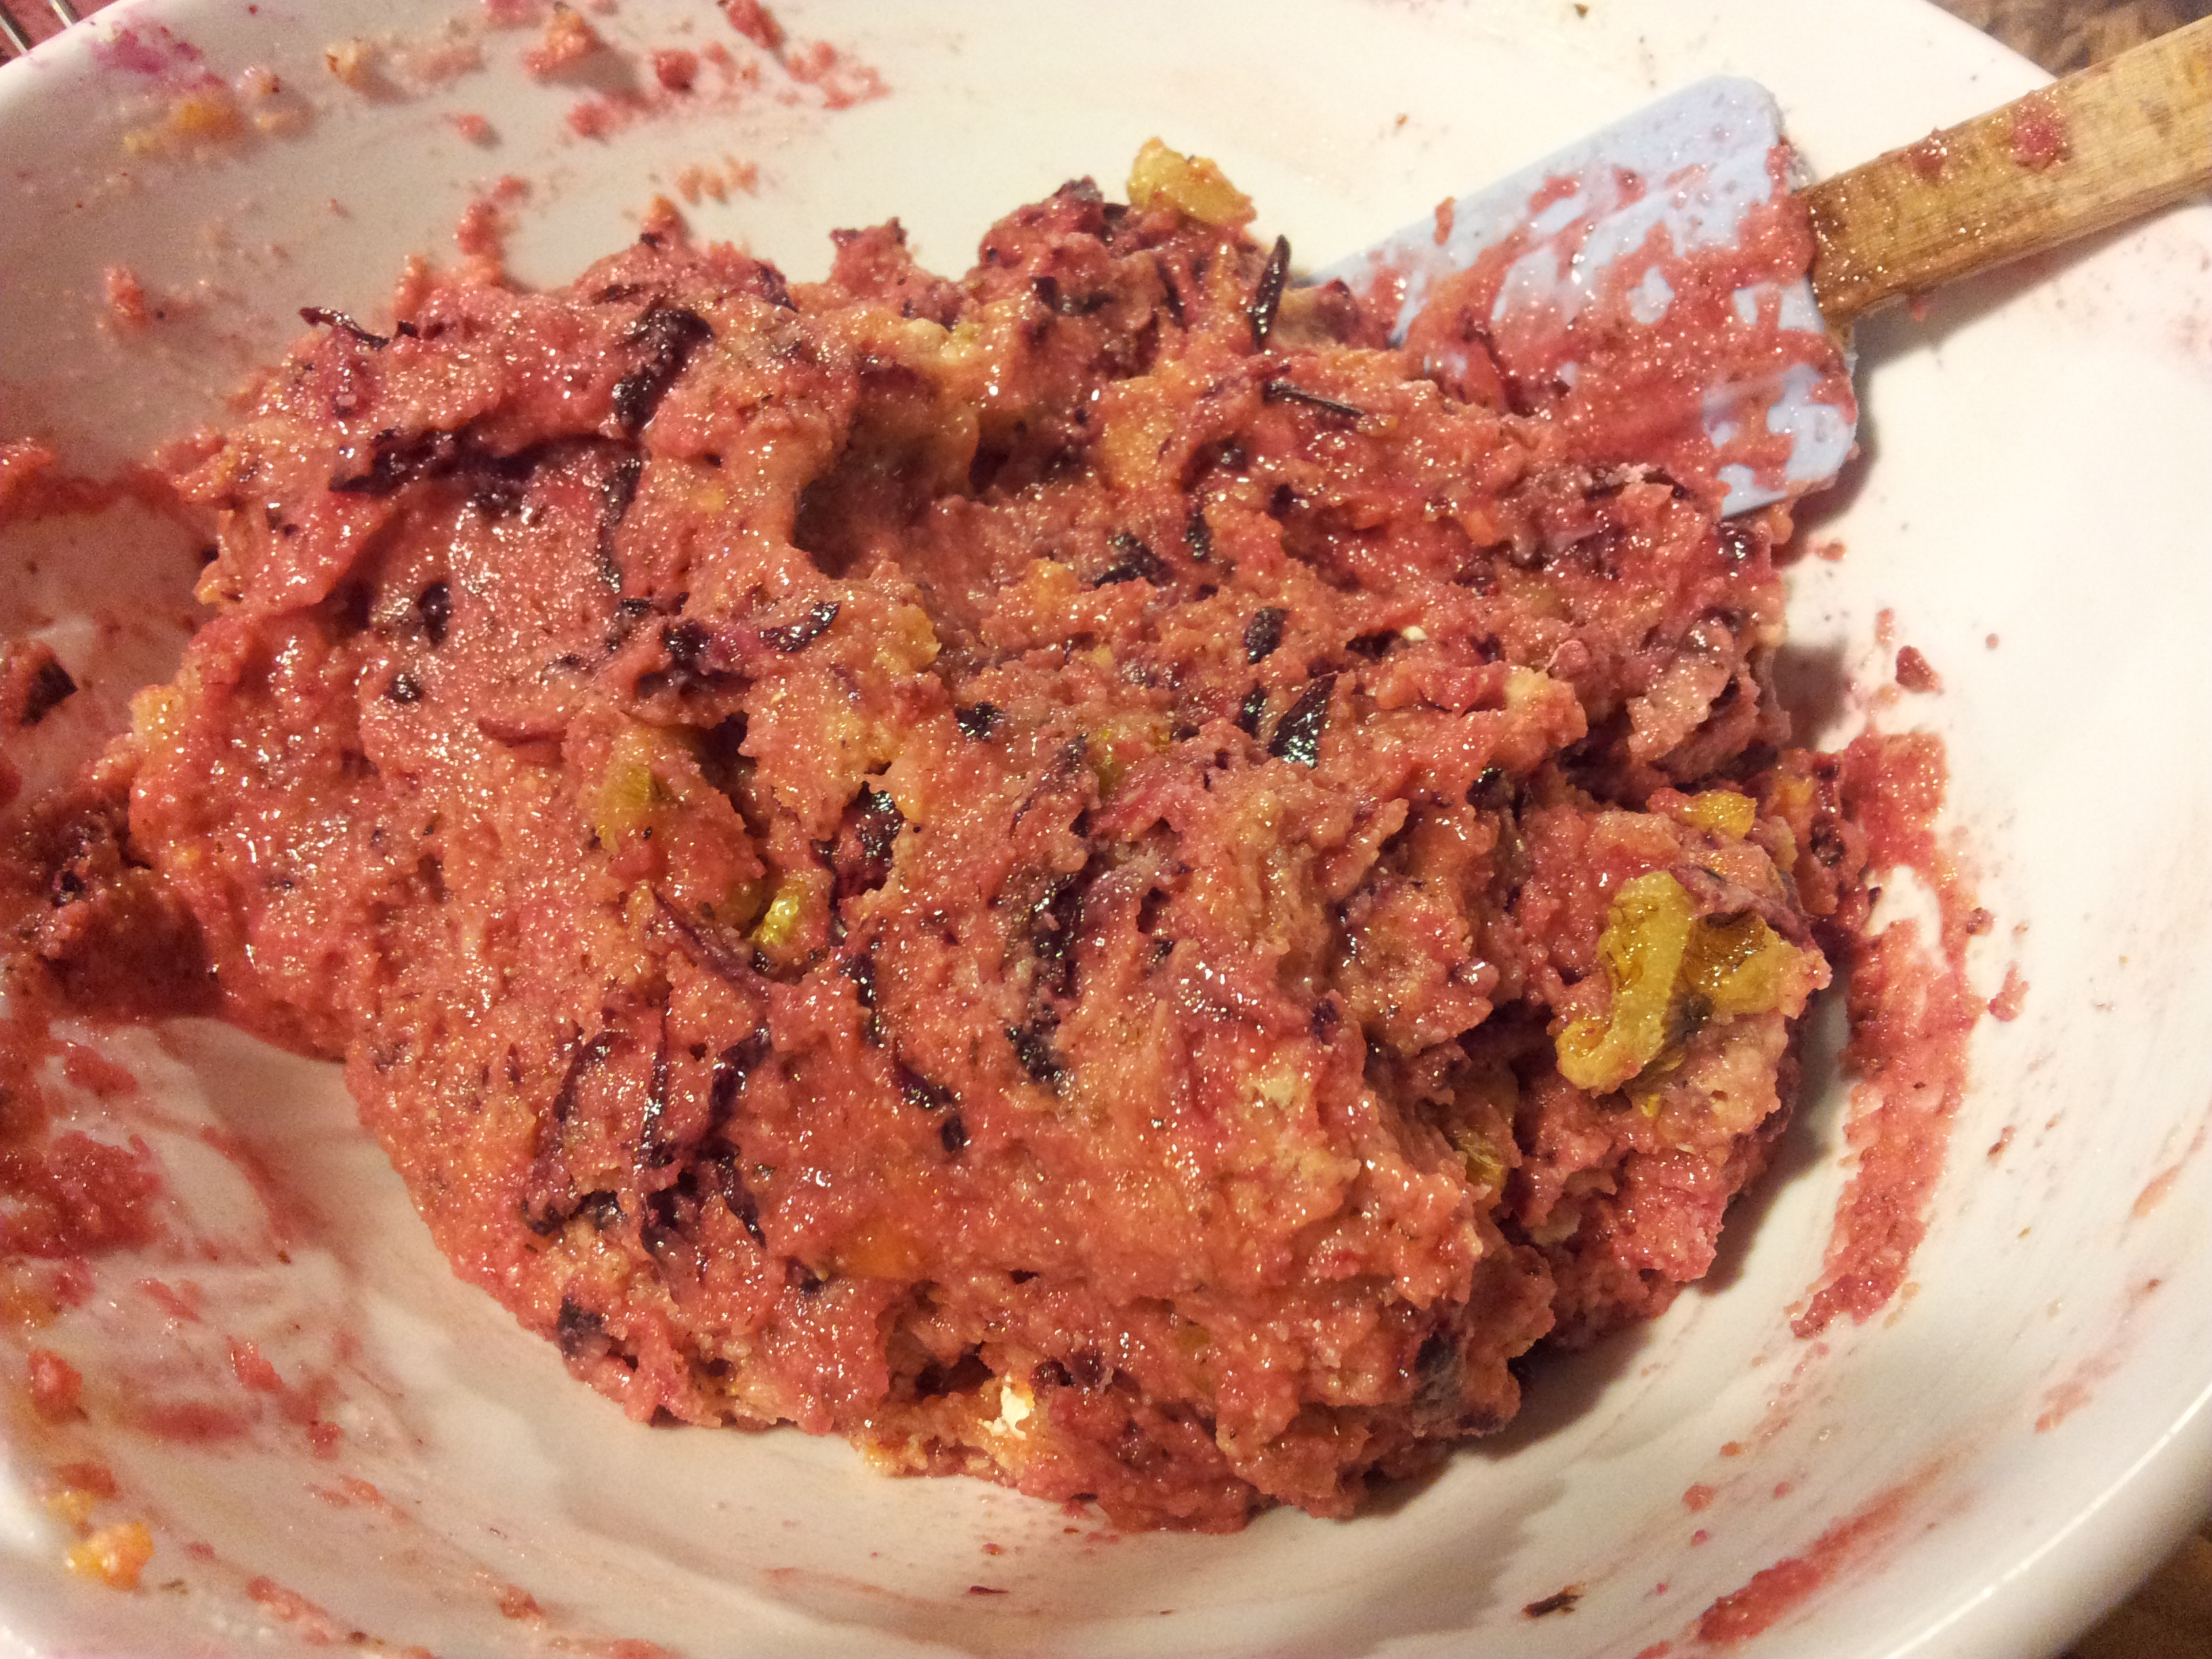
Ready to be mixed
Place all of the ingredients in a mixing bowl and gently combine with a spatula.
The colour is lovely
Place the mixture in a greased and lined baking tin. Smooth the top with a spatula and then place the extra whole walnuts on top of the cake
I greased my tin with coconut oil.
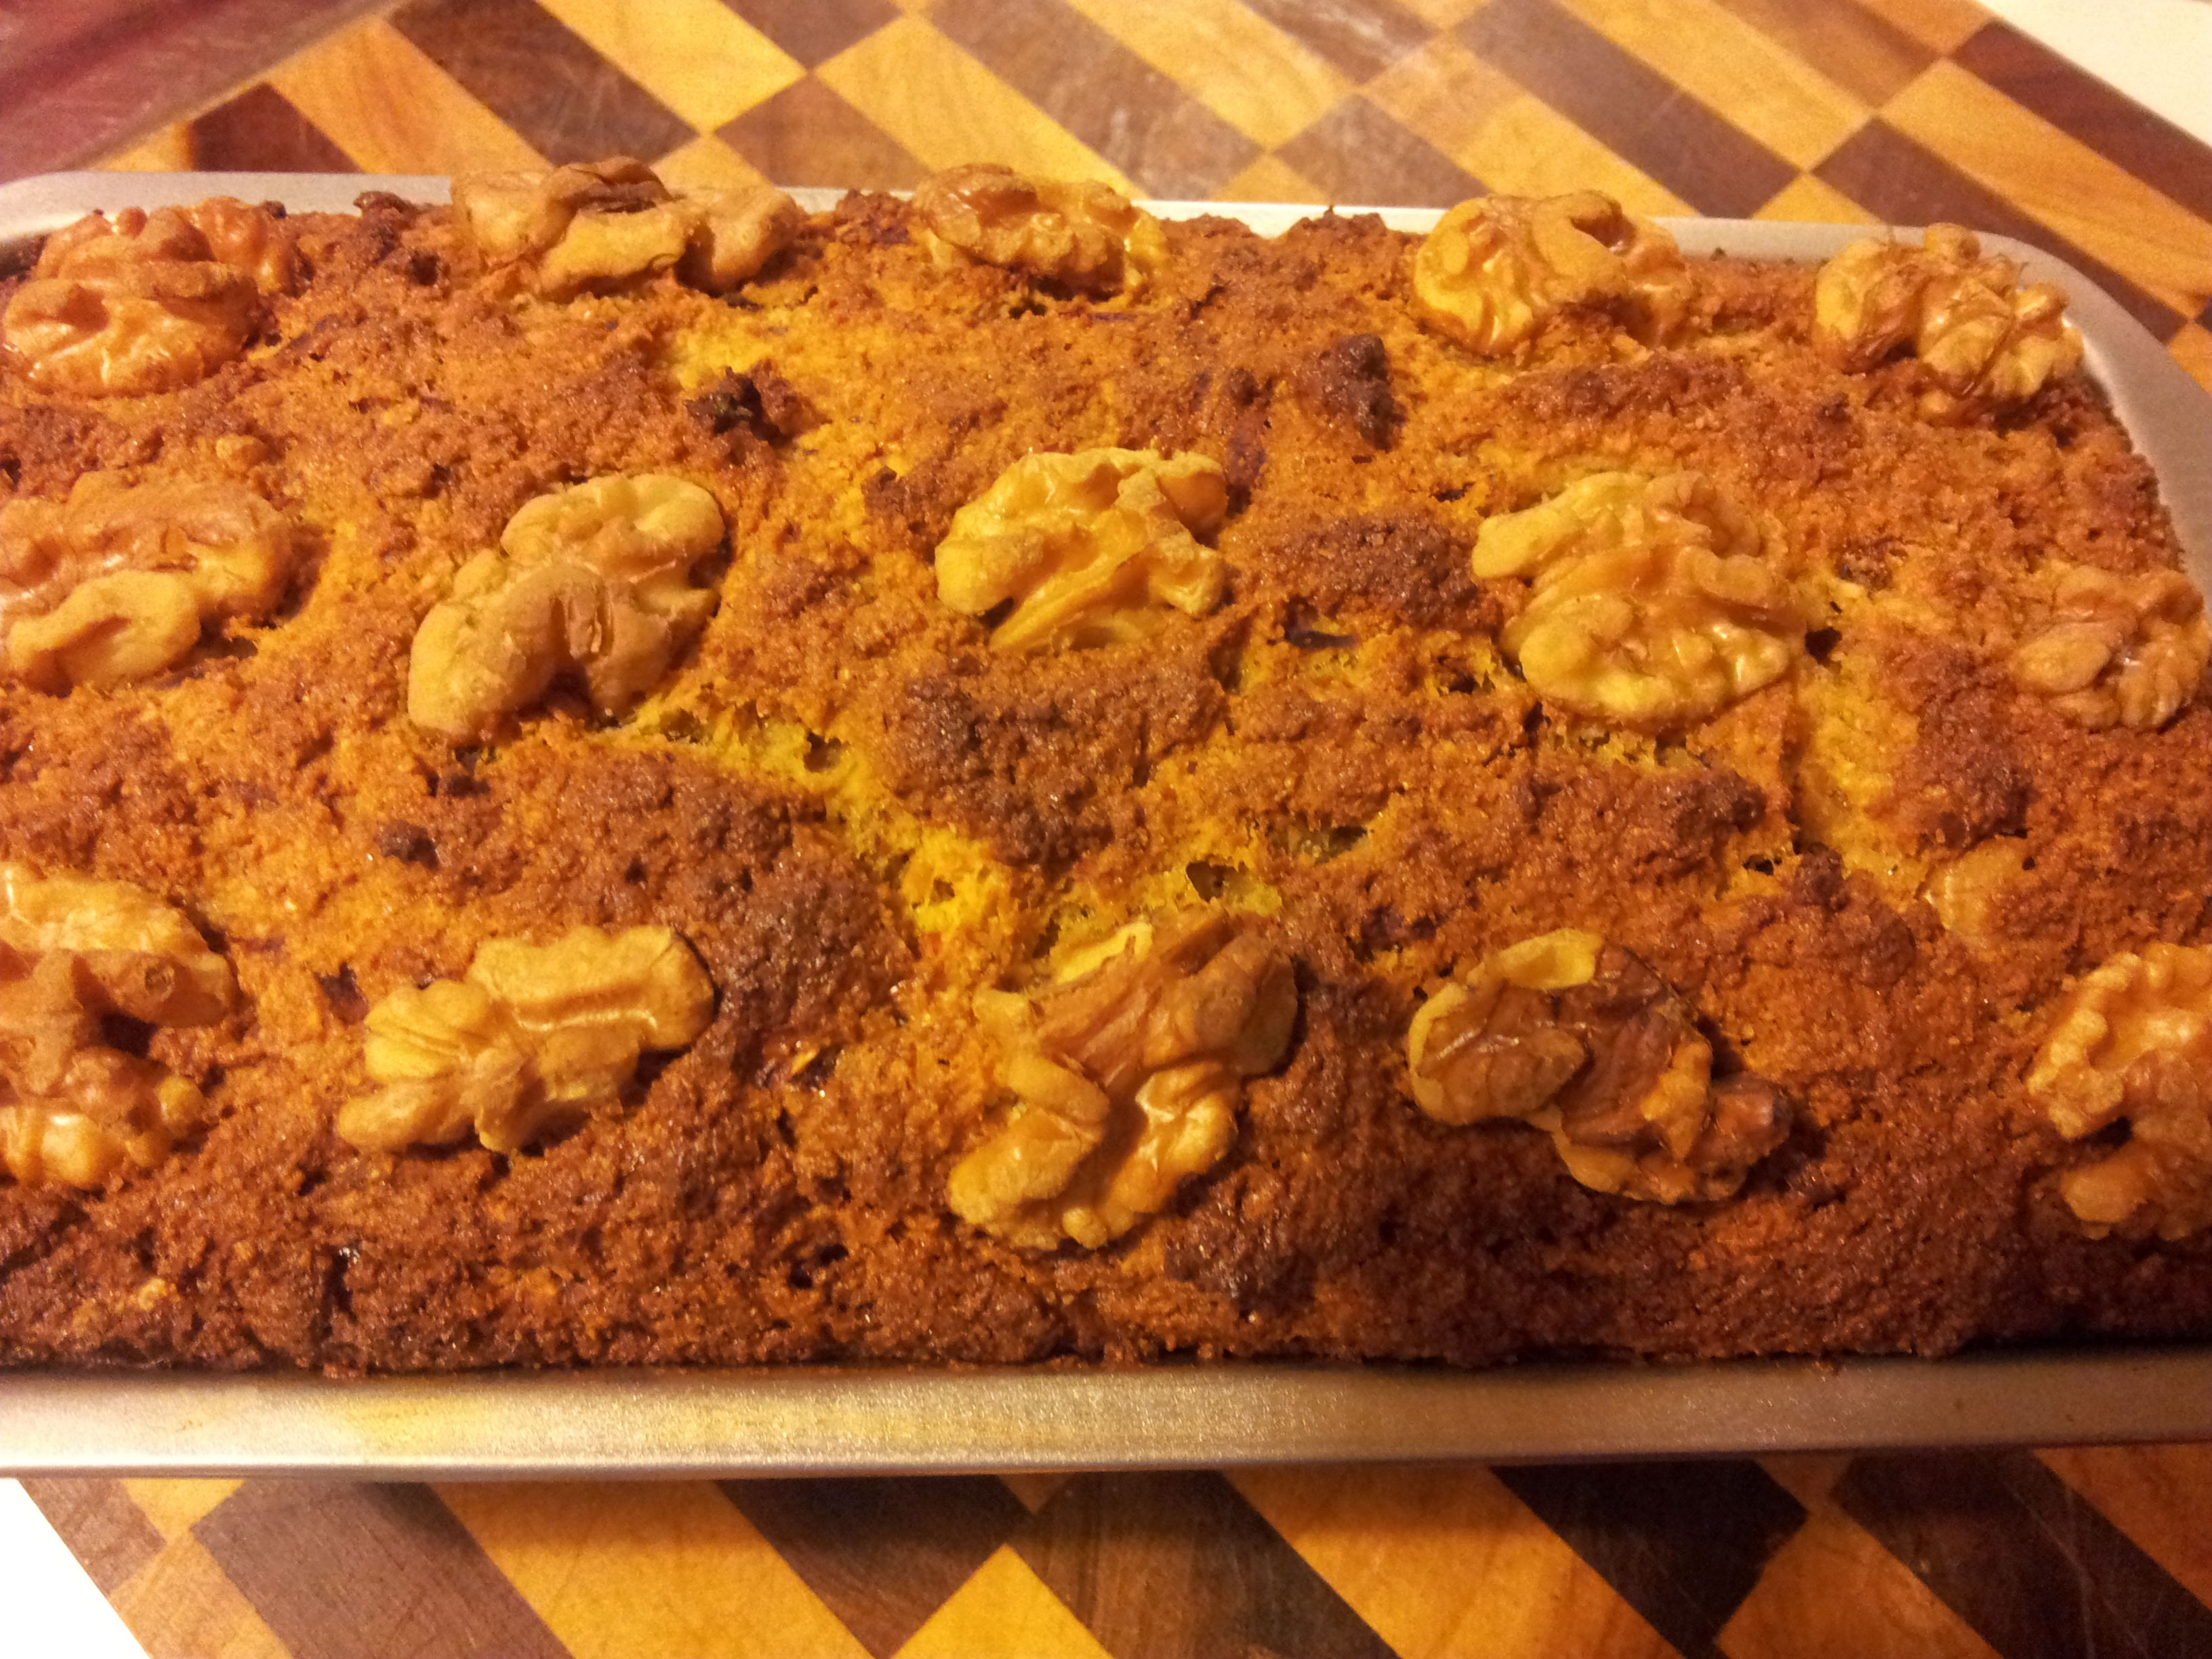
Bake in a 180 degree celsius oven until golden and quite firm.
The cake will be golden and smell delicious
Remove the cake from the oven and run a knife around the edge of the cake to separate it from the tin. Turn the cake gently onto the cooling rack, remove the baking paper from the bottom and turn over.
Let the cake cool and then sample a piece! I use a serrated knife to gently cut a piece.The cake is lovely eaten warm!
If you have enjoyed this post please share it with a friend. You can also follow me on Instagram at holistic_paleo.
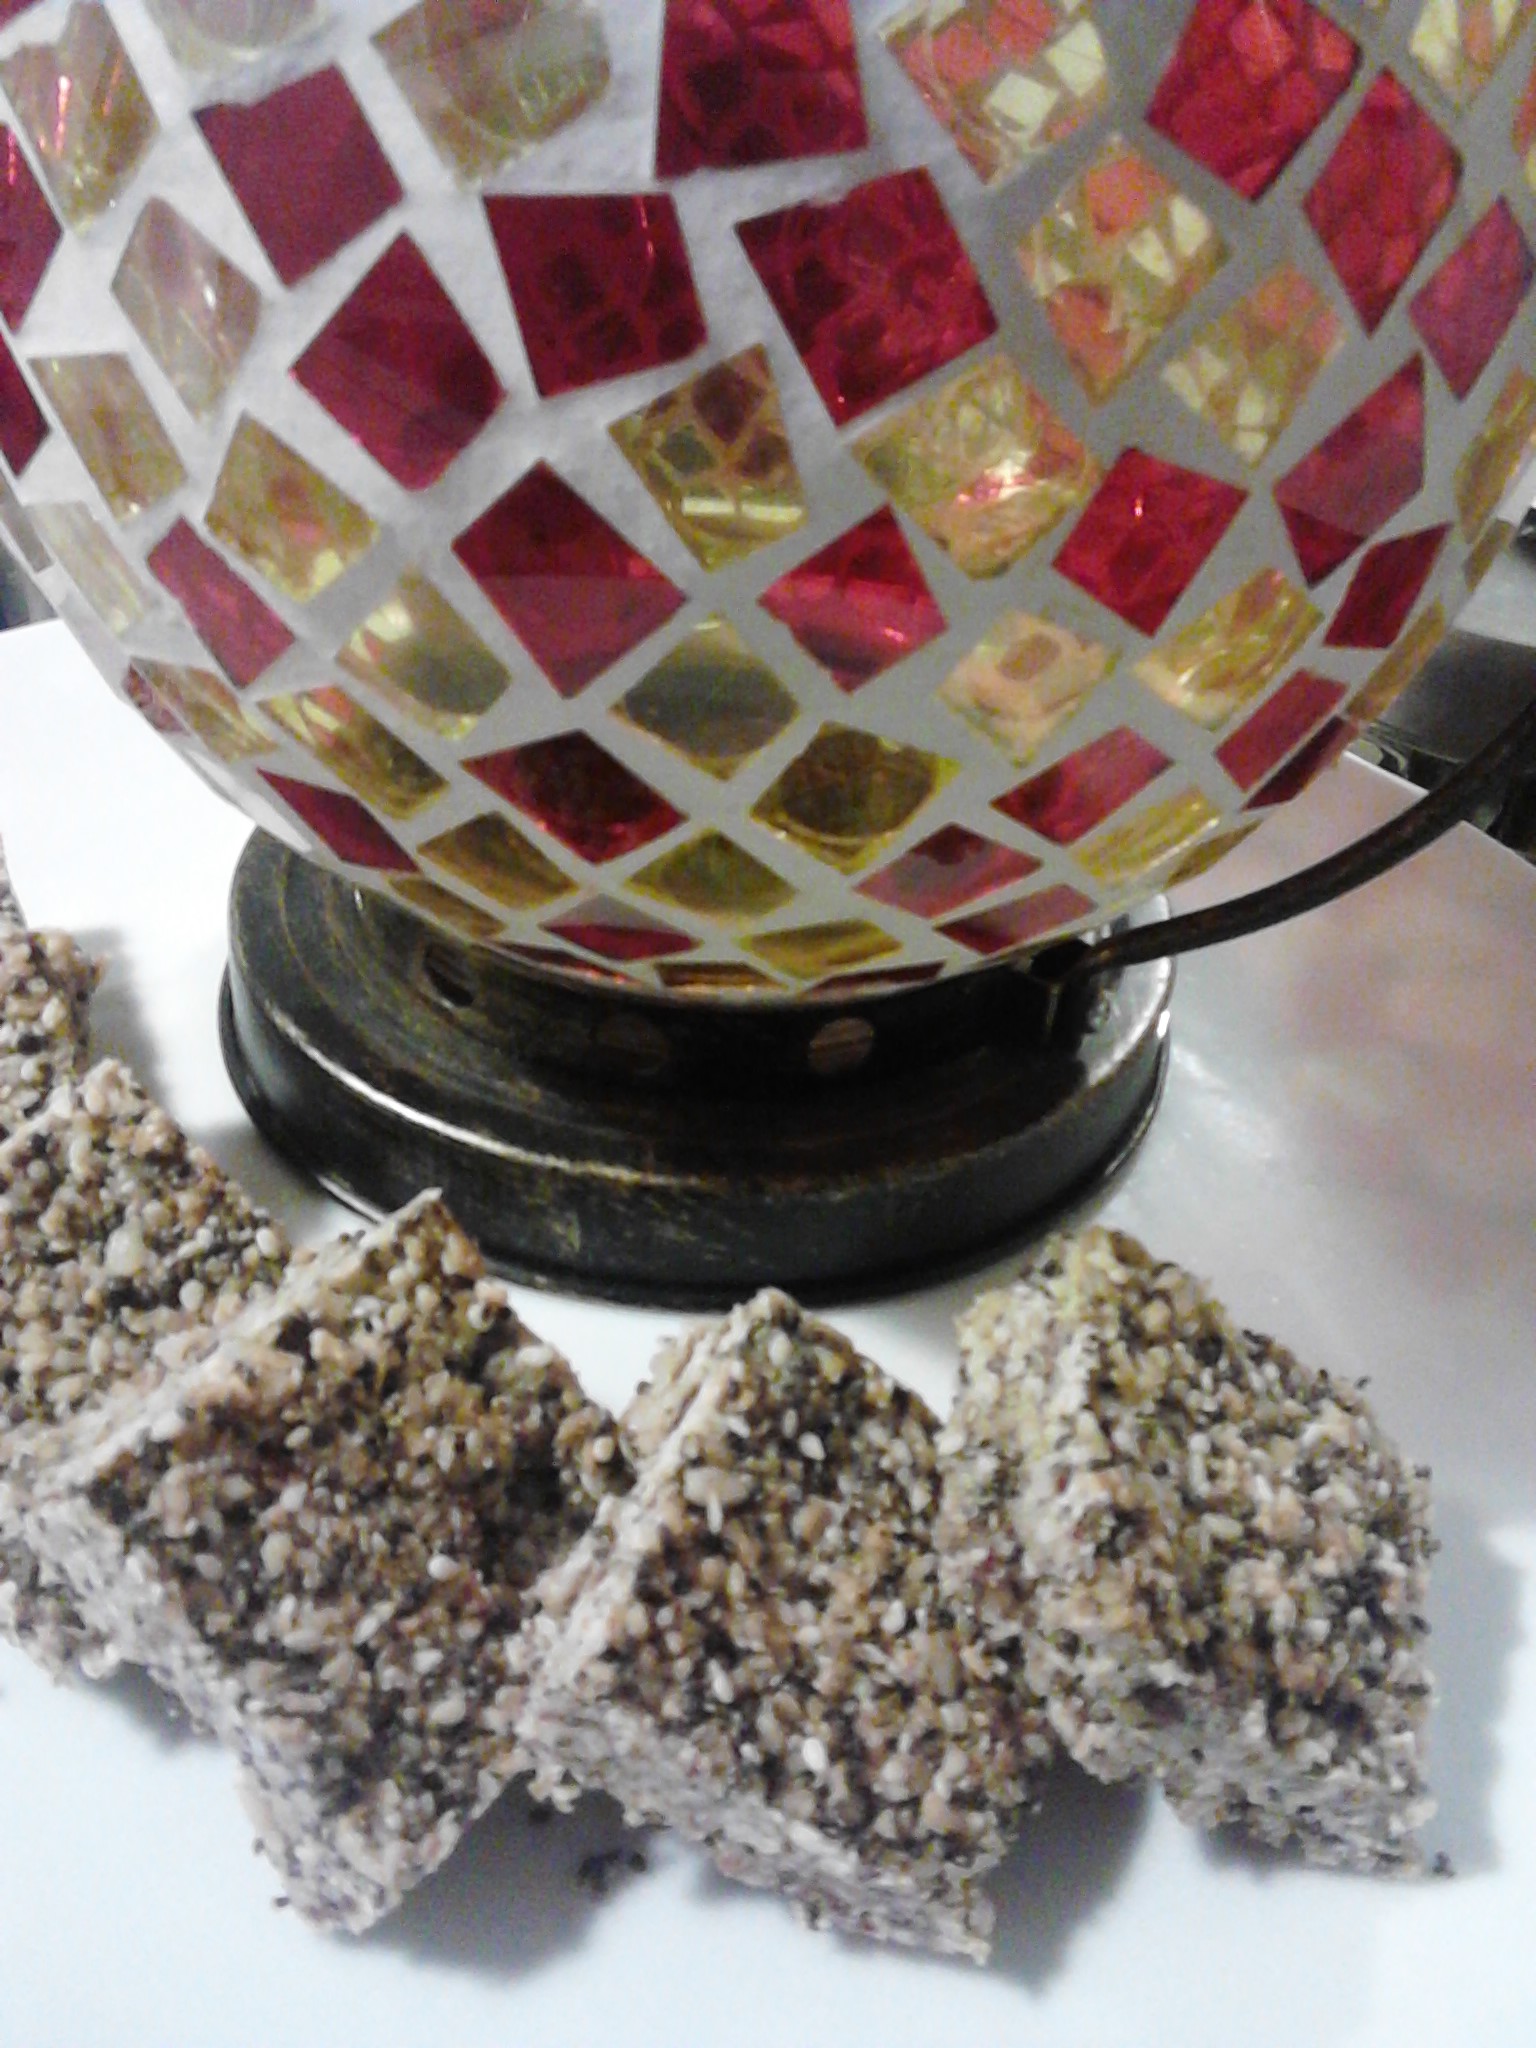
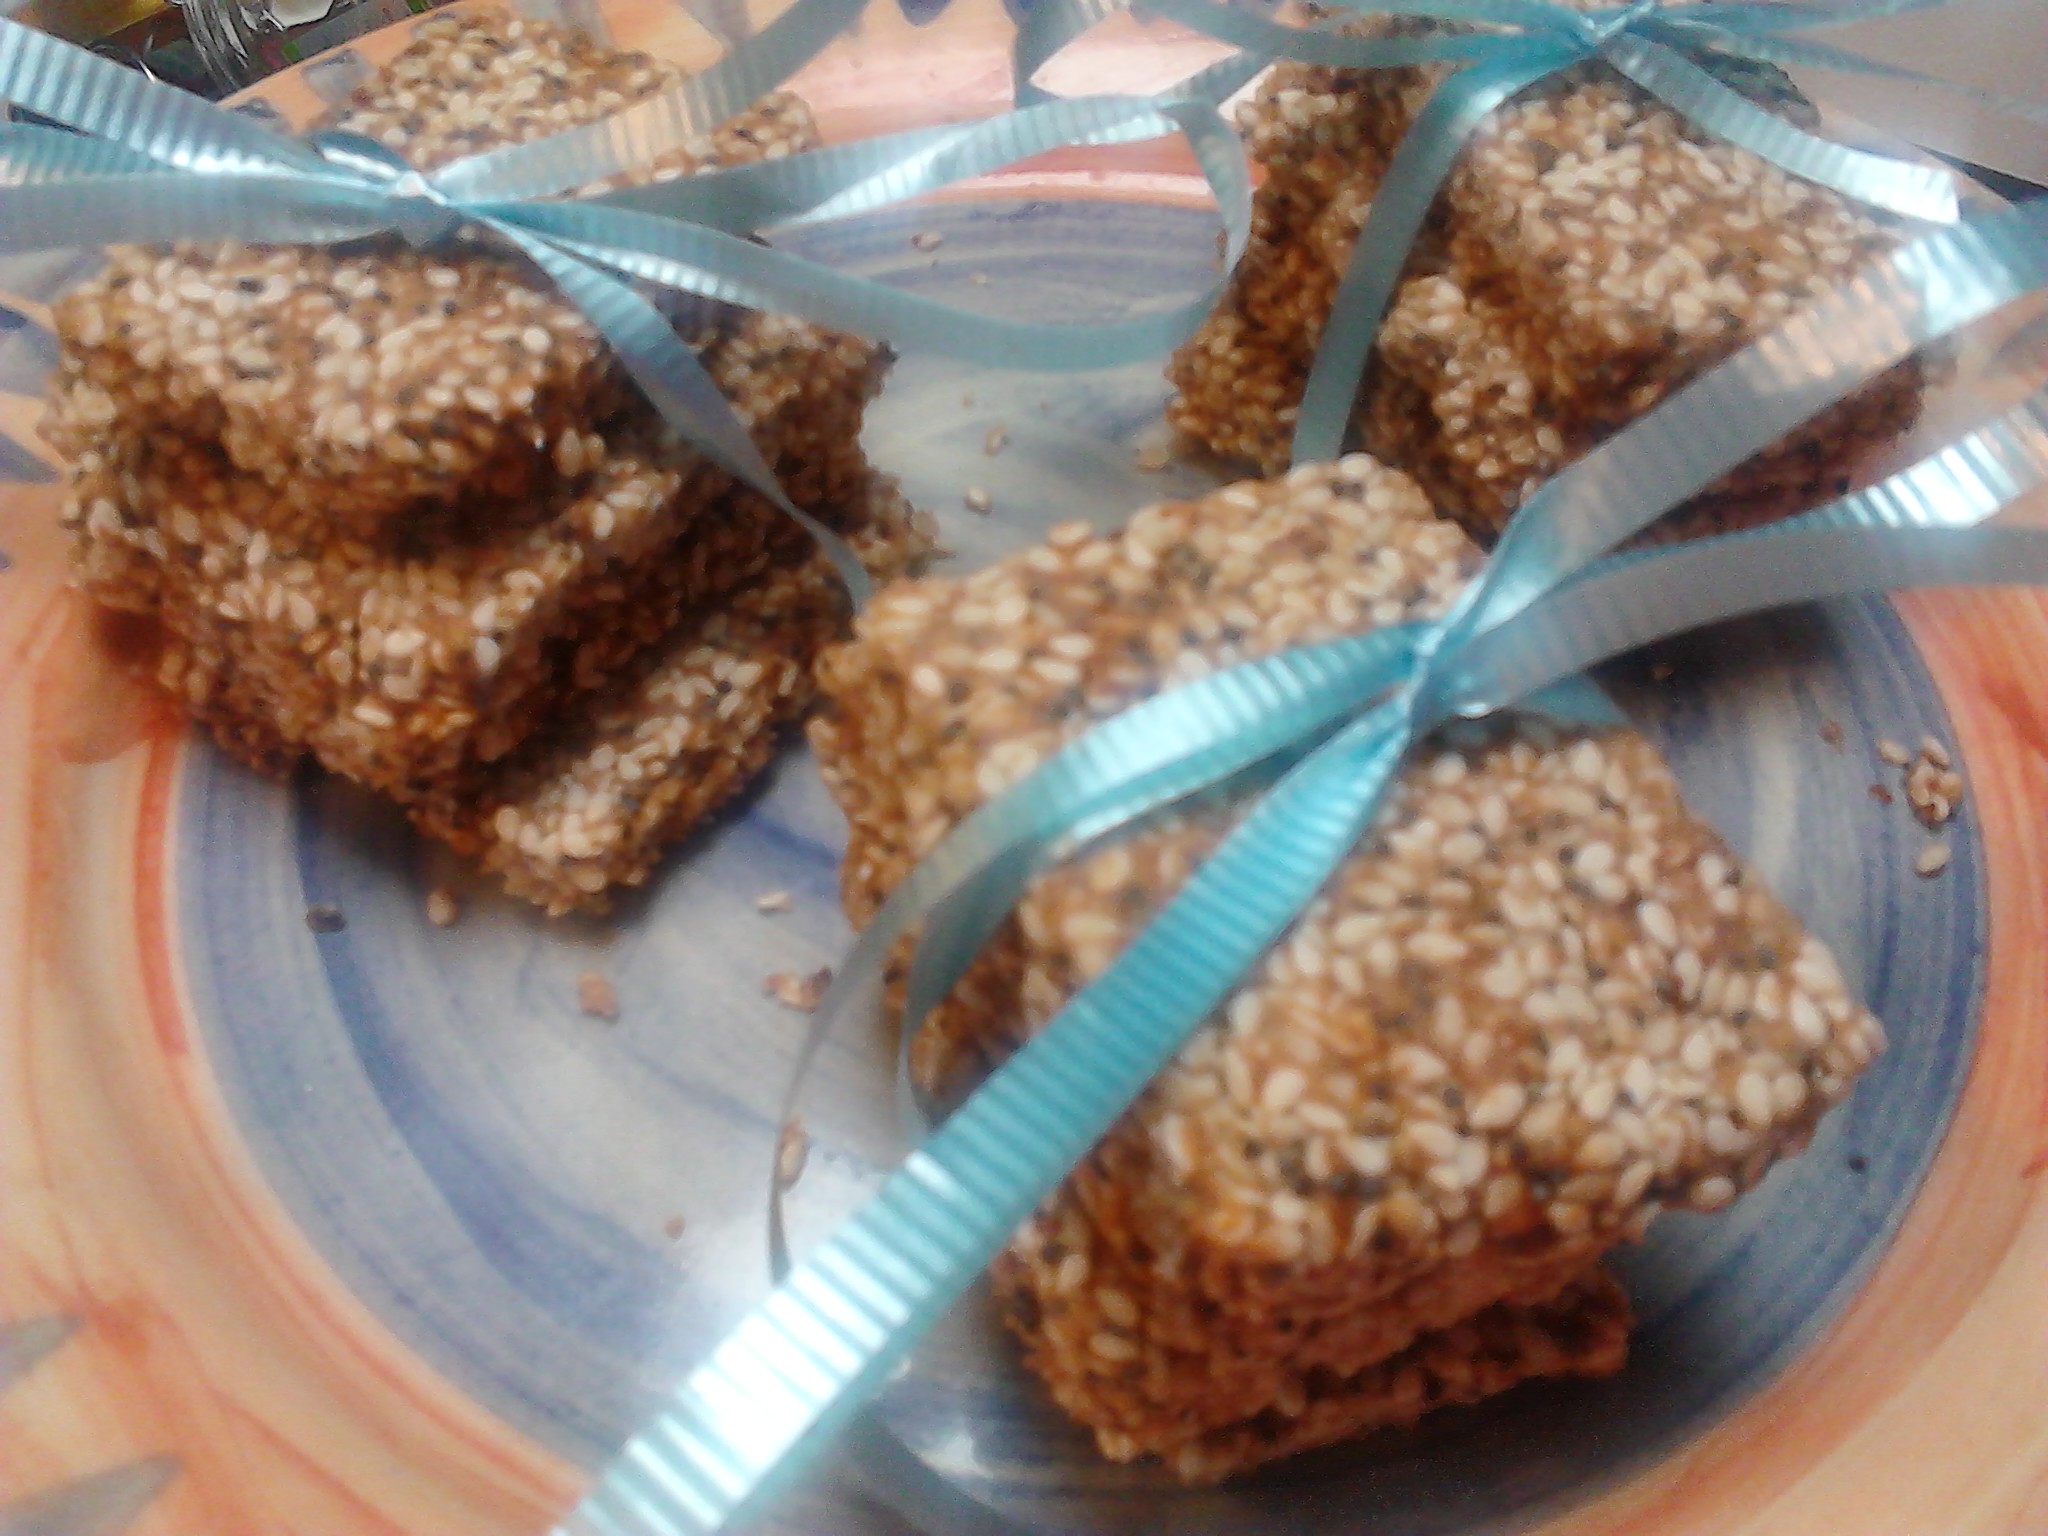
A delicious healthy snack bar that will add some sweetness to your day!
Eat them straight from the freezer or pack them into the lunch box.
Having healthy snacks on hand is vital if you are going to avoid making poor food choices. Being on a restricted diet is hard enough without feeling hungry or as though you are missing out. These bars are healthy, sweet, paleo, gluten, dairy and processed sugar free. They are filled with natural goodness and are a favourite snack of mine. The recipe is flexible and you can change them to suit your own preferences such as leaving out the nuts, using different seeds or changing some of the quantities. All of the ingredients l use are organic and the nuts and larger seeds are activated which means l have soaked them in filtered water and sea salt for a day, rinsed them well and then dehydrated. This process helps to remove the anti-nutrients and support good digestion.
Ingredients:
1 cup activated organic sunflower seeds
1 cup activated organic pumpkin seeds
1 cup organic sesame seeds
1 cup black chia seeds
1 cup activated mixed nuts (e.g almond, walnut, and brazil)
A generous 1/2 cup organic shredded coconut
8 Medjool Dates seeded and chopped (roughly chop just to make it easier for the food processor)
A good 1/2 cup raw organic honey (use organic or regular honey if that is what you have)
A good 1/2 cup organic coconut oil
These ingredients add a delicious flavour to the bars.
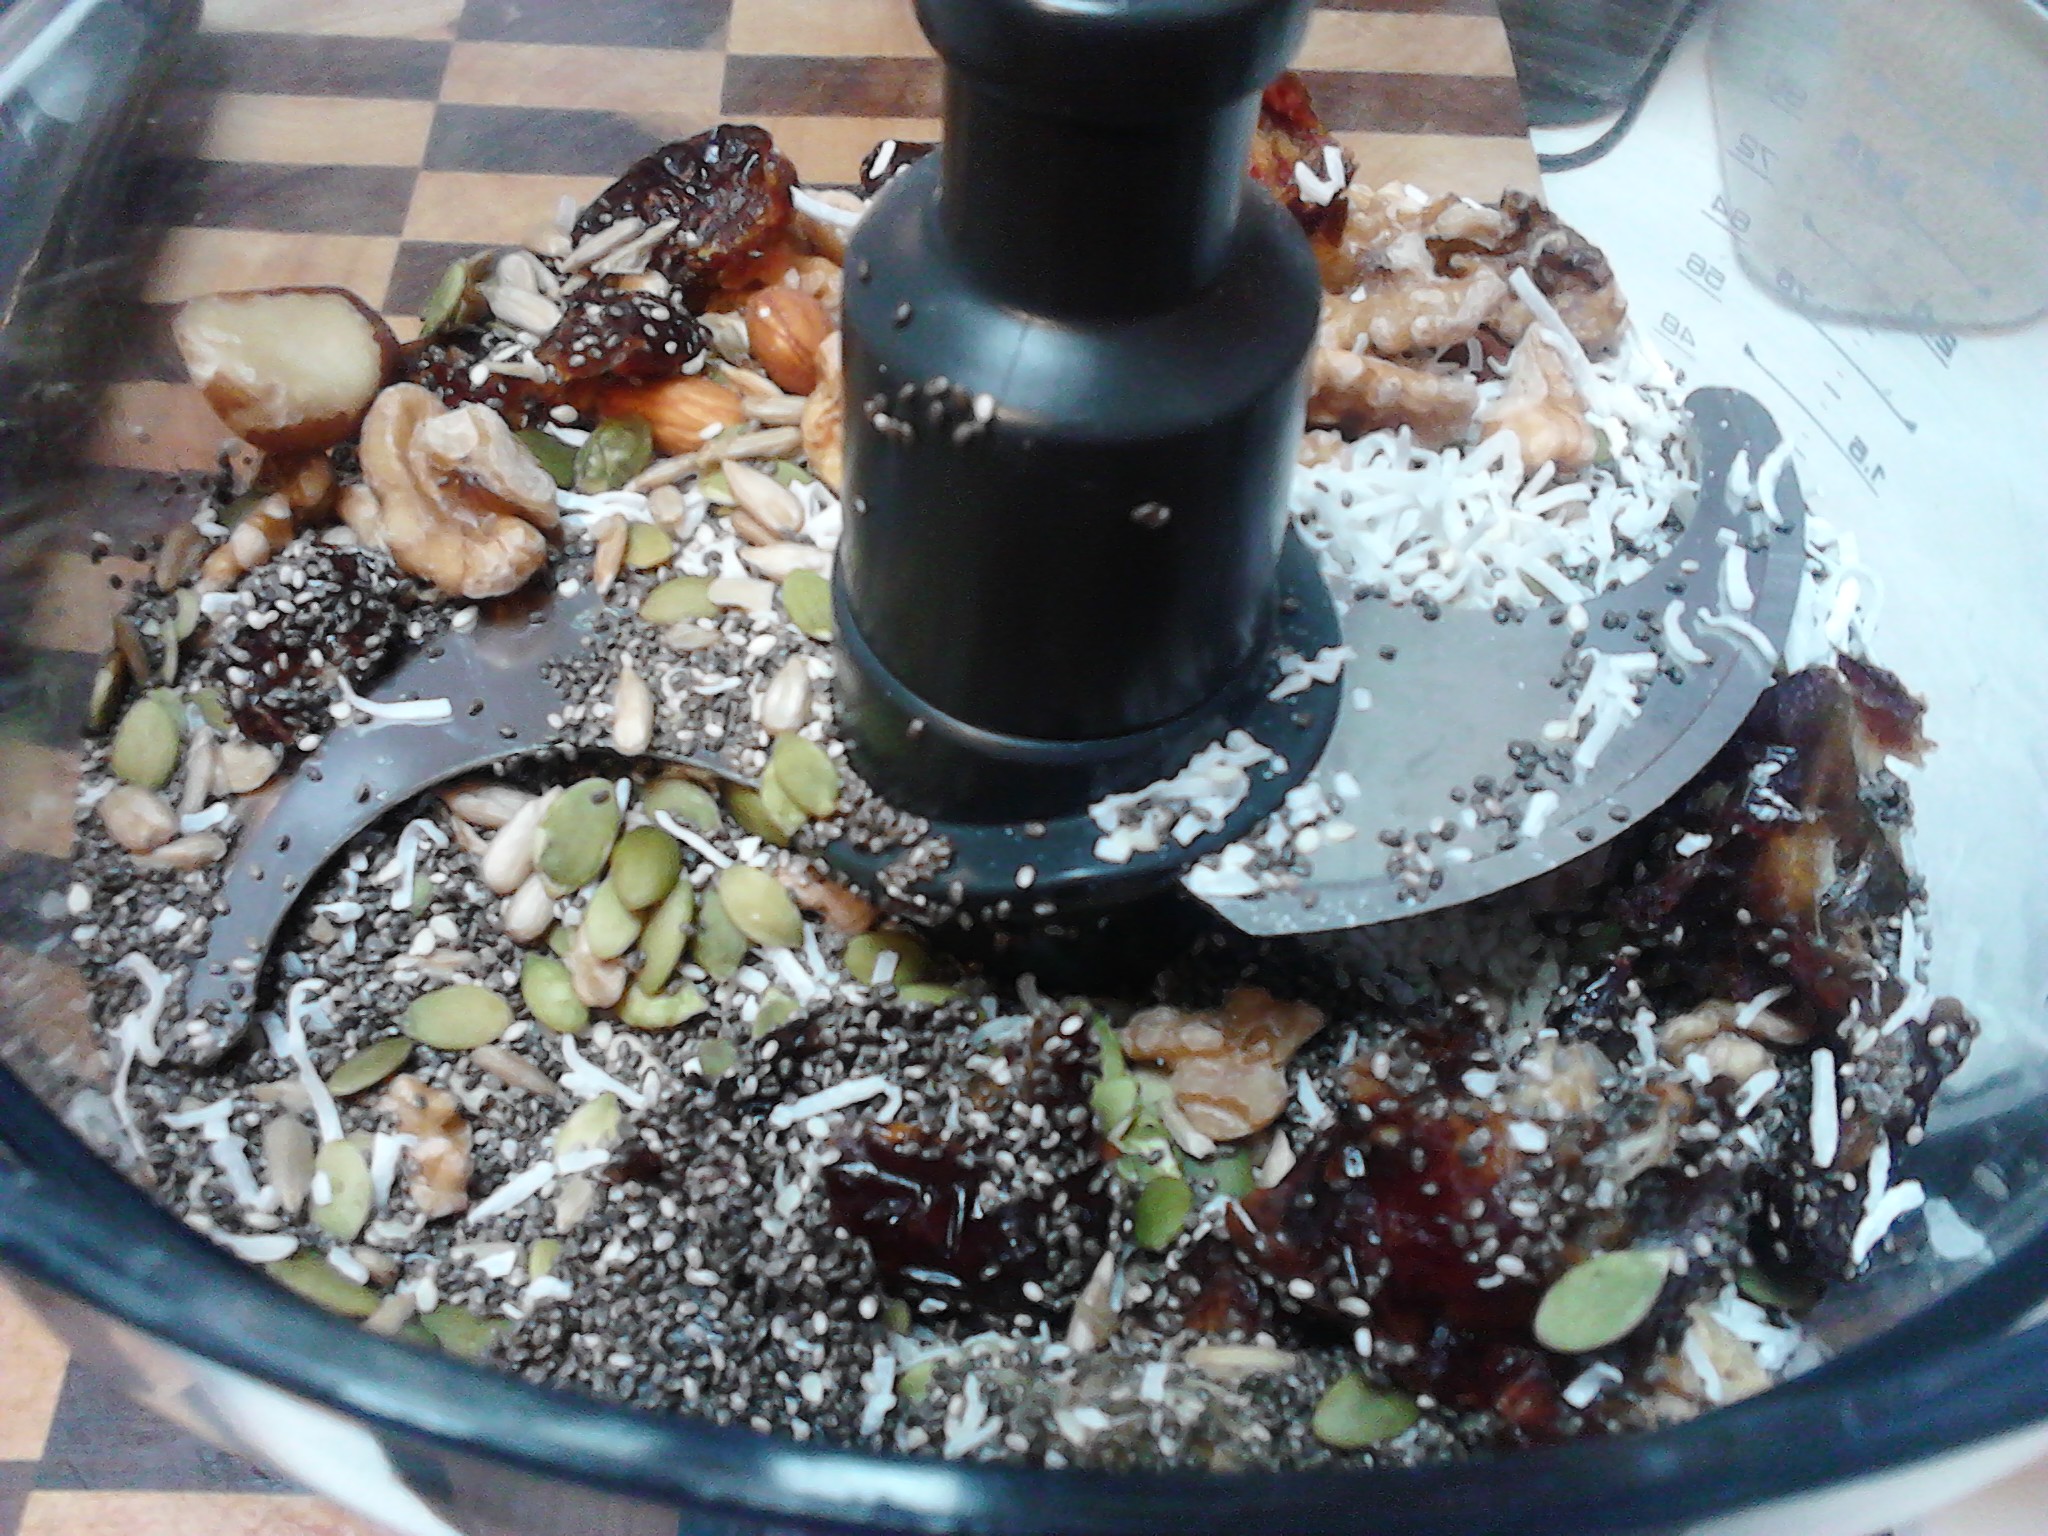
Place the nuts, seeds, shredded coconut and dates in the food processor and chop until roughly chopped. Gently warm the honey and coconut oil in a saucepan and pour into the food processor. Pulse until all there is a good consistency and all the nuts and seeds have been broken up.
Be careful of the very sharp blade.
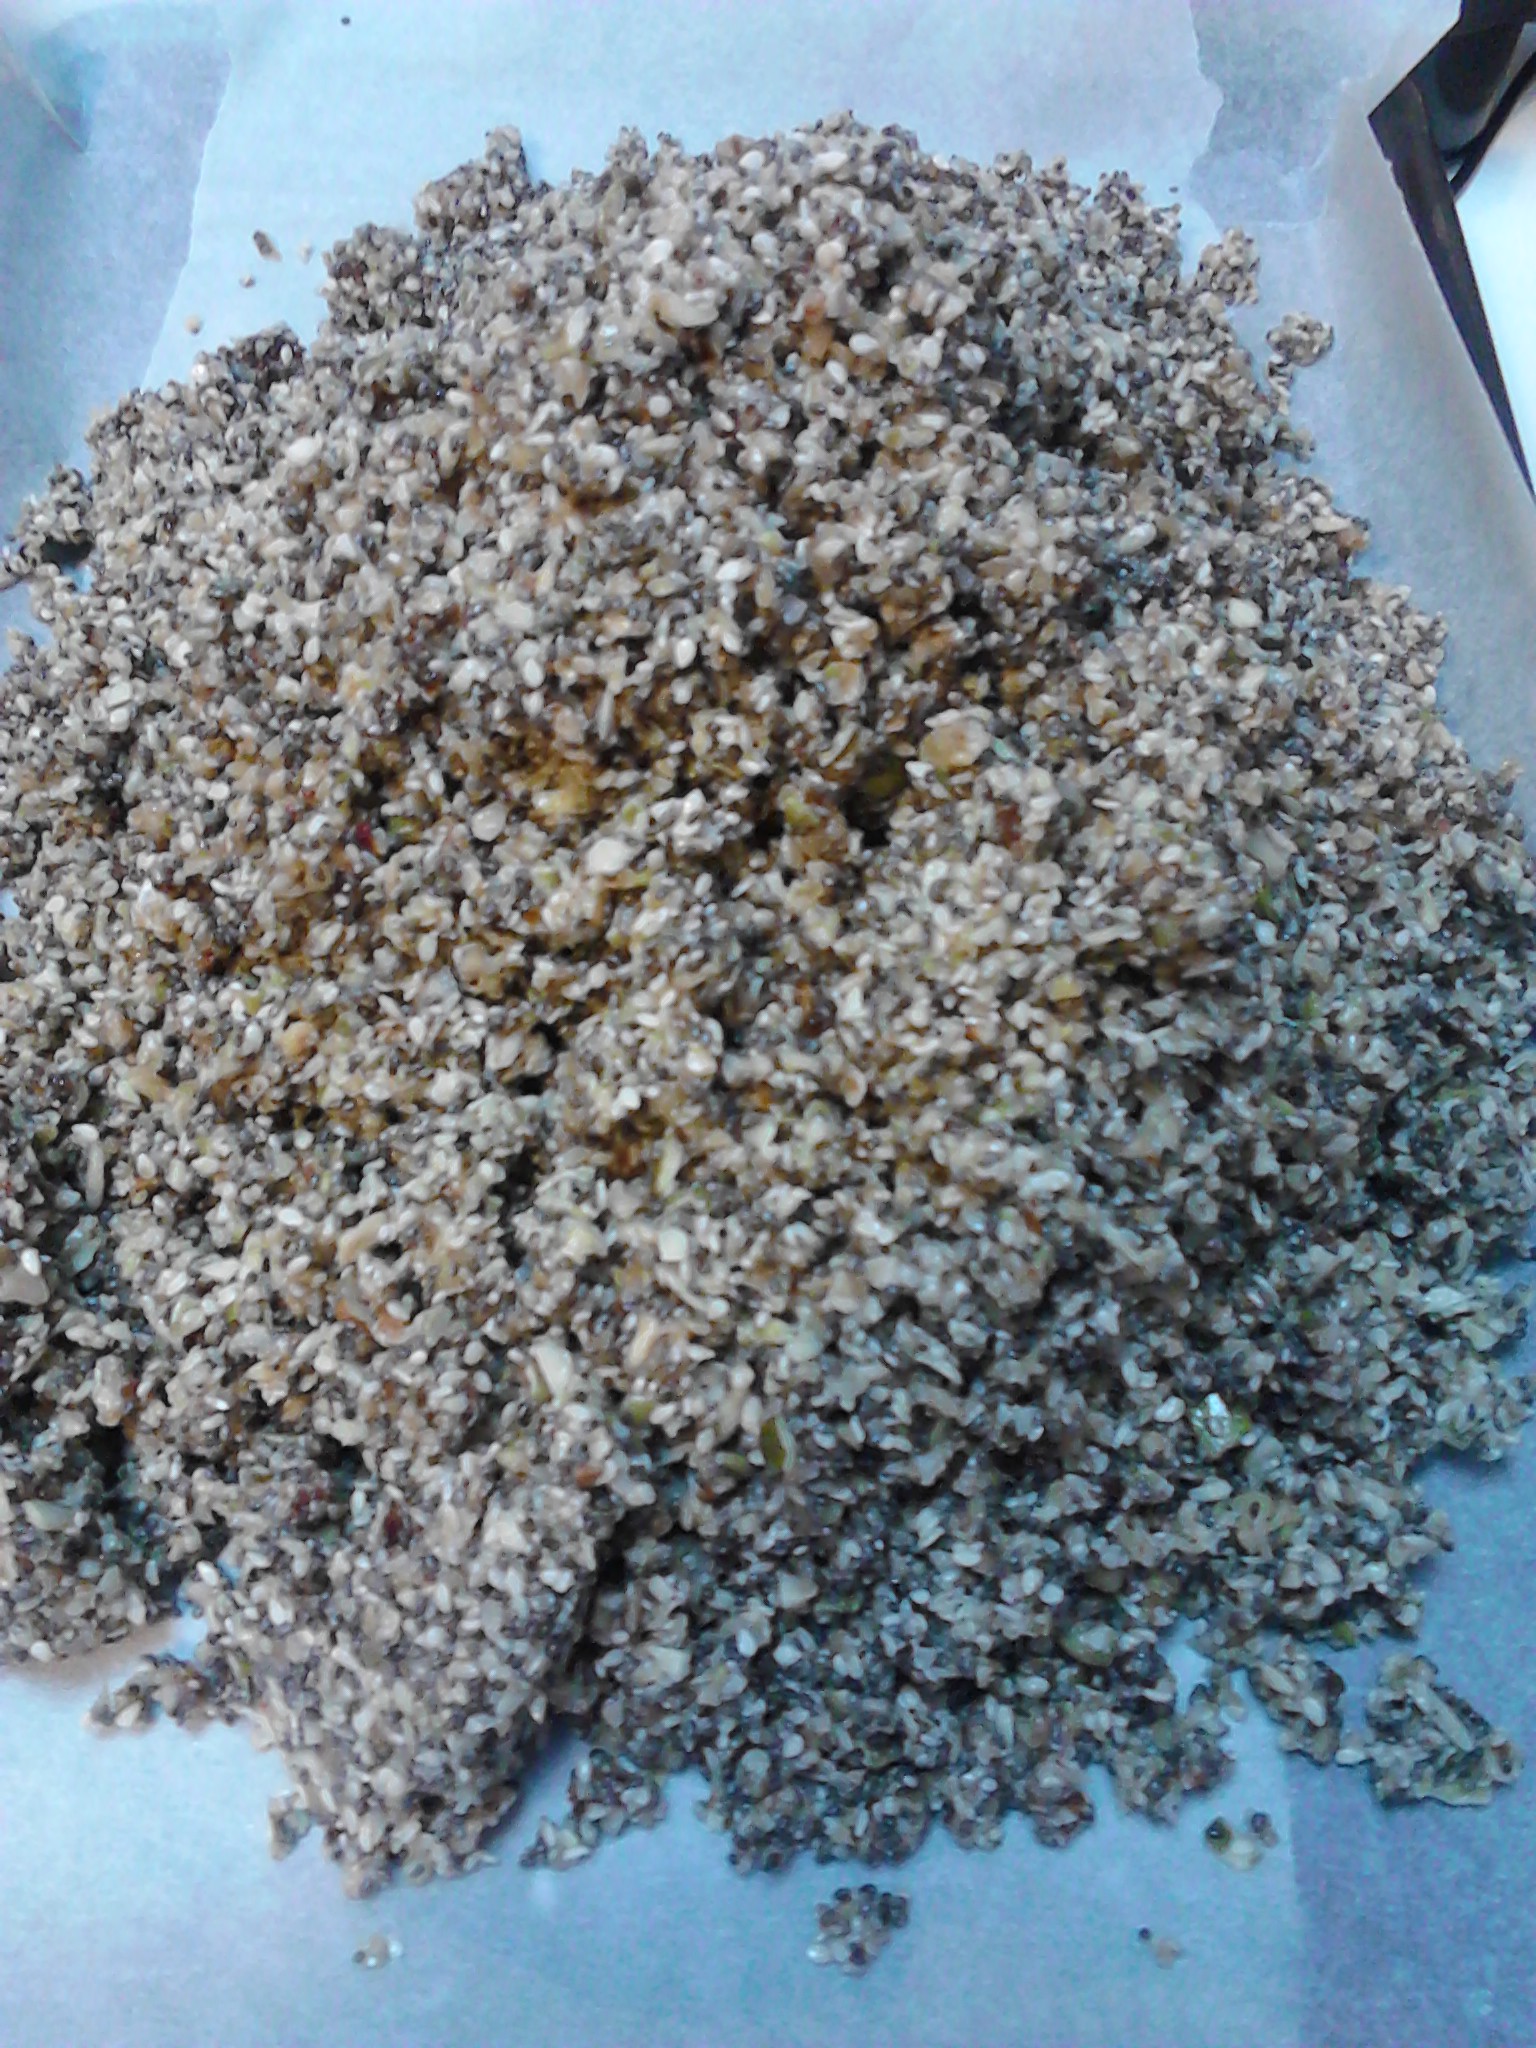
Have a tray ready which is lined with baking paper. Run your finger around the edge of the tray so there is a crease in the paper. Pour the ingredients onto a tray lined with baking paper. Now is a good time to have a taste test. The mix should be sweet and delicious.
The mix is ready to be flattened.
Use a spatula to flatten the mix and make sure it is quite even across the whole tray and give special attention to the corners.
Ready for the oven
I have tried a few different oven temperatures and times but basically you don’t want the oven too hot as you will burn the seeds and lose lots of nutrients, and you want to just cook it until the edges are going golden. I cooked mine today in a Fan Forced Convection Oven at 170 Degrees Celsius for 30 minutes. You will be able to check this after your first batch.
Remove the tray from the oven and let cool until cold. Another option is when it is slightly cool to place it in the freezer for an hour whilst still on the tray. This is what l do now as l don’t like to wait.
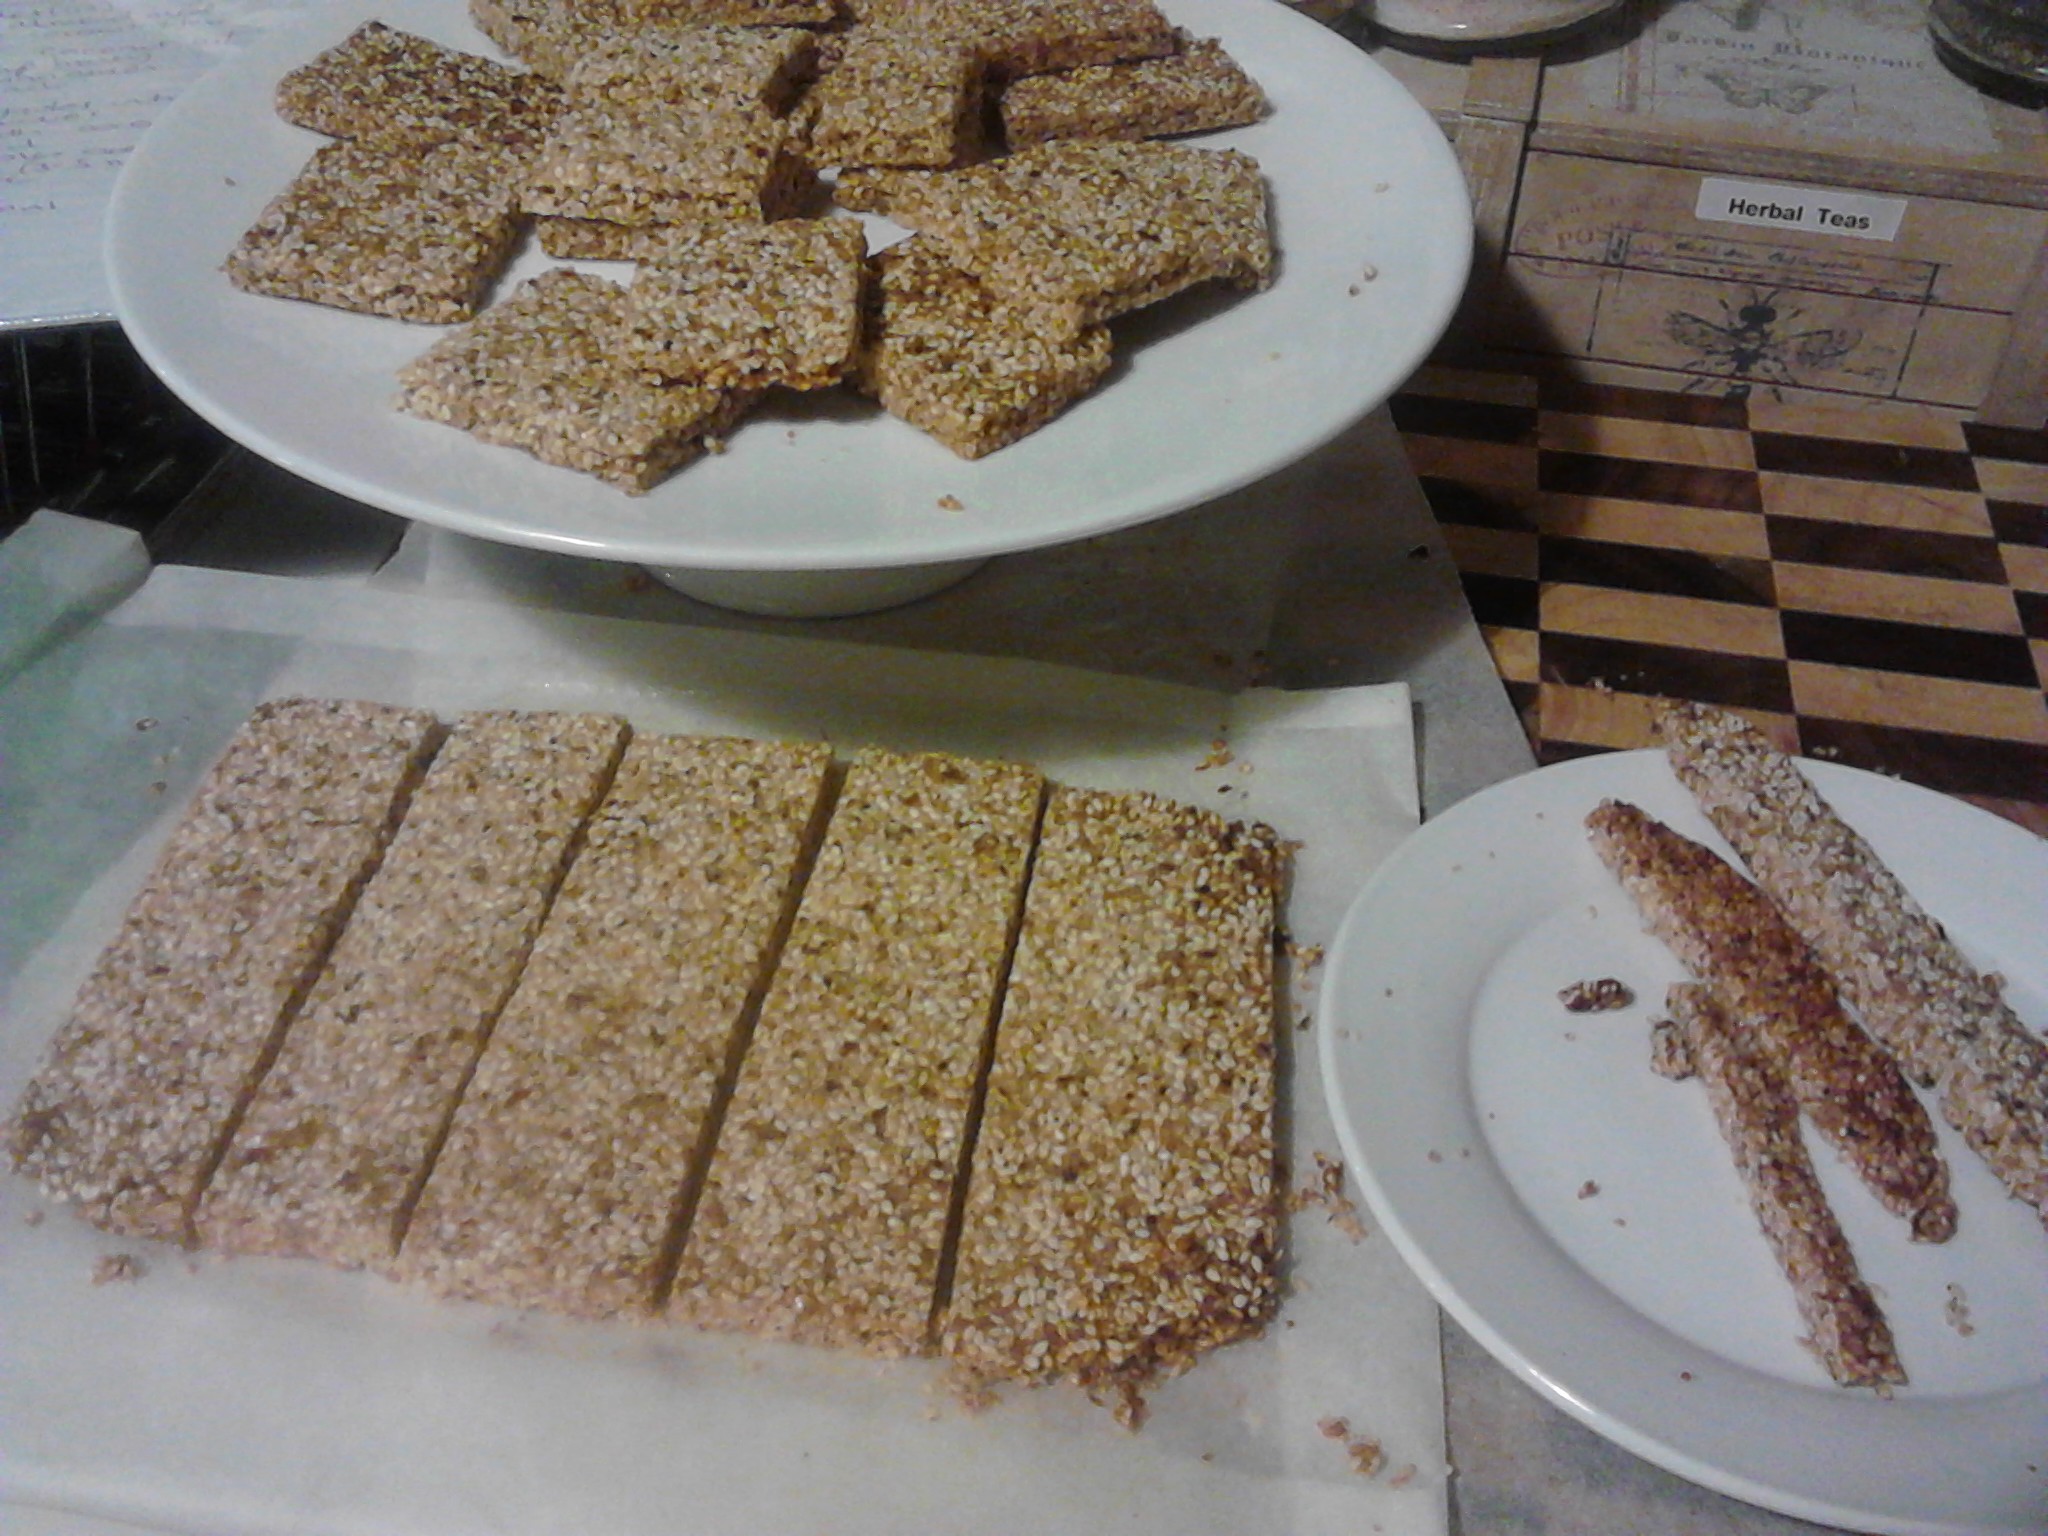
Remove from the freezer and cut.
Use the edges of the baking paper to carefully remove the bars as a whole from the tray and lay it on a flat bench. Cut the bars while still on the baking paper into whatever size suits you using a very sharp knife and wiping clean after cutting a row. Another option is to use a pizza cutter and it helps to give it or the knife a wipe after each row. I think it is better to have the bars quite small as then you have more of a choice over serving size.
Carefully lift each bar into the container for freezing unless you are going to eat them all fresh, but they are very nice eaten when they are just out of the freezer and such a handy snack to take to work or when you are out.
Store in an airtight container in the freezer
The best part of the whole cooking experience is eating the crumbs. Scrape them off the baking paper and into a bowl. Enjoy! You could dip something into these crumbs such as a banana or use them as a topping.
I love this part!
Something to be aware of when eating these bars is that the chia seeds can get stuck in your teeth. This is really a cosmetic issue, so it is best to do a quick tooth check after you have eaten them and you may need a tooth pick to remove them as they can be a bit stubborn.
If you have enjoyed this post please share with a friend. You can follow me on Instagram, Facebook, Twitter, Flickr, Pinterest and Tumblr.
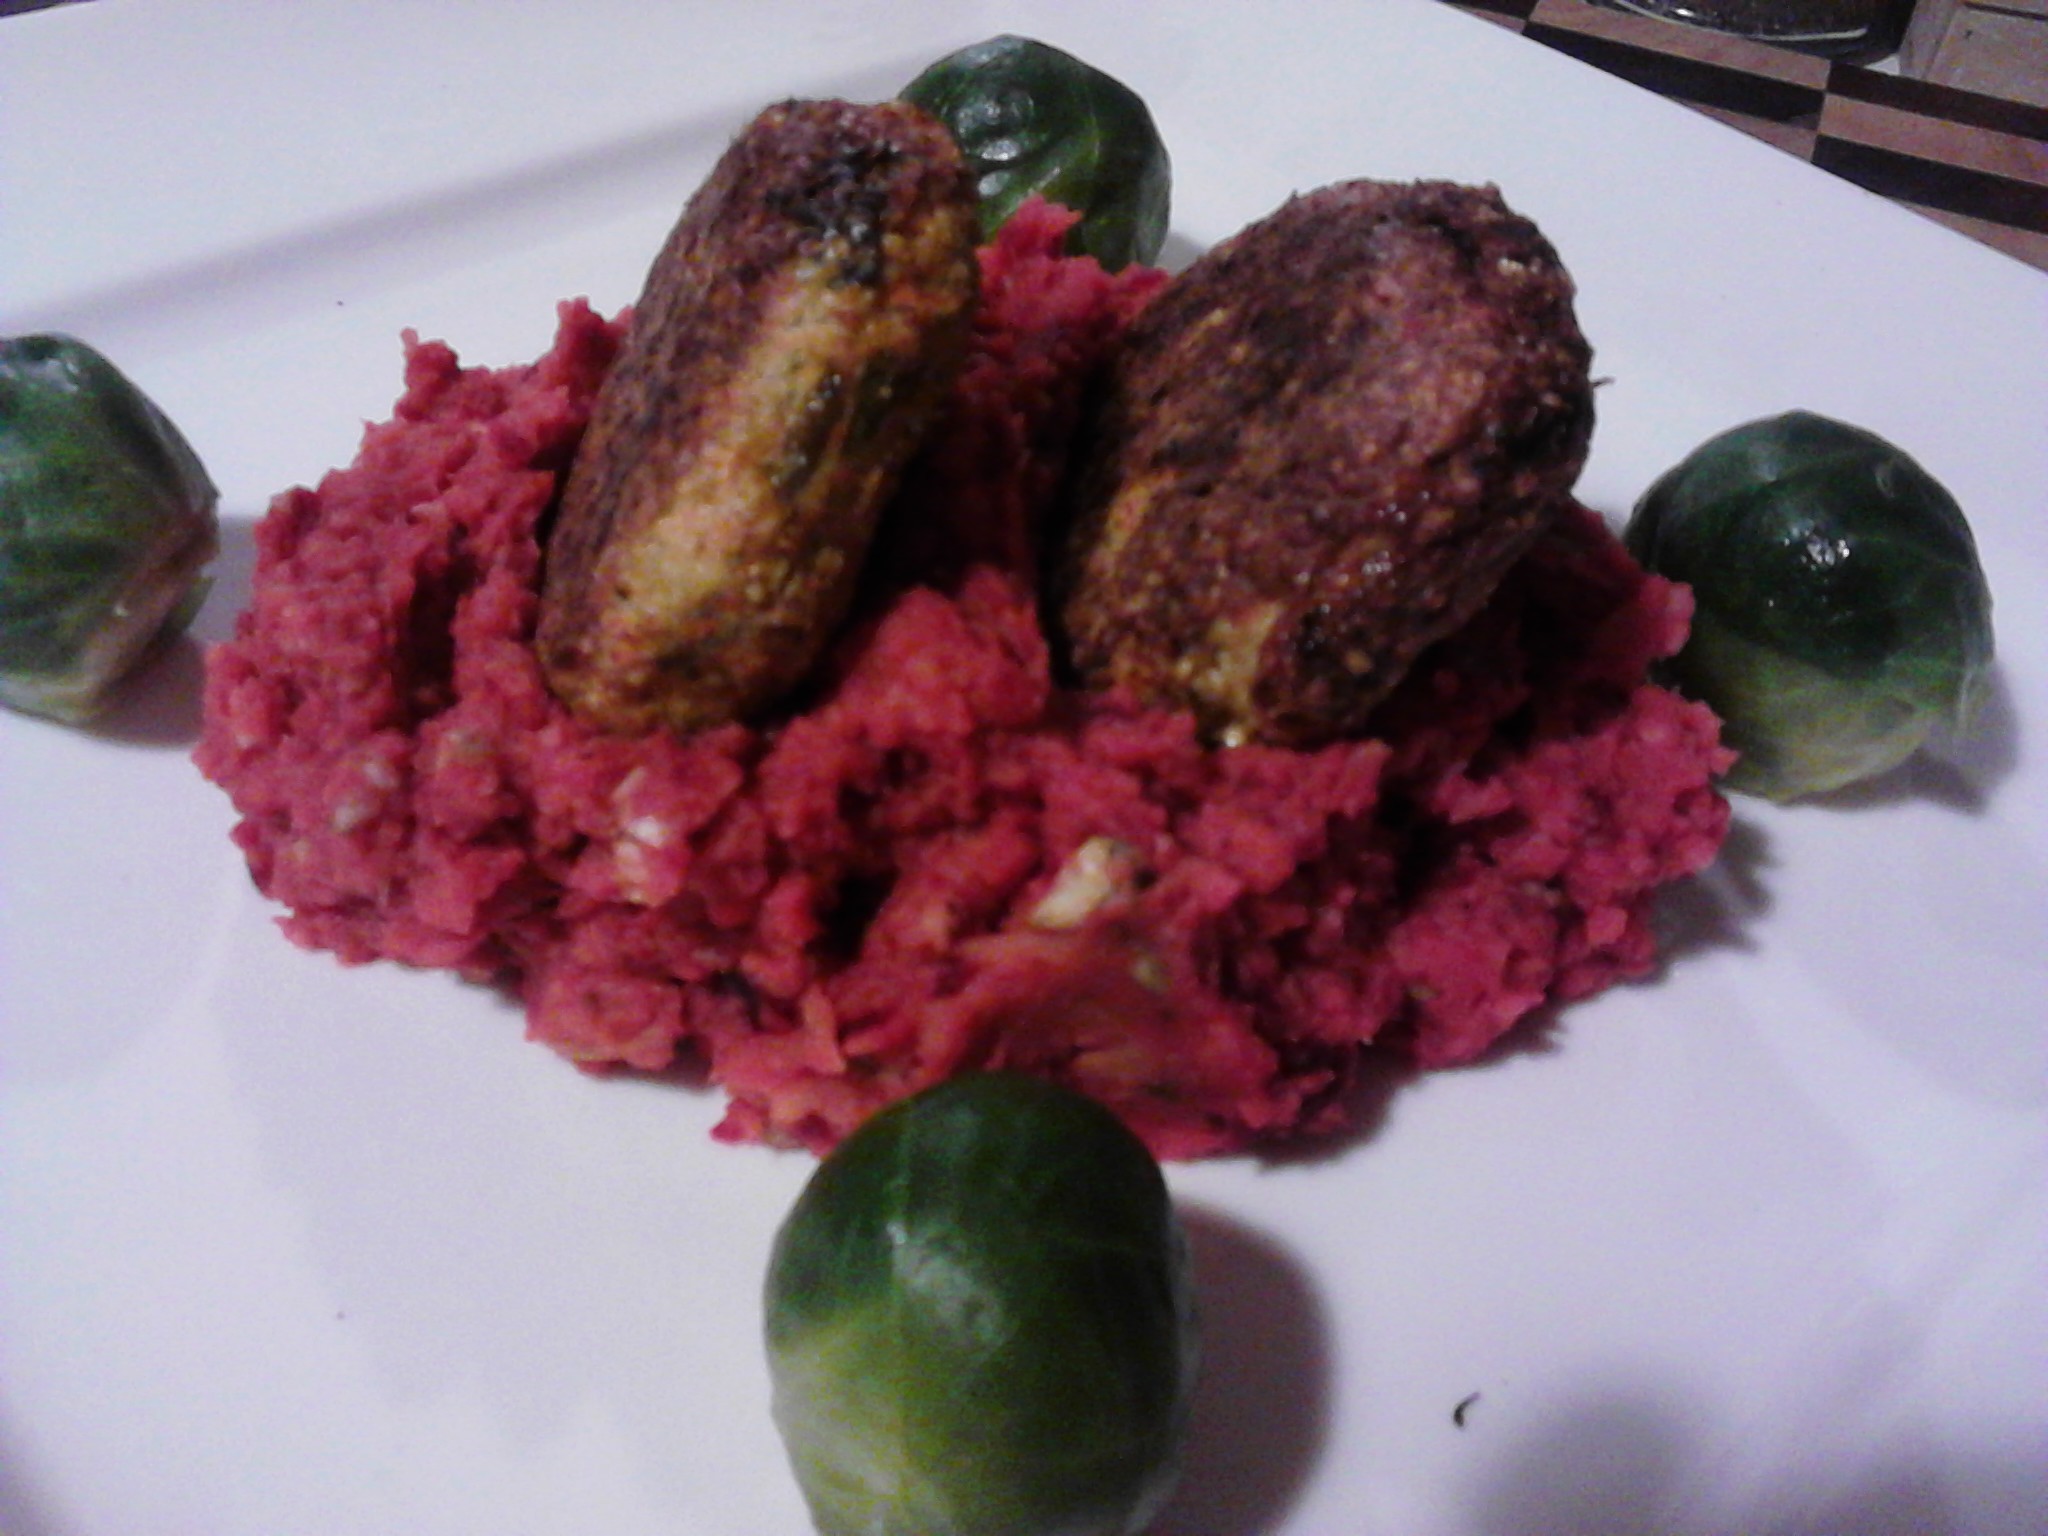
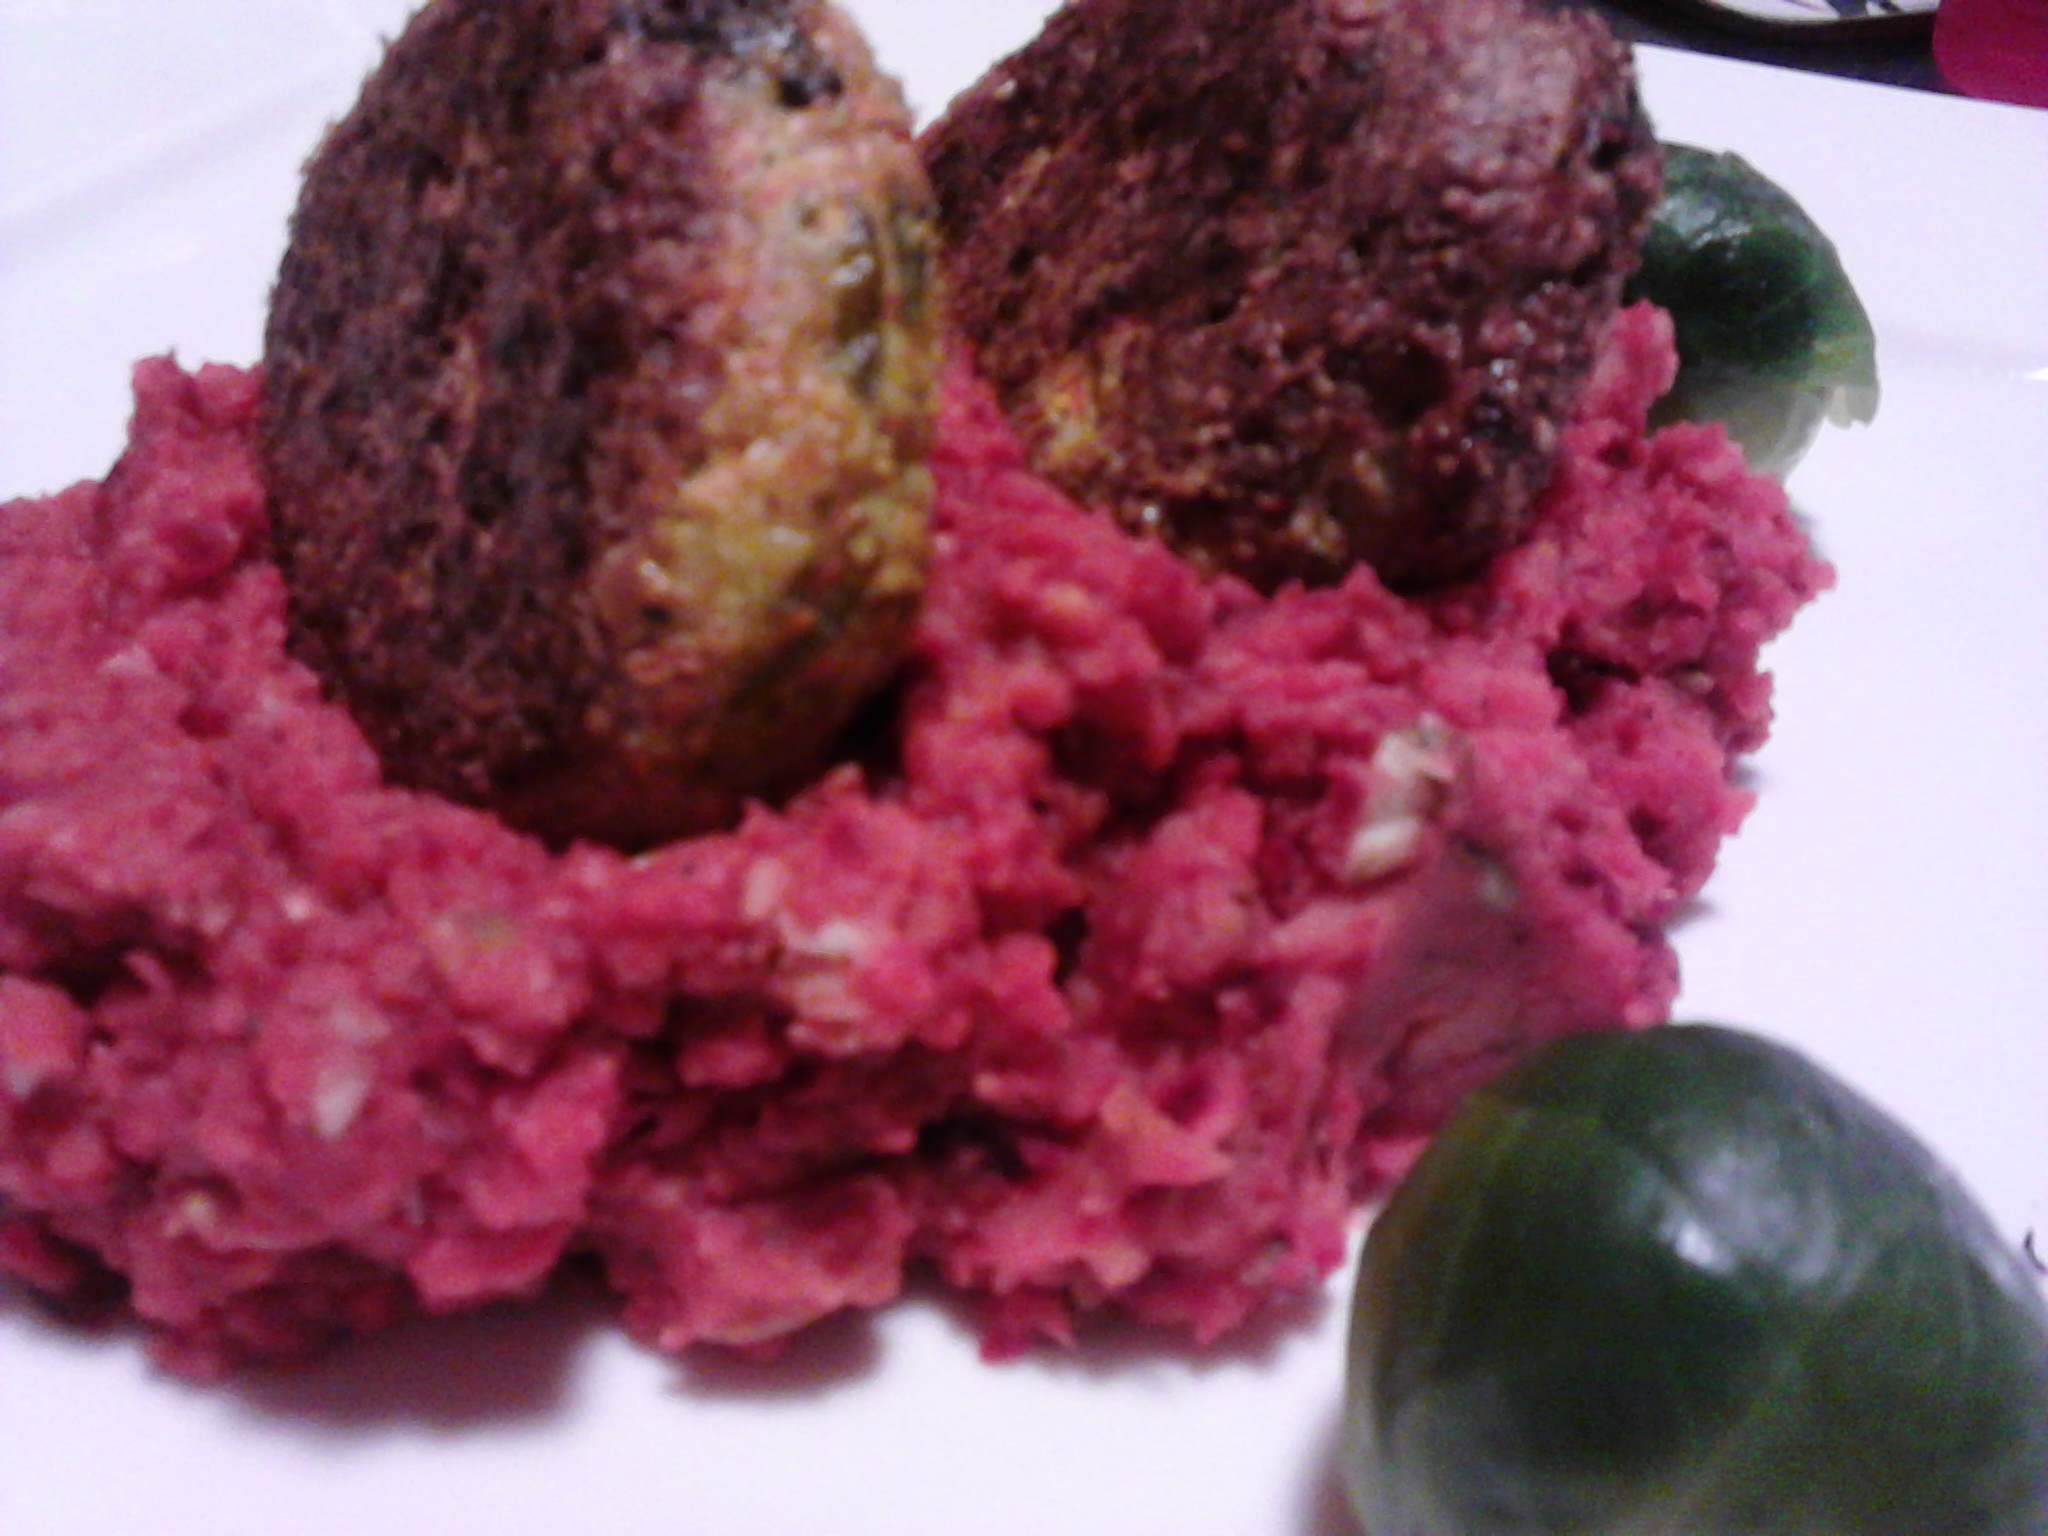
A healthy twist on some old favourites in a recipe which is gluten, dairy and processed sugar-free. There are so many wonderful ingredients in this meal and the cooking methods of almost dry baking and steaming are very healthy and help to retain the nutrients in the food. I have used quinoa flakes in this recipe and if you are a strict Paleo follower you can leave them out, but l don’t mind having them now and again.
There is so much goodness in this meal.
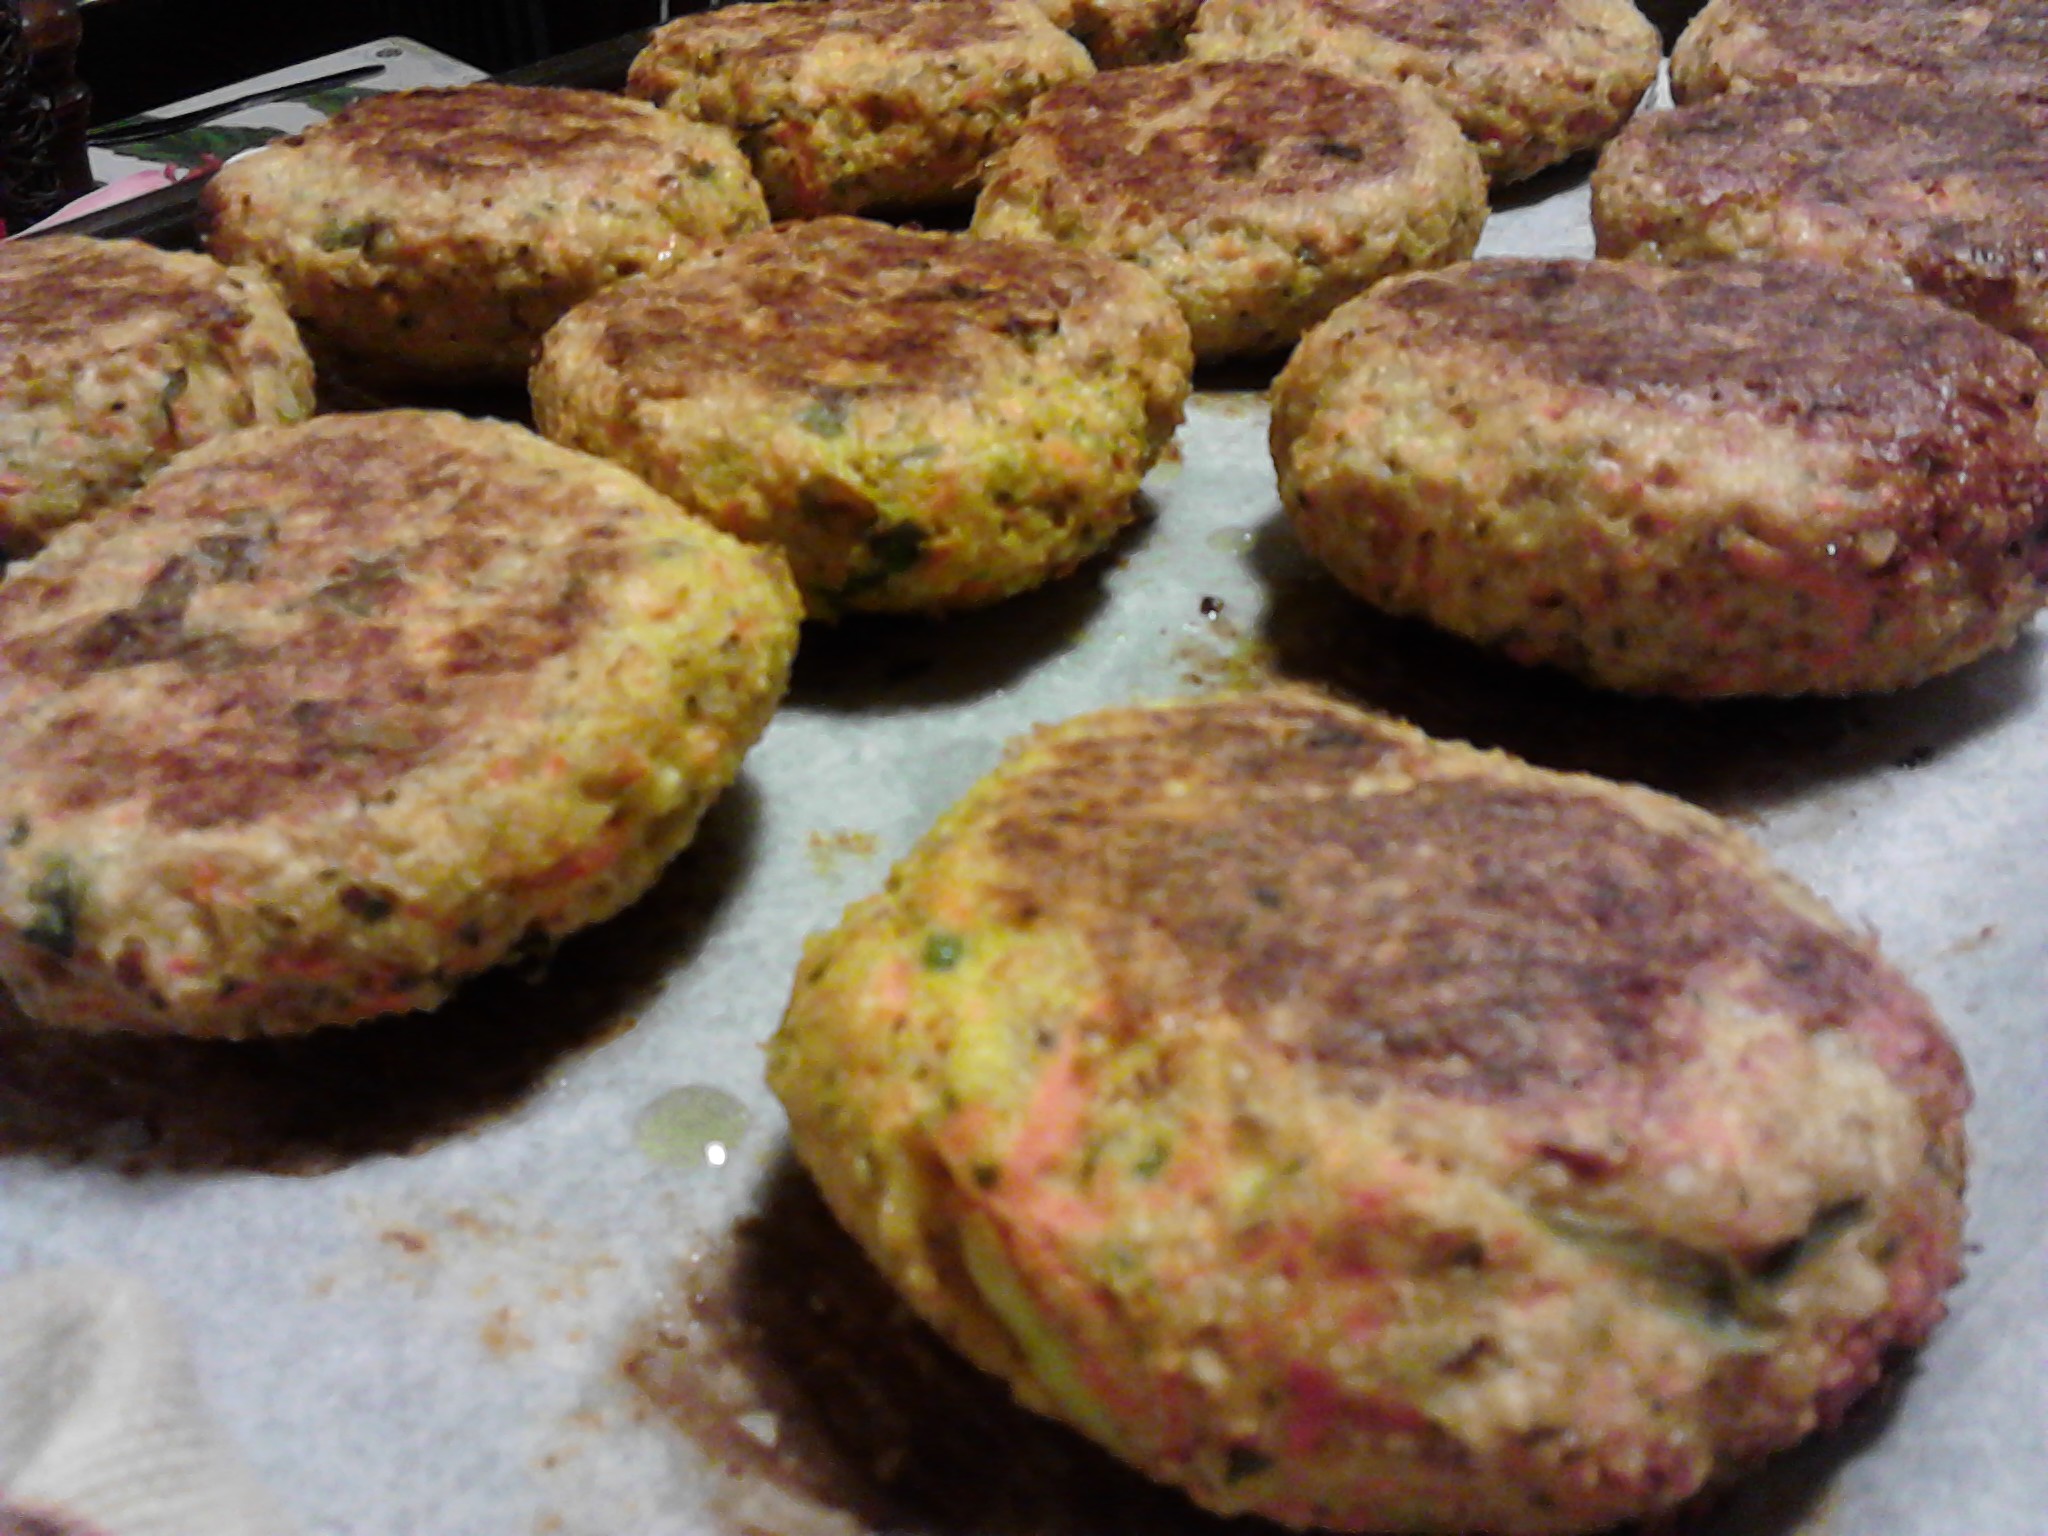
These golden rissoles were so crunchy and delicious. I made them early in the day and had them ready on the tray so that when dinner time came l just had to place them in the oven and steam the vegetables for the mash. I didn’t coat the rissoles in anything such as a flour before baking as is normally the custom and just drizzled a tiny amount of olive oil on them. They turned the most beautiful golden colour when cooked and had a delightful flavour from the spices, herbs, nuts, seeds and vegetables. The mixed vegetable mash is a new favourite of mine and had some crunch from the addition of pumpkin seeds and a lovely spicy taste as well.
Golden rissoles:
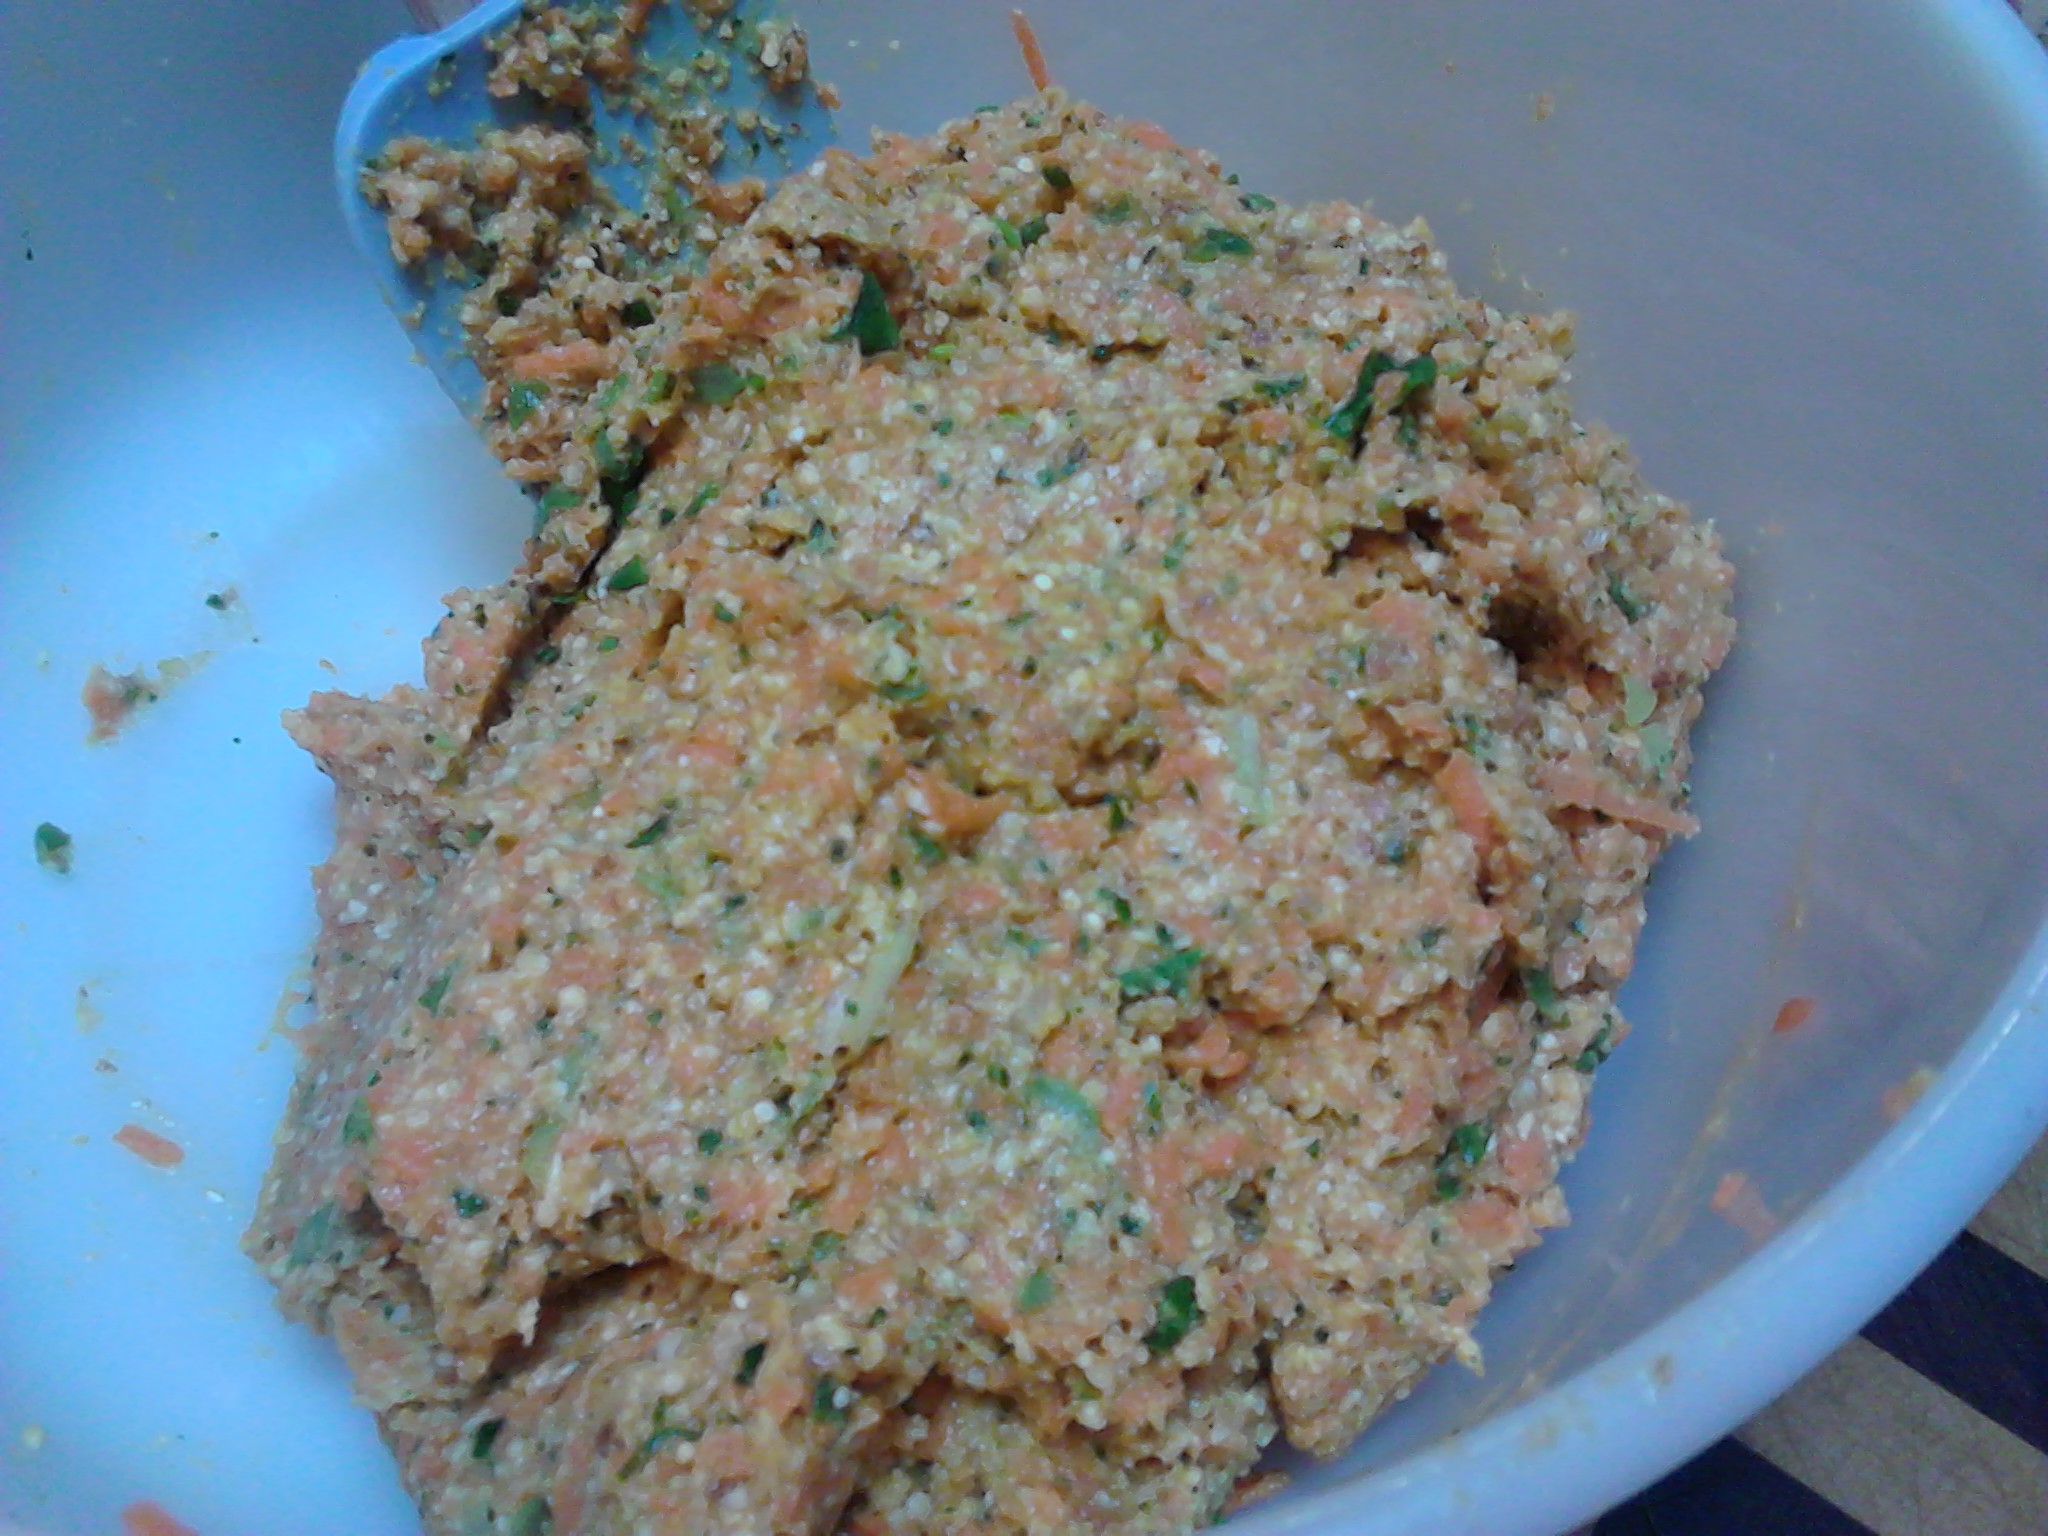
The processed mixture should look like this. It sticks together well, but isn’t overly wet or dry.
Feel free to add or delete any ingredients that you don’t have as rissoles are very flexible in what can be used in the mix. You can also make them spicier or use more meat than l have depending on your tastes. This particular mixture was amazing in that it stuck together, and when cooking, the rissoles held their shape and didn’t split in half or have bits breaking off which is often the case with rissoles, especially ones that don’t have a lot of meat in them. The spices used in this recipe are all the dry ground versions and try to use organic versions if you have them. I also used activated almonds which are quite moist, and if you use raw almonds you may need to add another egg to compensate.
Place the following into the food processor (this mixture made 12 rissoles)
1 washed and roughly chopped free range chicken breast
1/4 teaspoon organic curry powder
1/4 teaspoon turmeric
1/4 teaspoon cumin
1/4 teaspoon ginger
A pinch of paprika
1/4 teaspoon pink rock salt
1/4 teaspoon black pepper
2 finely grated carrots
1/2 cup flat leaf parsley
1/4 cup quinoa flakes
1 tablespoon black chia seeds
2 free range eggs
2 spring onions roughly chopped (I don’t use the white parts)
1 cup of activated almonds.
The mixture was just sticky on my hands, but l was able to roll each rissole easily.
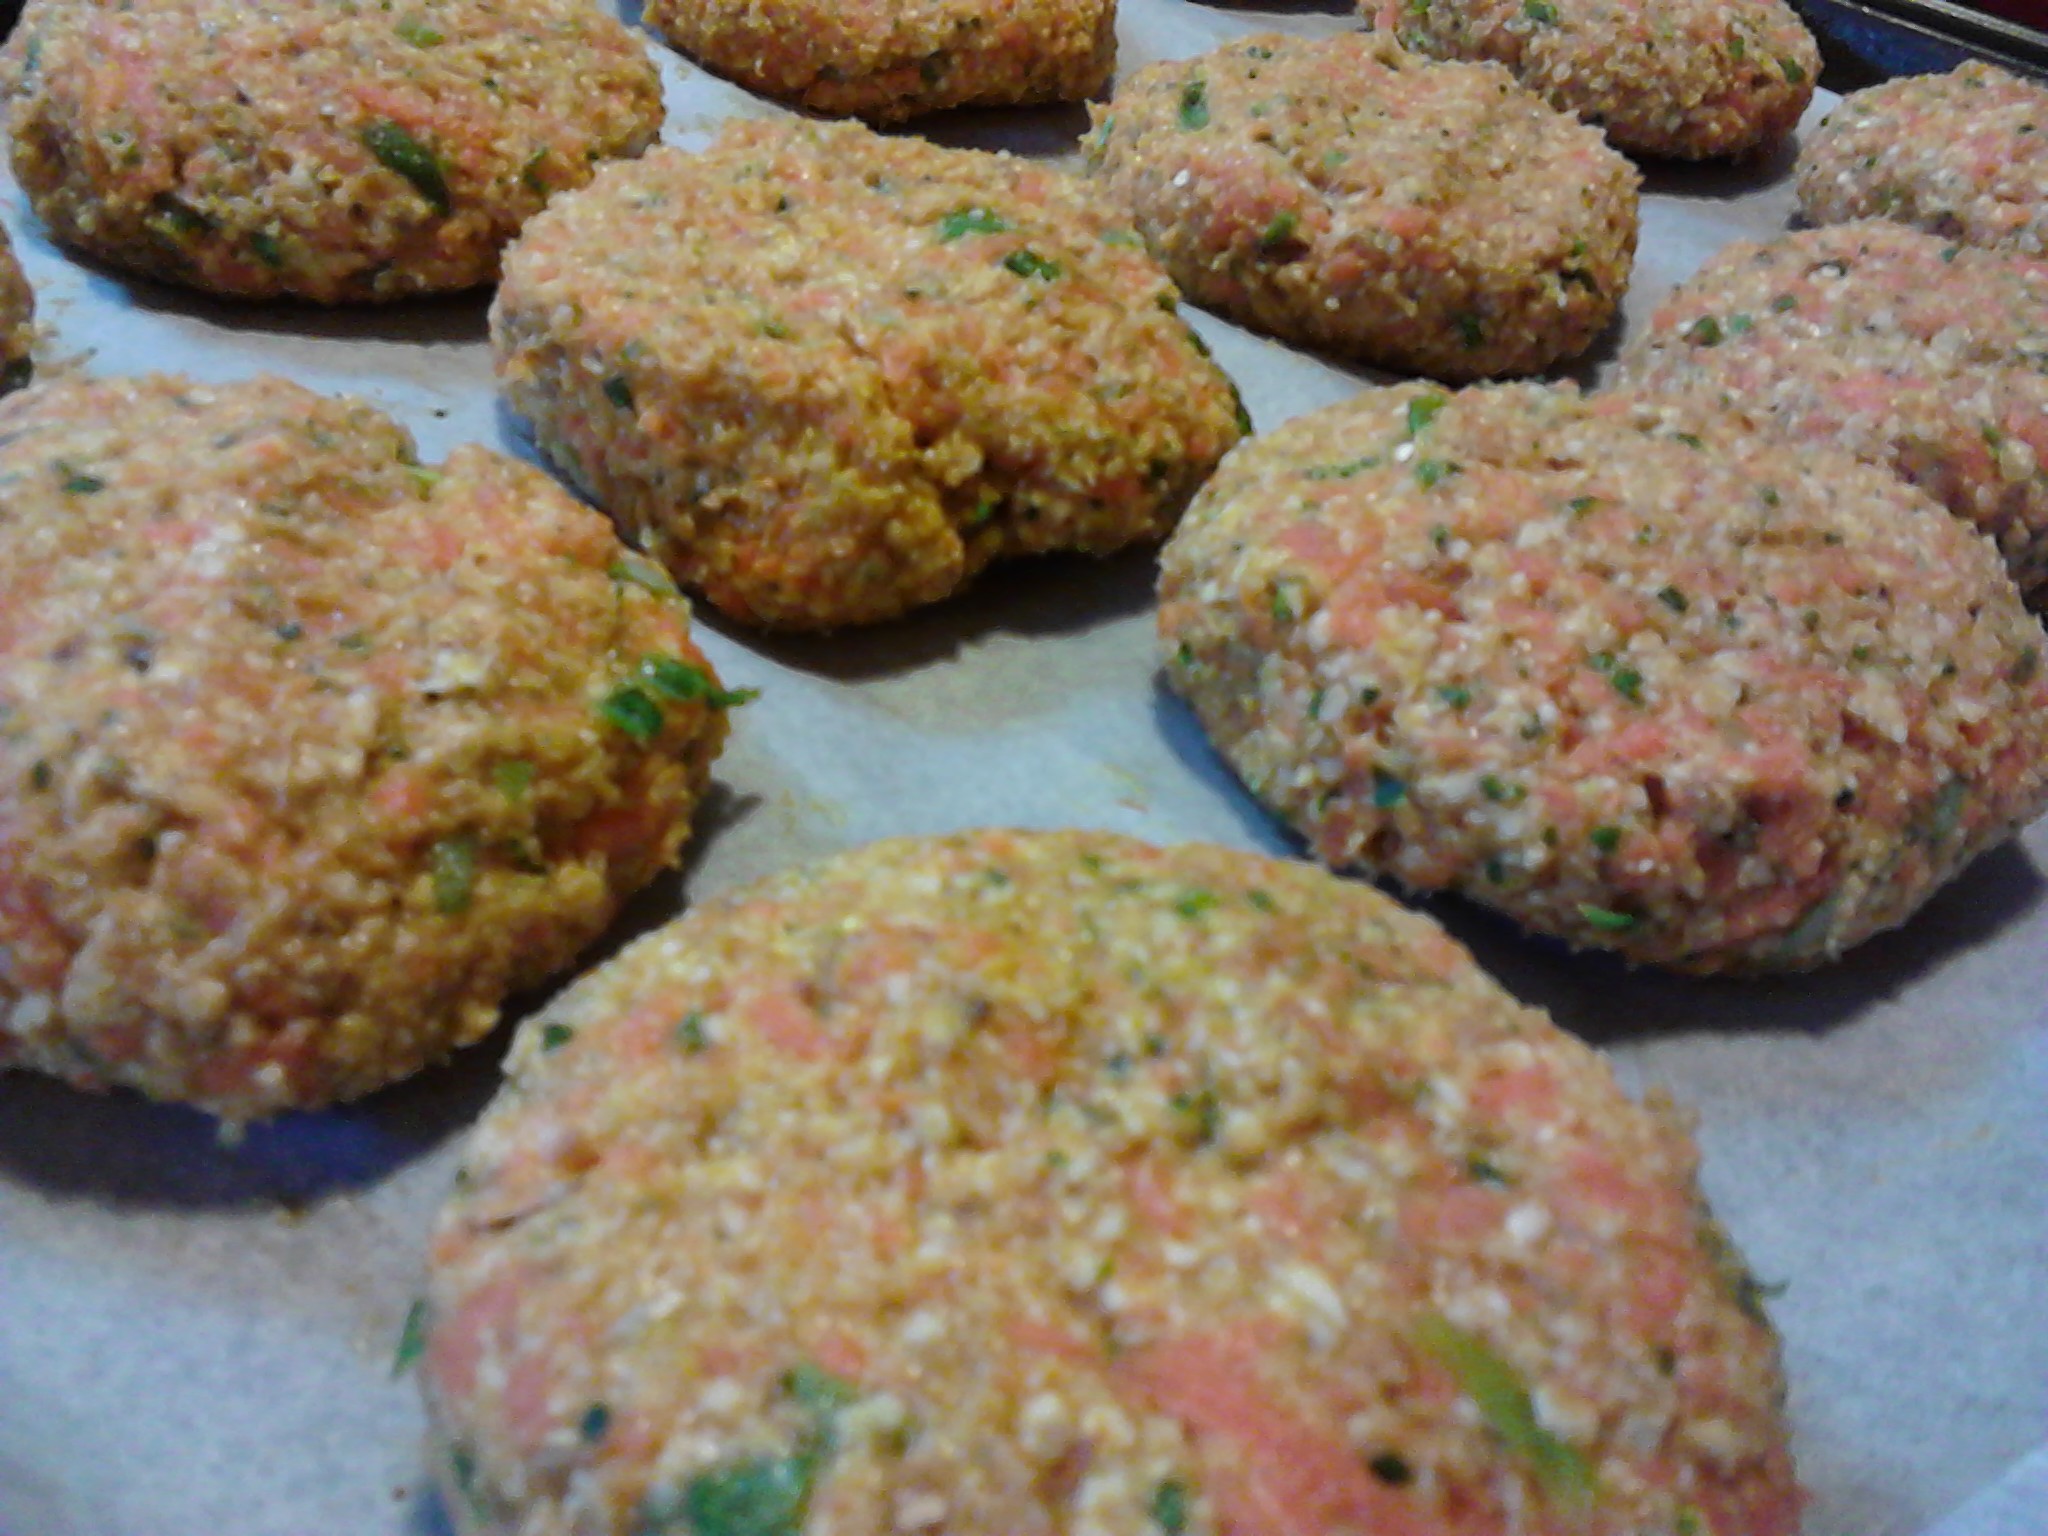
Once the mixture is processed, form into small balls using your hands and flatten slightly as you place them on a tray lined with baking paper.
Drizzle a tiny amount of olive oil onto each rissole and cover the whole tray with Aluminium foil. I let mine set in the fridge for a few hours and this may have contributed to them staying in shape so well. Place in a pre-heated 200 degree celsius oven until the tops look golden, then turn over and give them a few more minutes.
These will be amazing cold the next day.
Making the vegetable mash:
While the rissoles were in the oven cooking l steamed the vegetables for the mash. Into the steamer l placed roughly diced sweet potato (1 medium), beetroot (1/2 of one large or a whole small one) and carrots (2 medium carrots). Steam the vegetables until just done to preserve nutrients and them place into the food processor with a cup of activated pumpkin seeds, pink rock salt, black pepper, 1/4 teaspoon organic cinnamon and 1/4 teaspoon organic curry powder (or similar). Process until it all looks blended but not smooth as this is a rustic mash with lots of texture.
I served the meal with steamed brussel sprouts but you could have any vegetable on the side. The green is a nice contrast to the colours in the mash though.
This is a lovely family meal and l love it when there are left overs for the next day. I used to always think a mash had to be potato and then on the Paleo diet l switched to sweet potato mash, and now l just think the possibilities are endless and that l can have a rainbow of vegetable mash!
If you have enjoyed this post please share with a friend. You can now also follow me on Instagram, Facebook, Twitter and Flickr.
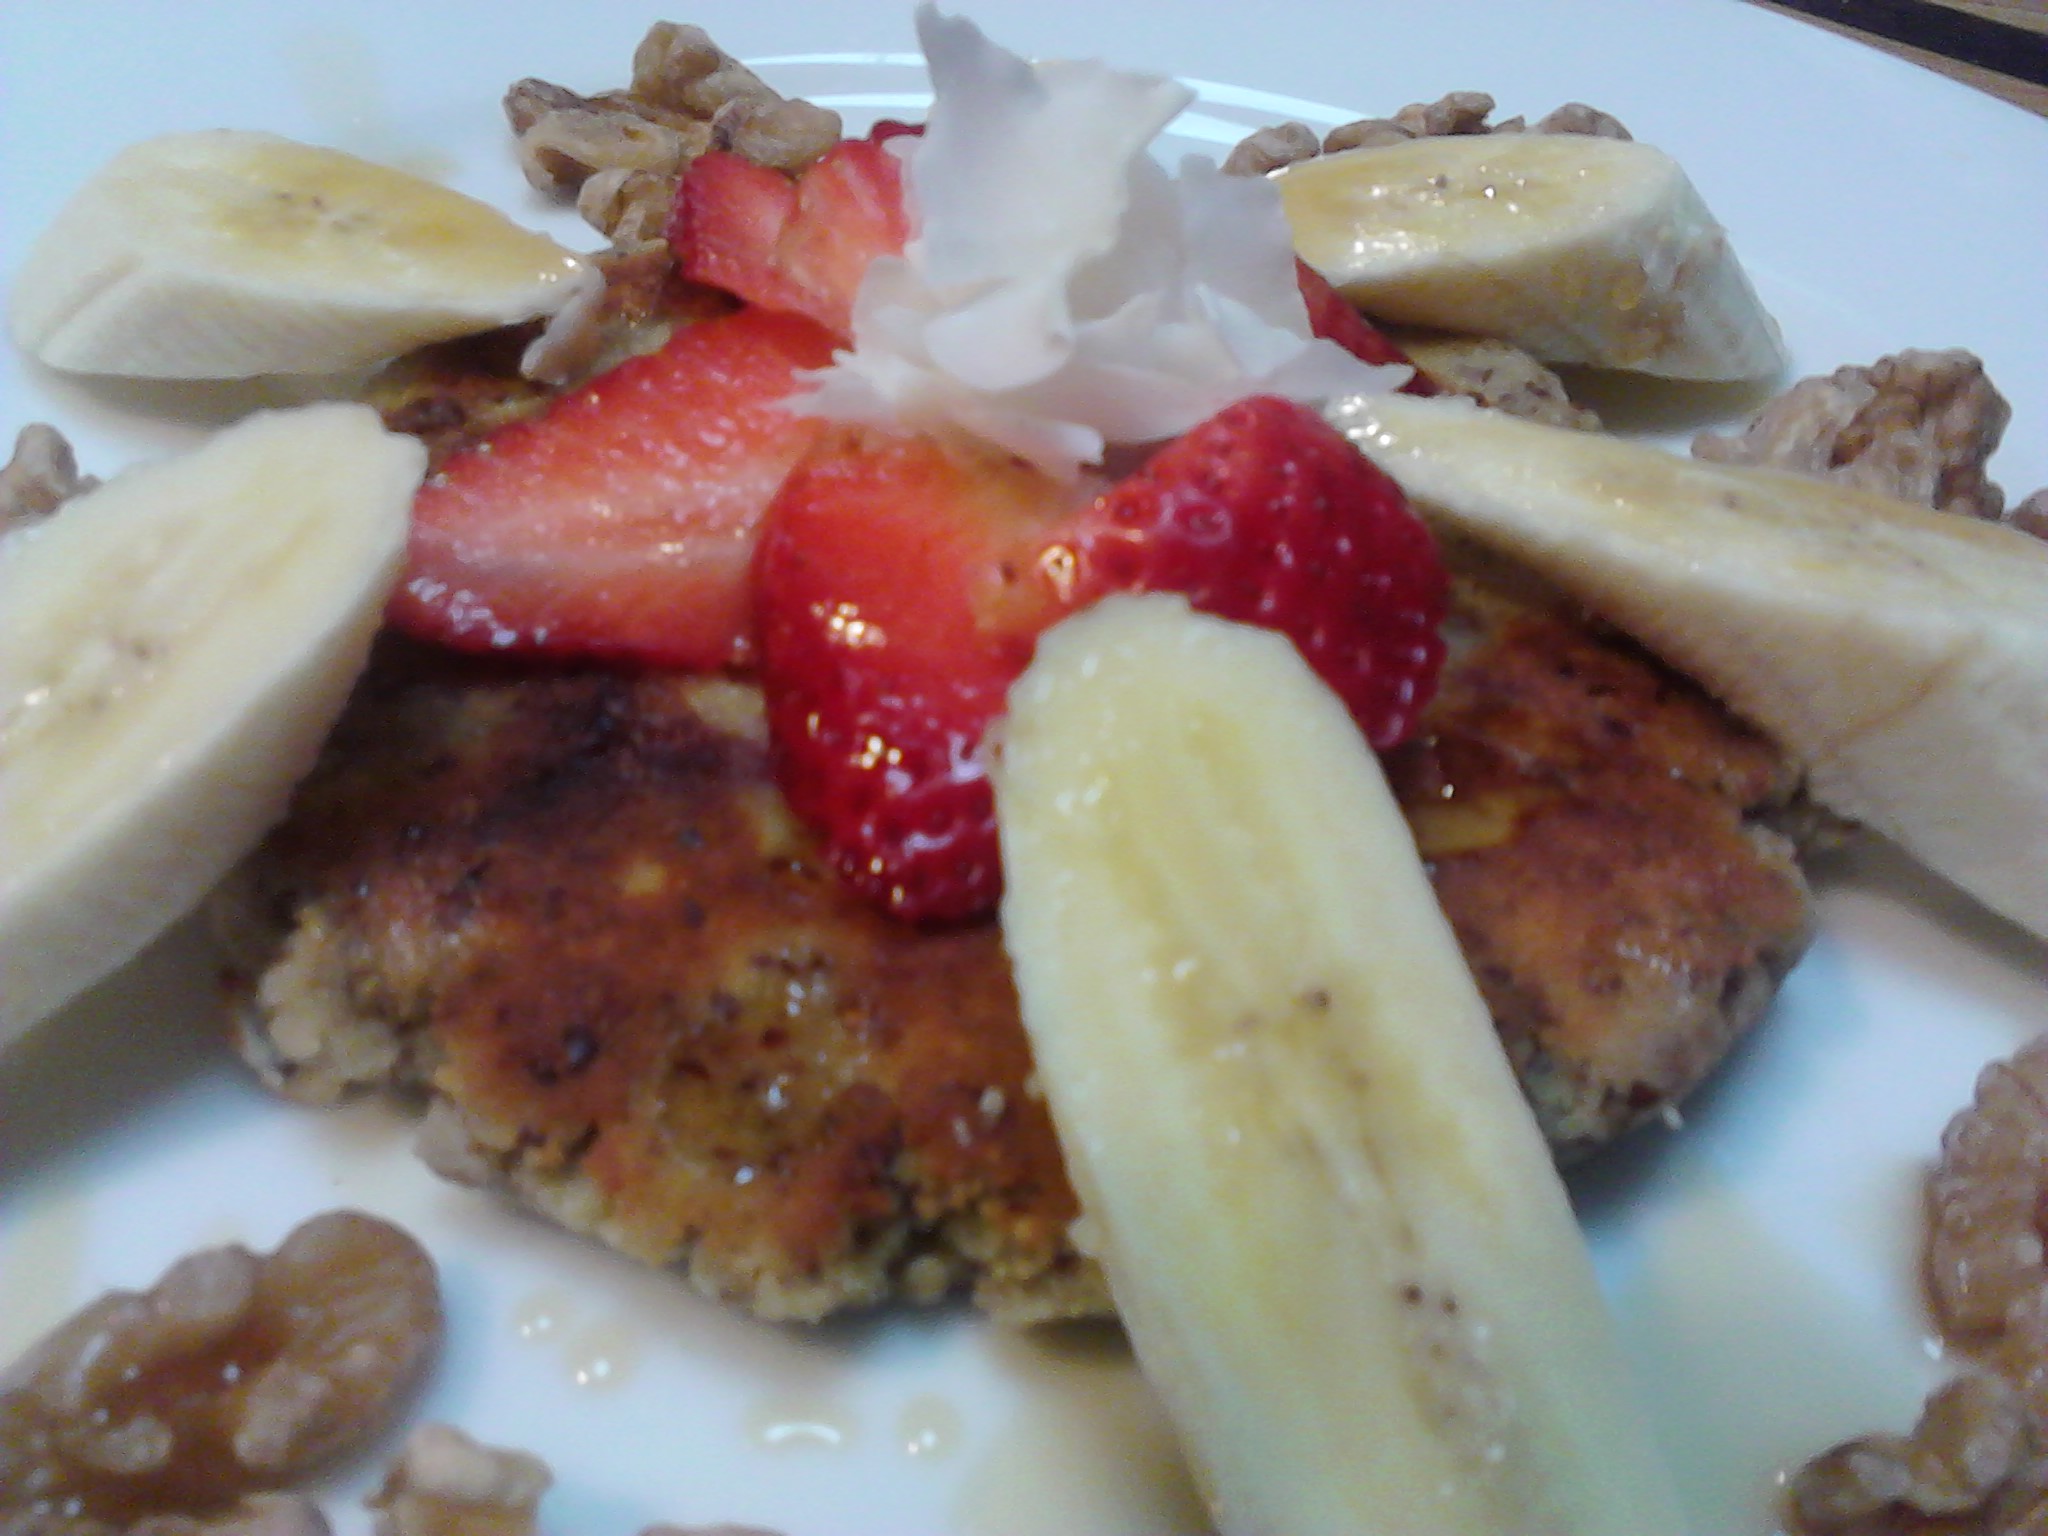
There are so many ways to add colour to your meals, but the best way is to include a variety of fresh fruit and vegetables in your daily diet. The health benefits of eating a diet filled with a rainbow of colours is well known, but as l have tried to incorporate more vegetables into every meal, l have discovered the joy of eating food that is a range of bright colours. Not only are the range of flavours so amazing, but eating fresh colourful food is exciting, motivating and makes me feel happy.
A green pancake for breakfast. Paleo recipe, gluten, dairy and sugar free filled with loads of parsley, bok choy, spinach and kale. Topped with activated almonds, organic coconut flakes and organic maple syrup. Served with fresh avocado and a daily magnesium drink.Breakfast pancake topped with fresh fruit, activated walnuts, coconut flakes and organic maple syrup.
A food as Medicine approach underpins my nutritional motivation, and everything l eat has a purpose and a high nutritional value. Eating a rainbow of fresh, healthy food will ensure you are consuming healthy vitamins, minerals, anti-oxidants and fibre that will help you on your wellness journey.
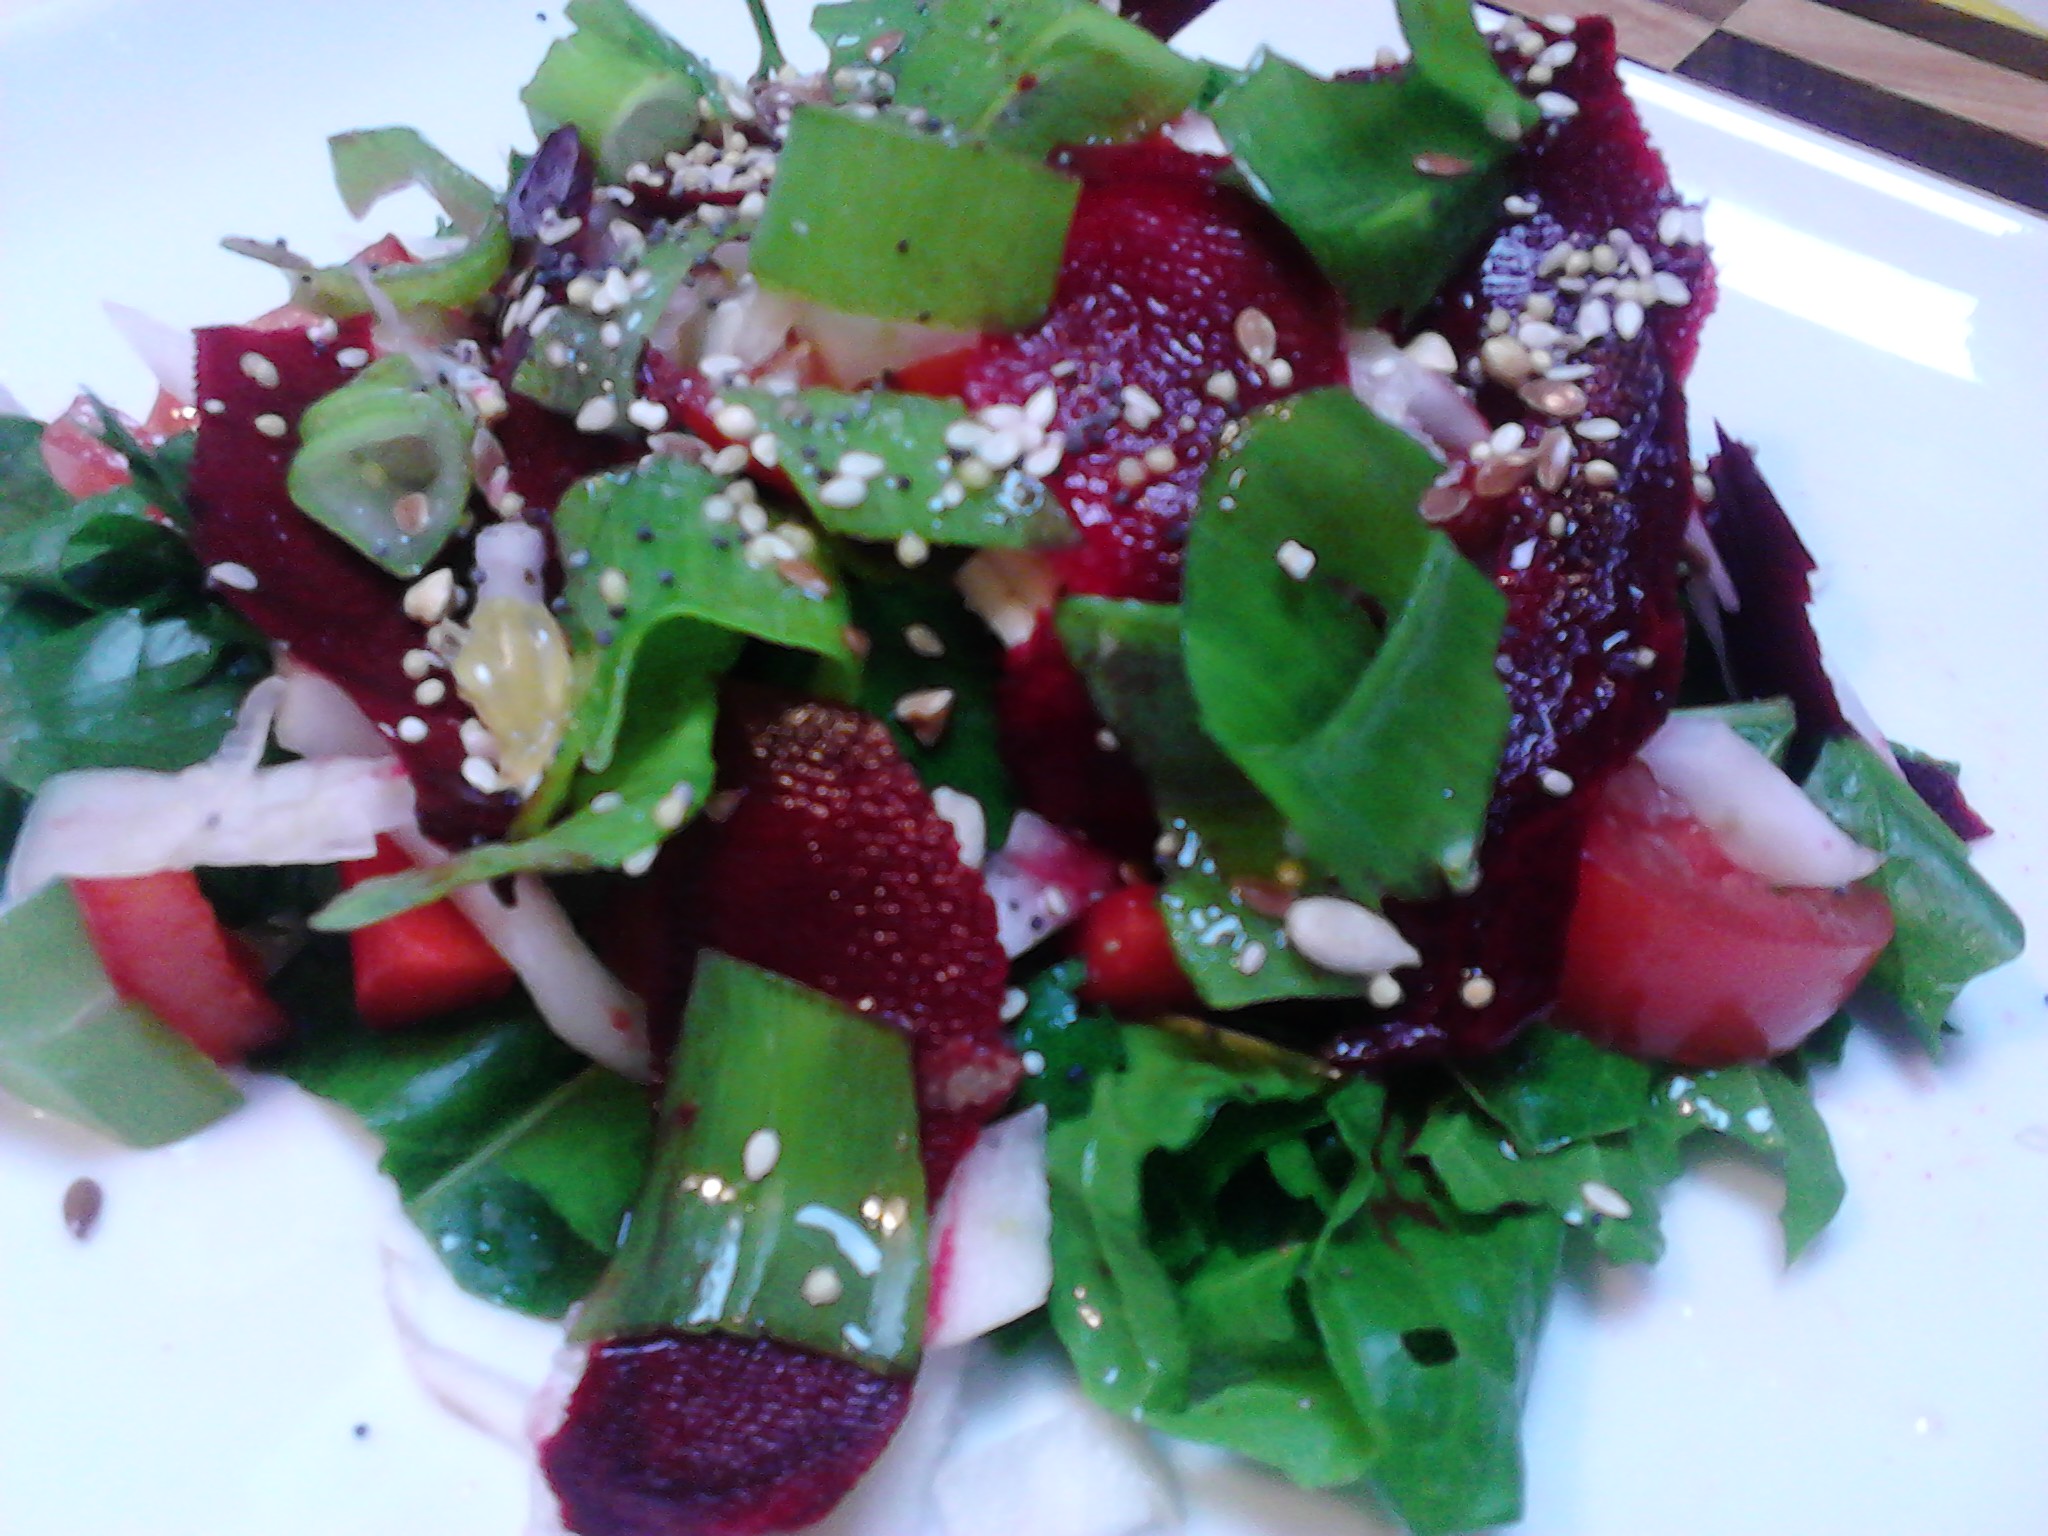
Lunch: A beautiful fresh raw salad.
If your daily rainbow consists of peas, carrots and corn then it is time for a change. Our taste buds can get a bit lazy and are a victim of our comfort zone just like the rest of our habits are. Trying new foods can be challenging and it can take a number of goes at eating a food, or preparing it in a variety of ways before we become accustomed to its taste, texture and how it feels in our mouth when eating. There is also the challenge of learning how to prepare new foods, but if you add one in at a time then it can be exciting and an adventure.
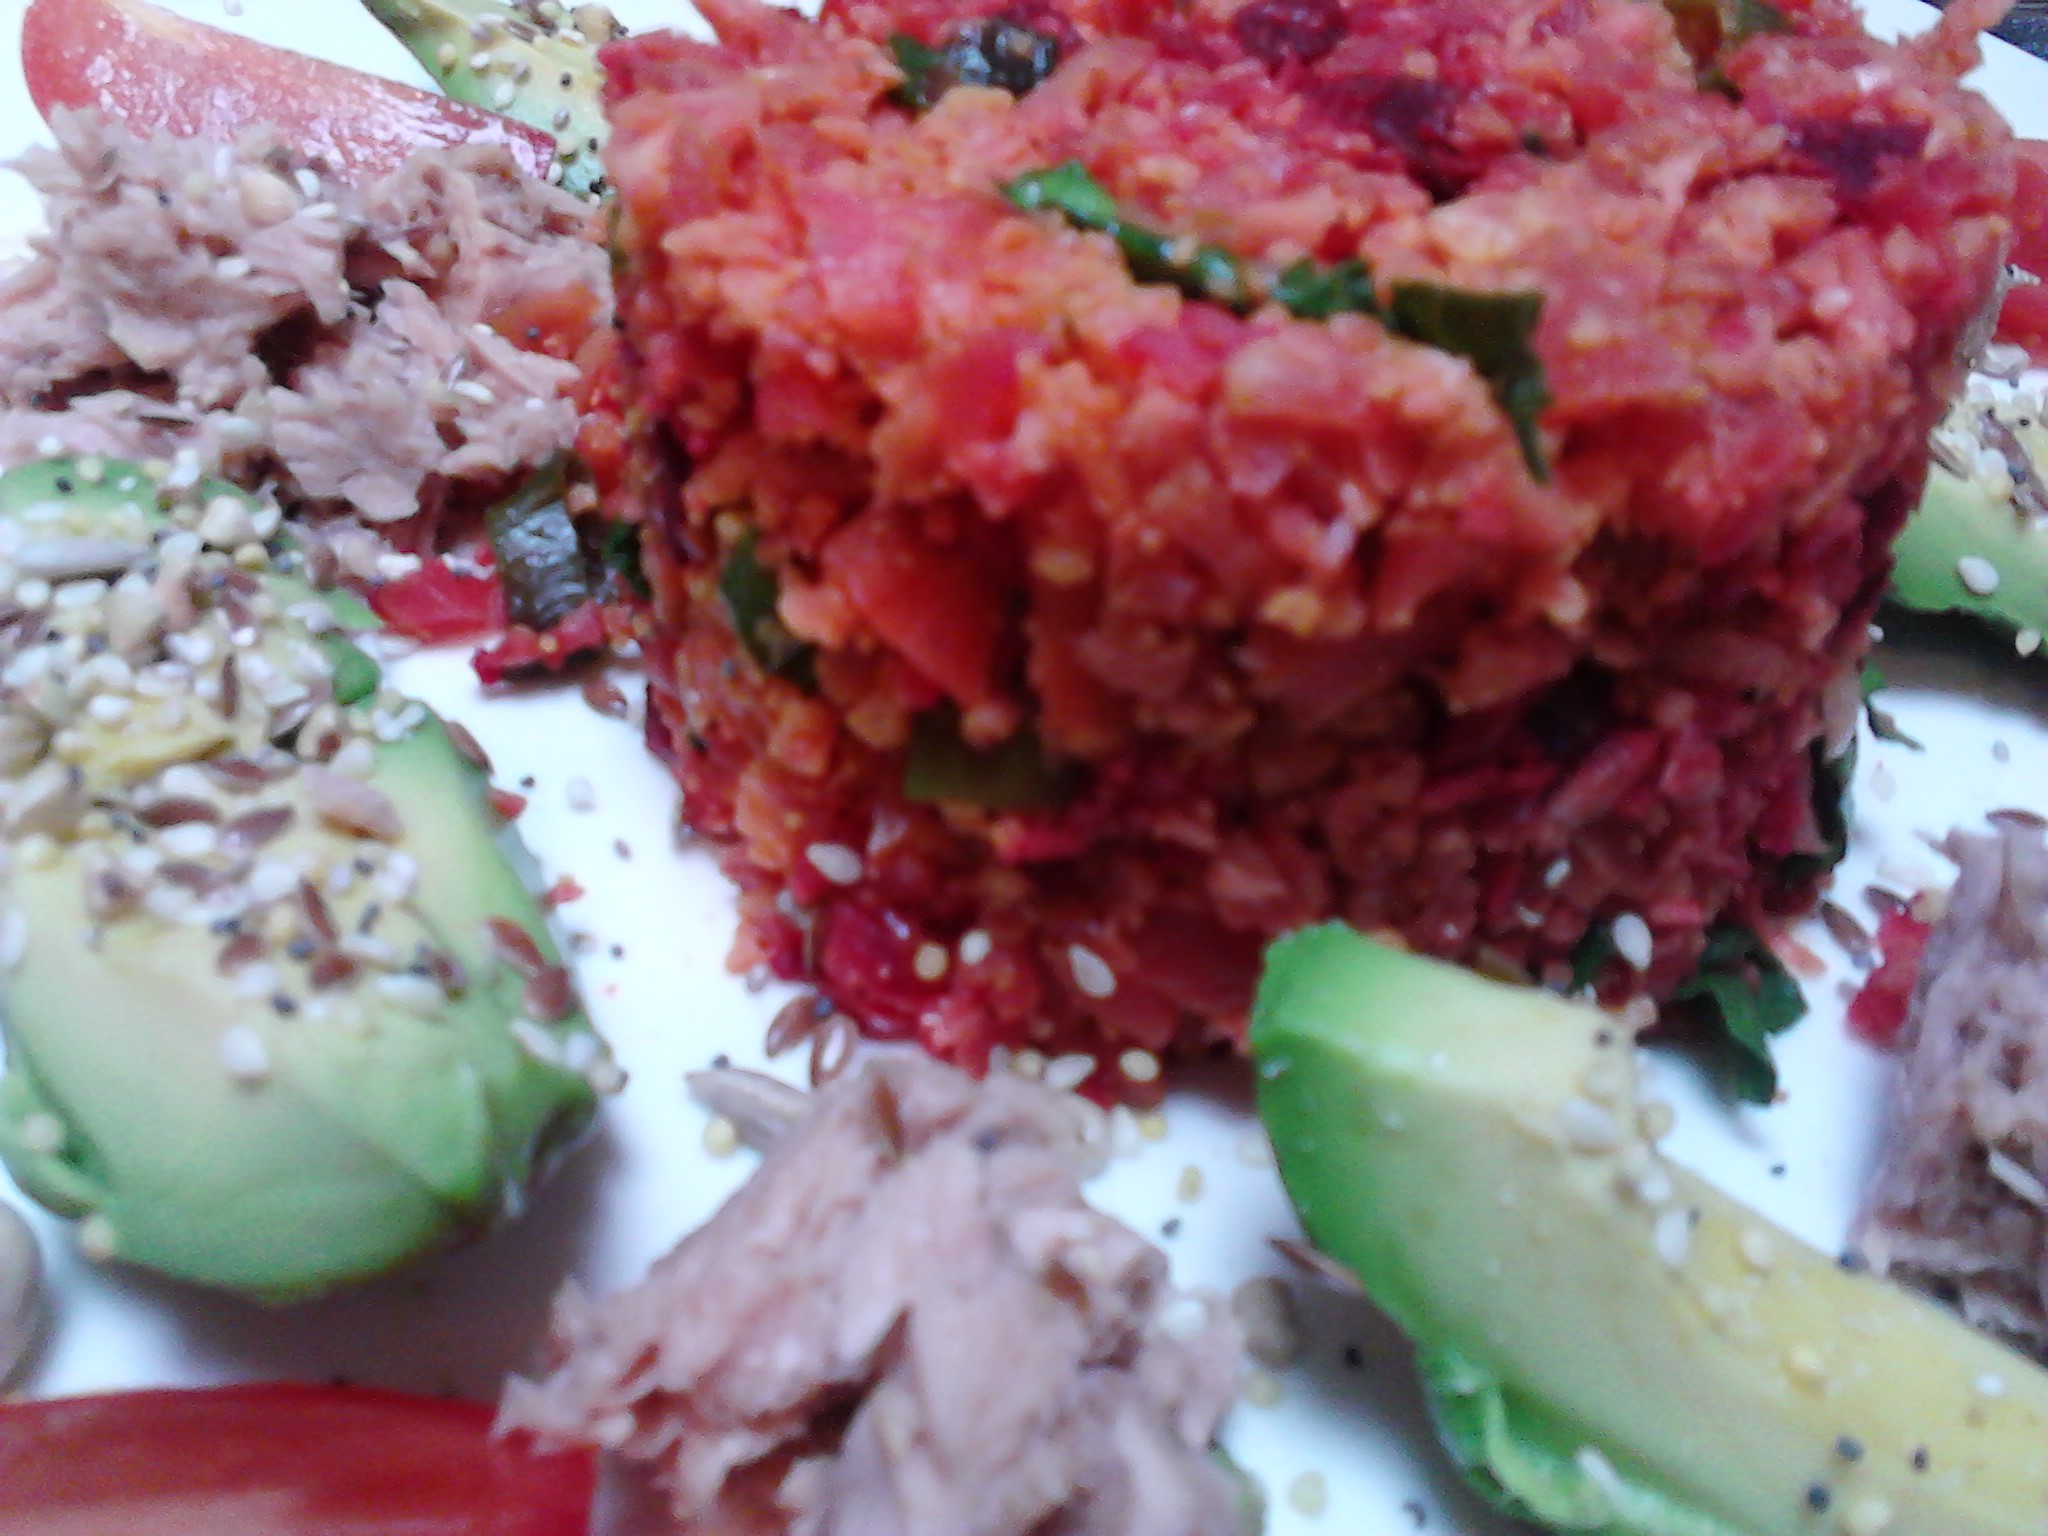
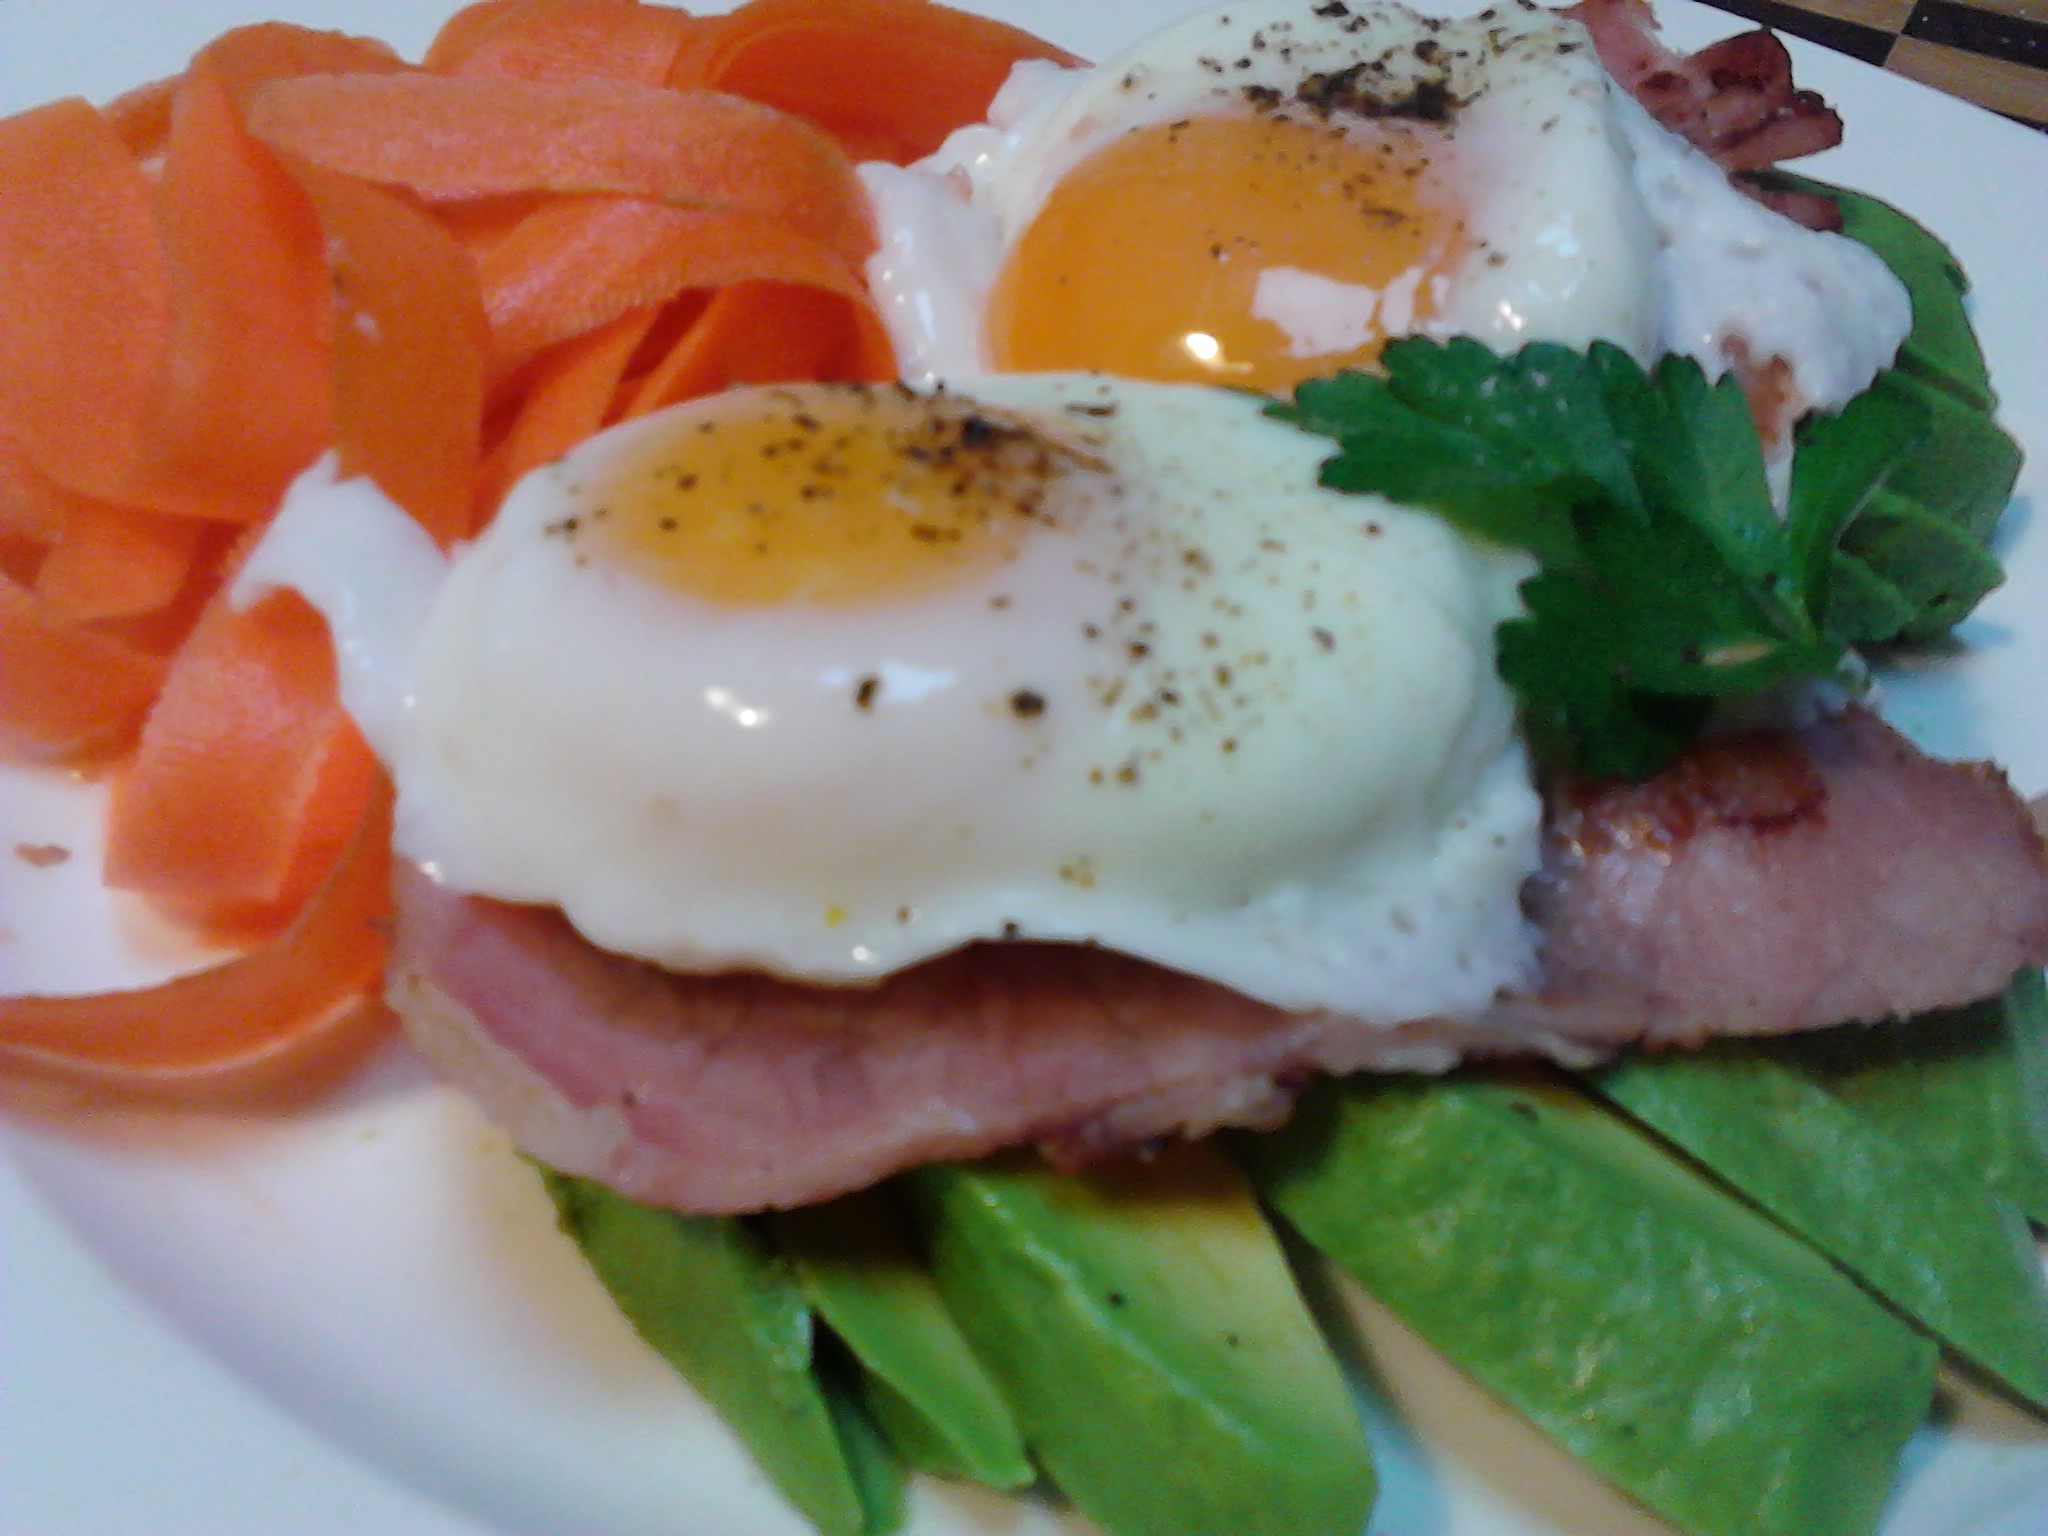
Lunch: Spiced beetroot & vegetable cauliflower rice, with tuna, avocado, tomato and seeds.Lunch: Poached free range eggs & bacon with fresh avocado and carrot strips.
The first step after deciding you want more colour in your food is to buy a selection so it is available for you when preparing meals. If you need guidance, use a recipe that appeals to you as a starting point. I have found Instagram to be an amazing source of inspiration as l can visually see what other people are cooking and eating which helps my motivation to try new foods.
Cold pressed green juice made from bok choy, celery, green apple, lime and ginger.Amazing red juice of beetroot, celery, pear, carrot & fresh ginger.
Take ownership of your food intake and start experimenting with new ingredients. It can be fun and rewarding to sit down to a meal that you have lovingly prepared for yourself and family, especially if it has an array of lovely stimulating colours that gets the family talking about what you have made.
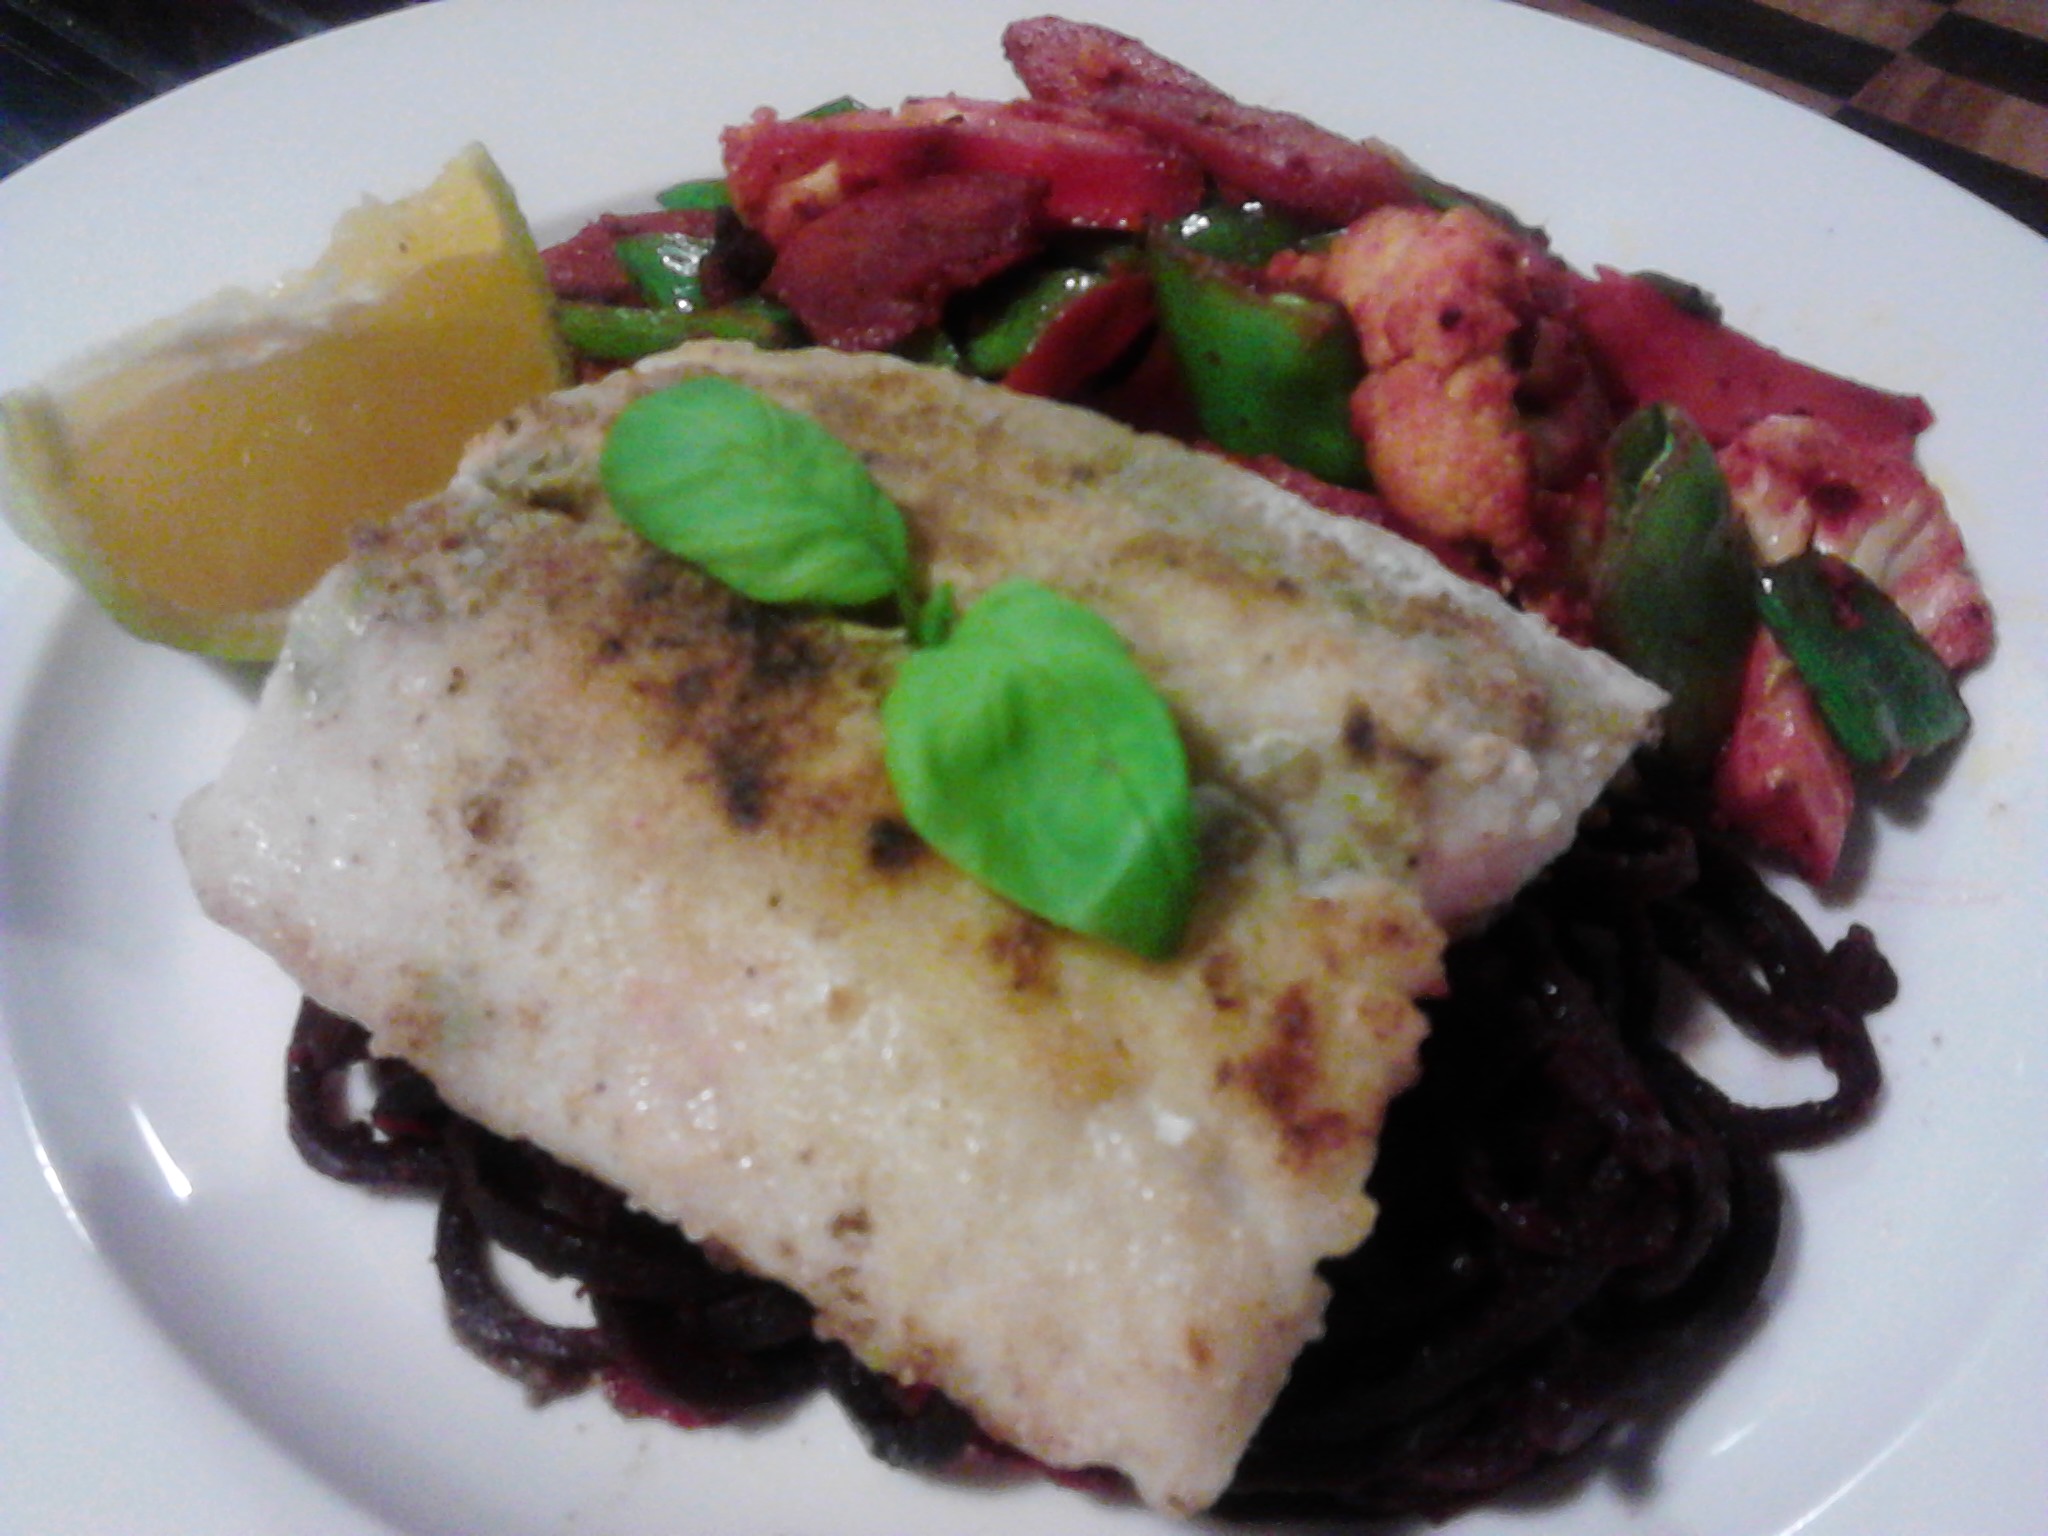
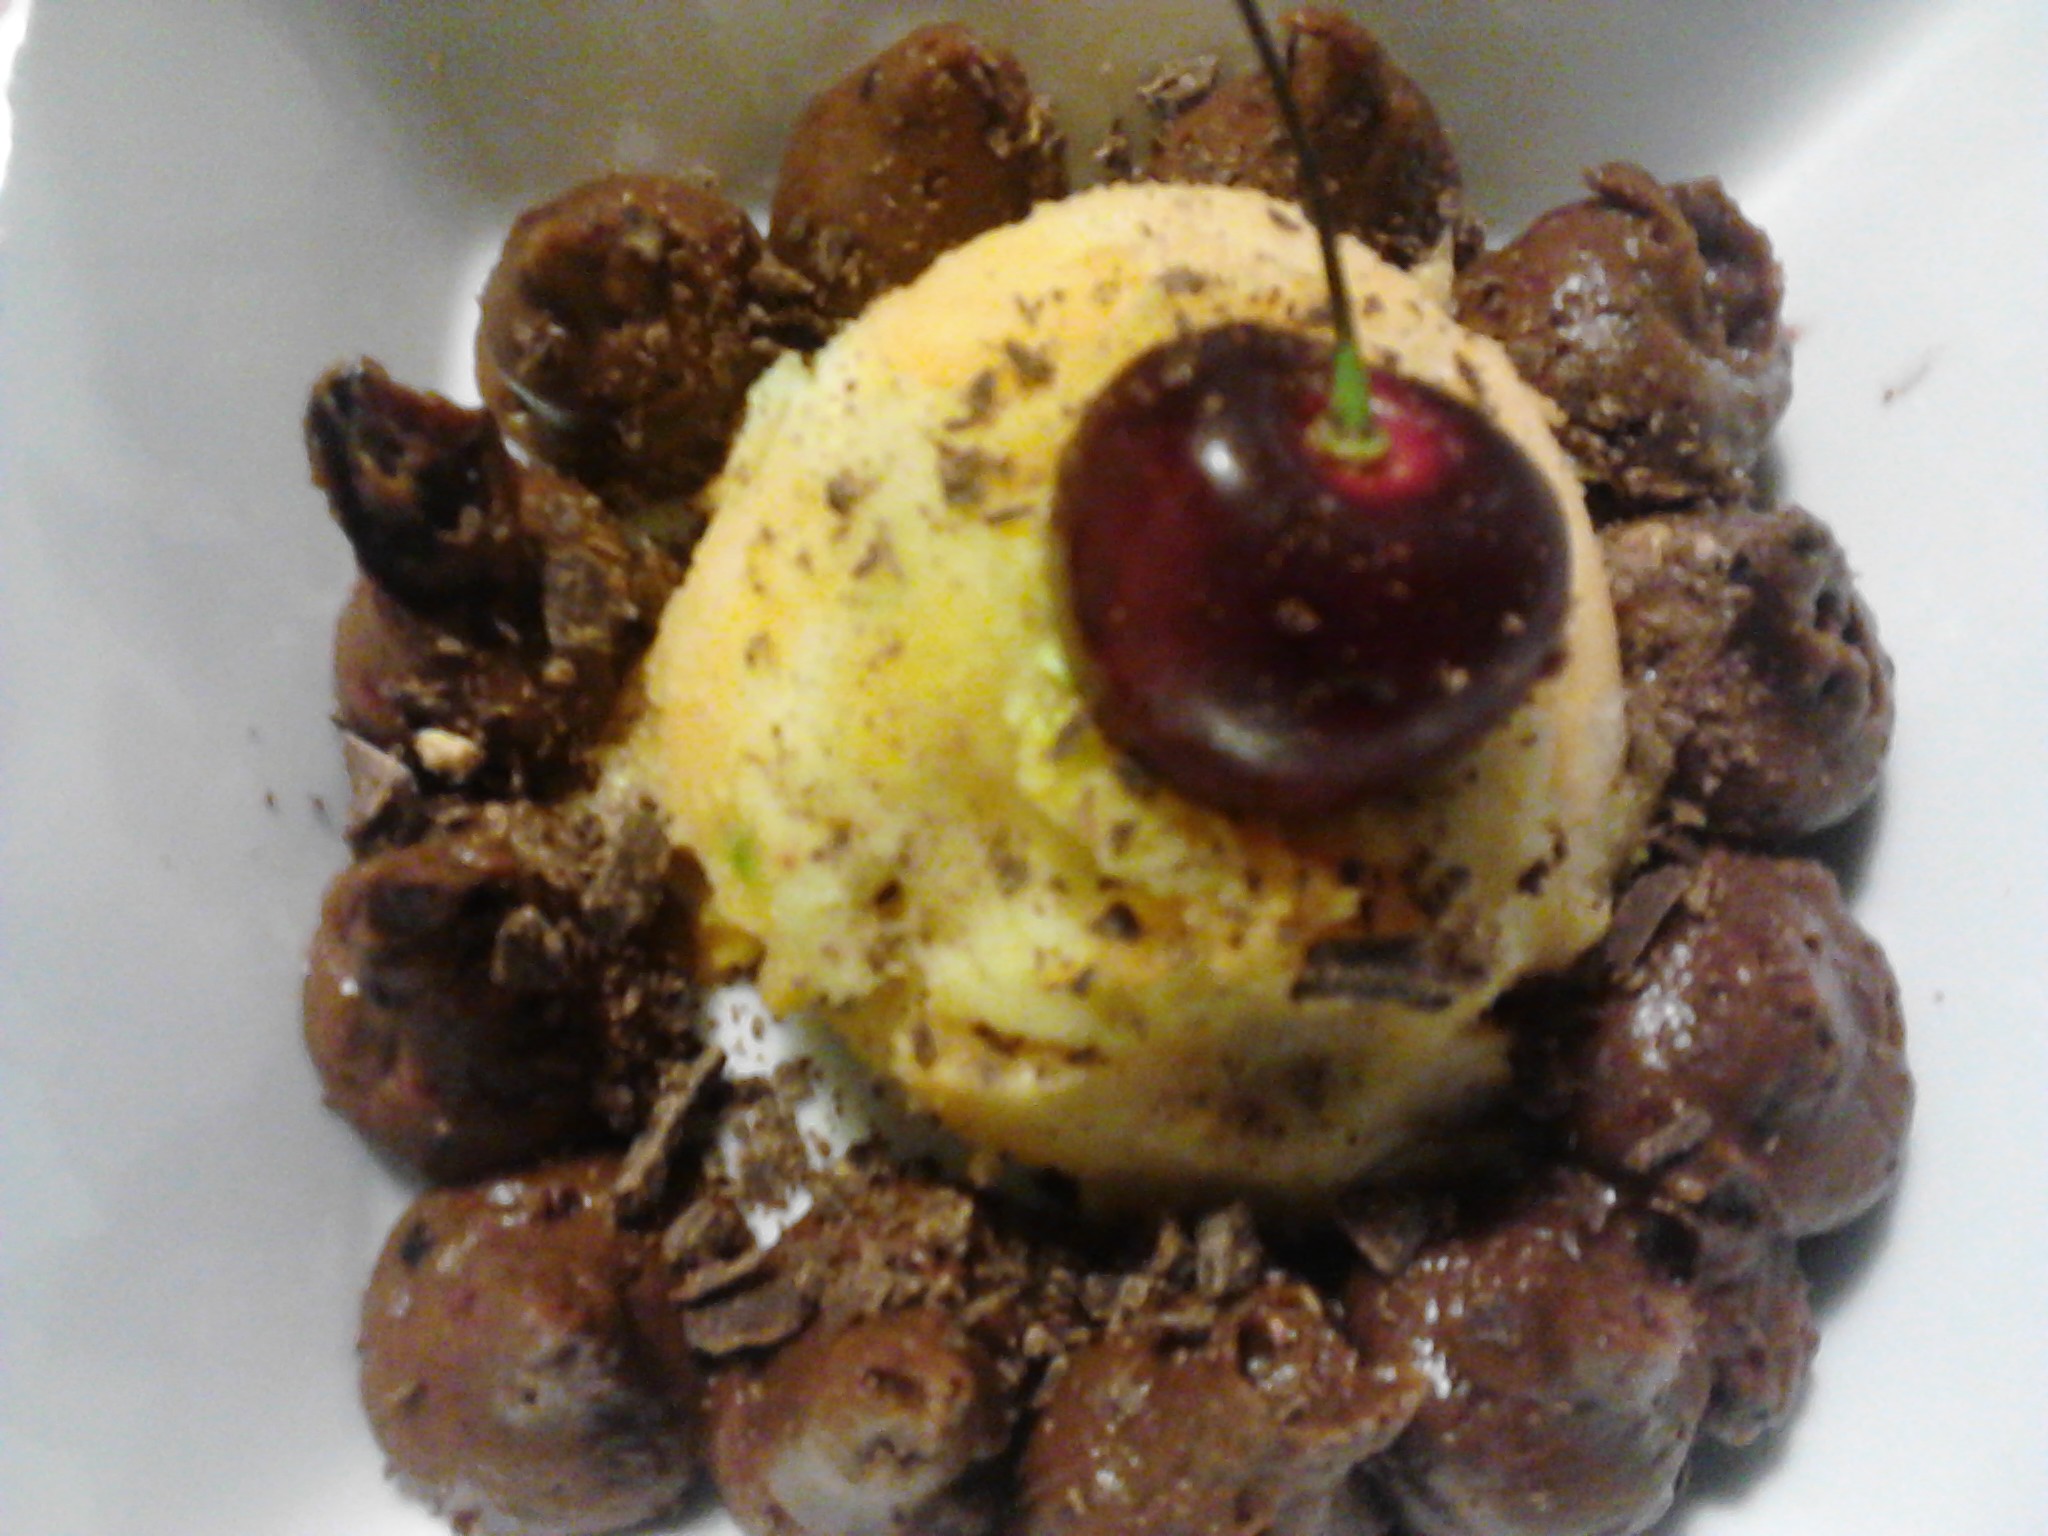
Dinner: Baked fish on a bed of beetroot noodles with a vegetable stir fry.Dessert: Banana, apple & mandarin ice-cream made with the cold pressed juicer and an avocado based chocolate mousse.
I try to make my meals interesting, flavoursome, paleo friendly and highly nutritious. It takes planning, thought, time, motivation and a strong commitment to staying on track when life inevitably throws a few challenges into the mix. I live in a busy household with a husband and three children who are mostly non-paleo. This is a major challenge for me and l am educating them, but this nutritional and lifestyle path that l am following is not without its challenges.
Top tips:
Take an interest in what you are eating. Help with the shopping and cooking and plan your meals.
Be prepared. Have a plentiful supply of fresh fruit and vegetables in the house.
Try to incorporate colour into every meal, ideally by using mostly vegetables and some fruit with a focus on raw or lightly cooked where possible.
Have a positive attitude to trying something new and do some research by looking at magazines, online or speak to a friend who inspires you. Better still, study Nutrition as l have done!
Take it slowly. Change is difficult and our old habits are comfortable and easy to fall back into when a challenge comes our way. Slowly form new habits and incorporate them into your daily life.
Have fun with it! Go to local markets and explore. Experiment in the kitchen with the fresh ingredients.
Have a good attitude. See it as a diet of abundance rather than a diet of deprivation.
Think of your short and long term goals and make every bite you take a nutritious one.
Eat because you are hungry! Cut out the emotional, social, bored or habitual eating.
Follow these tips and you will be on the road to a healthier you!
If you have enjoyed this post please share it with a friend. I post daily on Instagram, Twitter and Facebook with pictures of the food l prepare and eat, as well as a few wellness tips and healthy resources. Thank you Carolyn
A favourite snack that you can make at home! This is a twist on the popular sesame snap but the recipe is easily modified to have a more traditional flavour. The original recipe is from ‘The Merrymaker Sisters” website and l have modified it by adding in poppy seeds and cinnamon.
This is a very quick and easy snack to make and they can be kept in the freezer to add to lunch boxes.
Ingredients:
1 and 3/4 cups of organic sesame seeds
1 cup of organic almond meal
1/2 cup raw organic honey
1/4 cup organic coconut oil
2 tablespoons poppy seeds
1 generous teaspoon cinnamon
Note: If you want a traditional sesame snap leave the poppy seeds and cinnamon out and use 2 cups of sesame seeds.
Method:
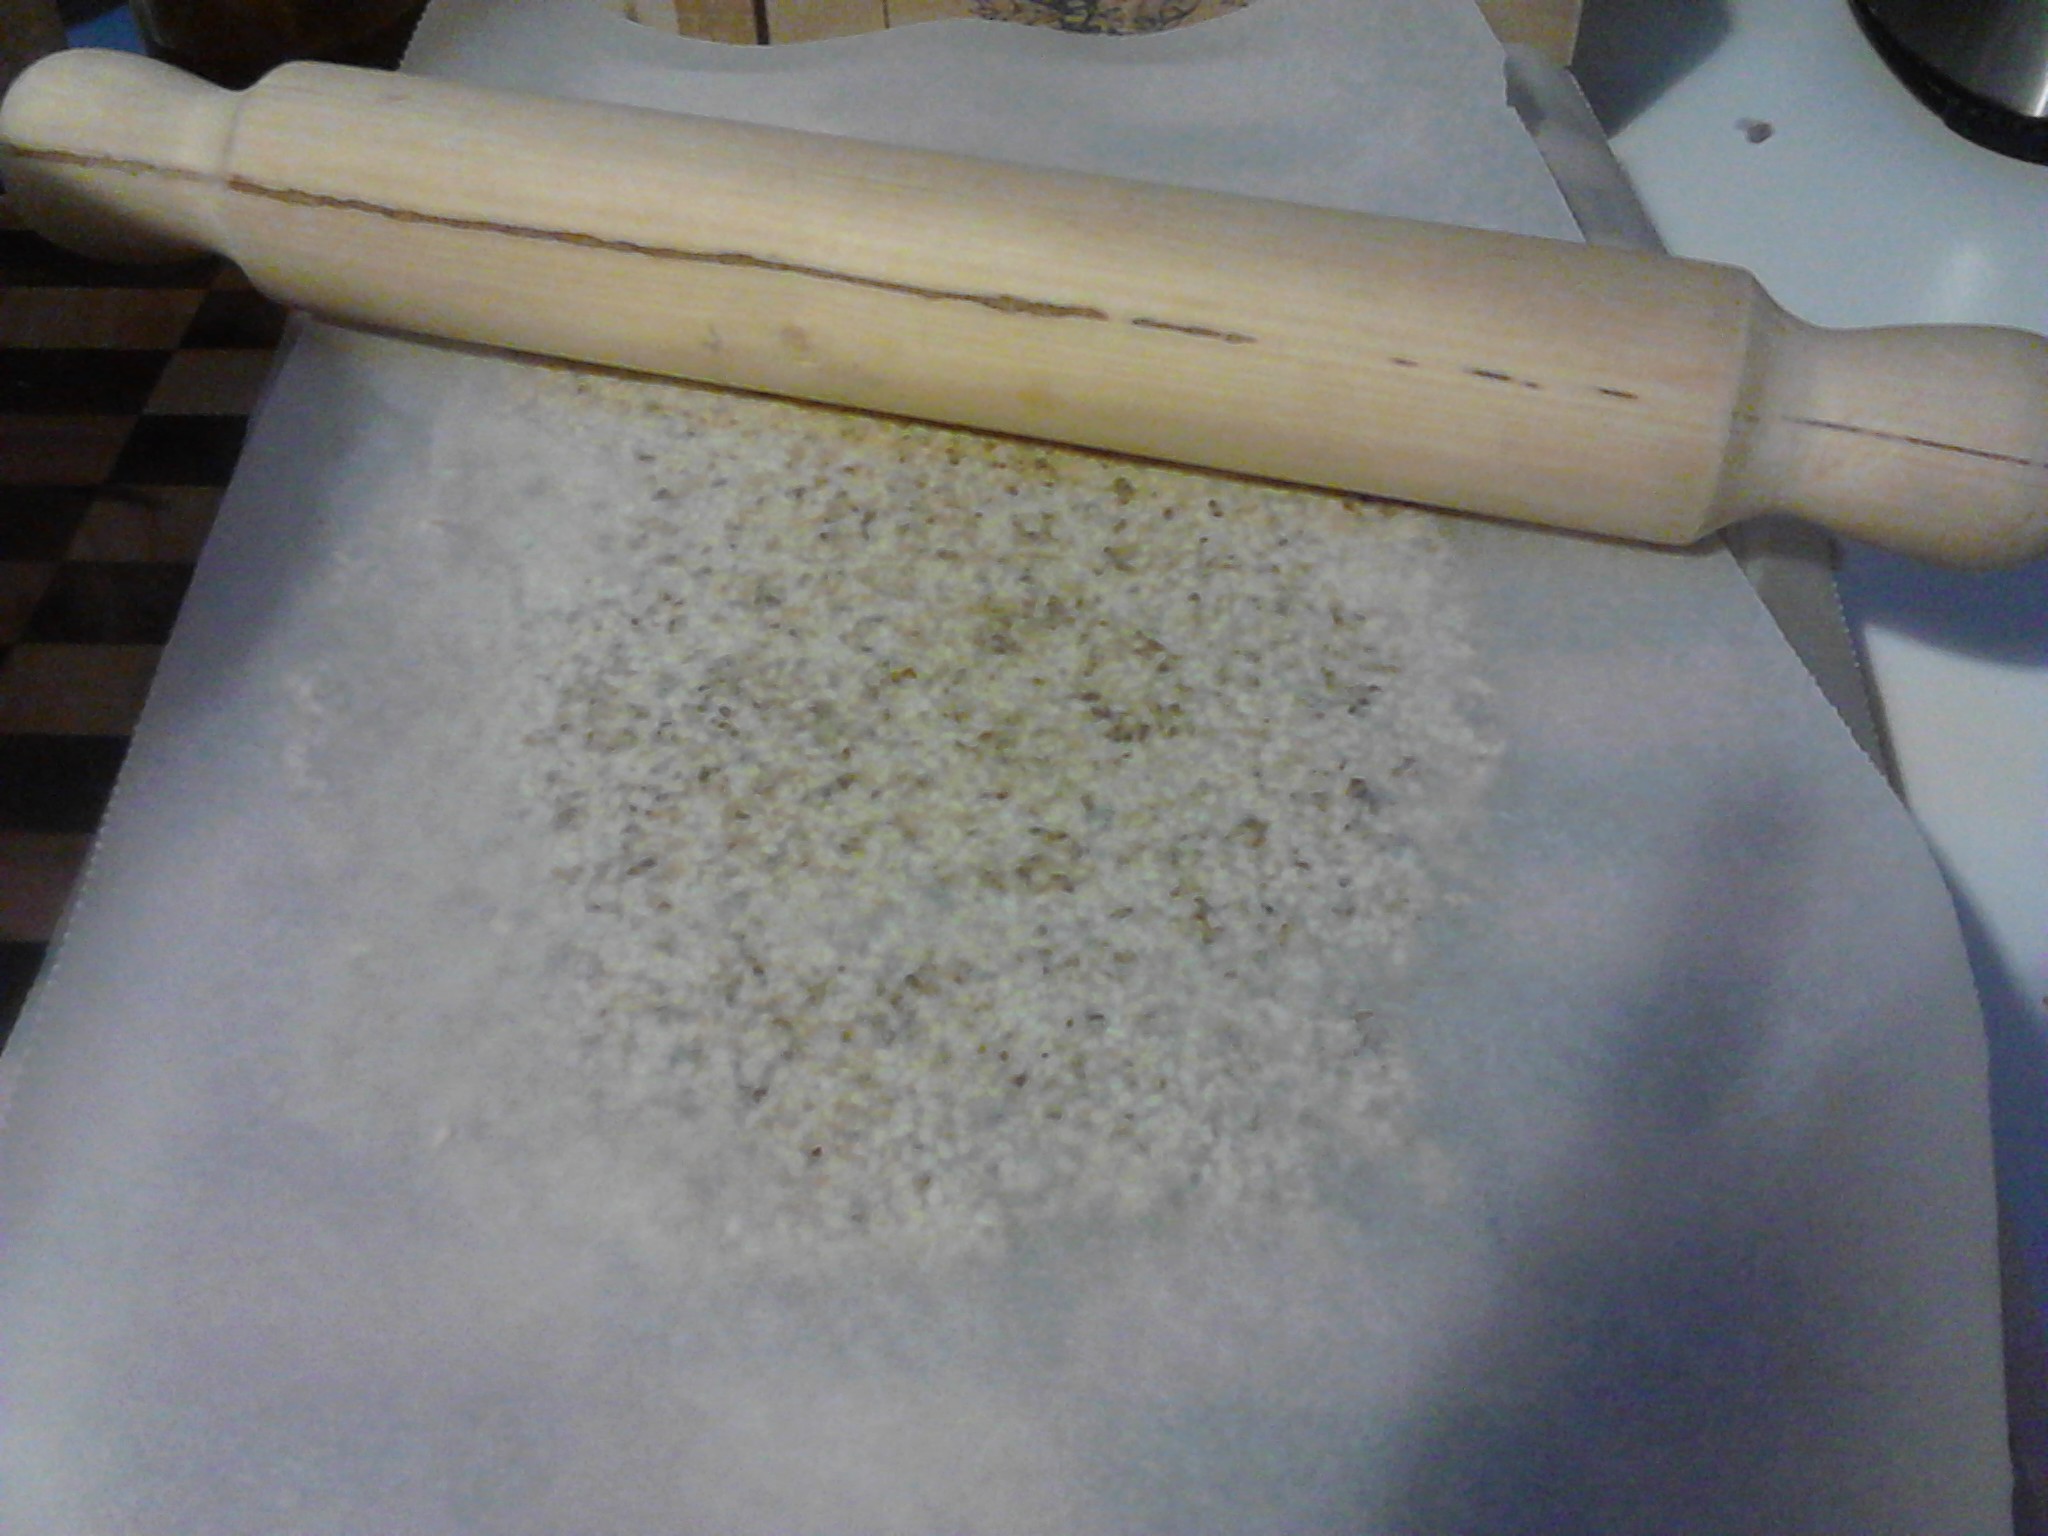
Mix all ingredients together in a bowl. Place half of the mixture onto a piece of baking paper and cover with another piece of baking paper. Roll out carefully to flatten.
Gently roll the mixture so it is even.
Roll the mix to about 1/2 a centimetre. Remove the top paper and use a knife to straighten the edges and then re-roll. Do this for the other half of the mixture.
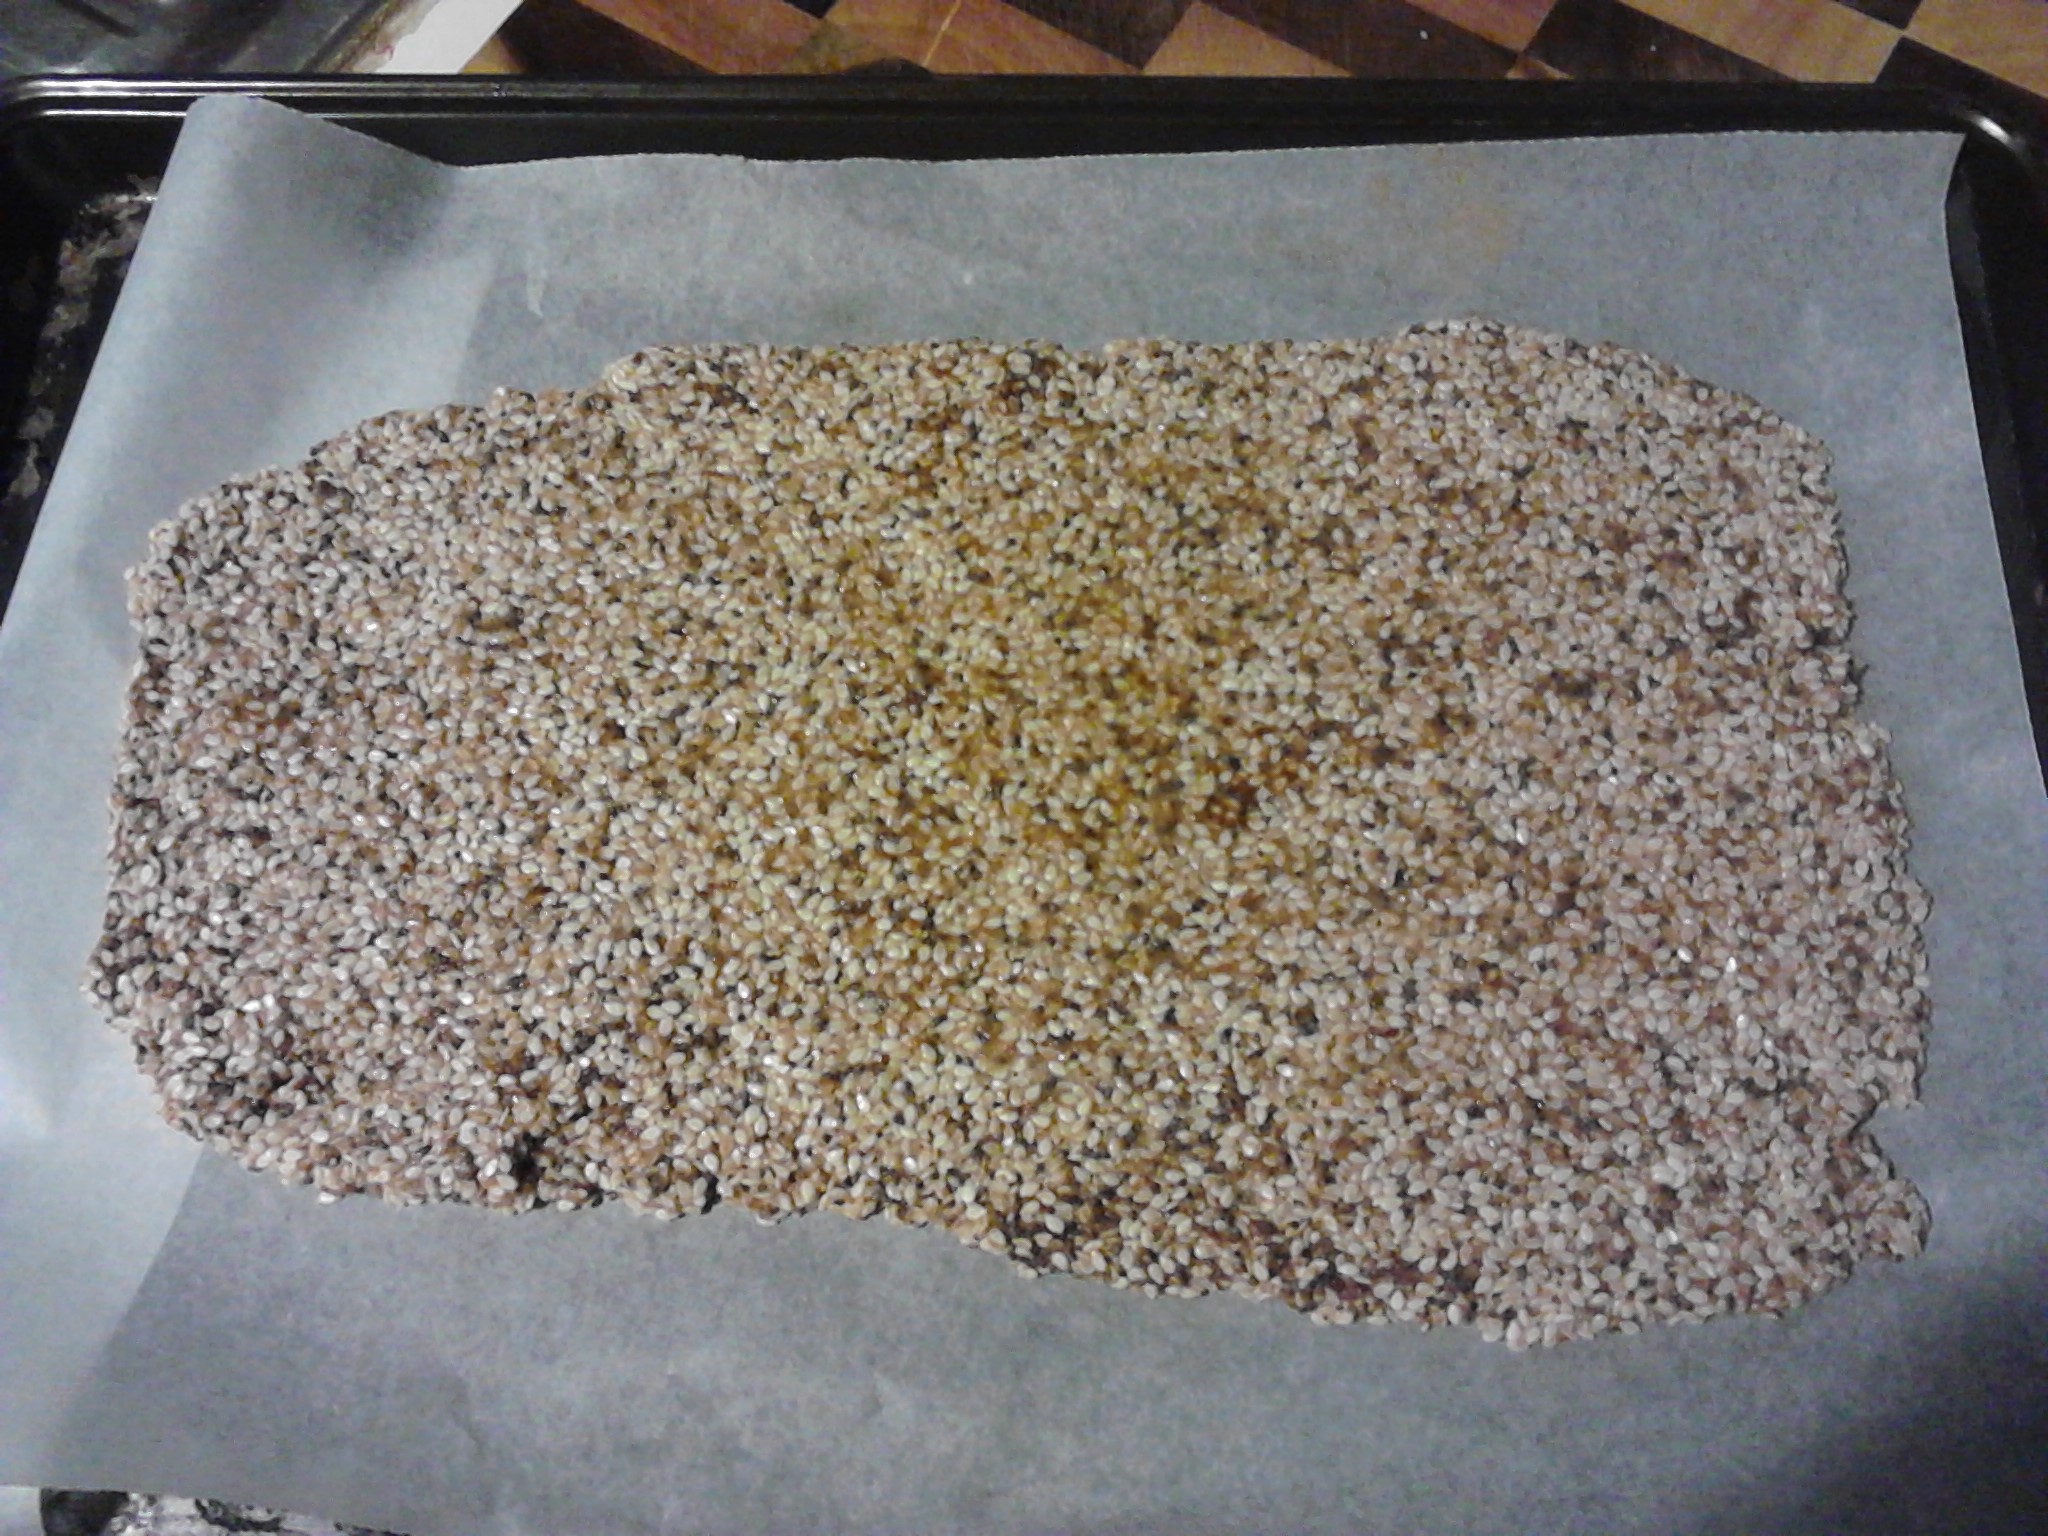
Life the baking paper and flattened mixture onto the baking tray
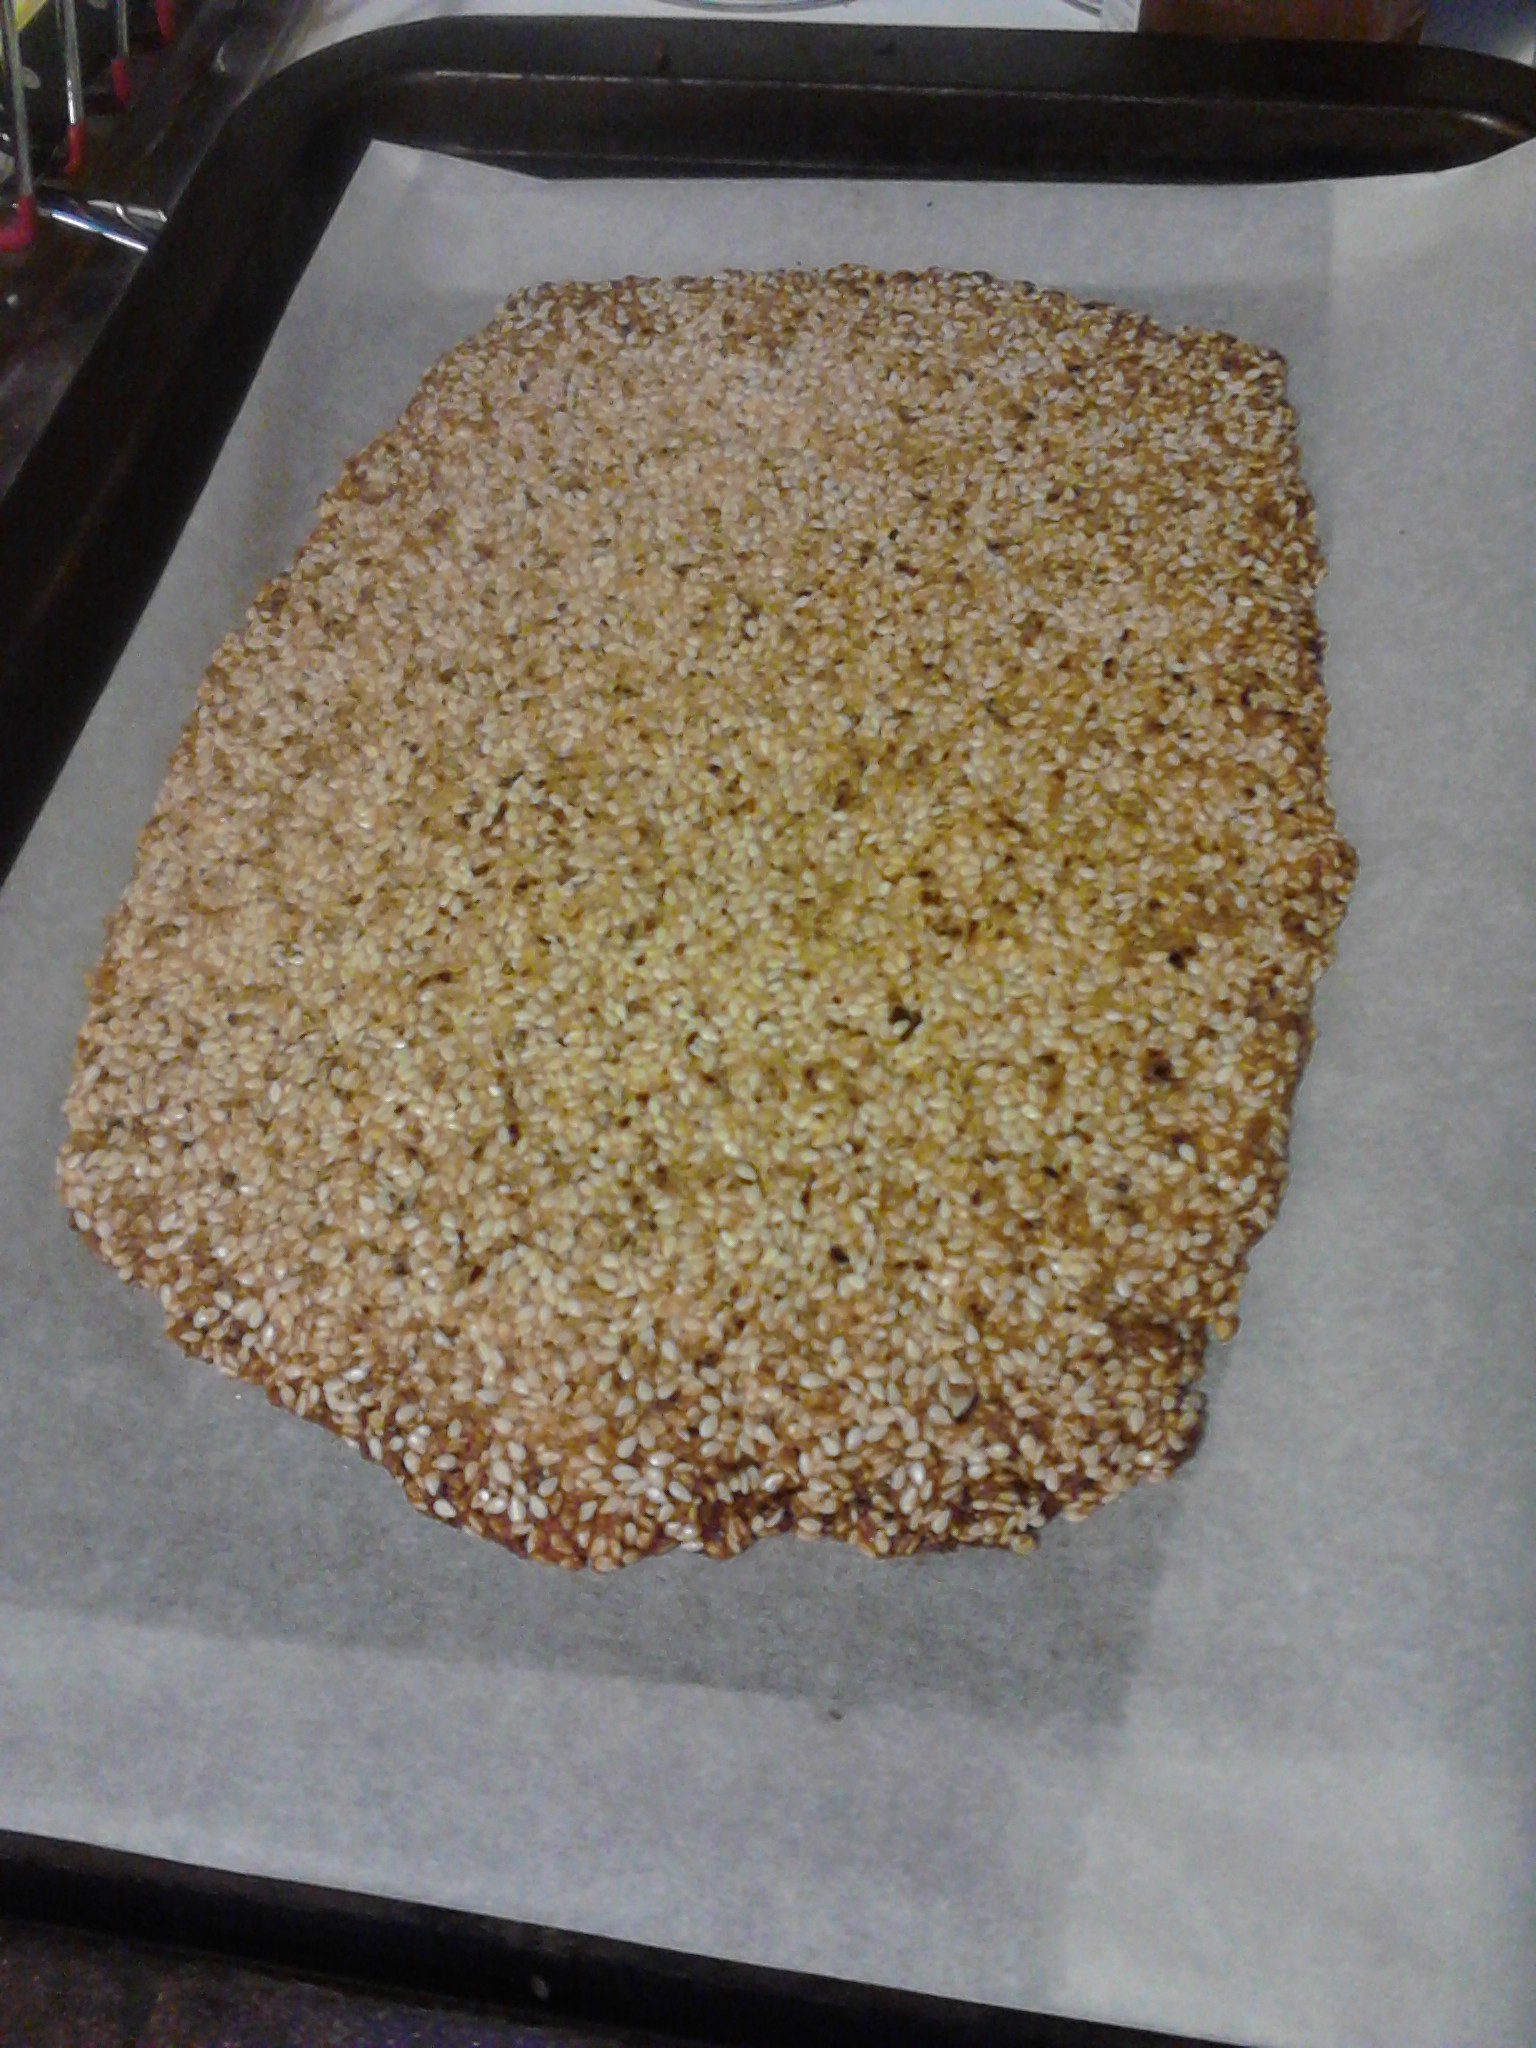
Bake the sesame snaps in a 180 degree celsius oven for approximately 10 minutes or until golden.
Golden cooked sesame snaps.
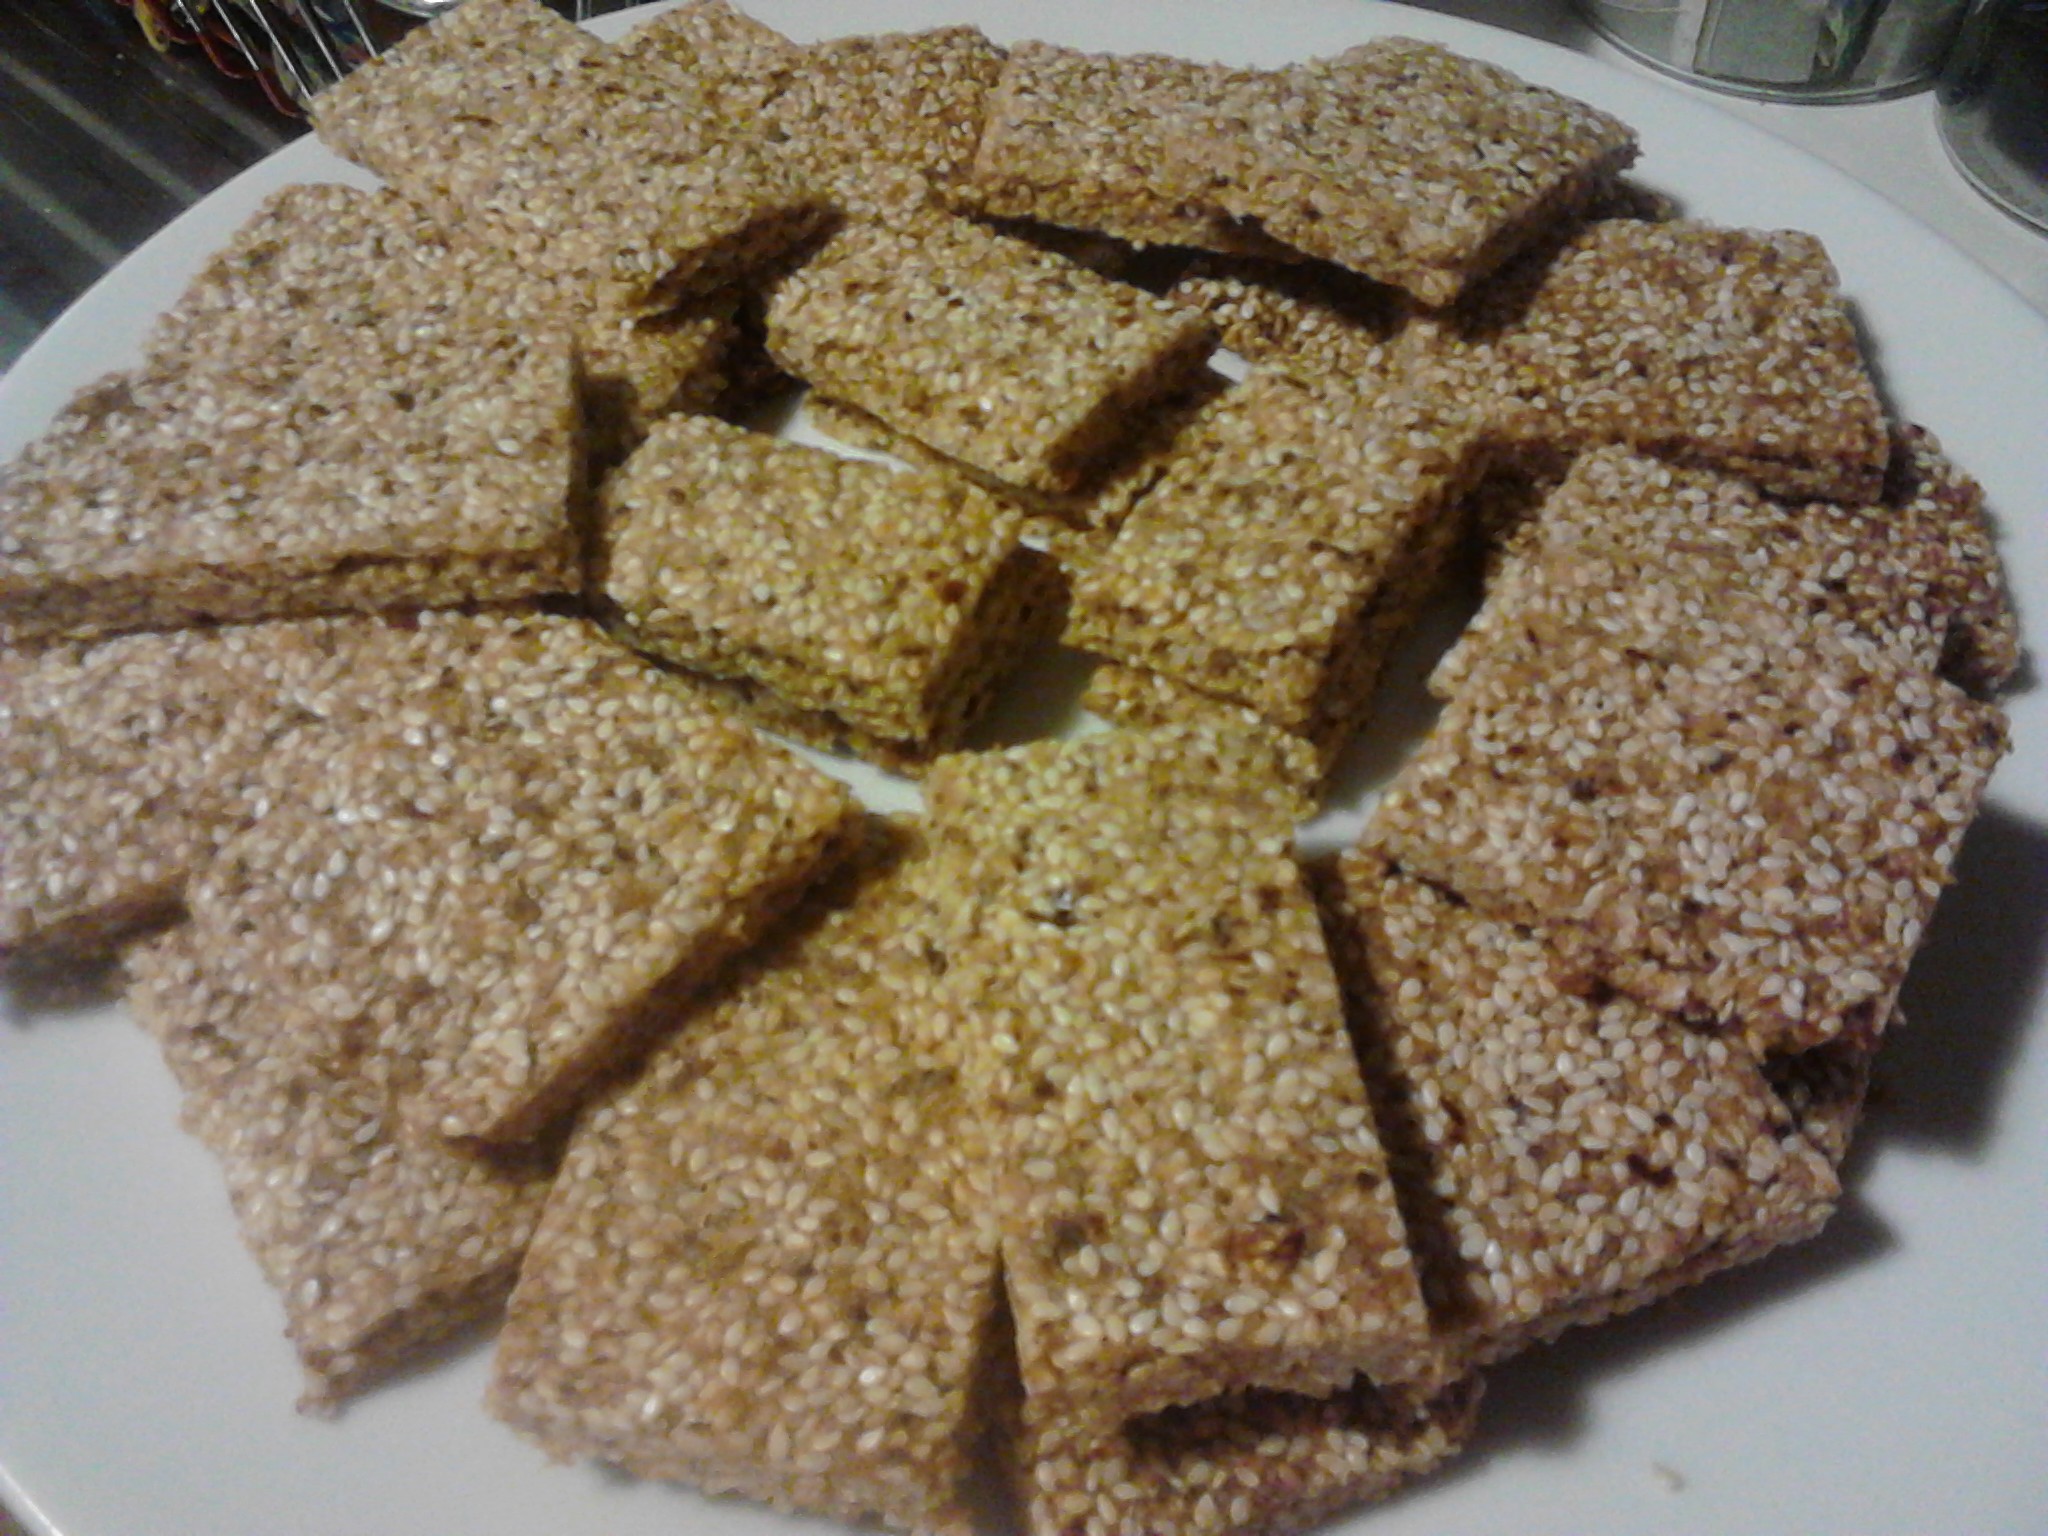
Let the sesame snaps cool for a short time and then lift off the tray by grabbing the edges of the baking paper. Place on a flat surface and using a sharp knife cut the edges off and then cut into rows and then smaller pieces.
Use the edges to taste test your cooking.These are the plain sesame snaps. Once cooled they can easily be stored in the freezer and are a handy snack.
It is a good idea to make your own snacks if you can as this ensures that you know exactly what is in the food you are eating. There are no nasty additives, colours or flavours in these bars, and this is a great way to eat healthier.
I hope you enjoyed this recipe. I post daily on Instagram, Facebook and Twitter and the links are on the bottom of the website. Thank you Carolyn
Cauliflower rice is a great alternative to real rice, and you will be amazed at how similar it looks and tastes.
A beautiful fresh cauliflower.
Why would you want to eat cauliflower rice when you can eat actual rice!
Following the Paleo diet does mean that grains in general are excluded from the diet as they contain a nutritional profile that we are not genetically designed for which can wreak havoc on our digestive systems and overall health. For me the main reasons why cauliflower rice is a better choice than white or brown rice focus on: 1/Gut health -for those of us with issues such as a leaky gut, vitamin and mineral deficiencies, irritable bowel syndrome and food intolerances, 2/Nutrition-more readily available nutrients and no anti-nutrients, 3/Weight management-lower in kilojoules, 4/Balancing blood sugar levels-rice is a very concentrated form of carbohydrate.
Cauliflower is an amazingly nutritious vegetable that is low in fat and carbohydrates and has some wonderful vitamins and minerals such as Vitamin C and the B complex vitamins which can help to keep you healthy, protect against certain cancers, boost your immune system as well as lots of wonderful minerals such as manganese, copper, iron, calcium and potassium.
Cauliflower has a glycaemic index (GI) of just 15 making it a very low GI food which helps to slow down its digestion and maintain healthy blood sugar levels. The GI is from 1 to 100 and white rice is on the high end of the scale with a GI of 65 and brown rice slightly lower at 55. Rice, especially white rice is a high starch food and will break down and covert to glucose very quickly in the body causing blood sugar peaks unless it is used immediately as an energy source as for example in very active people. For everyone else this can be a problem as the body needs to deal with the influx of glucose into the bloodstream.
Brown rice has an outer casing of bran and husk which takes longer to break down but this can in itself cause problems in the digestive tract as the brown rice is hard to digest and irritating to the gut lining. The outer layer of the brown rice contains anti-nutrients called phytates and lectins which bind to minerals such as copper, zinc, iron, magnesium and calcium so that they are unable to be absorbed. This can therefore reduce the nutritional value of the brown rice and impact the absorption of other nutrients being consumed.
Cauliflower is also lower in kilojoules than rice, with one cup of cauliflower having just 104 kilojoules compared to one cup of cooked rice which has 804 kilojoules. Cauliflower is also much quicker to cook than rice, especially brown rice and is very versatile in how it can be used.
All of the reasons l have discussed are important to me as my health issues are centered around my gut health and issues regarding malabsorption of nutrients. Cauliflower rice is a good choice for me as a healing diet is one which enhances health and wellbeing and over the past two years l have slowly been adapting my diet to support my wellness goals. I take a lot of nutritional supplements daily as well which are very costly and l do not want to be eating any foods which would impact the absorption of these vital nutrients.
How to make cauliflower rice!
My favourite way to make cauliflower rice is to cut the fresh cauliflower into smallish pieces and then blend it in the food processor.
Wash the raw cauliflower and cut it into pieces that will fit into the food processor.Process the cauliflower until it resembles rice and is an even consistency. The rice is now ready to use in your favourite dishes.
The cauliflower rice can now be added to a pan and lightly cooked such as in a stir fry.
Place fresh vegetables into the pan with the cauliflower rice. The whole dish will be ready in minutes.
The cauliflower will soak up any spices that are added and change colour.
Add spices to the pan such as cumin and tumeric and watch the rice change colour.
Another method is to steam the cauliflower pieces first and them process them in the food processor and then you can have it plain or just give it a quick cook in the pan with the fresh ingredients.
The cauliflower is in the steamer. It can also be mashed with a fork using this method if you don’t have a food processor.
Some lovely colours can be created with the cauliflower as it soaks up the juices and spices. Below is a dish l cooked with the first photo showing the raw ingredients and then the development of the colour once the dish is cooked in the second photo.
The uncooked cauliflower with the raw vegetables including beetroot
A beautiful colour has developed from the combination of the tumeric and beetroot.
Sometimes the cost of cauliflowers can be quite high but when in season this cruciferous vegetable can be purchased very cheaply which is a good time to experiment with this dish. It is very easy to use a whole cauliflower if you are making enough for the family, or if you want to take some for lunch the next day. The smell of just cooked cauliflower is so delicious, and this is especially true when steaming it. I hope that you give the cauliflower rice a try and think about whether rice as a staple food in your life is a good idea, or that maybe it is a sometimes food and best eaten with lots of healthy vegetables as part of a balanced meal.
If you have enjoyed this post please share with a friend. I am on Instagram at holistic_paleo and Twitter at Holistic Paleo@carolynlgray
A raw frozen treat free of gluten, dairy and processed sugar.
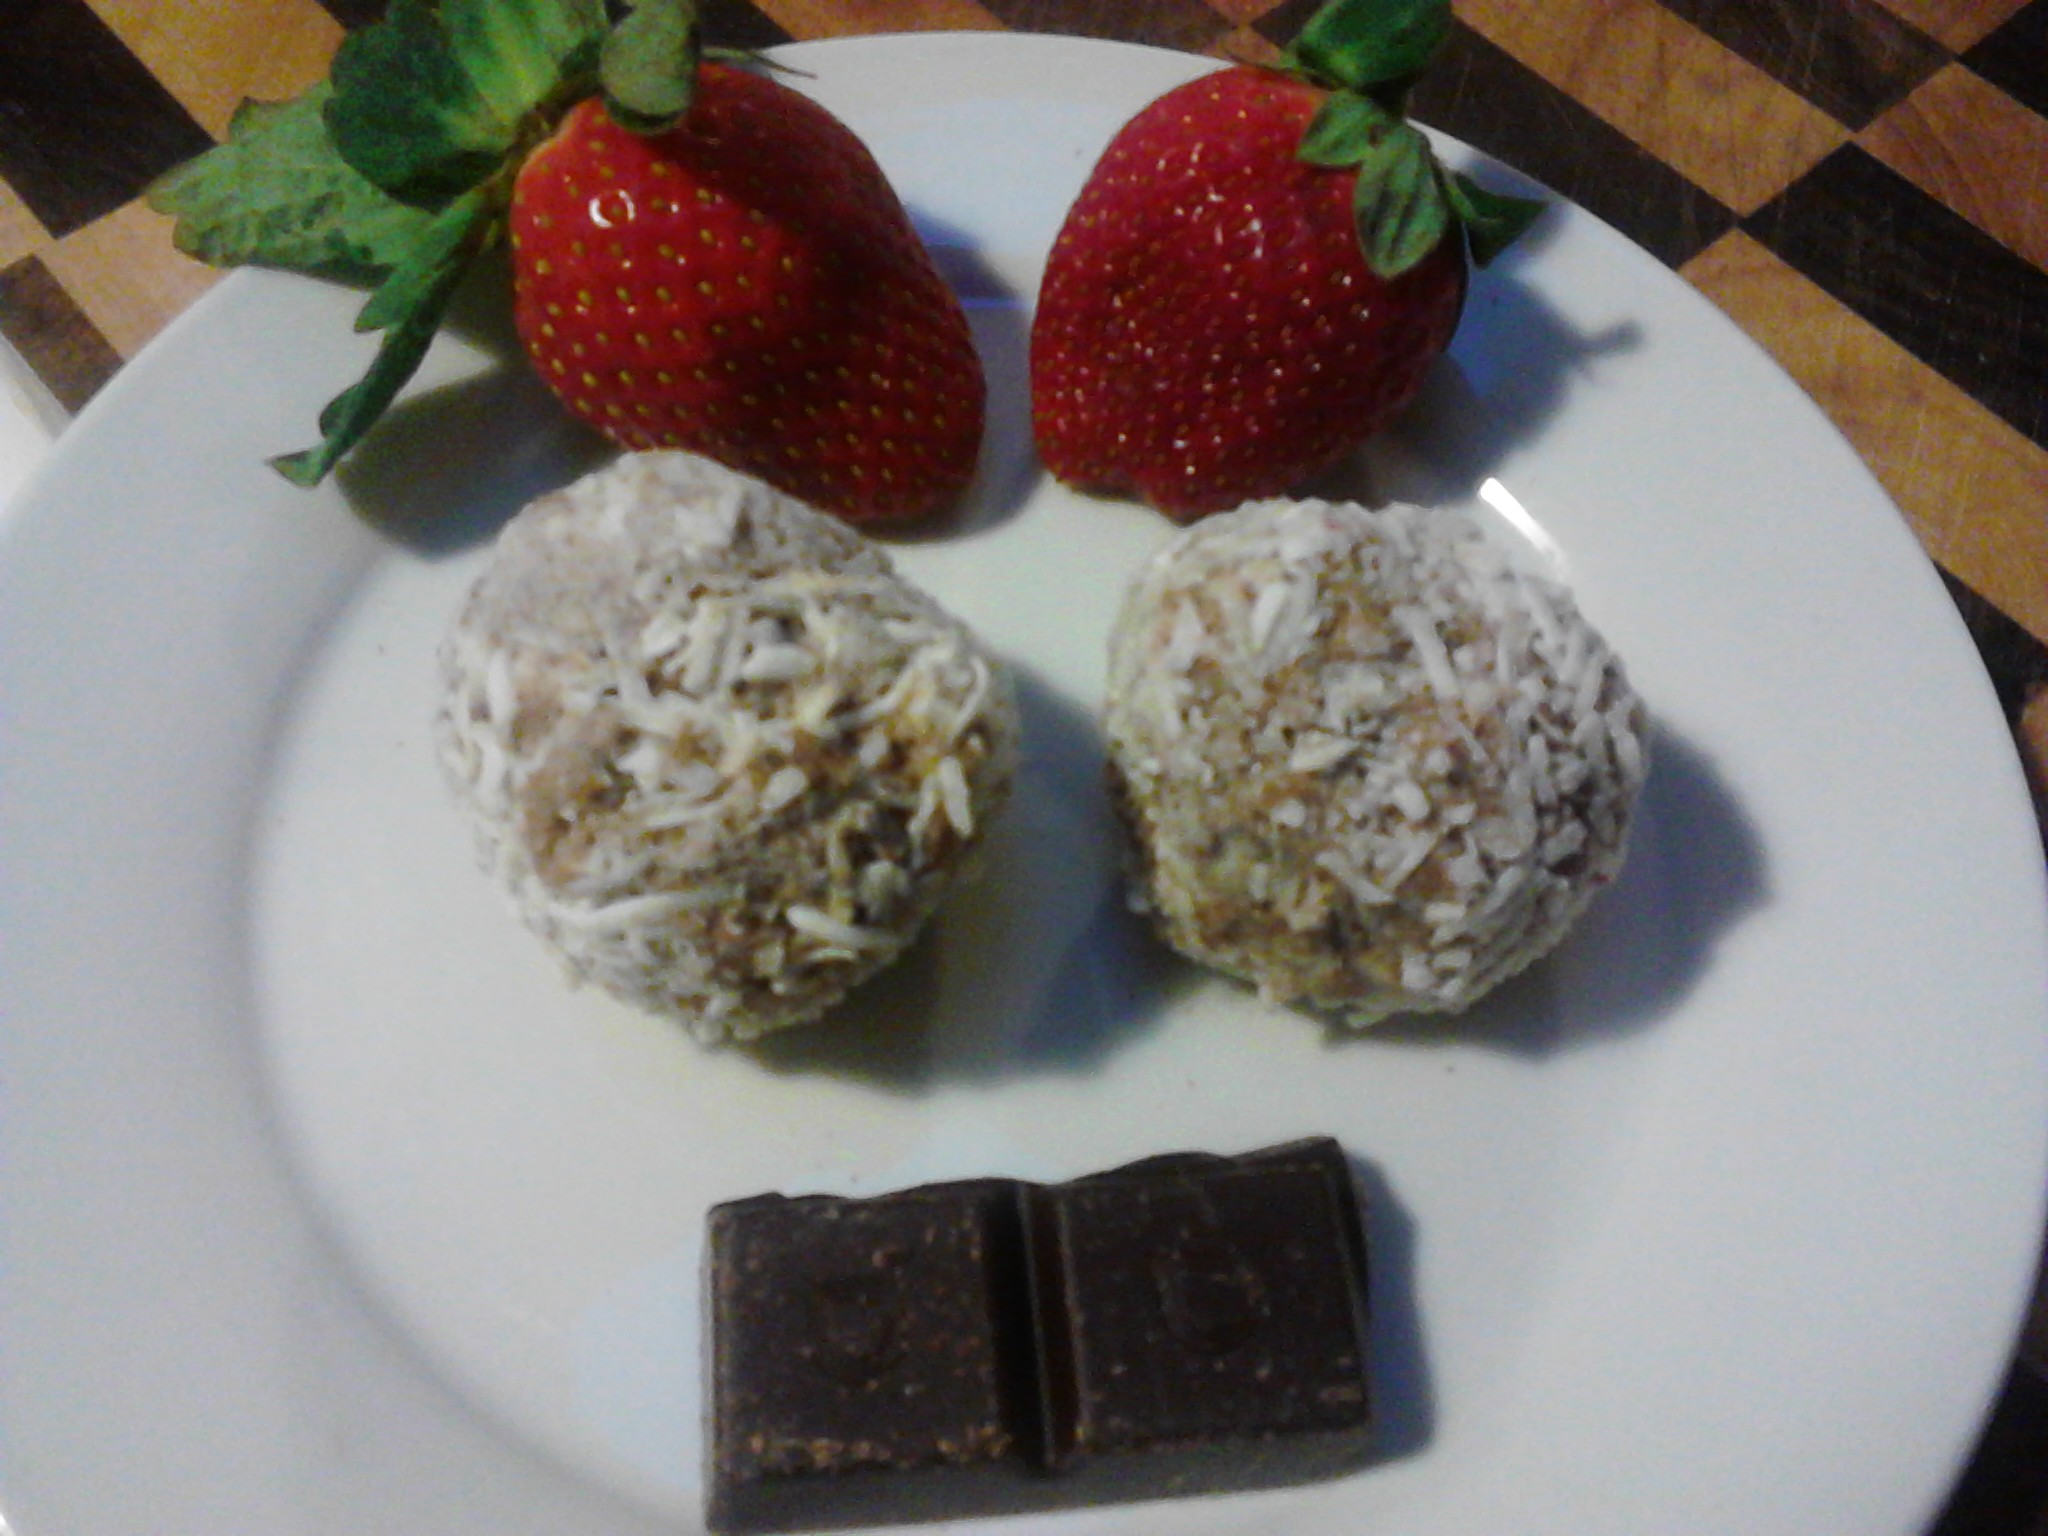
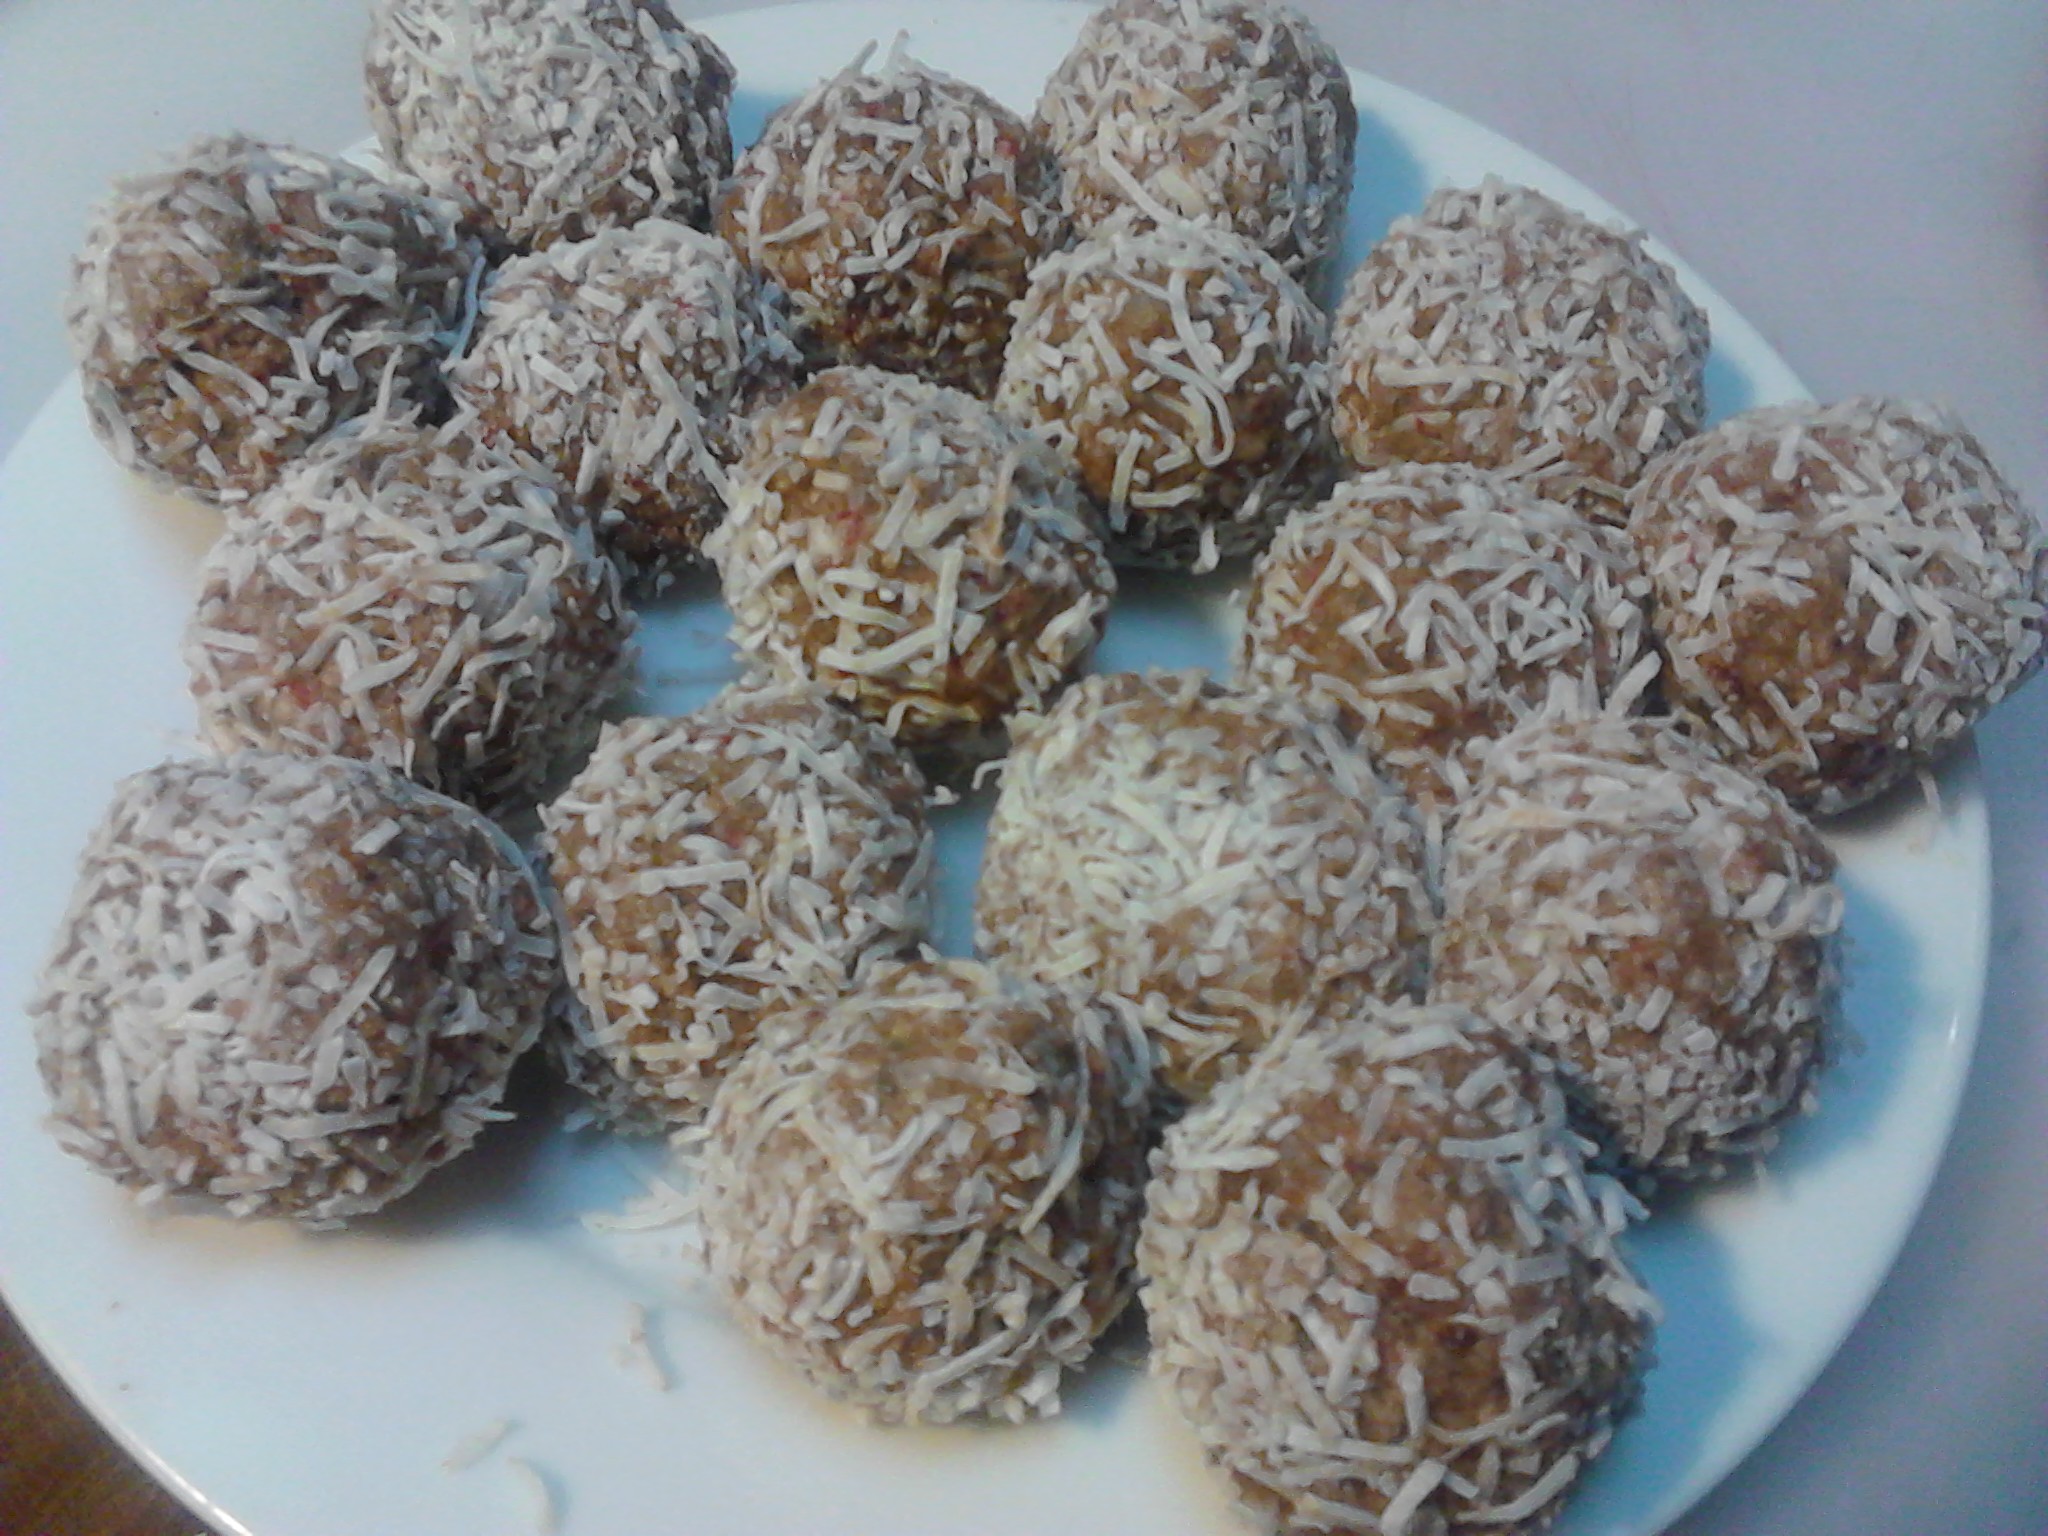
Morning snack: fresh strawberries, raw organic dark chocolate and the frozen chocolate, coconut and strawberry balls.
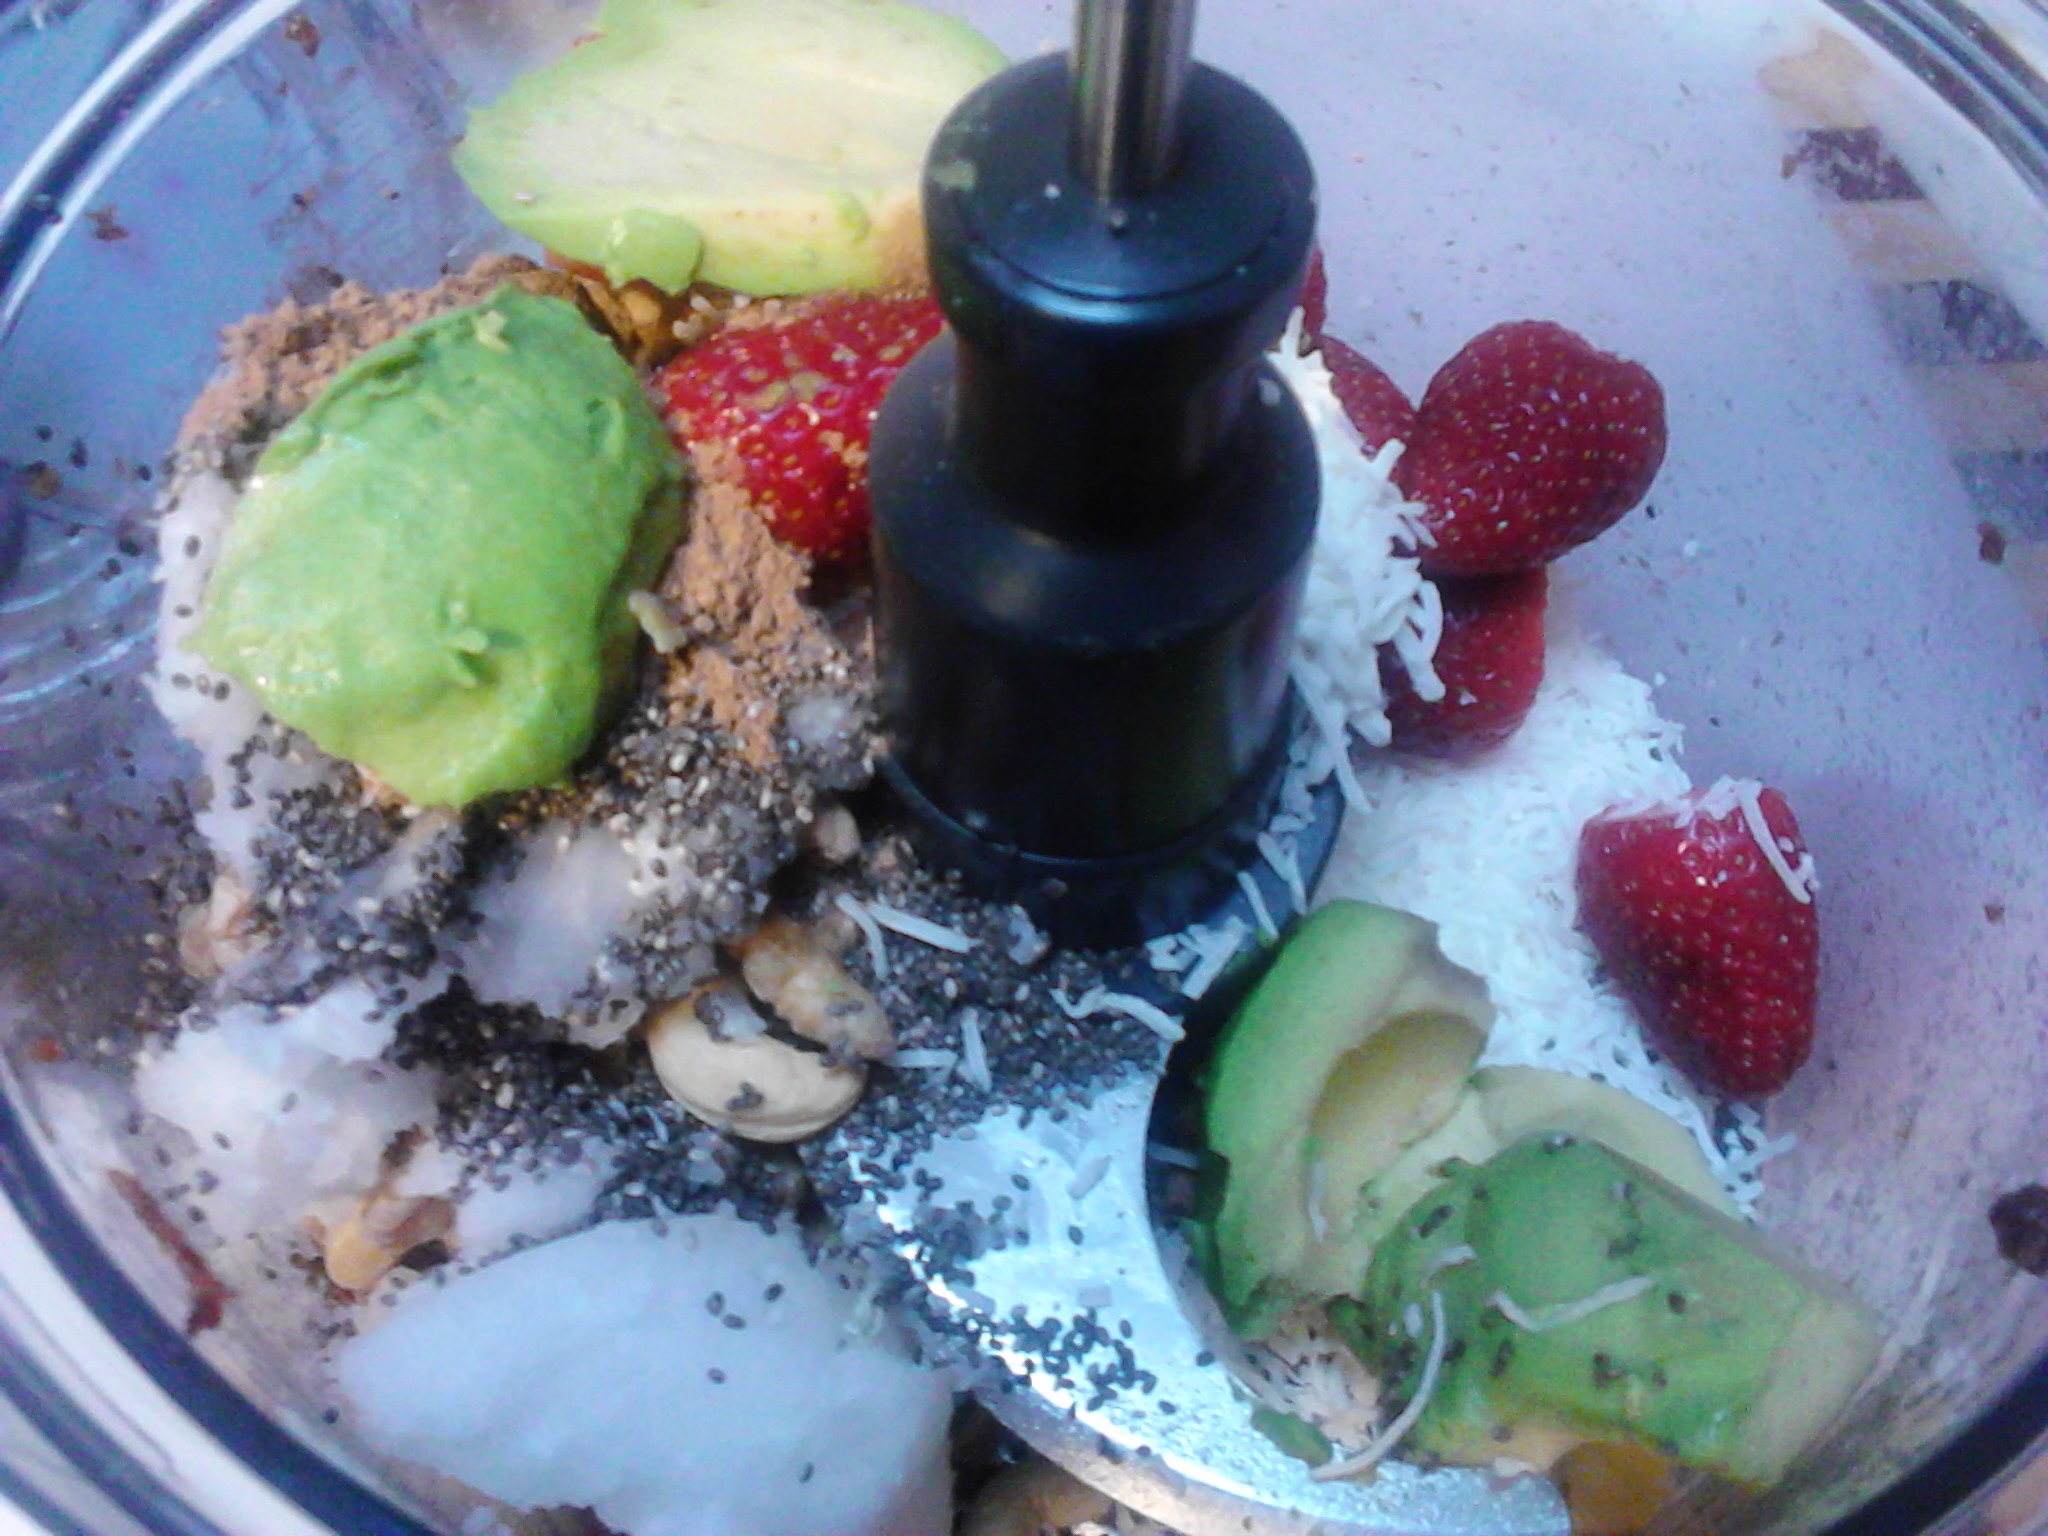
These little balls of sweetness are a delightful raw frozen treat to have at any time of the day and the combination of chocolate, fresh strawberries and coconut is very nice. They are quite soft at room temperature which is why they are best eaten frozen, but if a firmer ball is desired the avocado can be left out.
Ingredients:
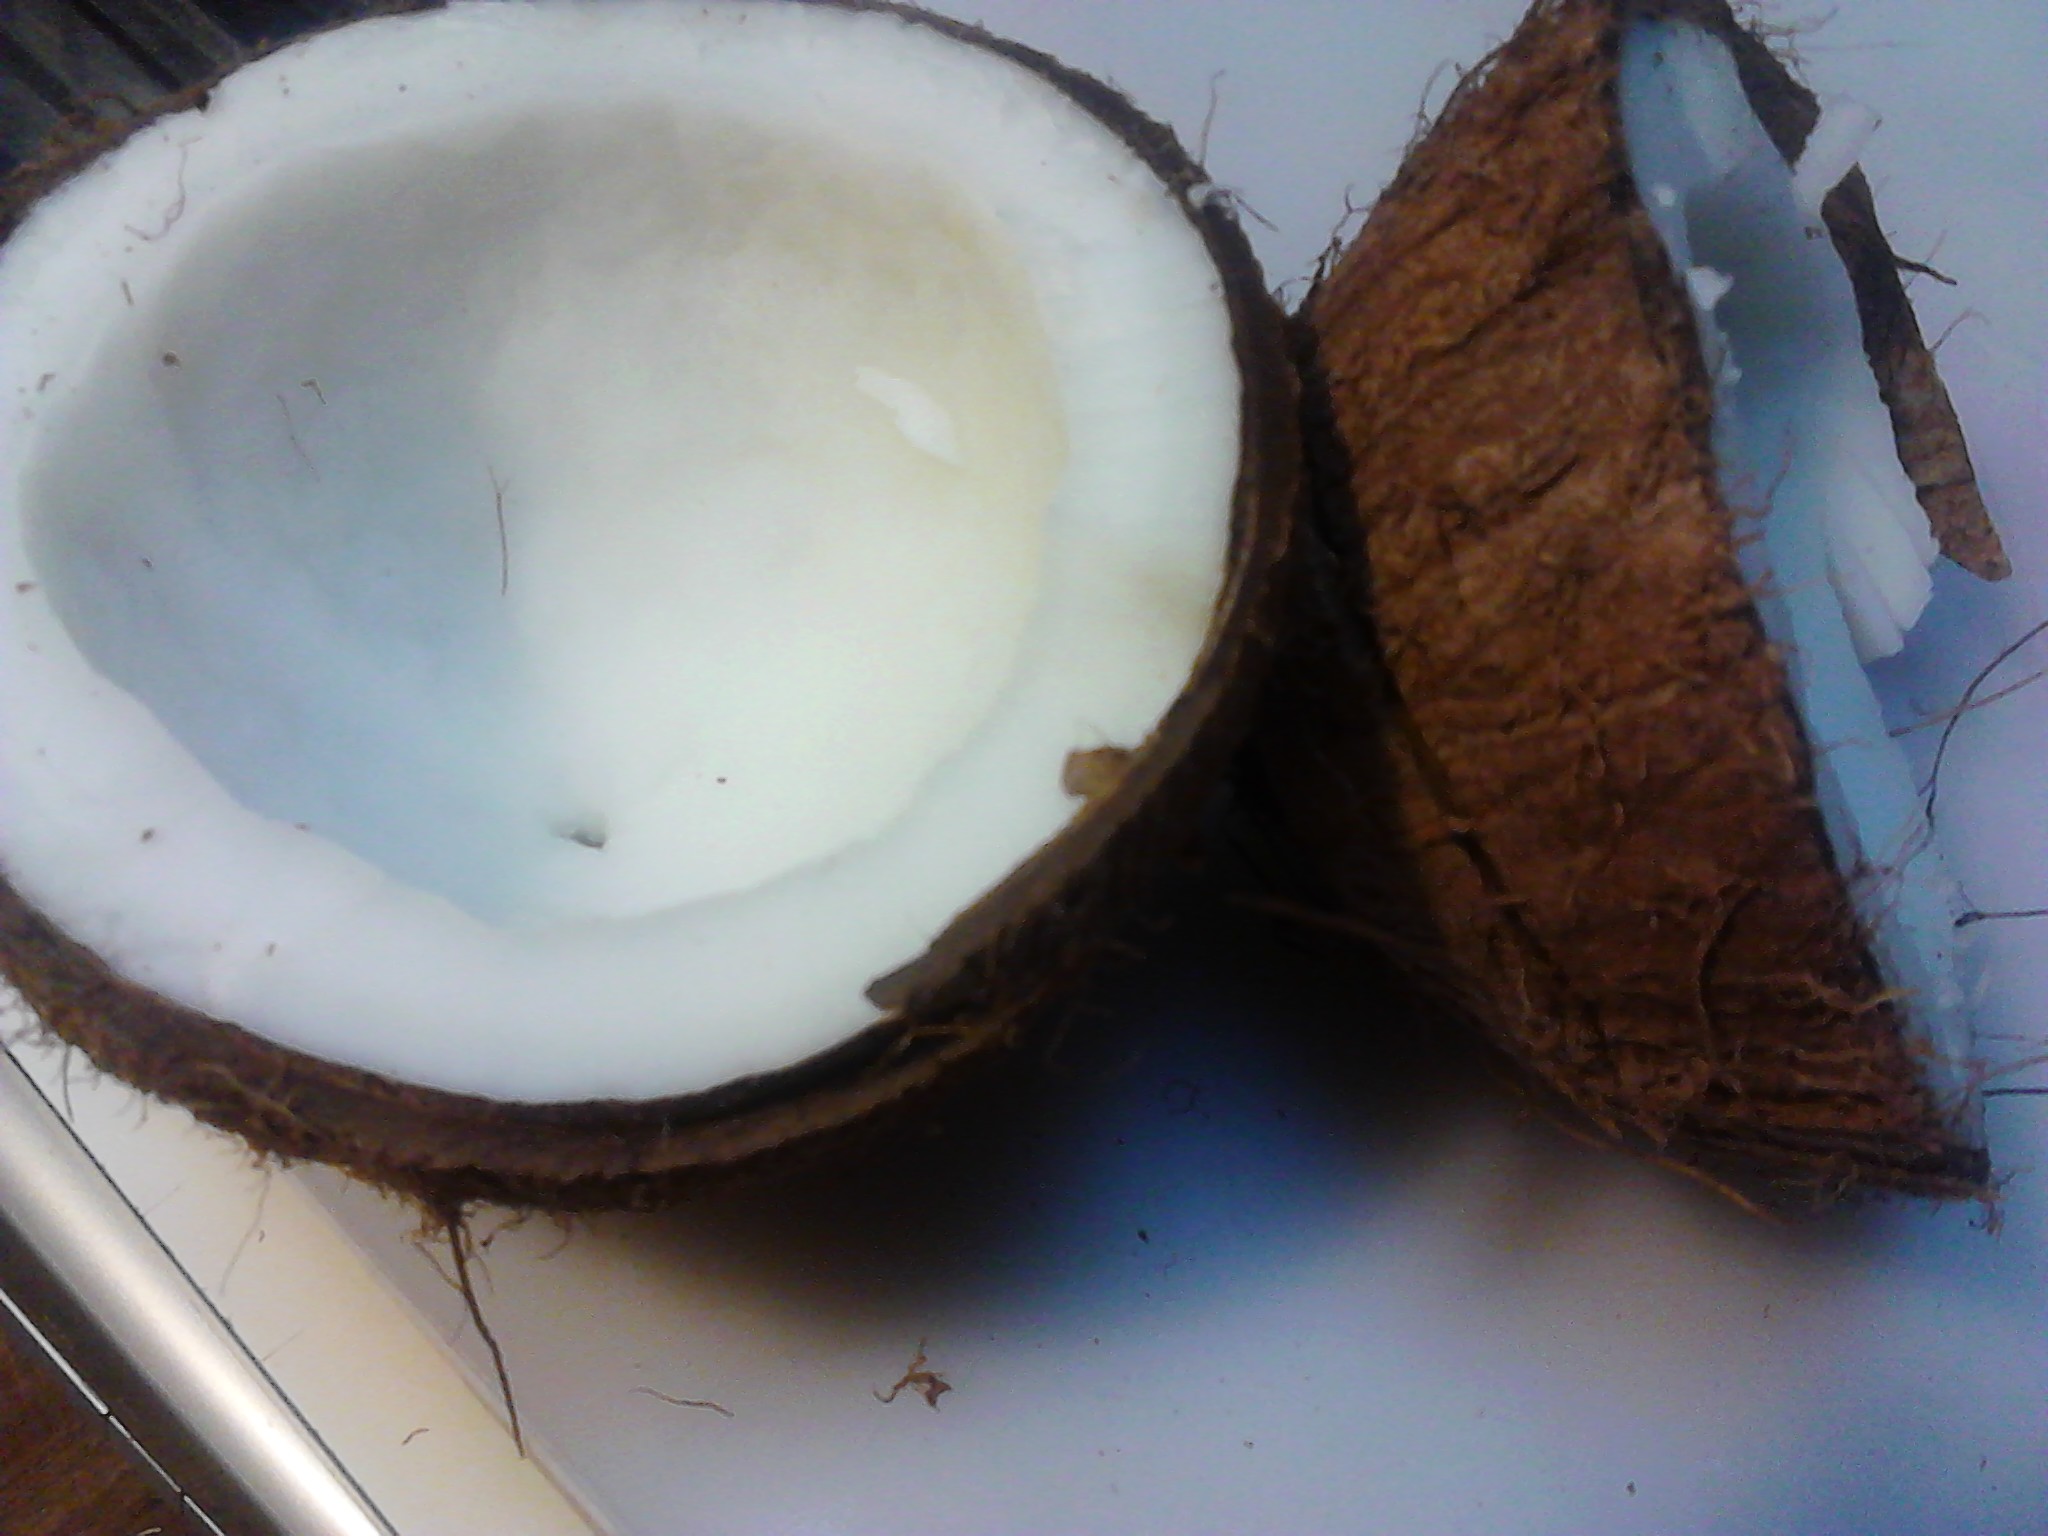
Fresh strawberries!I actually used fresh coconut, but shredded coconut is excellent.
8 medjool dates (seeded)
1 dessert spoon organic raw cacao
3 tablespoons organic coconut oil
2 cups of mixed raw nuts (I used brazil and walnuts)
8 fresh strawberries (washed and the green top removed).
2 tablespoons black chia seeds
1/2 cup organic shredded coconut (plus a bit extra for rolling the balls in)
1 small avocado (optional)
Instructions for making the balls:
Place all of the ingredients in the food processor and mix until well blended.
Place all of the ingredients in the food processor and blend.
Use a spoon to form balls of mix and roll in the extra shredded coconut.
Roll the balls in the extra coconut.
Place the balls in a container and place in the freezer.
Serve the balls with some fresh strawberries.
As these balls are raw they are really quick to make and filled with wonderful nutrients. Store the balls in an airtight container in the freezer and grab one when you need a healthy snack.
If you have enjoyed this post please share it with a friend.
Live & eat mindfully. Gluten & dairy free recipes.