Tag Archives: Cooking

Eat a fresh rainbow everyday!

Better than medication
Let nutrition be the focus of our eating habits.

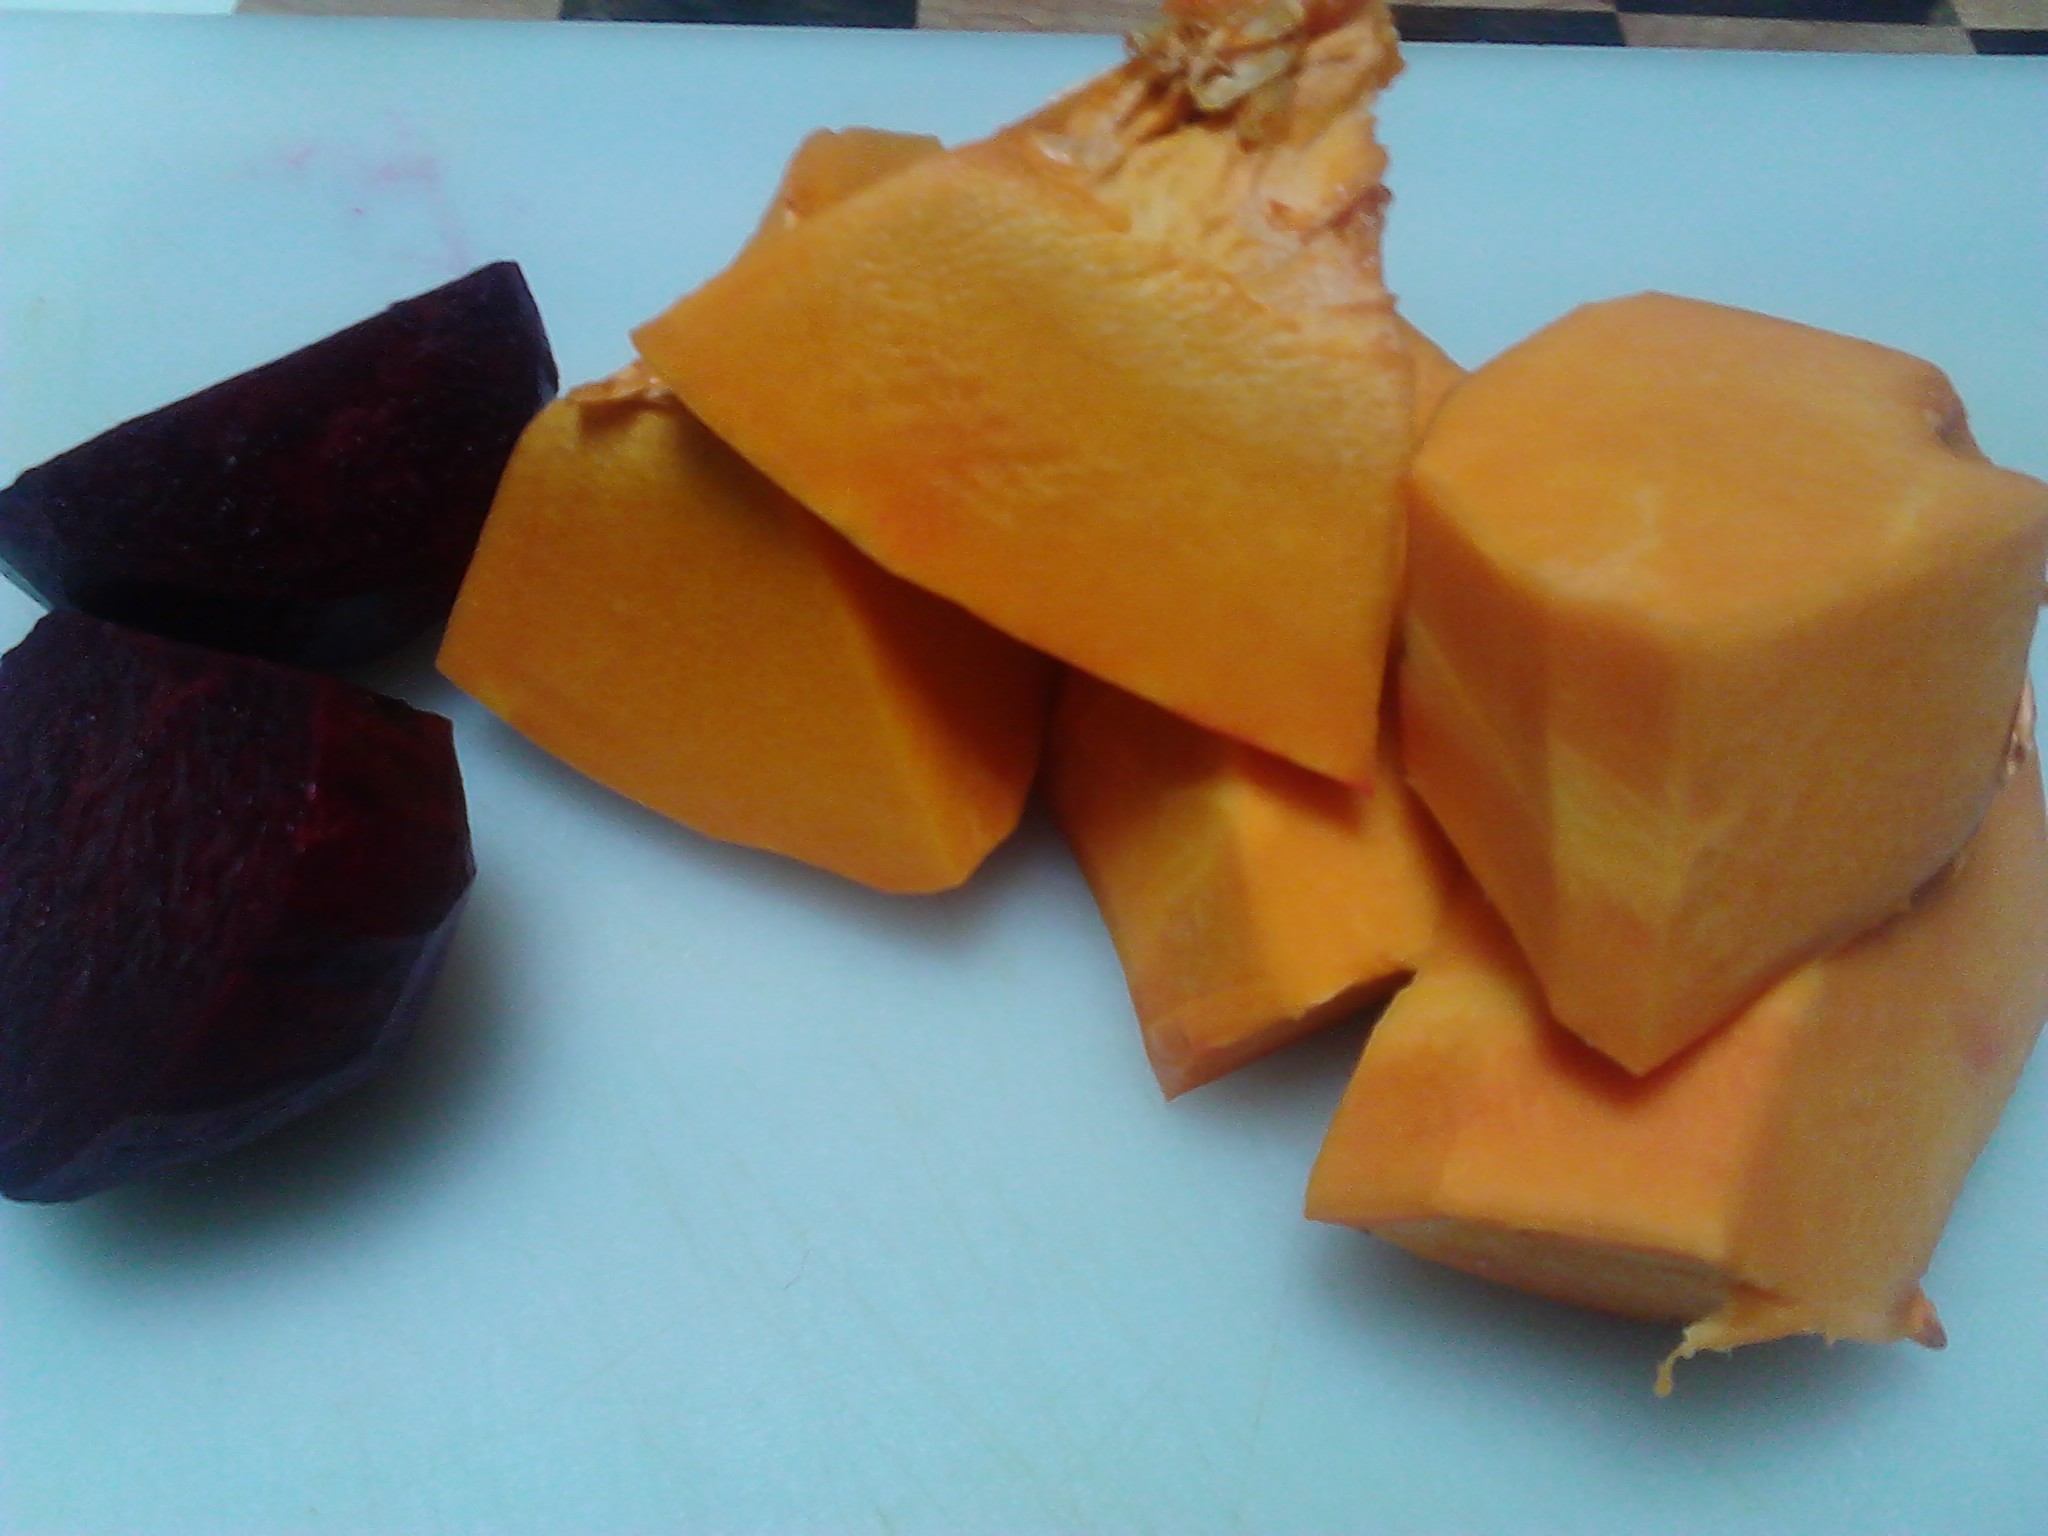
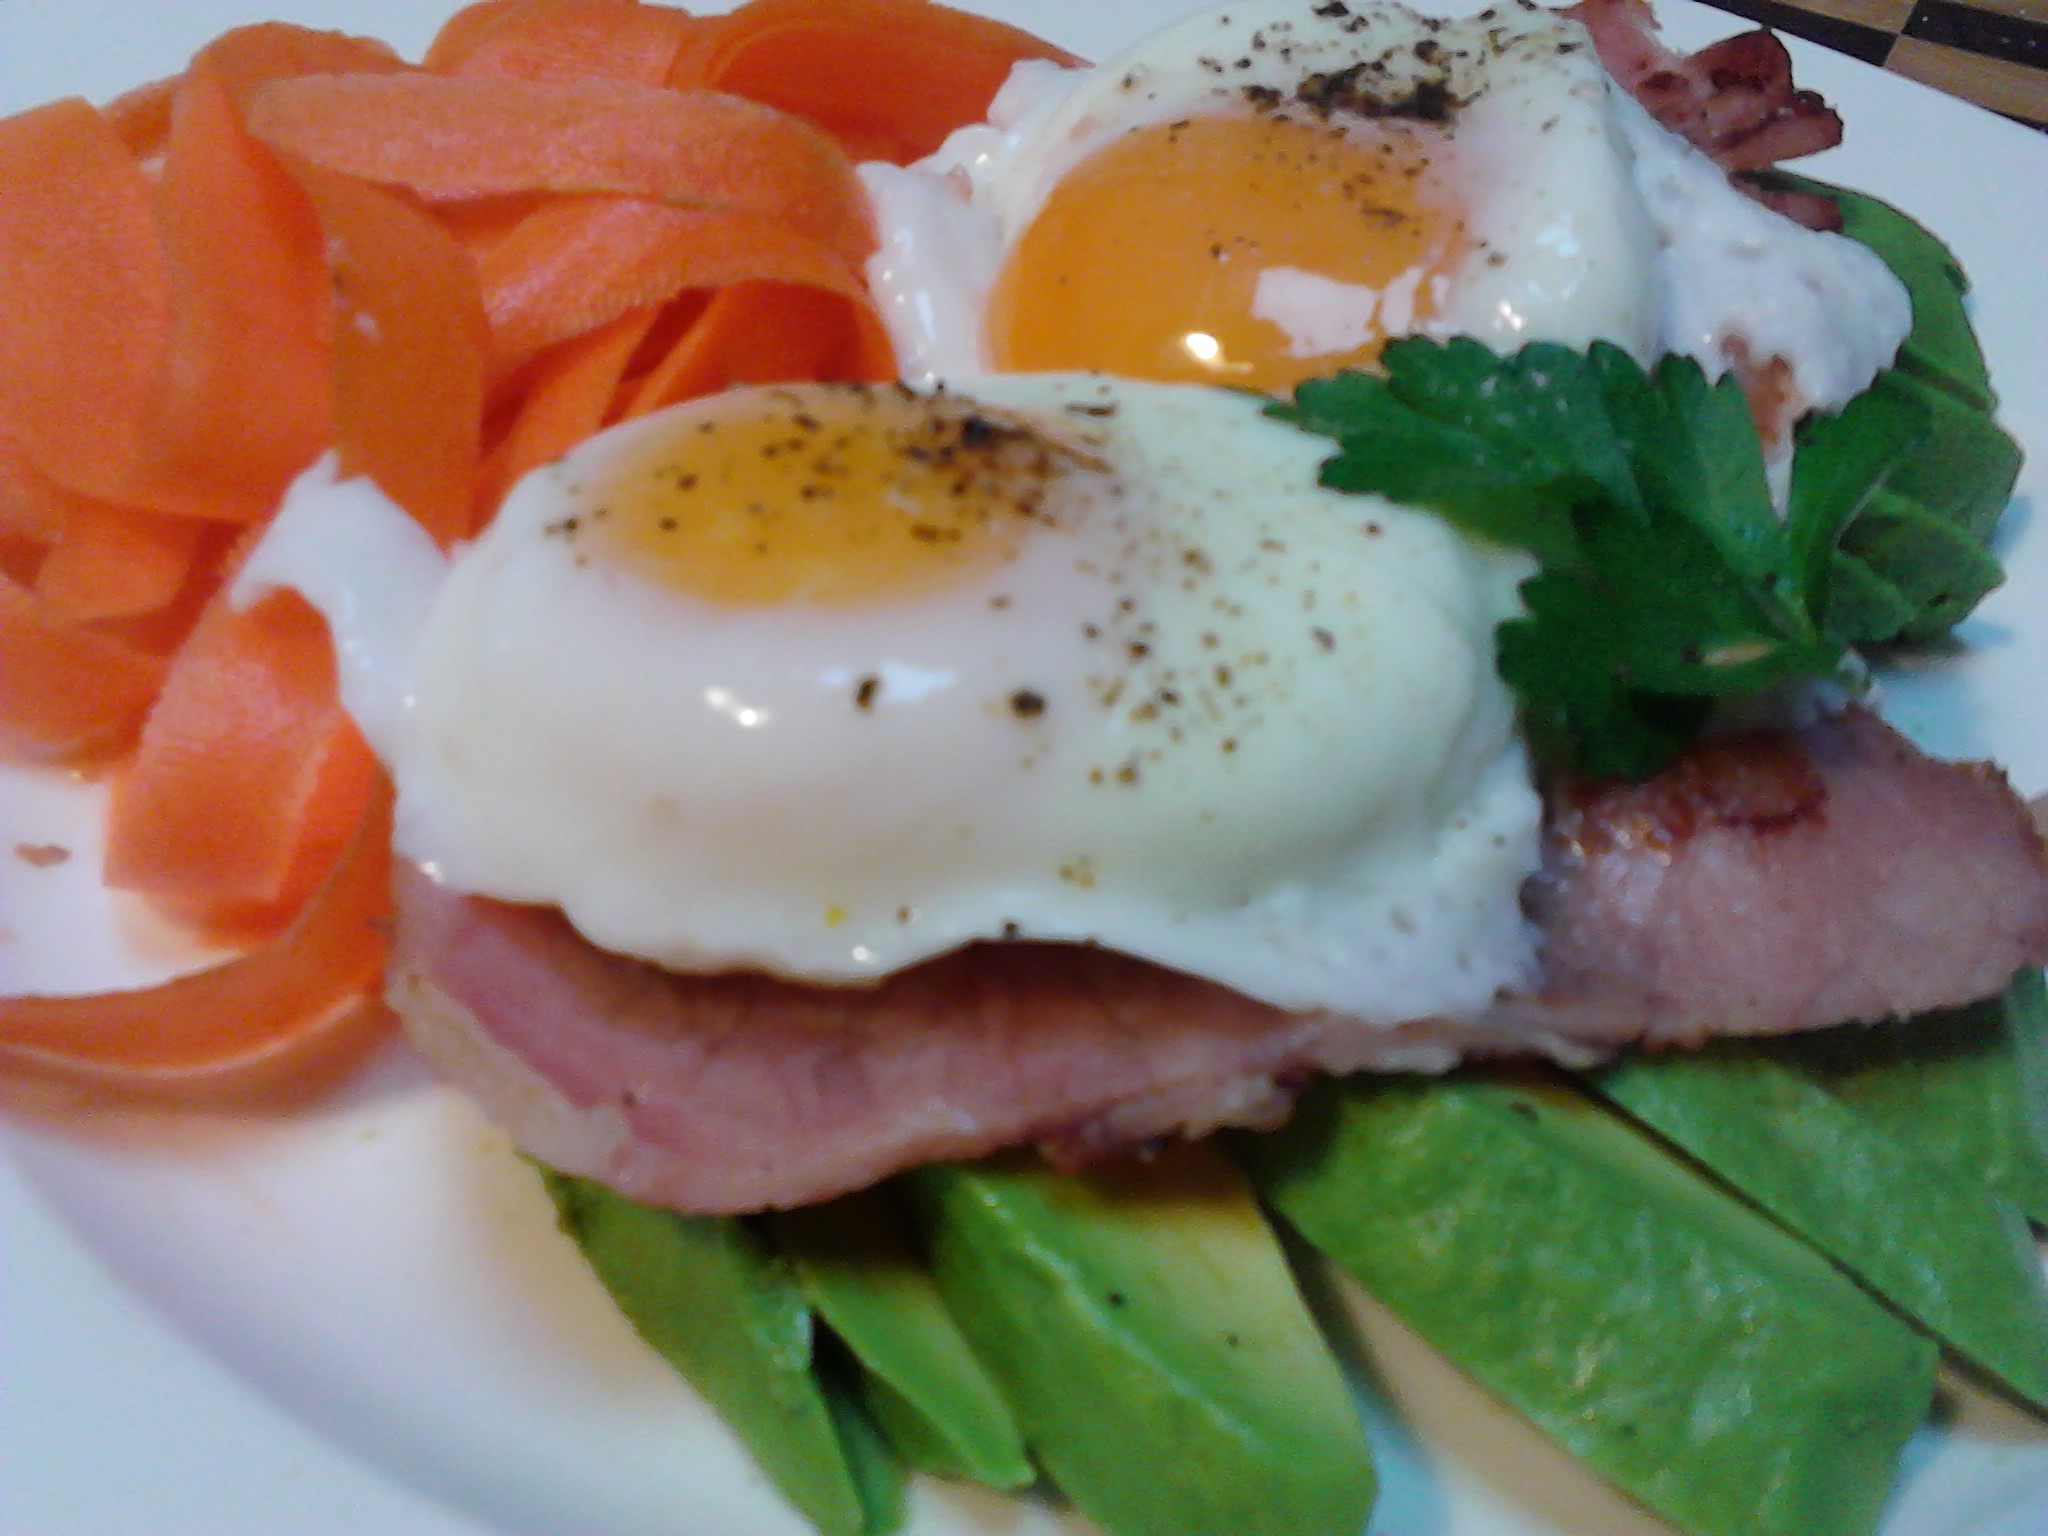
There are so many ways to add colour to your meals, but the best way is to include a variety of fresh fruit and vegetables in your daily diet. The health benefits of eating a diet filled with a rainbow of colours is well known, but as l have tried to incorporate more vegetables into every meal, l have discovered the joy of eating food that is a range of bright colours. Not only are the range of flavours so amazing, but eating fresh colourful food is exciting, motivating and makes me feel happy.

2014-08-05 08.02.34
A green pancake for breakfast. Paleo recipe, gluten, dairy and sugar free filled with loads of parsley, bok choy, spinach and kale. Topped with activated almonds, organic coconut flakes and organic maple syrup. Served with fresh avocado and a daily magnesium drink.
2014-07-31 08.09.14
Breakfast pancake topped with fresh fruit, activated walnuts, coconut flakes and organic maple syrup.

A food as Medicine approach underpins my nutritional motivation, and everything l eat has a purpose and a high nutritional value. Eating a rainbow of fresh, healthy food will ensure you are consuming healthy vitamins, minerals, anti-oxidants and fibre that will help you on your wellness journey.

2014-08-04 13.50.13
Lunch: A beautiful fresh raw salad.

If your daily rainbow consists of peas, carrots and corn then it is time for a change. Our taste buds can get a bit lazy and are a victim of our comfort zone just like the rest of our habits are. Trying new foods can be challenging and it can take a number of goes at eating a food, or preparing it in a variety of ways before we become accustomed to its taste, texture and how it feels in our mouth when eating. There is also the challenge of learning how to prepare new foods, but if you add one in at a time then it can be exciting and an adventure.

2014-08-05 11.46.15
Lunch: Spiced beetroot & vegetable cauliflower rice, with tuna, avocado, tomato and seeds.
2014-07-30 13.05.40
Lunch: Poached free range eggs & bacon with fresh avocado and carrot strips.

The first step after deciding you want more colour in your food is to buy a selection so it is available for you when preparing meals. If you need guidance, use a recipe that appeals to you as a starting point. I have found Instagram to be an amazing source of inspiration as l can visually see what other people are cooking and eating which helps my motivation to try new foods.

2014-08-05 16.55.28
Cold pressed green juice made from bok choy, celery, green apple, lime and ginger.
2014-07-27 16.00.00
Amazing red juice of beetroot, celery, pear, carrot & fresh ginger.

Take ownership of your food intake and start experimenting with new ingredients. It can be fun and rewarding to sit down to a meal that you have lovingly prepared for yourself and family, especially if it has an array of lovely stimulating colours that gets the family talking about what you have made.

2014-07-24 19.05.24
Dinner: Baked fish on a bed of beetroot noodles with a vegetable stir fry.
2014-07-09 19.31.21
Dessert: Banana, apple & mandarin ice-cream made with the cold pressed juicer and an avocado based chocolate mousse.

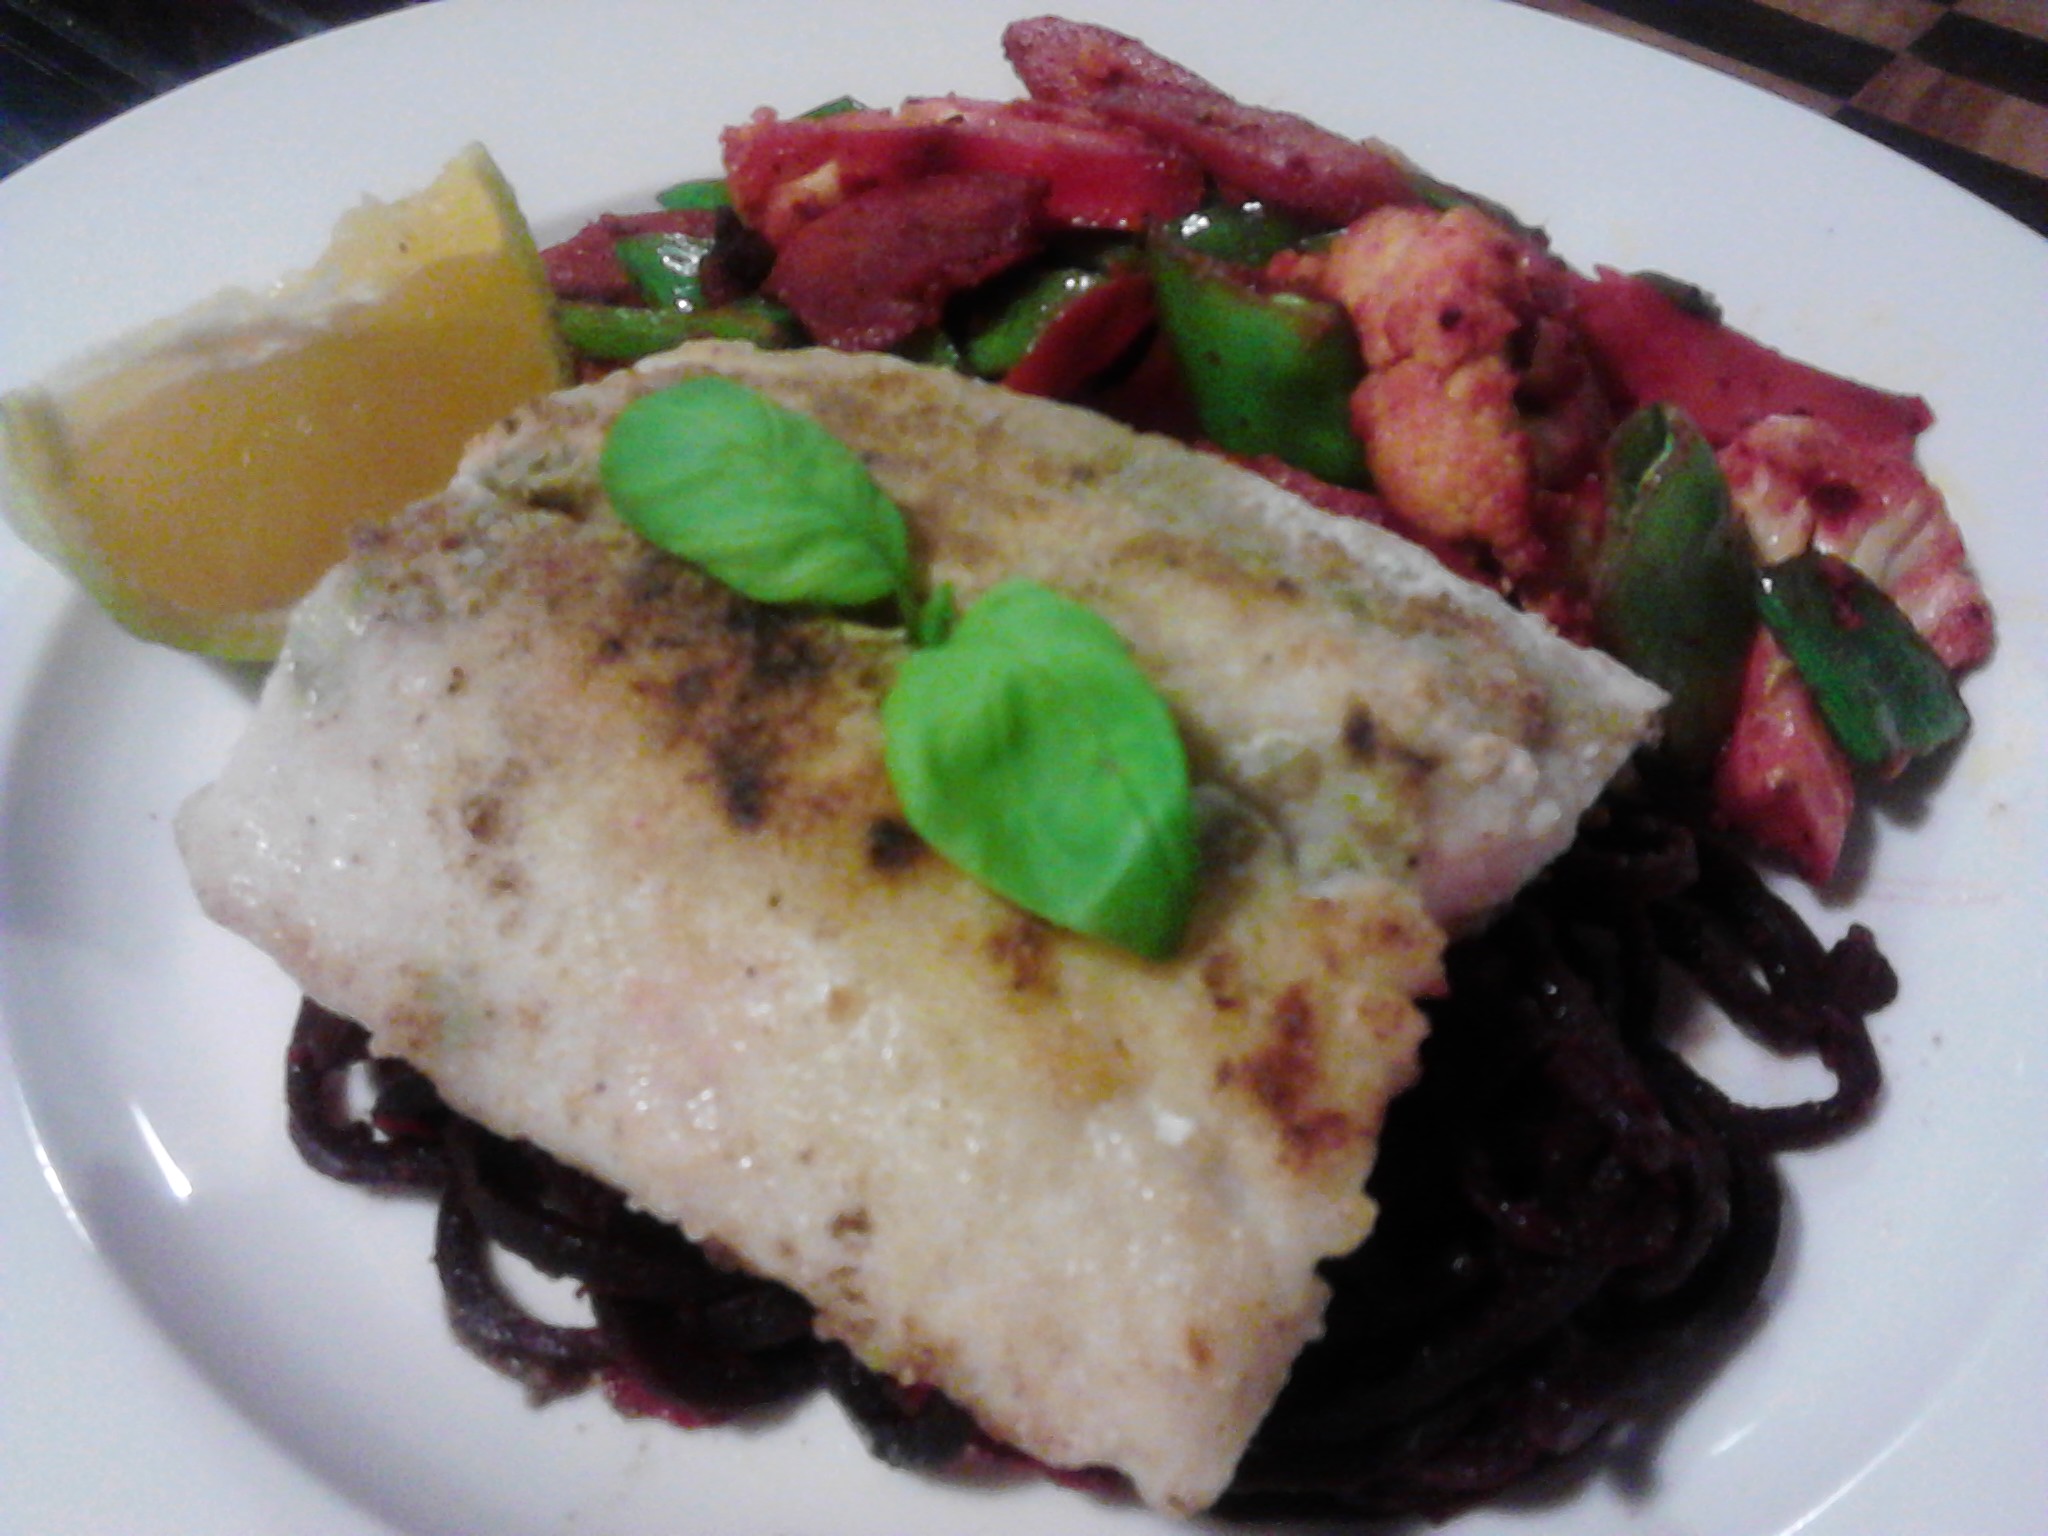
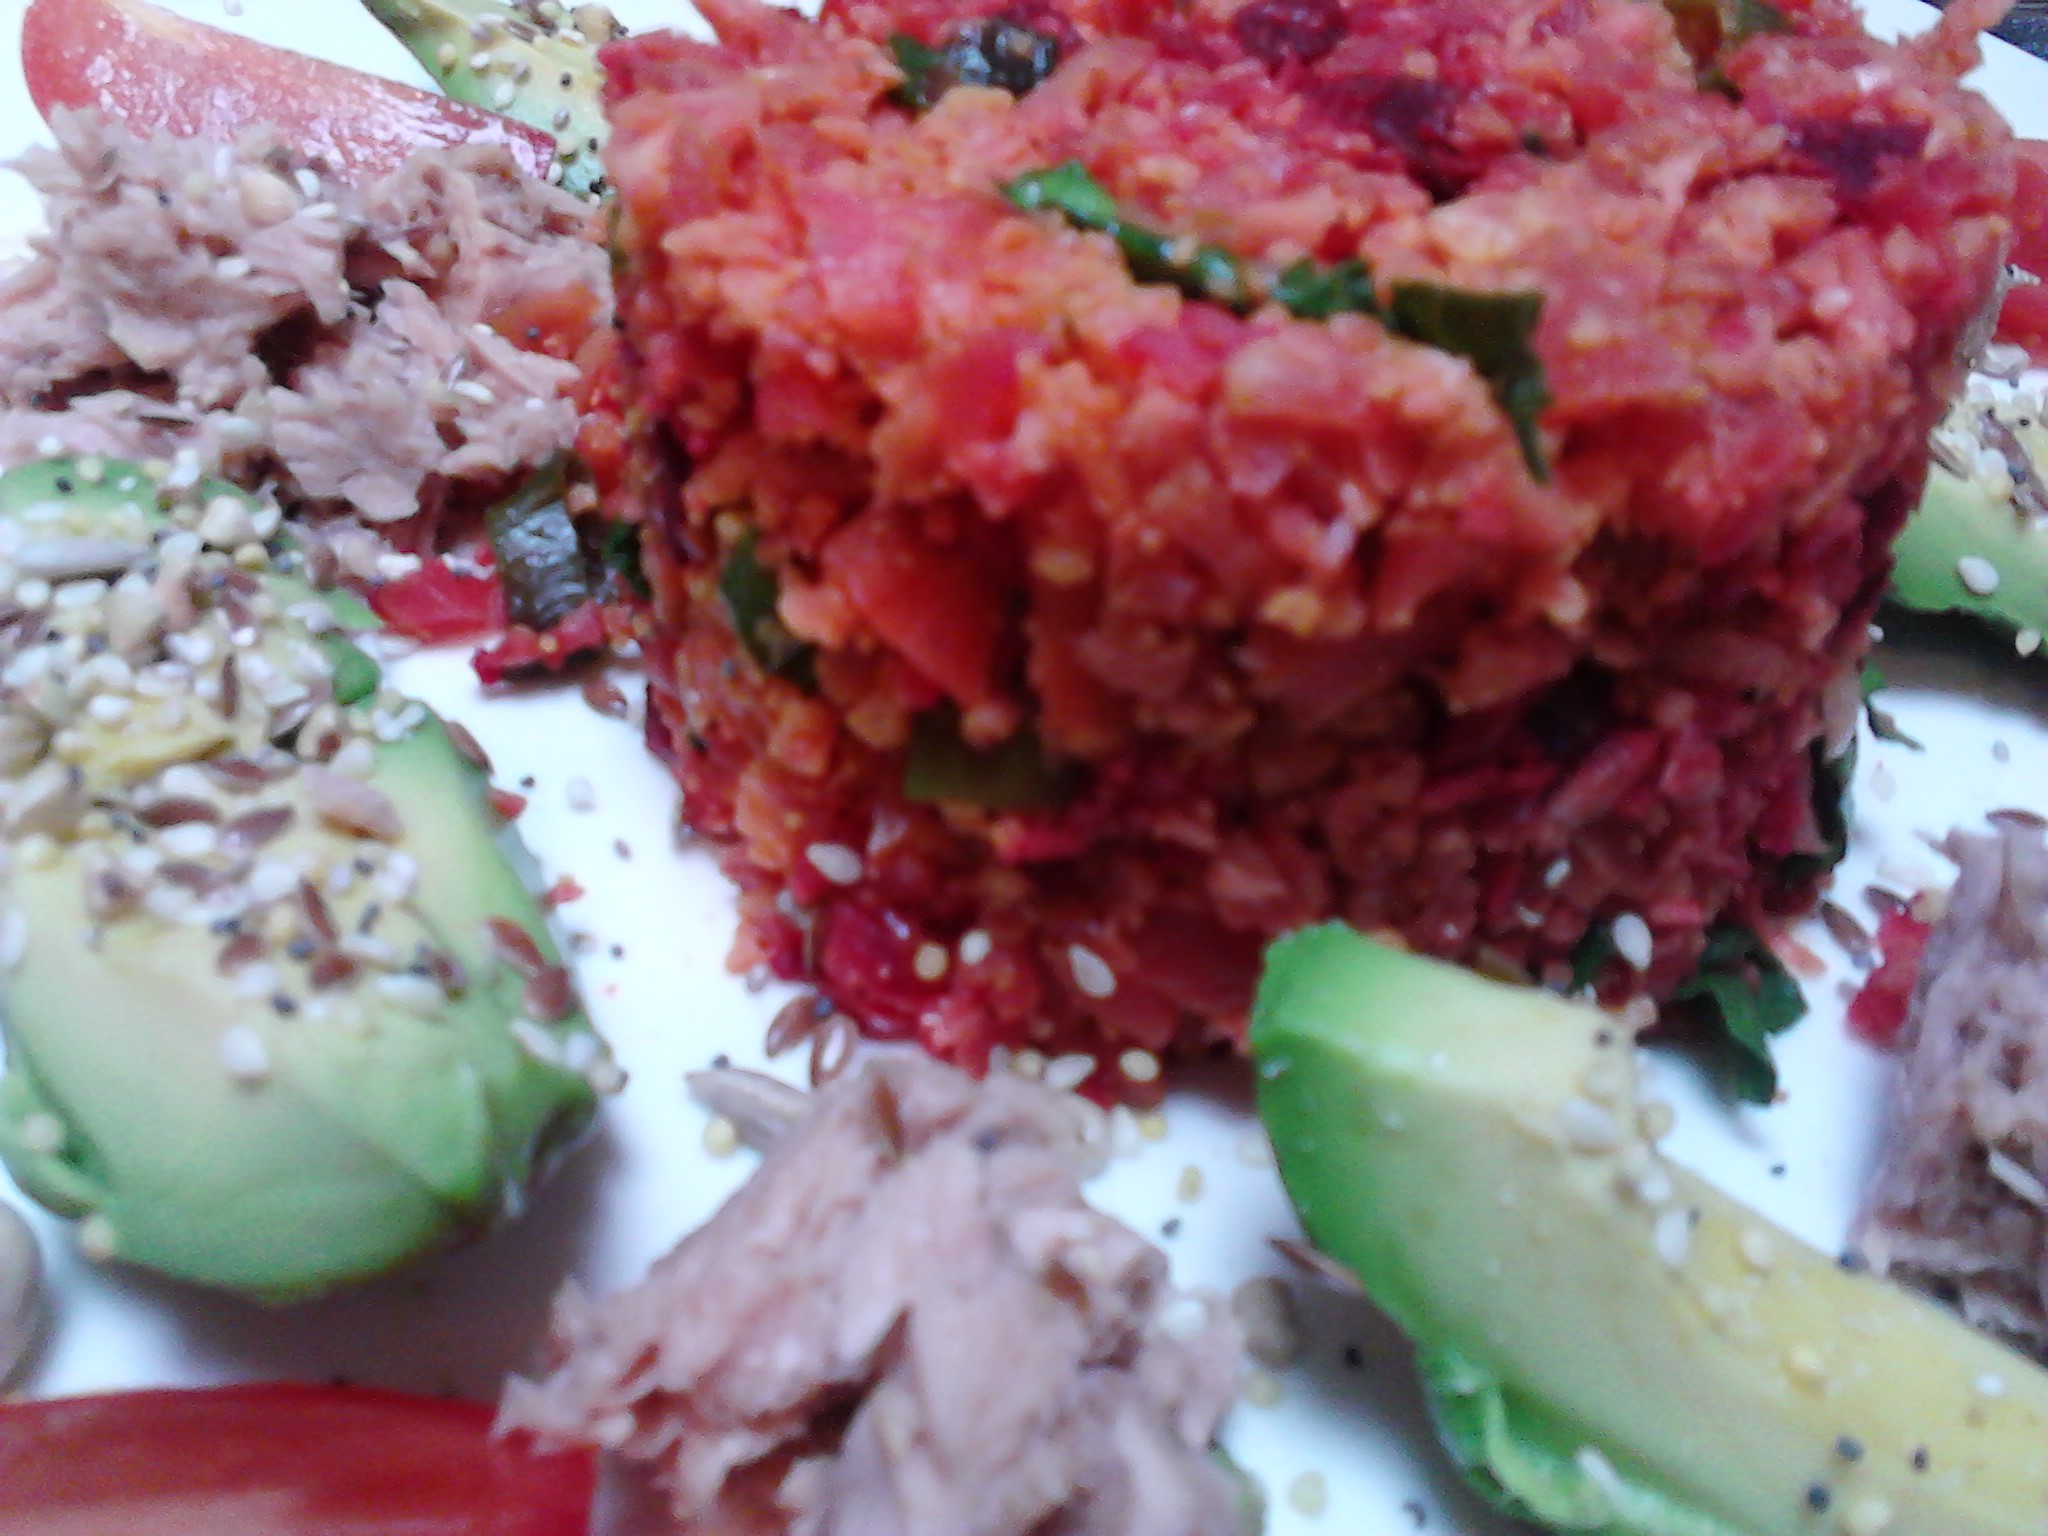
I try to make my meals interesting, flavoursome, paleo friendly and highly nutritious. It takes planning, thought, time, motivation and a strong commitment to staying on track when life inevitably throws a few challenges into the mix. I live in a busy household with a husband and three children who are mostly non-paleo. This is a major challenge for me and l am educating them, but this nutritional and lifestyle path that l am following is not without its challenges.

Top tips:

  • Take an interest in what you are eating. Help with the shopping and cooking and plan your meals.
  • Be prepared. Have a plentiful supply of fresh fruit and vegetables in the house.
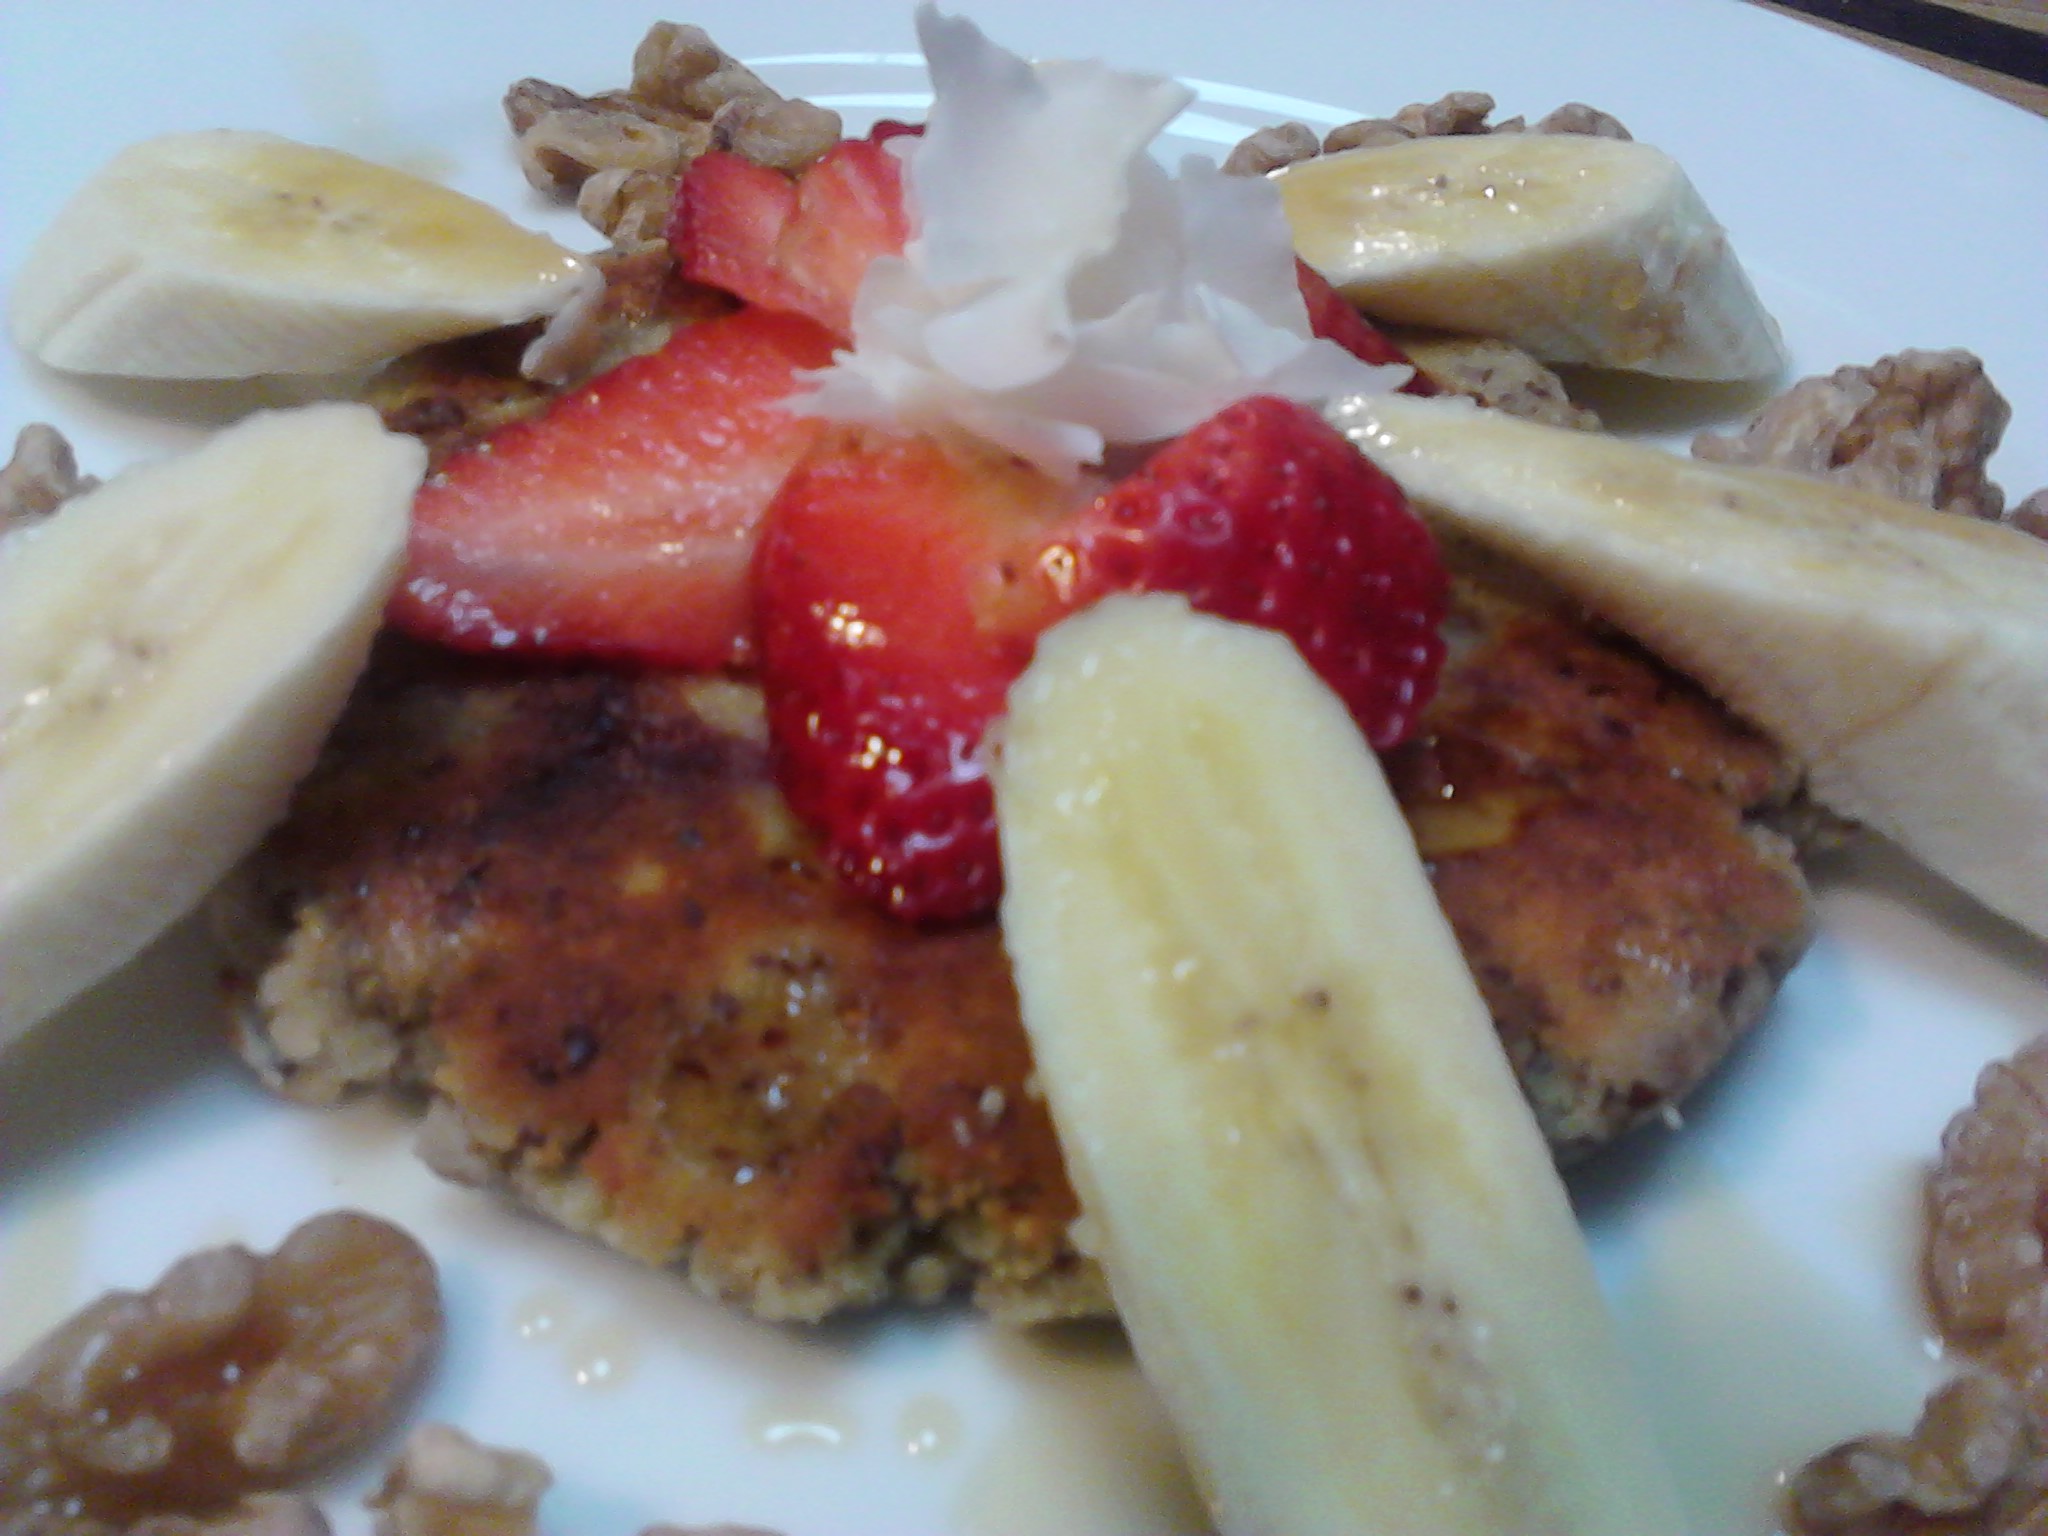
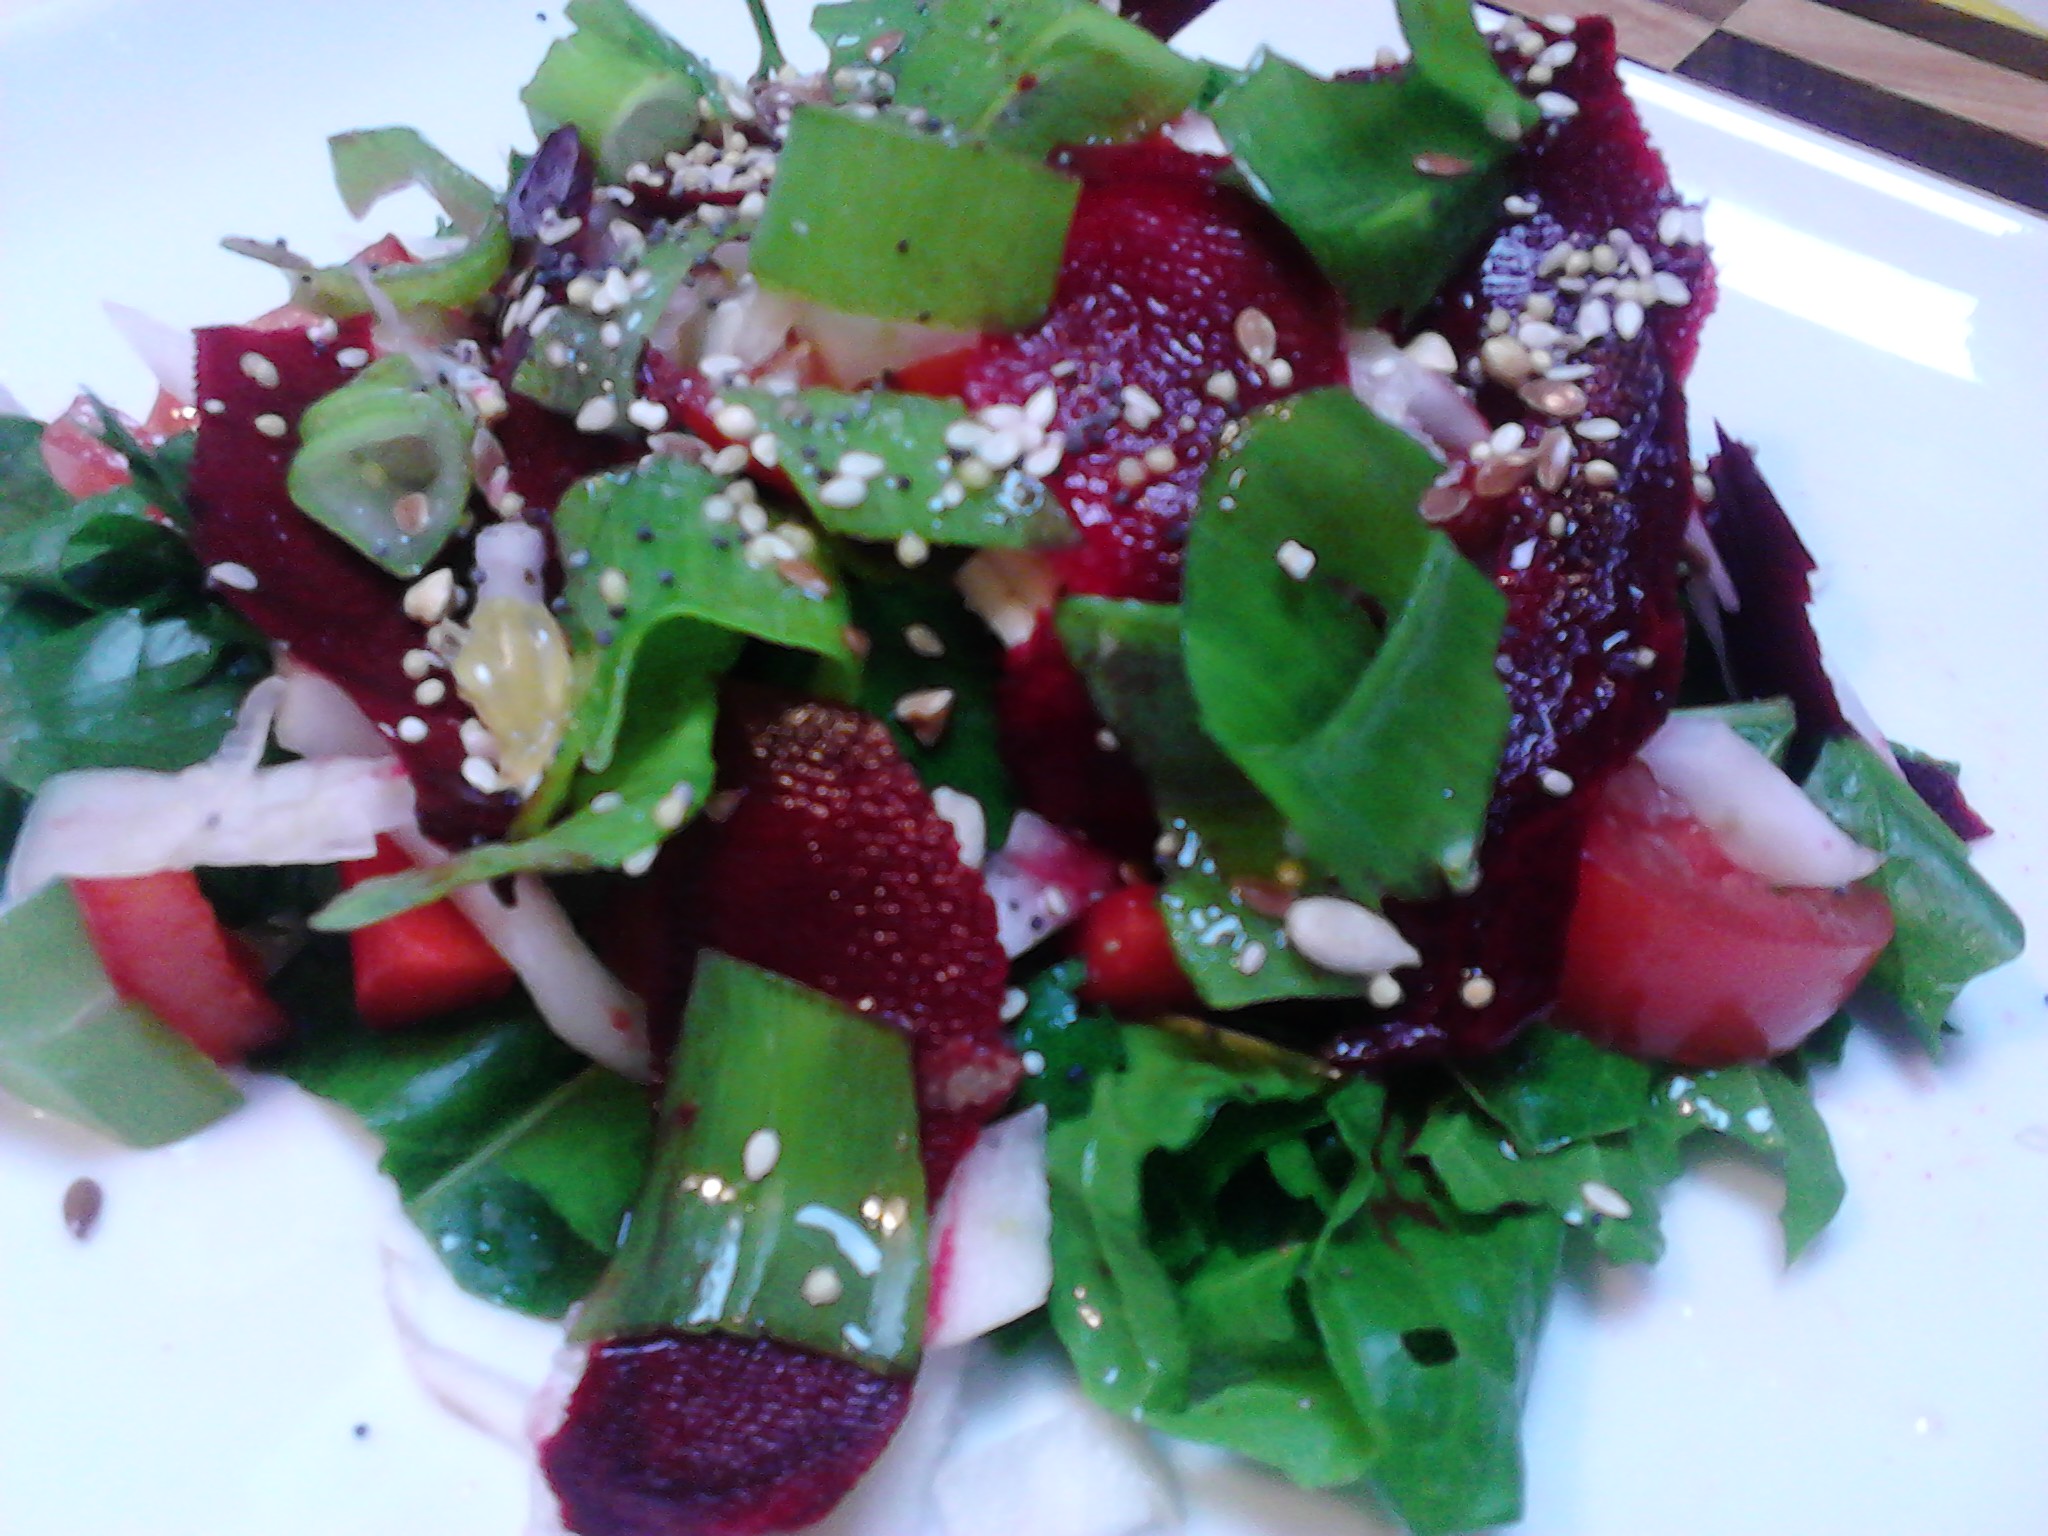
  • Try to incorporate colour into every meal, ideally by using mostly vegetables and some fruit with a focus on raw or lightly cooked where possible.
  • Have a positive attitude to trying something new and do some research by looking at magazines, online or speak to a friend who inspires you. Better still, study Nutrition as l have done!
  • Take it slowly. Change is difficult and our old habits are comfortable and easy to fall back into when a challenge comes our way. Slowly form new habits and incorporate them into your daily life.
  • Have fun with it! Go to local markets and explore. Experiment in the kitchen with the fresh ingredients.
  • Have a good attitude. See it as a diet of abundance rather than a diet of deprivation.
  • Think of your short and long term goals and make every bite you take a nutritious one.
  • Eat because you are hungry! Cut out the emotional, social, bored or habitual eating.

Follow these tips and you will be on the road to a healthier you!

If you have enjoyed this post please share it with a friend. I post daily on Instagram, Twitter and Facebook with pictures of the food l prepare and eat, as well as a few wellness tips and healthy resources. Thank you Carolyn

Sesame snaps with poppy seeds and cinnamon

2014-08-02 11.54.24
A lovely snack and easy to make!

A favourite snack that you can make at home! This is a twist on the popular sesame snap but the recipe is easily modified to have a more traditional flavour. The original recipe is from ‘The Merrymaker Sisters” website and l have modified it by adding in poppy seeds and cinnamon.

This is a very quick and easy snack to make and they can be kept in the freezer to add to lunch boxes.

Ingredients:

1 and 3/4 cups of organic sesame seeds

1 cup of organic almond meal

1/2 cup raw organic honey

1/4 cup organic coconut oil

2 tablespoons poppy seeds

1 generous teaspoon cinnamon

Note: If you want a traditional sesame snap leave the poppy seeds and cinnamon out and use 2 cups of sesame seeds. 

Method:

Mix all ingredients together in a bowl. Place half of the mixture onto a piece of baking paper and cover with another piece of baking paper. Roll out carefully to flatten.

2014-06-20 16.53.43
Gently roll the mixture so it is even.

Roll the mix to about 1/2 a centimetre. Remove the top paper and use a knife to straighten the edges and then re-roll. Do this for the other half of the mixture.

2014-08-01 20.51.53
Life the baking paper and flattened mixture onto the baking tray

Bake the sesame snaps in a 180 degree celsius oven for approximately 10 minutes or until golden.

2014-06-20 17.07.53
Golden cooked sesame snaps.

Let the sesame snaps cool for a short time and then lift off the tray by grabbing the edges of the baking paper. Place on a flat surface and using a sharp knife cut the edges off and then cut into rows and then smaller pieces.

2014-06-20 17.38.16
Use the edges to taste test your cooking.
2014-06-20 17.39.47
These are the plain sesame snaps. Once cooled they can easily be stored in the freezer and are a handy snack.

It is a good idea to make your own snacks if you can as this ensures that you know exactly what is in the food you are eating. There are no nasty additives, colours or flavours in these bars, and this is a great way to eat healthier.

I hope you enjoyed this recipe. I post daily on Instagram, Facebook and Twitter and the links are on the bottom of the website. Thank you Carolyn

Cauliflower rice: A healthy alternative

Cauliflower rice is a great alternative to real rice, and you will be amazed at how similar it looks and tastes.

2014-07-10 17.49.21
A beautiful fresh cauliflower.

Why would you want to eat cauliflower rice when you can eat actual rice!

Following the Paleo diet does mean that grains in general are excluded from the diet as they contain a nutritional profile that we are not genetically designed for which can wreak havoc on our digestive systems and overall health. For me the main reasons why cauliflower rice is a better choice than white or brown rice focus on: 1/Gut health -for those of us with issues such as a leaky gut, vitamin and mineral deficiencies, irritable bowel syndrome and food intolerances, 2/Nutrition-more readily available nutrients and no anti-nutrients, 3/Weight management-lower in kilojoules, 4/Balancing blood sugar levels-rice is a very concentrated form of carbohydrate.

Cauliflower is an amazingly nutritious vegetable that is low in fat and carbohydrates and has some wonderful vitamins and minerals such as Vitamin C and the B complex vitamins which can help to keep you healthy, protect against certain cancers, boost your immune system as well as lots of wonderful minerals such as manganese, copper, iron, calcium and potassium.

Cauliflower has a glycaemic index (GI) of just 15 making it a very low GI food which helps to slow down its digestion and maintain healthy blood sugar levels. The GI is from 1 to 100 and white rice is on the high end of the scale with a GI of 65 and brown rice slightly lower at 55. Rice, especially white rice is a high starch food and will break down and covert to glucose very quickly in the body causing blood sugar peaks unless it is used immediately as an energy source as for example in very active people. For everyone else this can be a problem as the body needs to deal with the influx of glucose into the bloodstream.

Brown rice has an outer casing of bran and husk which takes longer to break down but this can in itself cause problems in the digestive tract as the brown rice is hard to digest and irritating to the gut lining. The outer layer of the brown rice contains anti-nutrients called phytates and lectins which bind to minerals such as copper, zinc, iron, magnesium and calcium so that they are unable to be absorbed. This can therefore reduce the nutritional value of the brown rice and impact the absorption of other nutrients being consumed.

Cauliflower is also lower in kilojoules than rice, with one cup of cauliflower having just 104 kilojoules compared to one cup of cooked rice which has 804 kilojoules. Cauliflower is also much quicker to cook than rice, especially brown rice and is very versatile in how it can be used.

All of the reasons l have discussed are important to me as my health issues are centered around my gut health and issues regarding malabsorption of nutrients. Cauliflower rice is a good choice for me as a healing diet is one which enhances health and wellbeing and over the past two years l have slowly been adapting my diet to support my wellness goals. I take a lot of nutritional supplements daily as well which are very costly and l do not want to be eating any foods which would impact the absorption of these vital nutrients.

How to make cauliflower rice!

My favourite way to make cauliflower rice is to cut the fresh cauliflower into smallish pieces and then blend it in the food processor.

2014-06-25 18.38.33
Wash the raw cauliflower and cut it into pieces that will fit into the food processor.
2014-06-25 18.39.10
Process the cauliflower until it resembles rice and is an even consistency. The rice is now ready to use in your favourite dishes.

The cauliflower rice can now be added to a pan and lightly cooked such as in a stir fry.

2014-07-10 18.27.59
Place fresh vegetables into the pan with the cauliflower rice. The whole dish will be ready in minutes.

The cauliflower will soak up any spices that are added and change colour.

2014-07-10 18.30.55
Add spices to the pan such as cumin and tumeric and watch the rice change colour.

Another method is to steam the cauliflower pieces first and them process them in the food processor and then you can have it plain or just give it a quick cook in the pan with the fresh ingredients.

2014-07-10 17.52.06
The cauliflower is in the steamer. It can also be mashed with a fork using this method if you don’t have a food processor.

Some lovely colours can be created with the cauliflower as it soaks up the juices and spices. Below is a dish l cooked with the first photo showing the raw ingredients and then the development of the colour once the dish is cooked in the second photo.

2014-07-14 19.12.16
The uncooked cauliflower with the raw vegetables including beetroot


2014-07-14 19.11.50
A beautiful colour has developed from the combination of the tumeric and beetroot.

Sometimes the cost of cauliflowers can be quite high but when in season this cruciferous vegetable can be purchased very cheaply which is a good time to experiment with this dish. It is very easy to use a whole cauliflower if you are making enough for the family, or if you want to take some for lunch the next day. The smell of just cooked cauliflower is so delicious, and this is especially true when steaming it. I hope that you give the cauliflower rice a try and think about whether rice as a staple food in your life is a good idea, or that maybe it is a sometimes food and best eaten with lots of healthy vegetables as part of a balanced meal.

If you have enjoyed this post please share with a friend. I am on Instagram at holistic_paleo and Twitter at Holistic Paleo@carolynlgray

Beetroot and pumpkin cake (gluten and dairy free)

The smell of a cake baking in the oven is really lovely and the anticipation builds as the cake is almost cooked. This recipe has a lovely combination of fresh beetroot and pumpkin in a paleo friendly, gluten and dairy free recipe.

An afternoon delight!

Ingredients:

2014-07-13 13.27.57
Fresh beetroot and pumpkin

Fresh beetroot and pumpkin as shown in the picture. I used one medium sized beetroot. Grate them in the food processor using a fine grating disk or hand grate if you don’t have a food processor.

1/4 cup coconut flour

2 cups almond meal

6 free range eggs

1 teaspoon cinnamon

1 teaspoon bicarbonate soda

1/4 cup organic coconut oil (gently melted)

1/4 cup (generous) raw organic honey (gently melted)

Place all of the ingredients into a bowl and mix well. 

2014-07-13 14.24.36
Mix the ingredients well ensuring there are no clumps of beetroot or pumpkin.

Place the mix into a greased and lined loaf dish.

2014-07-13 14.28.00
Use a spatula to ensure the top is smooth and even.

Decorate with pumpkin seeds.

2014-07-13 14.30.32
The pumpkin seeds add a lovely crunch to the top of the cake.

Bake in a pre-heated 180 degree celsius oven until well done. It is quite a heavy cake so will have a very golden brown appearance when cooked. Remove from the baking dish and let cool on a cooling rack. Slice and eat. Freeze any leftovers for the lunch box.

2014-07-13 15.47.35
A lovely moist cake with an interesting sweet flavour!

If you have enjoyed this post please share with a friend. Thankyou Carolyn

Instagram: holistic_paleo and Twitter: Holistic Paleo@carolynlgray

Orange and poppy seed cake with whole oranges (gluten and dairyfree)

This is a lovely moist cake which uses whole oranges to give it a beautiful flavour and texture. I don’t normally cook with stevia but l had some in the cupboard and thought it would add a nice sweetness to the cake and used it in conjunction with Rice Malt Syrup which worked well.

2014-07-06 14.04.51
A moist and lovely cake-gluten free/dairy free

This recipe makes 12 cupcakes and 1 cake so it could be halved if desired. To make this cake all of the wet ingredients plus a few extras are placed in one bowl and the dry ones in another.

2014-07-06 09.29.10
The wet ingredients plus the poppy seeds

Ingredients:

Place these ingredients into one bowl and mix together.

2 whole Navel oranges chopped and blended-skin left on (Navel oranges are so sweet. Just chop them into smallish pieces and place into the blender until a smooth consistency).

3/4 cup filtered water

4 free range eggs

1/2 cup stevia granules

1/2 cup organic coconut oil gently melted

1/3 cup poppy seeds (more or less depending on your preference)

1/3 cup rice malt syrup

1/2 teaspoon organic vanilla essence

In another bowl mix:

2 cups almond meal

1/2 cup coconut flour

1/2 teaspoon Bicarbonate Soda (Bob’s Red Mill)


Add the dry ingredients to the wet and mix gently. If making cupcakes place spoonfuls into patty pans as below.

2014-07-06 09.35.40
Ready for the oven!

If making a cake pour half the mix into a greased and lined cake tin. Bake both in a 180 degree celsius oven until firm to touch. The cake will take quite a lot longer than the cup cakes.

2014-07-06 10.07.50
A cute cupcake display. Add some orange pieces to compliment the cupcakes.

Let the cake cool in the tin for a few minutes and then place on a cake cooling rack. I drizzled the cake with some fresh orange juice and topped with sliced orange. I admit to having a cupcake and a piece of cake and my preference is for the cake as the extra juice and orange slice really added to the flavour.

2014-07-06 11.01.10
Drizzle the cake with fresh orange juice and freshly sliced Navel orange.

This is a delightful cake and the flavour turned out really delicious and it is a wonderful treat for those of us living on restricted diets.

If you enjoyed this post please share with a friend. You can follow me on:

Facebook: holistic wellness for life

Twitter: holistic paleo @carolynlgray

Instagram: holistic_paleo

Cherry and Pumpkin pancake (gluten, sugar and dairy free)

A really lovely way to start the day!

2014-06-28 08.47.22

The selection of pancakes on this website is rapidly growing as l start to experiment further with non gluten flours and ingredients. This pancake was inspired by my purchase of a container of fresh cherries and l thought they would go very well with pumpkin. There is a good amount of fibre in this pancake and so many wonderful nutrients.

2014-06-28 08.21.07
The pancake ingredients plus filtered water.

I like to assemble the ingredients on the bench so that everything is on hand.

Place in a bowl:

1 cup of organic buckwheat flour

1 cup of organic coconut flour

1/2 cup organic quinoa flakes

1/2 cup ground pepitas (I did this in the food processor)

4 free range eggs

1 full cup of finely grated pumpkin (I used the fine shredding attachment on the food processor)

10 cherries seeded and chopped in the food processor

Add approximately 2 1/2 cups of filtered water and mix well. The quinoa flakes will absorb water and you want it firm enough that you can make a small ball in your hand but still quite wet looking.

2014-06-28 08.34.11
Now to add the water and mix.
2014-06-28 08.39.45
Place a small amount of mix in a pre-heated pan with olive oil added and cook on a lowish heat until golden.
2014-06-28 08.43.31
Cook until golden on both sides.

Top the pancake with your favourite toppings but l used raw walnuts (soaked and dehydrated), diced fresh cherries, raw pumpkin seeds (soaked and dehydrated) and organic maple syrup.

2014-06-28 08.47.22

Topped with raw walnuts, pumpkin seeds, diced fresh cherries and organic maple syrup.

I really love spending time preparing lovely meals and making them look nice on the plate. I try to sit down and eat mindfully to support my digestion and mostly keep fluids separate from my meals also.

If you have enjoyed this post please share with a friend. I share recipes and wellness tips on Instagram, Facebook and Twitter. Thankyou  Carolyn

Banana, Coconut, Lemon and Poppy seed cake (gluten, dairy and processed sugar free)

2014-06-20 19.15.00
A piece or two for morning tea!

This cake is made with real ingredients and as a result each of the flavours can be tasted when enjoying this cake. The fresh banana, lemon juice, lemon zest, organic shredded coconut and poppy seeds give this cake a lovely balance and depth of flavour which is extremely satisfying. When making this cake l used the base recipe that l have for all of my Paleo cakes and l was heading in the direction of a banana or lemon cake, when the idea came to combine them. I couldn’t resist adding poppy seeds as they go so well with lemon, and l adore coconut and the flavour is already in the cake from the organic coconut oil.

Place all of the dry ingredients  into a bowl and mix with a spoon:

2 cups of almond meal

1/4 cup of organic coconut flour

1/2 cup poppy seeds

1/2 cup organic shredded coconut

1 teaspoon bicarbonate of soda

 Place all of the wet ingredients into another bowl and mix gently until combined:

6 free range eggs

1/4 cup organic coconut oil gently melted

1/4 cup raw organic honey gently melted (organic honey is fine).

2 large bananas mashed with a fork

Lemon zest and juice. I used 4 small lemons but you could use 2 large ones. Grate the zest into the mix and add the lemon juice.

2014-06-20 18.04.57
The dry and wet ingredients combined.

Pour the wet ingredients into the bowl containing the dry ingredients and mix gently but thoroughly with a spoon.

2014-06-20 18.09.05
Ready for the oven!

Place the mix into a greased and lined loaf pan and cook in a 180 degree celsius oven until golden. Use your own visuals and experience with your oven to determine if your cake is cooked and when done gently turn onto a cake rack.

2014-06-20 19.02.05
Just out of the oven!

I have tried this cake warm, just out of the oven and cold the next day. The banana flavour is more intense in the cake when hot and l preferred it cold the next day for that reason. It is quite a dense cake and held together very well. You could ice it with your favourite mix if desired but l just left it plain as there was so much flavour already and it is a very moist cake.

2014-06-20 19.03.37
I cut this cake as soon as it was out of the oven and the smell was lovely.

If you enjoyed this post please share it with a friend. I am also on Instagram, Facebook and Twitter daily where l share recipes, wellness tips and reflections. I would love you to follow me. Thanks Carolyn

Rolled Chicken Breast with a tasty herb, nut and vegetable filling

2014-06-14 19.40.41
Just out of the oven and smelling amazing!

Rolled Chicken Breast: A lovely centre piece for a main dish. 

2014-06-14 19.45.28
Rolled chicken served with roasted swede chips, steamed brussel sprouts and roasted pumpkin slices topped with raw organic honey and organic sesame seeds.

This was my first attempt at using a chicken breast like this and l was motivated by all the wonderful roulage recipes l have seen on the television show Master Chef recently. While not to the same standard it was delicious and met all my dietary requirements.

2014-06-14 18.45.43
The free range chicken breasts flattened and topped with the filling.

I flattened two free range chicken breasts by placing each one inside cling wrap and pounding with a mallet. To do this l placed cling wrap on the chopping board, placed the washed meat on top and covered it with more cling wrap. I gently pounded the meat with a kitchen mallet and you could also use a rolling pin to gently get it a bit flatter at this point. I did this for each breast separately.

I then made a delicious filling in the food processor which was a handful of raw walnuts, a couple of spring onion tops (the green parts), two large brussel sprouts, 1 tablespoon of organic coconut oil, a handful of flat leaf parsley, a small handful of pepitas, ground black salt and Pink Himalayan Crystal Salt. I processed this until it was evenly chopped and then placed half on each chicken breast. I used organic coconut oil in this mix as l do not eat dairy but if you do eat dairy then an organic grass fed butter would be very nice in its place.

2014-06-14 18.51.38
The rolled and tied chicken breast.

I pulled the two sides of the breast together and wrapped some twine (cooking string) around the chicken as in the picture above, Be sure to tie it at each end and push the filling in as you go along. Place the rolled chicken on a baking tray lined with baking paper and drizzle generously with olive oil and season with salt and pepper. Cover with foil and place in the oven. Cook until the chicken is cooked and then take the foil off and let it brown or place under the grill ensuring it doesn’t dry out. Carefully cut the string along the length of the chicken and remove. Let the chicken rest for a few minutes before serving. Each rolled chicken piece will serve a few people if you add vegetables or salad and l had a piece cold the next day which was lovely.

2014-06-15 12.56.15
Cold rolled chicken breast. Just as nice as when it was first cooked.

I cooked up some roasted swede chips and they were very delicious. I like their unusual taste and they were nice cold as well. Pumpkin dressed with honey and sesame seeds is really nice, but drizzle the honey on in the last five minutes and only quickly cook the sesame seeds so they don’t lose their nutrients.

I hope you enjoy this recipe. Experiment with the filling to suit your tastes and serve it with your favourite vegetables or salad.

If you have enjoyed this post please share it with a friend. I also share my recipes and wellness tips daily on Facebook, Twitter and Instagram. I would love you to follow me. Thanks Carolyn

Refreshing sweet smoothie

2014-06-07 15.28.40
A sweet and delicious smoothie! I actually ate this with a spoon as it was too thick for the straw.

There is something about mixing up a batch of smoothies for the family that is fun and exciting! Changing the colour of the smoothie by using different ingredients is part of the enjoyment, but if you mix greens with berries such as raspberries the taste is good but the colour is a not so enticing brown. I made this smoothie in a large blender as l wanted enough for the whole family, but l have also been making a lot of individual smoothies lately as l have a new blender that makes smoothies to go.

2014-05-20 12.30.22
Smoothie to go blender!

These containers are good when l am just about to go somewhere in the car or l am sitting at my desk. The blender came with two containers so l will often make one for myself and one for my youngest daughter who loves smoothies.

2014-05-20 12.32.262014-05-23 14.22.192014-06-01 14.46.32

I have problems digesting too much fruit at once so l try to balance my smoothies with leafy green vegetables and chia seeds and l don’t have too large a serving. The smoothie below was for my daughter and contains yoghurt. I don’t eat dairy so wouldn’t put yoghurt in my smoothies, but my daughter loved the creaminess of this smoothie.

2014-06-01 14.54.27
This is a smoothie that l made for my daughter which was fruit, water, raw organic cashews and yoghurt.

To make the featured green smoothie l placed the following ingredients in the blender:

1 large banana or 2 small ones

A good chunk of pineapple

2 green apples. I took the skin off because of the wax on the skin which l find hard to get off

Some spinach and cos lettuce leaves

A few pieces of fresh mint. Pull the leaves away from the stem.

1 tablespoon of black chia seeds

About 3/4 of a cup of filtered water. It will depend on the size and amount of the other ingredients. You can always add more if it is too thick but you can’t take it out if you add too much. I had to add some water as the blender needed the liquid to get mixing and the blender was so full l had to push the lid on. I also like a thick smoothie and eat it with a spoon, but if you like a thinner smoothie and want to dilute the sugars then add more water.

2014-06-07 15.23.53
This was enough for 3 serves.

Smoothies are a great source of vitamins, minerals, antioxidants and fibre. They can be made to suit each person’s tastes and they are fun to make. I don’t have a smoothie every day, but l have them a few times a week. Sometimes l just feel like eating the whole fruit such as a banana or orange and this is usually when l am really busy or l might make a juice instead. It does take more time to make a smoothie or juice than to just grab a piece of fruit, but l love that l can mix it up and have something different each day.

If you have enjoyed this post please share with a friend. I also share daily recipes and wellness tips on Facebook, Twitter and Instagram. Thanks Carolyn

Morning pancakes- Paleo (dairy, sugar and gluten free)

2014-02-11 07.29.27
Berries galore!

I really enjoy my morning pancake and make a new batch every few days. I have a base recipe that l add different ingredients to including frozen berries, sweet potato, carrot, pumpkin, apple and cinnamon. I usually top them with activated walnuts and maple syrup.

Base Recipe:

1 cup organic coconut flour

1 cup organic buckwheat flour

1/2 cup organic quinoa flakes

1 tablespoon black chia seeds

4 free range eggs

Flaked almonds (optional depending on what else you are adding)

Lots of filtered water (The quinoa flakes and chia seeds will soak up the water so you will need to make it a bit too moist to start with and let it sit)

To this basic mix you can make:

Berry pancakes by adding blueberries, blackberries, raspberries or strawberries as examples. You could have just one type of berry or a mix. You can blend this up to make a really colourful pancake or use whole berries. You can also keep the mix plain and add the berries to the pancake when in the pan which will stop the colour bleeding into the mix and keep the berries fresh. Frozen berries are good for this purpose.

Apple & cinnamon pancakes by adding one or two green apples with a good teaspoon of cinnamon.

Sweet Potato by grating a medium sweet potato into the mix

Carrot & Pumpkin by grating some of each of these into the mix.

2014-05-23 08.21.50
Apple & cinnamon!
2014-02-22 07.24.30
Grated carrot, sweet potato or pumpkin is a delightful addition to the mix.

If the mixture is quite firm you can make a ball in your hand and then flatten it and place in the pan. If it is moist then use a spoon and shape it into a neat circle in the pan. I use olive oil to cook my pancakes and have a tub of activated walnuts in the fridge. In the morning l just take the pre-prepared mix out of the fridge, cook it up and add my toppings within a few minutes. I try not to run out of mix in the mornings and make it the night before. Eating a pancake without gluten, sugar or dairy does take some getting used to but our taste buds adapt very quickly and l find these pancakes very satisfying and filling.

If you have enjoyed this post please share with a friend. I share daily recipes and wellness tips on Facebook, Twitter and Instagram and would love you to follow me on these media. Thanks  Carolyn

Snack bars-all natural


2014-04-10 21.00.11

Another lunch box filler or sweet snack to fill in the holes that are left by following a restricted diet. These snack bars are crunchy and sweet eaten straight from the freezer which is how l prefer them, but if l pack them in my lunch box for work l use a cool block so they stay cool. The raw organic honey, medjool dates and organic coconut oil provide the elements of sweetness and stickiness that helps to hold the bars together. Everything in these bars is healthy and natural and the best part is scraping the bits off the tray and eating them while still warm. See if you can resist!

2014-04-10 19.43.45

I like to make things in bulk and freeze them but if this doesn’t suit you then just halve the recipe. If you halve it just use one baking tray instead of two. It can be good to start with a smaller quantity as it often takes a few goes to get a recipe right or to make adaptations to it that suit you.

Ingredients:

1 cup Almond Meal (I keep mine in the fridge)

1 cup organic shredded coconut

1 cup organic sesame seeds (I also keep all of my seeds and nuts in the fridge)

1 cup of Pepitas

1 cup of Sunflower Seeds

1 cup of Chia Seeds

2 cups of chopped nuts (I used walnuts almonds and macadamias)

2 teaspoons organic cinnamon

12 medjool dates seeded and chopped

4 generous tablespoons raw organic honey (or organic honey)-warm so it is just a liquid

1 good cup of organic coconut oil-warm so it is a liquid

2014-04-10 16.39.122014-04-10 16.49.152014-04-10 16.51.07

Method:

Place the nuts and dates in the food processor and pulse. Add all of the other dry ingredients and mix well. Place in a bowl and mix through the liquid honey and coconut oil. This is the time for a taste test. Yum!

Grease the two trays well with coconut oil (one if halving the recipe) and place half of the mixture on each tray. Spread the mixture evenly over the tray and using an egg flipper push the mix down so it is flattened and compacted. Focus on the corners and edges also. Place the trays in a pre-heated 160 degree celcius oven and bake until the edges are quite golden. Around 30 minutes but it will depend on the oven.

2014-04-10 18.17.17 2014-04-10 18.18.02 2014-04-10 20.36.29

Let the trays cool for about five minutes and then run a sharp knife around the edge of the tray and carefully cut lines into the mix as shown in the picture. When the trays are completely cool, cover with cling wrap and place into the freezer for about one hour. Take the trays out of the oven and use a cake server to go around the edge of the tray and loosen the bars. Bend the tray slightly until you can see the bars lifting off the tray. Use the cake slicer to carefully lift each piece out of the tray. Place into a container and put in the freezer. This is the time to scrape the leftover pieces off the tray and enjoy. So yummy!

If you have enjoyed this post please share it with a friend. I am also on Facebook at Holistic Wellness For Life and Twitter at Holistic Wellness@carolynlgray. Thanks Carolyn

Vegetable Soup


2014-04-09 08.43.02


There is so much comfort in sitting down to a lovely bowl of vegetable soup, especially on a cold day.

It might seem kind of basic to be writing about how to make vegetable soup but if you haven’t had a go at it these tips might help. I like to make up big batches of soup and keep them in the freezer in small containers so l can use them as needed. The soup freezes well and if l don’t have time to let the soup defrost overnight l place the frozen tub in a small amount of hot water so it loosens from the container, then put it in a saucepan with a small amount of water. This method works very well as l do not use a microwave oven so need to find other ways of managing.

First step:

The whole base of the soup is a good stock. I have a recipe on my website for making a stock from a chicken base but you can use beef or lamb shanks. My mother used to put the lamb shank into the soup and let it all cook for several days and if you can find some grass fed lamb shanks this would be very nice. I don’t eat red meat now due to my lack of a gall bladder but my Dad was a sheep farmer and we had some lovely lamb meals when we were growing up. Although l don’t eat the red meat l could still put the beef or lamb bones into my stock mix but at this stage l am in the habit of using free range chicken as we often have a roast chicken for dinner and it is economical to then use the bones, skin and leftover meat in the stock.

2014-04-08 06.07.35 2014-04-08 06.09.45 2014-04-08 06.10.57

The pictures above show the cooked stock, draining out the bones and meat and finally the delicious stock which is the base of the soup. At this stage you can place small amounts of the stock in containers and freeze to use in casseroles or bolognese as examples depending on the quantity of soup you wish to make.

2014-04-08 06.25.15 2014-04-08 06.28.54

Decide which vegetables you would like in your soup. I chose sweet potato, celery, pumpkin, carrot and cauliflower this time. You can add anything that you like such as cabbage and some onion if you can tolerate it. My mother used to add split peas and soup mix but l have found these can create digestive issues so avoid them now. Make sure your vegetables are washed well then cut into small pieces. Vegetables such as the carrots and celery will be there in the diced form in the final soup, but the softer vegetables such as sweet potato and carrot will dissolve and thicken the soup. Place all of your chopped vegetables in the pot with the broth and let simmer all day. Get a potato masher and mash some of the softer vegetables such as the pumpkin so they break up and thicken the soup. Serve in a bowl or mug and season with sea salt and ground black pepper. You can add a clove of crushed garlic or some sliced spring onion tops at serving as a garnish and extra flavour. Let the soup left over cool and place into the fridge or freezer for later use. Another handy idea is to take the soup hot to work in a thermos so you can enjoy a lovely lunch or have it in a mug for morning tea.

If you enjoyed this post please share with a friend. I am also on Facebook at Holistic Wellness For Life and Twitter at Holistic Wellness@carolynlgray. Thanks Carolyn